


Get to understand the basics behind dynamic range compression. By watching the following videos, you will learn how to use the Native Instruments Solid Bus Compressor, VC 160, Supercharger GT, VC 2A, and VC 76, finding out what each has and how they can best be implemented in your creative process.
The basics of compression
This video details select parameters with the Solid Bus Compressor, showing how it relates to the signal it’s processing, so even if you are very familiar with compressors in general, watching this could remind you of some facets of the effect that you maybe hadn’t thought of in a while. One part of this video that is particularly informative, is the way it explains how the threshold functions with the use of a vertical black line to illustrate the parts of the sound affected and the use of a horizontal line to talk about the attack and release.
How to mix a drum set
Next up is a video that highlights the Native Instruments VC 160’s capabilities in conjunction with the plugin Transient Master. The instructor uses STUDIO DRUMMER and separates the five main mics so that they are available as individual outputs in KONTAKT, enabling you to hear how the VC160 reacts to the various elements of the drum kit.
When the kick drum channel is soloed, you can hear that once the compression is applied, it takes away some of the low end. The Detector High pass feature is then used to focus the gain reduction to the mids and highs. Next he moves to the snare drum and uses parallel compression represented in this case with the ‘’Dry’’ knob so that you can mix in the amount of gain reduction you want to efficiently A/B your work.
Harmony in compressed distortion
Supercharger GT has a distinct form of distortion called saturation. In the video, the instructor takes time to slowly dial in the saturation and character parameters so you can hear all the in-between frequencies and nuances of the effect. Another way to view the character parameter is to see it like a filter, in other words, the harmonic distortion is emphasised left to right, low to high. These two parameters are each coupled with the three types of saturation and emphasis, giving you more flexibility and allowing a wider sound pallet.
How to do more with less
The gain and peak reduction on the Native Instruments VC 2A compressor are the two main parameters that control the make-up gain and the amount of compression respectively. Additionally there is a wet/dry knob which is a great addition because it allows for parallel compression without having to assign the effect to a send channel, then dial it in for each instrument. In this instance, using the KONTAKT instrument ALICIA’S KEYS, with just a few adjustments, the instrument becomes more dynamic and has some added sustain which in turn makes it stand out in the mix even when the overall volume of the piano is lower. A bit later in the video, you can also see how to apply the VC 2A to vocals and hear how the voice cuts through and becomes more present.
Driving compression
In this video the instructor talks about subtle use of compression while using the Scarbee Rhodes, and the VC 76, which is modeled after a classic studio compressor. It has a smaller set of controls, yet is still an extremely dexterous effect that can be utilized in various scenarios. One thing to keep in mind is that this is a fixed-threshold compressor, meaning that you drive the signal into the threshold as opposed to being able to change the threshold amount. Additionally there is the wet/dry knob for parallel compression and very importantly the ratio setting which is used to achieve a gentle legato effect.
Related articles
-
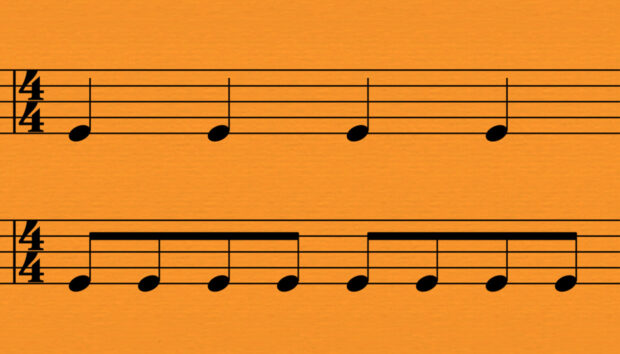
Understanding time signatures in music
Unlock creativity with time signatures in music. Learn what time signatures are, common examples of popular time signatures, and how…
-
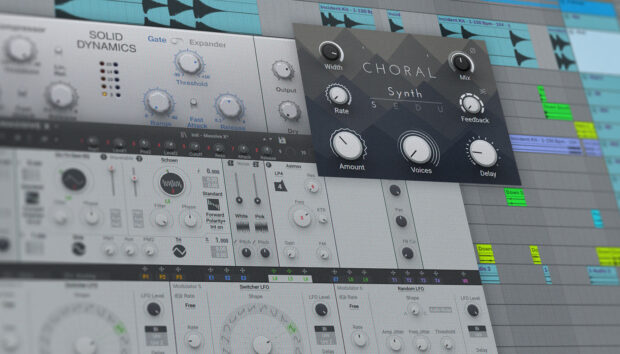
Synth pads: how to create atmospheric textures in your music
Learn everything you need to know about synth pads, with a step-by-step guide to creating this crucial electronic sound to…
-
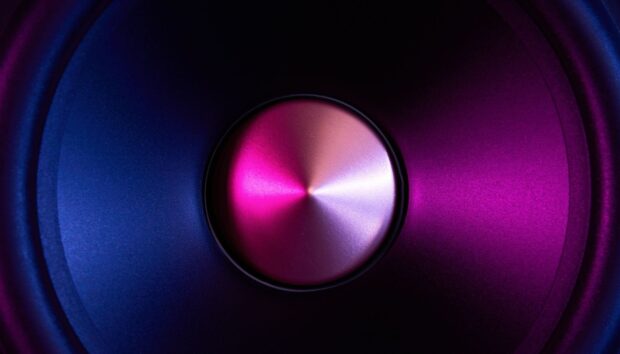
Sub bass: how to add that deep tone to your tracks
What is sub bass? Learn how to make sub bass and how to use sub bass effectively in your productions.
-

How to use tempo in music to create dynamics and shape emotions
Learn what tempo and BPM mean in music, how to calculate the BPM of your song, and how to use…
-

What is EDM music and how to make it
Discover what is EDM music and master how to make EDM with this comprehensive guide, featuring essential production techniques and…
-
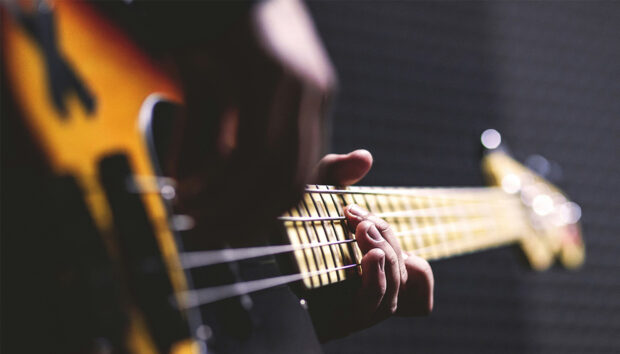
How to make a melodic bass track with emotive and powerful bass lines
Discover what is melodic bass music, its unique sound, and learn how to make melodic bass music with practical tips…
-
5 jazz chord progressions to transform your songwriting
Jazz chord progressions can help make your music more colorful and exciting, no matter what genre you make. Discover five…
-

Getting started with Native Instruments software and hardware
Discover full-length tutorials on the top Native Instruments software and hardware, including Kontakt, Komplete, Guitar Rig, Maschine, and more.