


Acid house is an innovative subgenre of dance music that emerged in Chicago during the mid-1980s, characterized by its pounding house beats and an electronic approach to instrumentation. Most acid house tracks feature mesmerizing, evolving synth lines, which are predominantly created using the iconic Roland TB-303 bass synthesizer.
In this beginner’s guide to producing acid house, we will delve into the process of creating a TB-303-inspired synth sound, composing a rhythmic house beat, and assembling a rich arrangement that incorporates additional genre-specific synth textures to create an authentic acid house sound that sounds like this:
Jump to these sections:
Follow along using Native Instruments LIQUID ENERGY Expansion that includes the pulsing, pounding, face-melting sounds of acid house.
What is acid house music?
The track from which the genre takes its name is Phuture’s “Acid Tracks,” a 1987 house record that used Roland’s TB-303 to create a psychedelic, evolving, resonant synth bass line that was unlike anything heard before.
The record became hugely influential in underground dance music, and essentially spawned its own sub genre that became internationally popular, particularly in the United Kingdom where the new acid sound kicked off the UK rave scene in 1988, AKA the “Second Summer of Love.”
While the TB-303 was certainly the primary synth used in the new wave of acid house records that began appearing in the wake of “Acid Tracks”, such as A Guy Called Gerald’s “Voodoo Ray,” many acid house records didn’t feature that particular instrument.
Post the acid house explosion of the late 80s, the 303 sound went on to become the signature element of other “acid” genres such as hard trance.
Some critics have cited the work of Charanjit Singh as the earliest example of acid house thanks to his TB-303-heavy album “Ten Ragas to a Disco Beat,” released in 1982. Although Singh was undoubtedly one of the first musicians to extensively use the TB-303, it’s a stretch to call his fusion of classical Indian ragas and disco-inspired beats “house,” and “Ten Ragas to a Disco Beat” doesn’t feature the evolving 303 sound that “Acid Tracks” introduced. However, it’s a great work and a fascinating listen for fans of acid house and electronic music in general.
How to make an acid house track
In this walkthrough we’re going to use Native Instruments MASSIVE, BATTERY 4, KOMPLETE KONTROL, DRIVER and LIQUID ENERGY expansion along with iZotope Ozone 10 to create an acid house track from scratch. Here’s how to get started.
1. Create a 303-style synth patch
Let’s use MASSIVE to create a Roland TB-303-style patch that we can use as the centerpiece of our track. Load the instrument onto a MIDI track in your DAW, and select File > New Sound to initialize the patch.

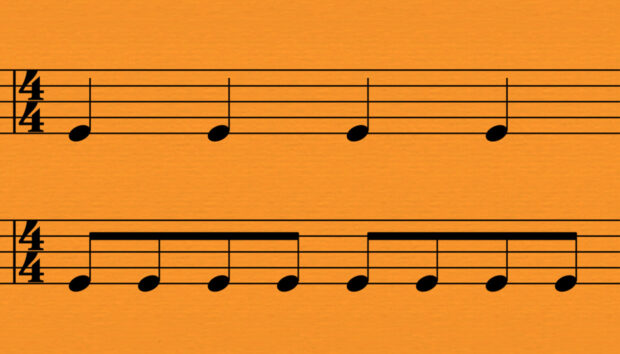
This gives us a raw sawtooth-based sound. Let’s compose an acid-style one-bar loop that plays on 16th notes to give us something to work with as we create our sound. For all MIDI sequences we’re going to use Velocity values of 100 unless otherwise specified.

Here’s how that sounds with our initialized patch.
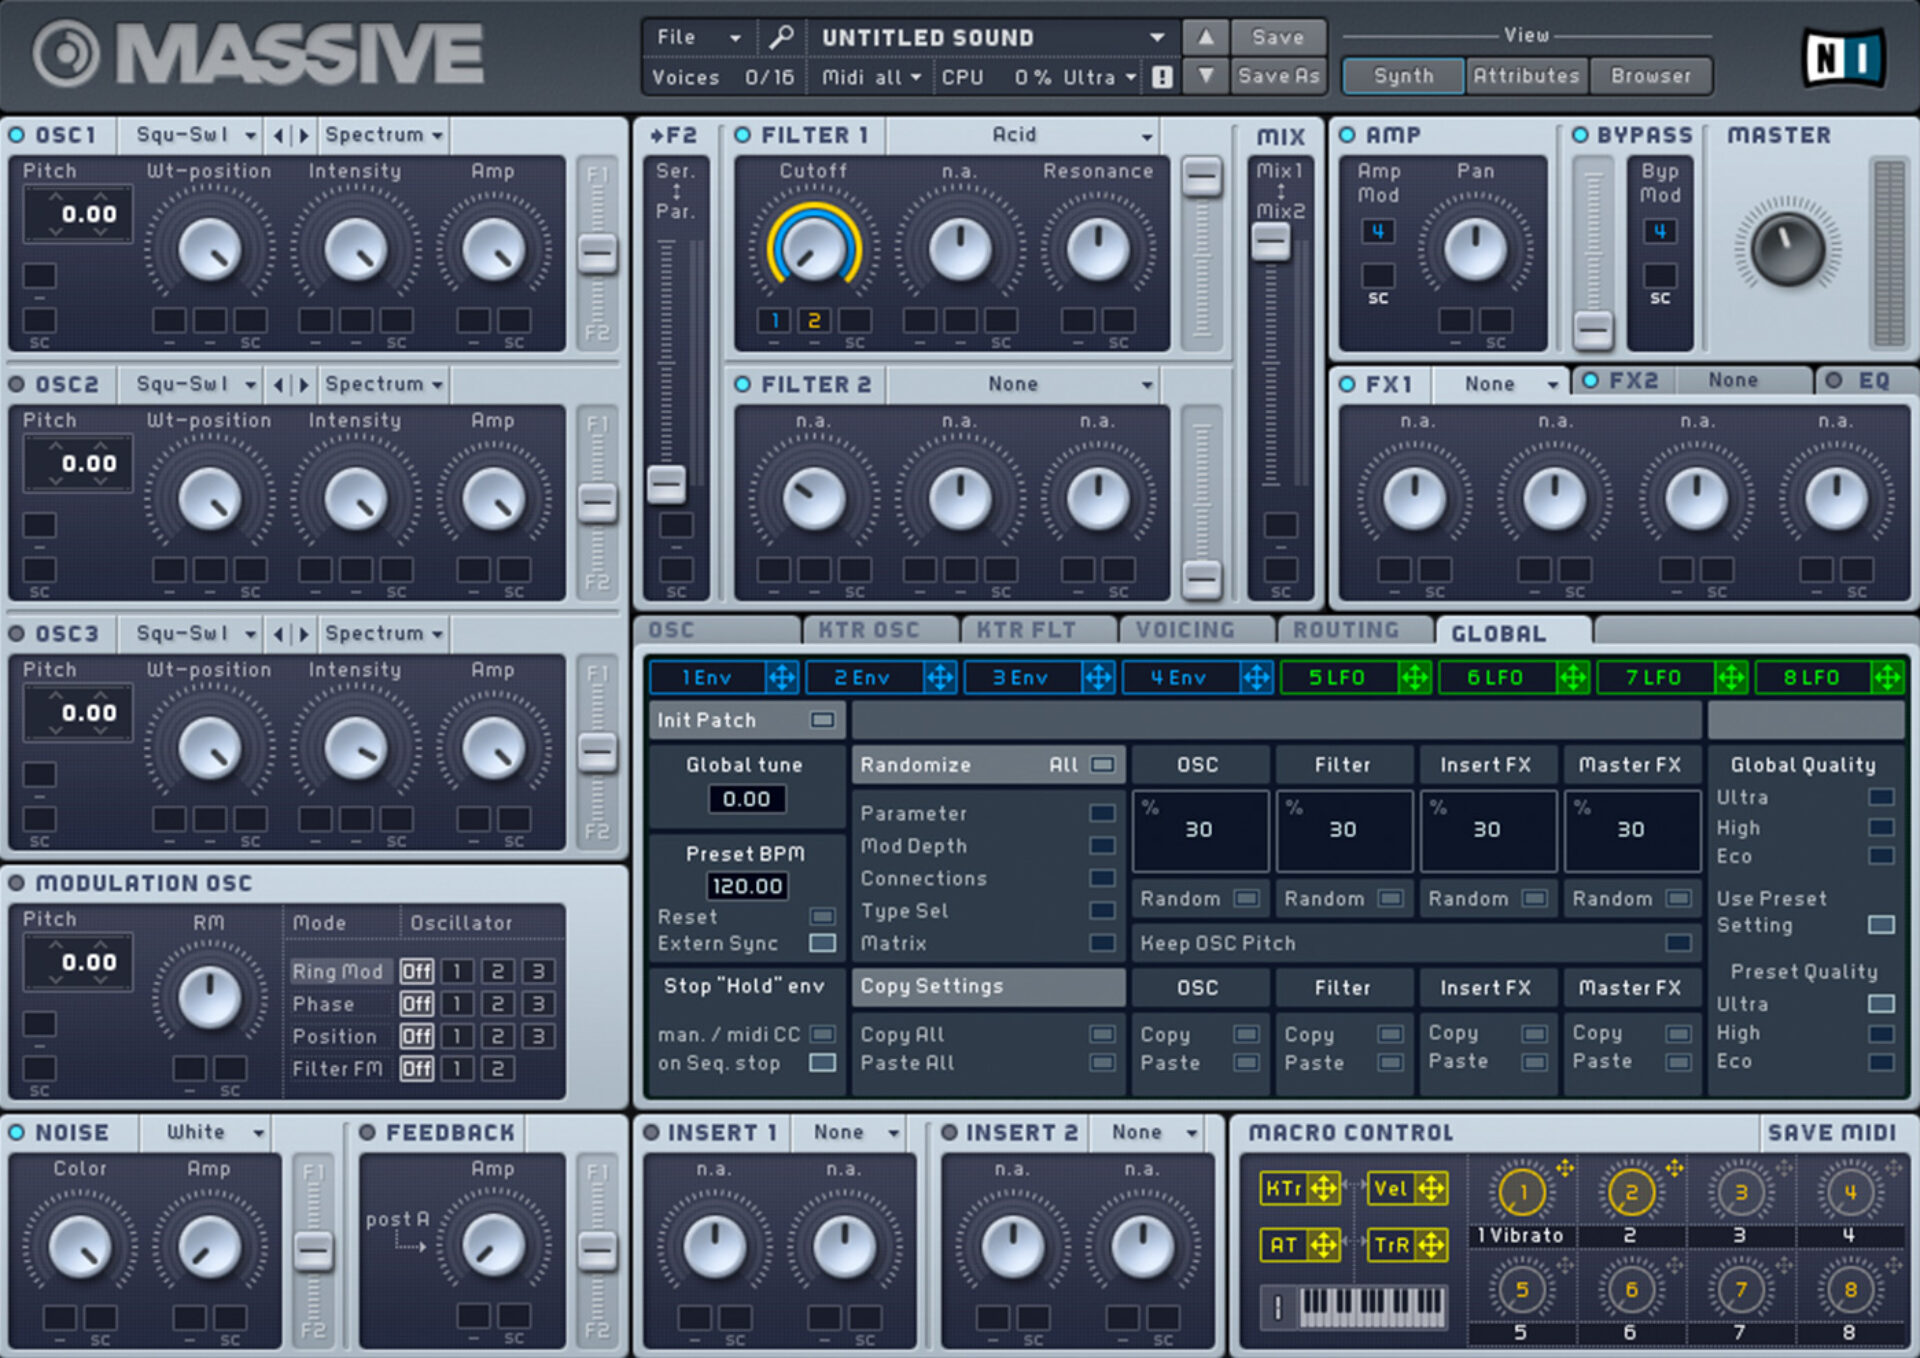
The Roland TB-303 is a relatively simple synth with a single oscillator that can be set to either a square or a sawtooth shape. Our initialized MASSIVE patch uses the Square – Saw I wavetable, which we can set to a pure square or sawtooth by setting it to its minimum or maximum value respectively.
The other primary component of the 303’s sound is the 18 dB lowpass filter. MASSIVE includes a 303-inspired lowpass filter already. This is called, appropriately enough, Acid. Let’s set the synth’s Filter 1 to the Acid filter type now. You can achieve this by clicking the Filter 1 panel where it says ‘None’, and selecting ‘Acid’ from the dropdown menu.

This dulls the sound.
The 303 uses an envelope to modulate the filter cutoff frequency. Let’s replicate this by dragging the 1Env modulation handle to the first slot under Filter 1’s Cutoff knob. This tells MASSIVE we want the first envelope to modulate the filter cutoff frequency.

Turn the knob all the way down, then drag up on the slot with the 1Env assignment so that the blue bar goes all the way round the knob. This tells that we want the first envelope to modulate the filter cutoff frequency by the maximum amount.

We’re now starting to get something approximating an acid sound.
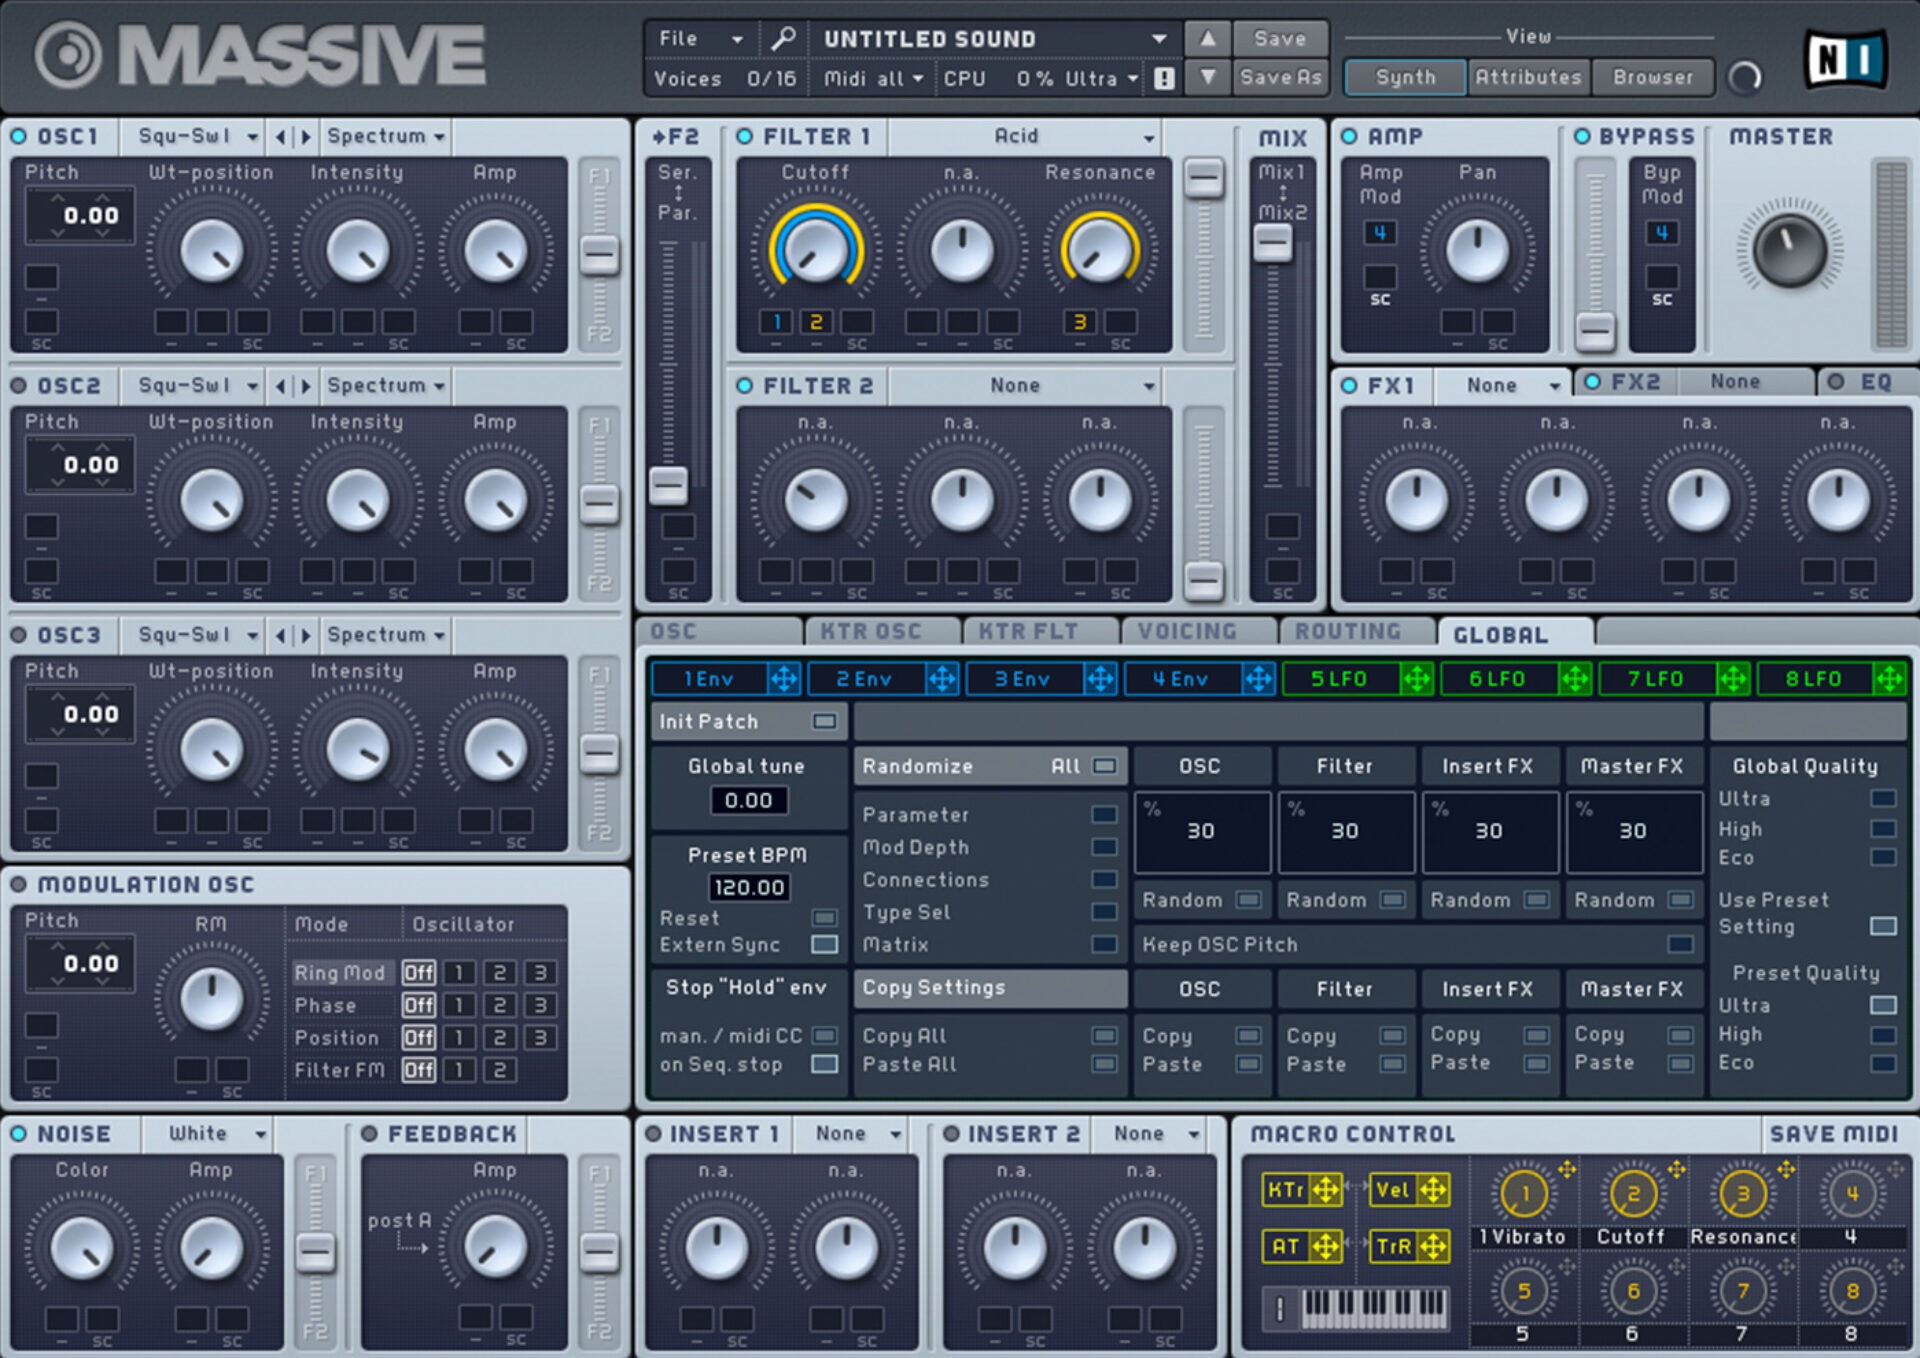
We’re going to use MASSIVE’s Macro section to give us quick access to the most important parameters in this sound. Drag the modulation handle next to Macro 2 to the second slot under the Cutoff knob, and again turn up the modulation amount to maximum.
We can give the macro a label by clicking the text field below it. Let’s name this macro “Cutoff.”

Resonance is an important part of the 303 sound. Turn the Resonance knob in the Filter 1 panel all the way down, then assign Macro 3 to it, again turning the modulation amount all the way up.

We’ll label Macro 3 “Resonance.”
The 303 features a Modulation Amount control. We can emulate this with a macro. Click the 1Env tab to bring up the envelope’s advanced controls. Route Macro 4 to the Attack Level knob, again turning the knob all the way down and setting the modulation amount to its maximum.

Label this macro “Mod Amount.”

Another parameter on the 303 is envelope decay. Turn the envelope’s Decay knob all the way down, assign Macro 5 to it, and turn the modulation amount all the way up. Turn the Decay Level knob down too.

Label Macro 5 “Decay.”

Let’s assign Macro 6 to the oscillator waveform. Drag it onto the first slot under Oscillator 1’s Wt-position knob, turn the knob all the way down, and set the modulation amount to maximum.

Label Macro 6 “Shape.”

The 303 features a pitch control knob. To recreate this, assign Macro 7 to the first slot under Oscillator 1’s Pitch parameter, and set the modulation amount to the right of it to 12.00 semitones.

Set the Pitch parameter to -12.00 to make sure that we can go nice and low with our bass lines if required.

Label Macro 7 “Tuning.”

We’re going to set our final macro to control the patch’s glide time. Before we do that, we should make the patch monophonic. Click the Voicing tab, and set the voice mode to Monophon.

Now click the Osc tab, and turn the Time knob in the Glide panel all the way down.

Assign Macro 8 to the Time knob, setting its modulation amount to between 11 and 12 o’clock.

Label Macro 8 “Glide.”

All our macros are turned down by default, so you’re not going to hear much on playback. Turn the Cutoff, Resonance, Mod Amount and Decay macros up to 12 o’clock to give us a basic starting point for an acid tone.

You can now get that familiar acid sound by adjusting the Cutoff and Resonance macros, and further develop the sound with the Mod Amount and Decay macros.
Try using a high Resonance setting with the Shape knob all the way up to get a classic acidic resonant sawtooth.

Let’s add a touch of distortion to the mix to get a rougher, 90s-style acid tone. Add Native Instruments Driver effect to the track, turning up the Res knob to 0.8 to give the sound more bite.

2. Make a 909-style beat
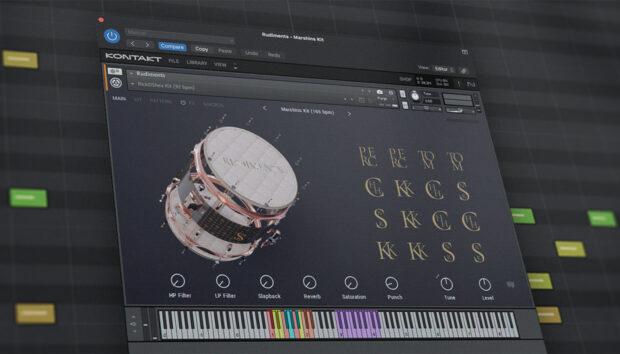
Now let’s use BATTERY 4 to make a Roland TR-909-style drum beat. Add the instrument onto a new track, and load up the 909 Detailed Kit preset.

Start by sequencing C1 kick drums on each beat of the bar.

Next add C#5 rides with velocity set to 85 between each beat.

Now add E5 closed hats with velocity set to 88 on the first two 16th notes of each beat.

Add D#5 claps on the second and fourth beats of the bar.

Add D5 rimshots on the third and fourth 16th notes of the first and third beat, and on the second 8th notes of the second and fourth beats.

We now need to balance our 303 and 909 elements, because currently the synth is much louder than the drum beat. Set the 303 track to -11 dB, and the 909 track to +6 dB.

3. Add more synths
Now we’ve created the primary elements of our track, let’s add some more synth parts to flesh things out.
Loop out the 303 and 909 MIDI parts so that they play a four-bar sequence.

Now, add a new MIDI track, and load KOMPLETE KONTROL onto it. In the instrument’s file browser, locate your way to where the LIQUID ENERGY expansion is located.

If you’re not sure where LIQUID ENERGY is installed, open Native Access, click on Liquid Energy and select the Installation Path tab on the right to reveal where its files are located.

Open the Sounds > Massive Sounds folder, and double-click the Warm Toes preset to load it up.

Set this track to -11.5 dB.

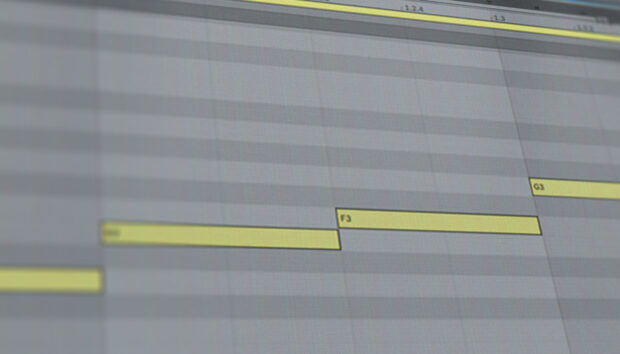
Sequence a four-bar lead line like so.

This sound is a little dull, so in KOMPLETE KONTROL’s interface turn up the Cutoff macro to between 12 and 1 o’clock.

Let’s add a touch of reverb to this sound too.

Add another KOMPLETE KONTROL track, and load up the Tripping Thing preset.

Set this track to -1 dB.

Sequence a single, sustained note, like so:

Let’s add one more instrument. Add a new KOMPLETE KONTROL track, and this time load the Kwelit Soft preset.

Set this track to -10 dB.

Sequence a short C4 note at the start of each bar.

4. Add sound FX
Let’s add a simple sound FX patch to assist us when it comes to creating an arrangement. Add KOMPLETE KONTROL on a new track, and this time load the Acid Noize preset.

Set this track to -20.5 dB.

Sequence this sound to play C1 through the final bar of the four-bar sequence.

5. Arrange your track
A big part of many acid house tracks is how the 303 sound evolves over time. Let’s start by making a simple arrangement.

This arrangement is very straightforward, with a breakdown at bar 17 where the drums drop out and the acid lead is introduced. The track then drops on bar 25, with the various extra synth elements coming in and out to keep things engaging.
If we were to leave the acid lead’s parameters static this would sound okay but not particularly interesting. However, if we automate some of the macros we’ve set up we can achieve a much more dynamic feel to the track.
Here’s one way you could automate this track. Macro 2 is the filter Cutoff, Macro 3 is the filter Resonance, Macro 4 is the filter envelope Mod Amount, Macro 5 is the filter envelope Decay, and Macro 8 is the Glide time. Take a listen to the audio, and hear how the acid lead evolves over the course of the track.

Using automation in this manner we can create an evolving piece of music with peaks and troughs that gets the most from a relatively modest palette of sounds.
6. Master your acid house track
Let’s enhance the sound of our track with some simple mastering. You can get a quick and pro-sounding master using iZotope Ozone 10 Master Assistant. I’ve elected to add the Ozone 10 Maximizer to the master track, and bring its Threshold control down to -10 dB. This gives us a much louder sound without negatively affecting the track’s dynamics.

Here’s what our final, mastered acid house track sounds like.
Start making acid house music
Here we’ve seen how you can make your own acid house track from scratch. If you’d like to learn more check out our guides on electronic music production as well as other genre tutorials on deep house, slap house, and house music 101.
For instruments, effects and expansions you might find useful, be sure to check the LIQUID ENERGY expansion along with KOMPLETE START, BATTERY 4, MASSIVE, DRIVER and iZotope Ozone 10.
Related articles
-

How to make future house music with cutting-edge production techniques
What is future house and how do you make it? Learn how to make future house music from inspiration to…
-
Understanding time signatures in music
Unlock creativity with time signatures in music. Learn what time signatures are, common examples of popular time signatures, and how…
-
Synth pads: how to create atmospheric textures in your music
Learn everything you need to know about synth pads, with a step-by-step guide to creating this crucial electronic sound to…
-
Sub bass: how to add that deep tone to your tracks
What is sub bass? Learn how to make sub bass and how to use sub bass effectively in your productions.
-
The 10 best drum breaks of all time (and how to recreate them)
What are drum breaks? Learn the history of breakbeats and their importance in modern music. Then, learn how to recreate…
-
A guide to different types of chords in music
There are many different types of chords in music. You may wonder which ones to use and when. Read this…
-

How to use tempo in music to create dynamics and shape emotions
Learn what tempo and BPM mean in music, how to calculate the BPM of your song, and how to use…
-

What is EDM music and how to make it
Discover what is EDM music and master how to make EDM with this comprehensive guide, featuring essential production techniques and…