


When it started its rise to popularity with Apple’s iPod and iTunes in the mid-00s, podcasting was something of a fringe underground form of media. Few people listened to these ‘DIY radio’ shows, and even fewer made them. But as time passed, the spread of the internet – and with it, social media, YouTube, music streaming and smartphones – brought podcasting closer and closer to the average pair of ears.
It’s not hard to create a podcast. With basic recording and editing tools, you can quickly and easily create your own shows, and with this guide you will discover how to work with those tools better to increase audio quality. Using our KOMPLETE AUDIO interfaces, you don’t just get a better-sounding, more professional recording signal path – you also get a whole package of free software, including Ableton Live Lite and SOLID BUS COMP to help you record, edit and produce your work.
But recording and production is only half the battle – you’ll also need to consider the dark art of podcast distribution and promotion to get your podcast out into the world.
Your recording setup
We all know that listening to an audio signal is simple using built-in speakers, although as we’ll see later, headphones are better for catching the finer details while editing. When it comes to recording, though, getting the right solution is a great investment.
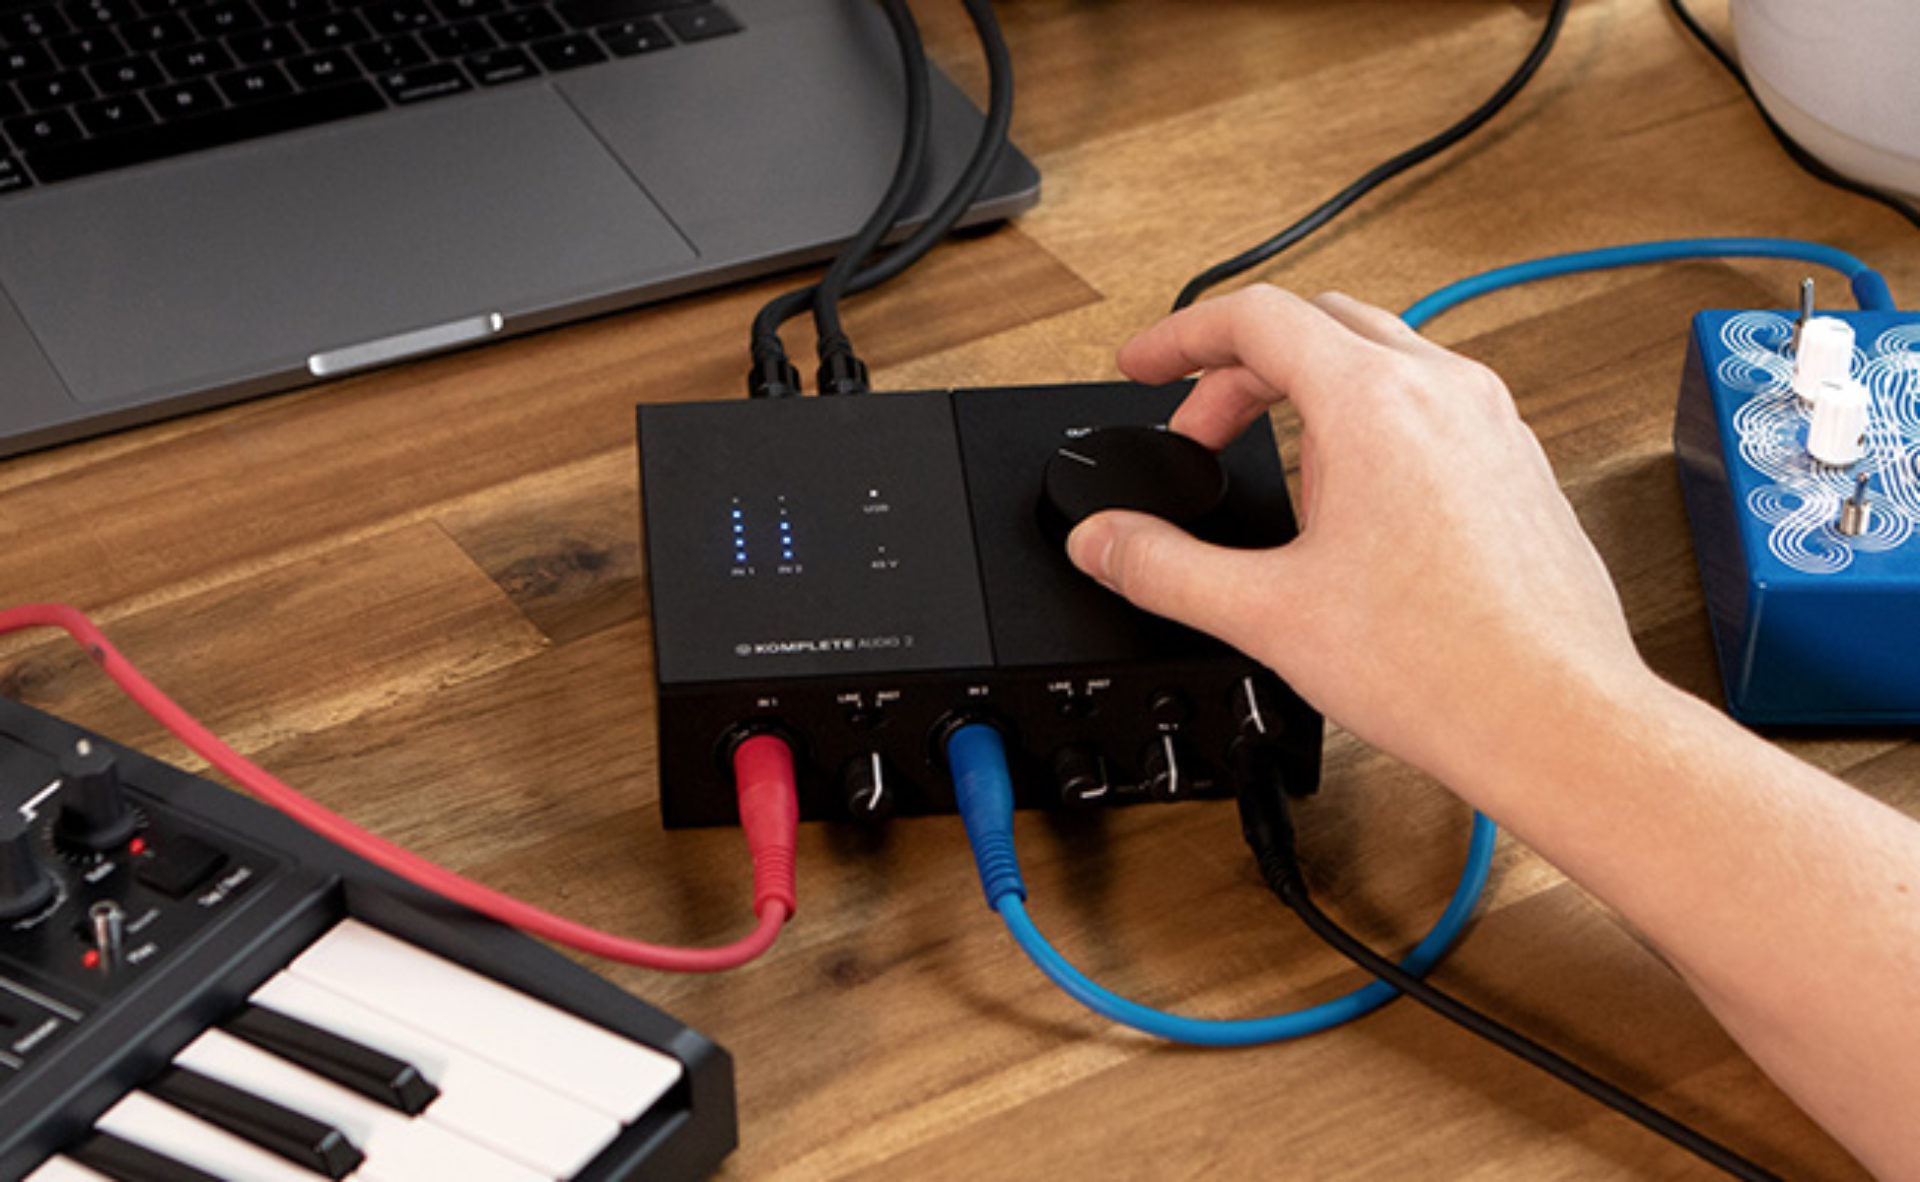
With our KOMPLETE AUDIO interfaces, you get high-resolution 24-bit, 192kHz recording that’s powered via USB and all the software you need to make your audio dreams a reality. With one (KOMPLETE AUDIO 1) or two (KOMPLETE AUDIO 2) XLR input ports, you can get signals from professional microphones into your computer. The only problem then is selecting a microphone.
Choosing a microphone
A trusty microphone is the source of any good recording, and so naturally, you need to be sure you have one that you can trust. USB microphones are available, but these are less hard-wearing, and many manufacturers cut the cost by cutting quality. Similarly, lapel mics (a.k.a. lavalier mics) may be good for video work, but getting a good one can cost.
The classic Shure SM58 (€98) is the choice of singers the world over for a few reasons: it’s durable, it’s directional (meaning that sound coming from the sides won’t bleed into sound coming directly towards the front), and it’s relatively cheap compared to the Condenser variety.
A condenser microphone detects sound in a different way, using charged plates to translate sound into an electrical signal. This means it needs 48V of phantom power, which can be supplied by KOMPLETE AUDIO interfaces, even when powered only by a computer. Popular condenser microphones include the AKG C-5 (€129) and the Rode M2 (€79)
Other recording accessories
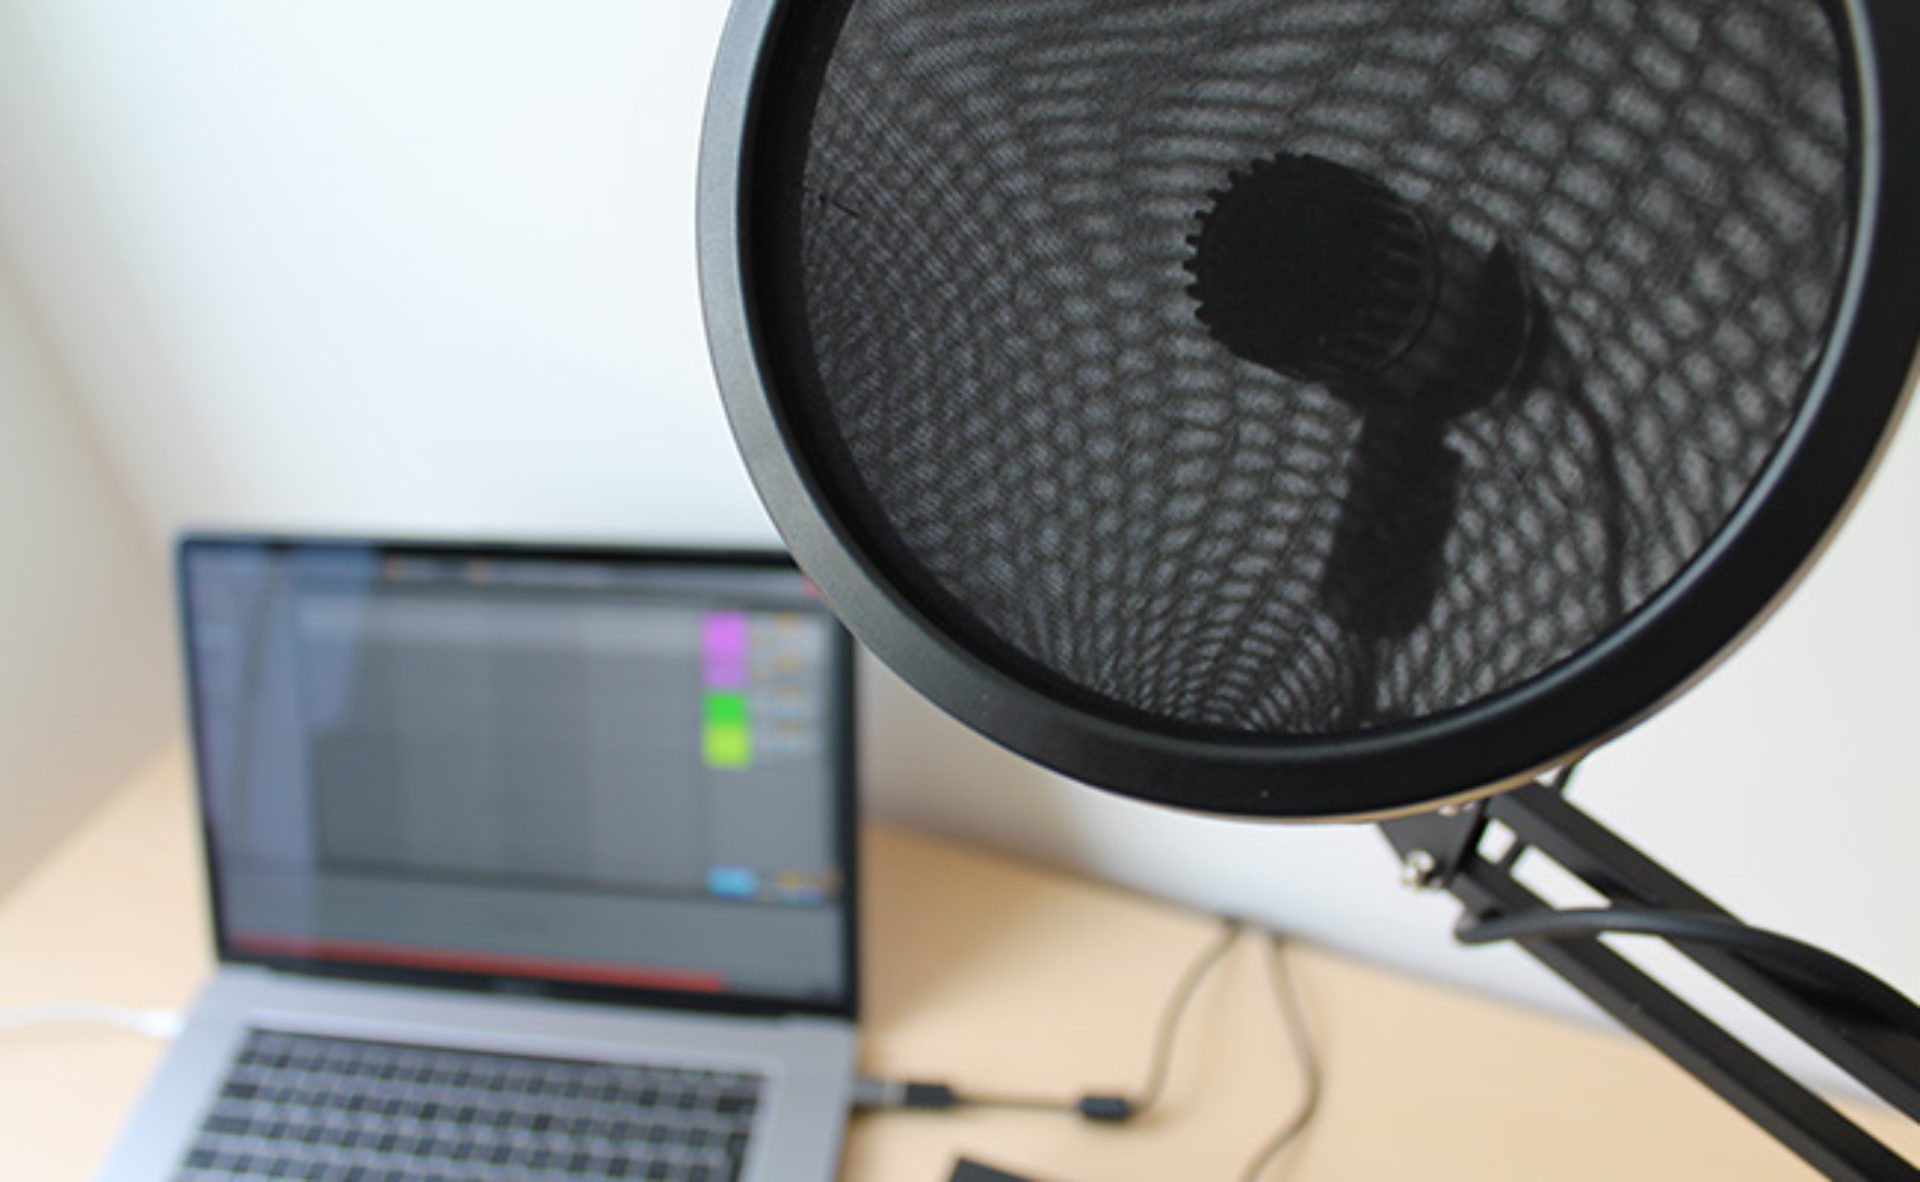
Depending on the type of podcast you want to record, simply having a microphone at your disposal won’t always be enough. Naturally, you’ll probably wish to have a stand (most microphones will come with a clip to connect to it), an XLR cable to connect the signal from the mic to the audio interface, and a pop shield, to place in front of the microphone to reduce any ‘plosive’ popping sounds.
Your software setup
Recording and editing would be nothing without the appropriate software, of course, and KOMPLETE AUDIO 1 and 2 interfaces come with everything you’ll need to commit your words to audio.
With the included serial for Ableton Live Lite, you have a complete virtual studio for recording and editing multiple tracks of audio, as well as exporting the finished project as a WAV or MP3 file to send out into the world.
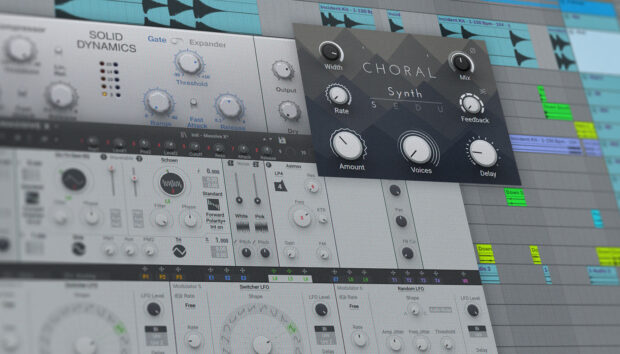
The KOMPLETE AUDIO range also comes with over 20 software instruments and effects for making great music, but of special interest for podcast editing will be SOLID BUS COMP and SUPERCHARGER, which can wrangle the dynamics of your recorded microphone signals.

Getting an input signal and recording it
Unless you’re lucky, getting a good recording won’t be a simple matter of point and shoot. Professional studios are built and used for a reason, with good acoustics in mind, but you can get far closer within a normal room.
The first hurdle to jump is making sure you can actually get a signal from your microphone, via your interface, into your computer. With everything connected, and Ableton Live Lite installed, let’s make it happen.
Launch Live and head to its Preferences. In the Audio tab, you can choose your KOMPLETE AUDIO as the Input and/or Output device. Choosing it as the Input device will route your microphone to Ableton as an Input. Choosing it as the Output device means that Ableton’s output will leave through its back-panel audio ports and its front-panel headphone jack.

In the same panel, change the Buffer Size to 128 Samples so there’s not much delay in the signal playing back as you record.
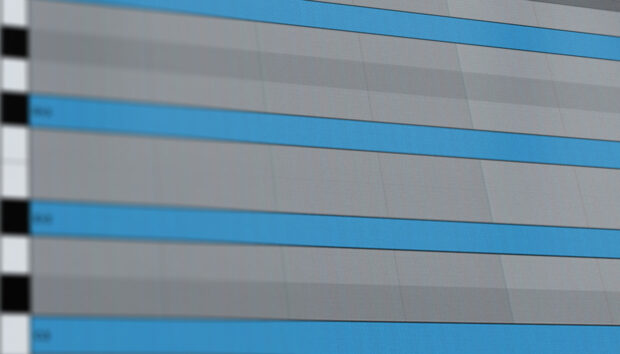
Switch over to Ableton Live Lite’s Arrangement View using the Tab key on your QWERTY keyboard, and record arm one of the Audio channels (not a MIDI channel) by activating its record light (next to the S solo button, as shown below). Under Ext. In, you might be able to choose either port 1 (the left-hand port on AUDIO 2), port 2 (the right-hand port) or 1/2 (both). This won’t start recording, but rather make sure the track is active when you do record. If you want to hear the input through your headphones or speakers at this point, activate the track’s In button. You may want to switch this to Off when actually recording.
You can hit Record at the top of Ableton Live Lite’s interface in order to do a test recording. Stop recording with the spacebar, and use the spacebar again to play it back and make sure you can hear the test.
Setting the levels and recording
For the best results, watch the gray level meters in the track’s display. These will be green when playing back the track or when its In button is activated. Make the loudest sound into the microphone that you expect to make during the recording – if the meter goes red, the signal is too loud. When this happens, turn the microphone’s signal down using the knob on the KOMPLETE AUDIO’s front panel, and test again. Ideally, the level will be set so that the loudest sounds you make will nearly push into the red, but never quite get there.

With audio coming through the meters, press the red Record circle at the top of Ableton Live Lite, and your recording will start. The recorded clip will appear in the timeline as it happens. You can stop recording at any time to finish, and restart using the same Record button again. Remember, the recording will start from wherever your Playhead is placed in the timeline (the thin, light-blue vertical line matching the arrow at the top of the arrangement view.)
Editing techniques
Using Ableton Live Lite’s audio editing tools, you can start to chop, slice and move your audio signals on the timeline. Start by disabling Snap To Grid using Ctrl/Cmd-4, so that your cursor positions aren’t snapped to beats and bars.
You can increase the size of the audio tracks so they’re easier to work with, or zoom in and out of the timeline by clicking and dragging up/down on the navigation bar just below the play and record buttons.
Select a region within the audio clip by clicking in the bottom half and dragging left or right, use the Delete key to remove that portion of audio, and remove the starts or ends of recordings by dragging from the upper left or right edges of an audio clip. Drag on a clip’s title bar to move it earlier or later in time.


Stings, themes and exporting your podcast
Where would a podcast be without theme music and stings between sections? Using the software that comes with KOMPLETE AUDIO 1 and KOMPLETE AUDIO 2, or with the free KOMPLETE START package, you get can create entire tracks with software instruments like MONARK, TRK-01 BASS, MIKRO PRISM, and Carbon 2.
Exporting and uploading
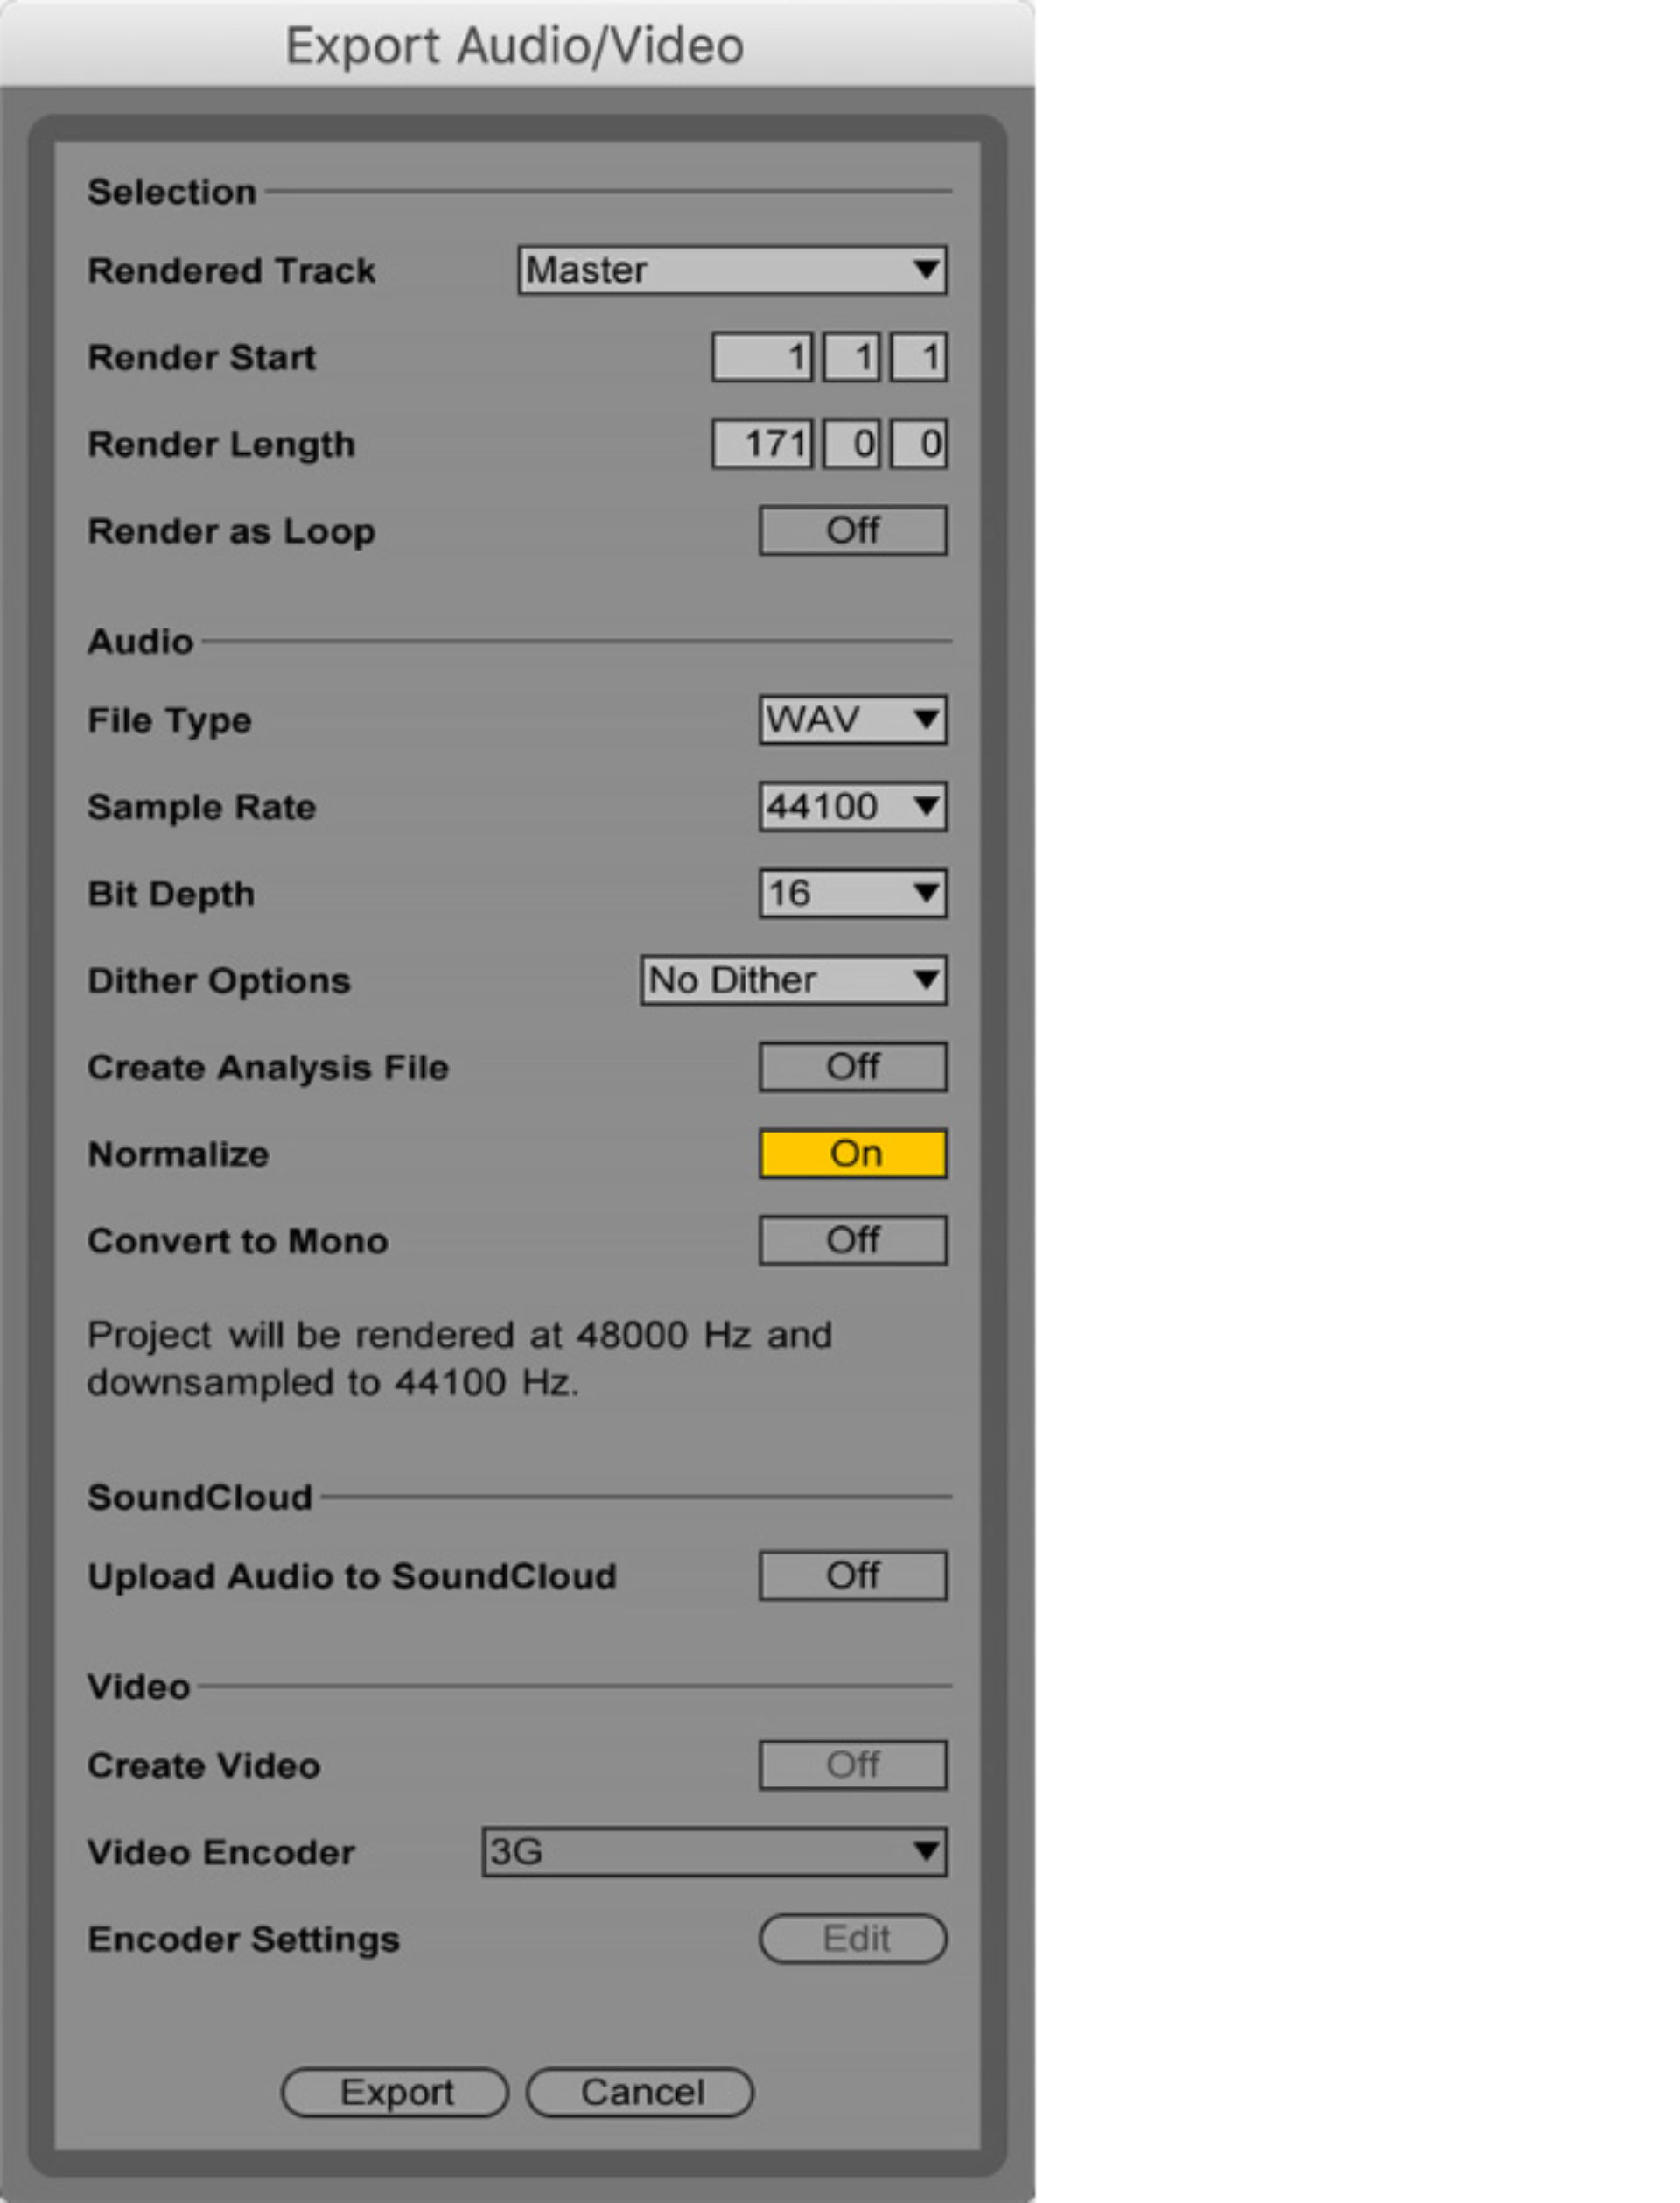
With your project completed, head to Ableton Live Lite’s File menu and choose Export. To render the correct length audio file, you might need to select it first in the timeline. The Export settings shown below are recommended, but for smaller file sizes, you can create an MP3 file instead of a WAV file.
Podcasts are distributed using a format built on RSS. Simply put, if you have a blog or website with an RSS feed, and that RSS feed contains an audio file in each entry, it can be submitted to iTunes as a podcast. While you can host your podcast using a website builder, services like SoundCloud let you upload files for free and handle a lot of technical jobs.
SoundCloud will only let you upload up to 180 minutes of total content without a subscription plan. Other podcast-hosting services include Blubrry for at least US $12/month, BuzzSprout for at least $12/month and PodBean costing at least $9/month.

Making your podcast official
Podcast distribution isn’t always an obvious task, and while most hosting platforms will do this process for you, many people will need to officially submit their podcast to iTunes before being seen as ‘real’. This can be done at Apple’s Podcasts Connect site using an Apple ID. Once your podcast’s in Apple’s catalog, it will also proliferate to many others.

Other distribution lists to get your podcast onto include Spotify, Stitcher, and Google Play.
Podcasts are a long-term project, so once yours is official, the journey has just begun.
About the author
James Russell is the co-host of Appetite For Production podcast, a fortnightly show all about music technology, the latest and greatest plugins, and how to survive in the world as a music producer.
Related articles
-
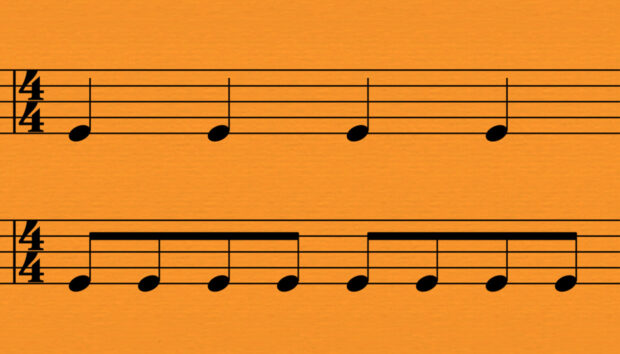
Understanding time signatures in music
Unlock creativity with time signatures in music. Learn what time signatures are, common examples of popular time signatures, and how…
-
Synth pads: how to create atmospheric textures in your music
Learn everything you need to know about synth pads, with a step-by-step guide to creating this crucial electronic sound to…
-
Sub bass: how to add that deep tone to your tracks
What is sub bass? Learn how to make sub bass and how to use sub bass effectively in your productions.
-

How to use tempo in music to create dynamics and shape emotions
Learn what tempo and BPM mean in music, how to calculate the BPM of your song, and how to use…
-

What is EDM music and how to make it
Discover what is EDM music and master how to make EDM with this comprehensive guide, featuring essential production techniques and…
-
How to make a melodic bass track with emotive and powerful bass lines
Discover what is melodic bass music, its unique sound, and learn how to make melodic bass music with practical tips…
-
5 jazz chord progressions to transform your songwriting
Jazz chord progressions can help make your music more colorful and exciting, no matter what genre you make. Discover five…
-
Getting started with Native Instruments software and hardware
Discover full-length tutorials on the top Native Instruments software and hardware, including Kontakt, Komplete, Guitar Rig, Maschine, and more.