


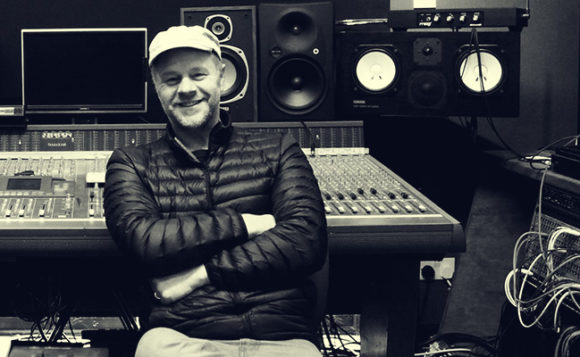
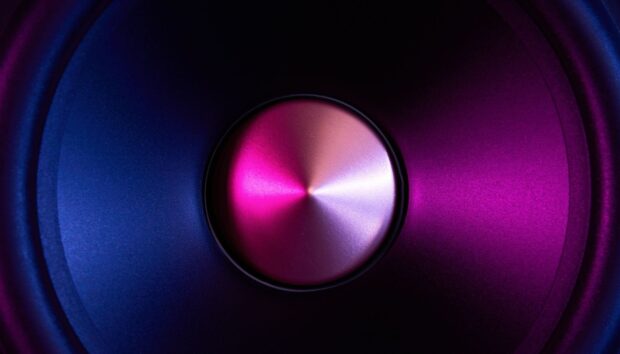
When it comes to production and engineering, drums can make or break your mix. In electronic music in particular, the drums can dictate the groove and even the sonics of the rest of the mix, so it’s vital you get them sounding right from the start. Native Instruments spoke to producer, engineer and synth sage The Emperor Machine about how he maintains an organic disco-inspired drum sound that still feels weighty and powerful on a club system.
Choosing the right sounds
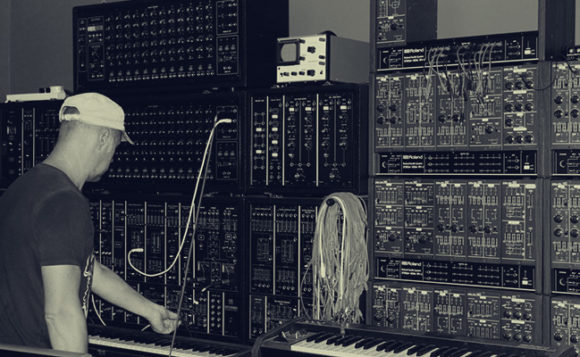
“Let’s start at the very beginning,” a wise man once said. “By failing to prepare, you are preparing to fail,” said another. To me, these are essential mantras. Every now and then, when not writing, I spend at least a few days creating a drum library from samples that I’ve sourced and recorded myself, often via my Akai MPC2500 or Pioneer XDJ RX. Next, I dump these onto my computer’s hard drive alongside stock commercial libraries. After I’ve collated what I already have, I then spend a few more days sampling drums back into my Akai MPC3000 or 2500 (the 3000 sounds a lot warmer than the 2500, and the swing is great for creating percussion loops) and then back into Logic’s EXS24 sampler.
It can be a really time-intensive process, but there’s no substitute for being able to quickly grab the drum sounds that you want. Stopping to search for samples can really interrupt my creative flow, so it saves me loads of time in the long run. Those who are more organised and perhaps less of an ‘artistic temperament’ than me could probably carry out this logging exercise as they go along. However you do it, the message is the same: Be methodical and take your time.
Mixing the kick drum
Choosing the right time to mix shouldn’t be underestimated, in my view. I personally start mixing only once I have completely finished recording. Mixing midway through the creative process can kill the vibe and really limit any progress I’ve made.
The kick drum is always first up. This is because it can take me a while to get the exact thump I want. I sometimes go into another room so that I can feel the bass pounding through the wall, just to get the club vibe! I always start with the kick drum from NI’s Abbey Road 70s Drummer – it’s proper heavy. I use EQ to isolate the sub frequencies, remove the transient front-end with an envelope plugin, then sit it under other samples. I bounce this layered kick to an audio track, usually an eight-bar loop.
If I still can’t get what I’m after, I have a few tracks that I always use to reference bass weight. I would recommend you find some reference tracks that work for your own setup and speakers. There are some other tools I use, like the Klark Teknik DN 405 hardware EQ, if I can’t get what I want from plugins. If you don’t have any outboard EQs, Logic’s SubBass plugin is good for those thin-but-great-sounding ’70s kicks.

Layering powerful claps and snares
I have about 15 different white-noise snare/clap samples that I’ve created from synths. My personal preference is to have a duller hit panned left at 10 o’clock, and a brighter one panned right at 2 o’clock, to create stereo width.
The claps on NI’s Abbey Road 70s Drummer kit get used a lot, layered with the white noise snares. I also have quite a lot of live clap loops that always get mixed in. So in total I’ve usually built up around four tracks of claps and noise before any snare drum action begins.
Over the years, I’ve sampled and synthesised 100s of snares in my library, so finding one I already like as a building block is the best place to start. Without proper categorisation, I wouldn’t stand a chance. I create and use folders with titles like ‘80s hits’, ‘dull’, ‘drum machine’, etc.
Finally, underneath my snare sample, I’m using a snare from the Abbey Road 70s Drummer. This sits brilliantly underneath any disco track, in my opinion. It’s great because you can mess around with the sound to fit perfectly and bring a static sample to life. The mic bleed and room mics are great, along with the velocity settings and randomise feature.
Stacking sounds together like this can sometimes cause phase cancellation problems, so occasionally I have to delay the region in Logic Pro X or use an envelope to soothe the front so they sit together. But I usually just layer them up and see how it sounds. Most of the time, because each sample has a different start point, they’ll work together, and it’s just a matter of making EQ adjustments.
Creating perfect percussion
When it comes to percussion, it depends on what the track wants and how much space is left in the groove. Electronic percussion usually fits a lot easier than live. I never set out to write electronic percussion as I find using an analogue sequence doing its thing does a better job than I can ever think of. If I want recorded percussion to sound machinelike, adding noise and ring modulation often works well.
Live percussion, on the other hand, is all about the feel, so I like to play that to fit in the mix. I usually record live bongos and congas for only eight bars. I like to record automation and ride the faders with the feel of the track, otherwise it sounds too “flat” for me.

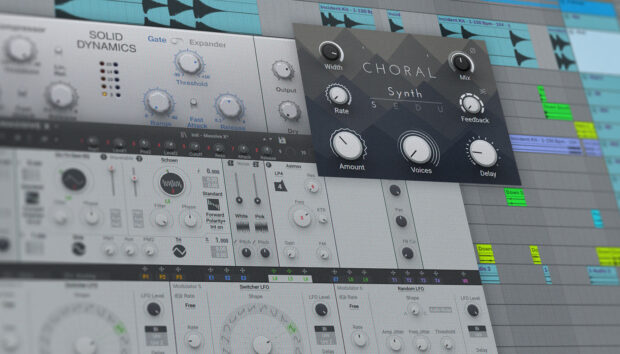
Processing the drum buss
Once all the drums are mixed and I am happy with the sound and the vibe, I then group them in Logic or do a Track Stack and run them through a tape simulation plugin. I tend to apply bus effects in quite a staged way, setting up one effect before adding the next, building up the mix picture step by step.
After the tape sim, what works best for me is to apply parallel compression, also known as New York compression. This always takes the drum buss to the next level. The way to do this is by mixing the unprocessed or lightly compressed version with a heavily compressed version of the same signal. Usually I find that a smashed (i.e., fast attack/release, threshold pulled down) compressor setting works best for me. The dirtier the better, as I only ever use it lightly.
To create a setup like this in Logic Pro X, I double up the drum mix on another channel by sending it to a new buss, and there I’ll insert a compressor. I usually use Logic’s compressor, which has a preset called “VCA Smashed” that sounds great alongside the unprocessed signal.
Once that’s all sounding like it should, it’s back to solo the kick and the bassline so the bass frequencies don’t fight and cancel each other out. If you do find a conflict on your hands, the best way to fix this, if you don’t trust your monitors, is to use an EQ with a built-in frequency analyser – I use Logic’s Channel EQ. That way, you can easily see what the clash is all about and fix it by eye.
Even though the drums might be mixed and are sounding good, as I add the other instruments of the track, the snare drum always tends to disappear. I fix this by re-EQ’ing the snare, or using level automation at the section where it gets lost. As the mix progresses, more frequencies get taken up, so sometimes I use Logic’s MultiMeter as a starting point to help me find space. I don’t think of anything as set in stone, and final adjustments are always going to be required.
Related articles
-
Understanding time signatures in music
Unlock creativity with time signatures in music. Learn what time signatures are, common examples of popular time signatures, and how…
-
Synth pads: how to create atmospheric textures in your music
Learn everything you need to know about synth pads, with a step-by-step guide to creating this crucial electronic sound to…
-
Sub bass: how to add that deep tone to your tracks
What is sub bass? Learn how to make sub bass and how to use sub bass effectively in your productions.
-

How to use tempo in music to create dynamics and shape emotions
Learn what tempo and BPM mean in music, how to calculate the BPM of your song, and how to use…
-

What is EDM music and how to make it
Discover what is EDM music and master how to make EDM with this comprehensive guide, featuring essential production techniques and…
-
How to make a melodic bass track with emotive and powerful bass lines
Discover what is melodic bass music, its unique sound, and learn how to make melodic bass music with practical tips…
-
5 jazz chord progressions to transform your songwriting
Jazz chord progressions can help make your music more colorful and exciting, no matter what genre you make. Discover five…
-

Getting started with Native Instruments software and hardware
Discover full-length tutorials on the top Native Instruments software and hardware, including Kontakt, Komplete, Guitar Rig, Maschine, and more.