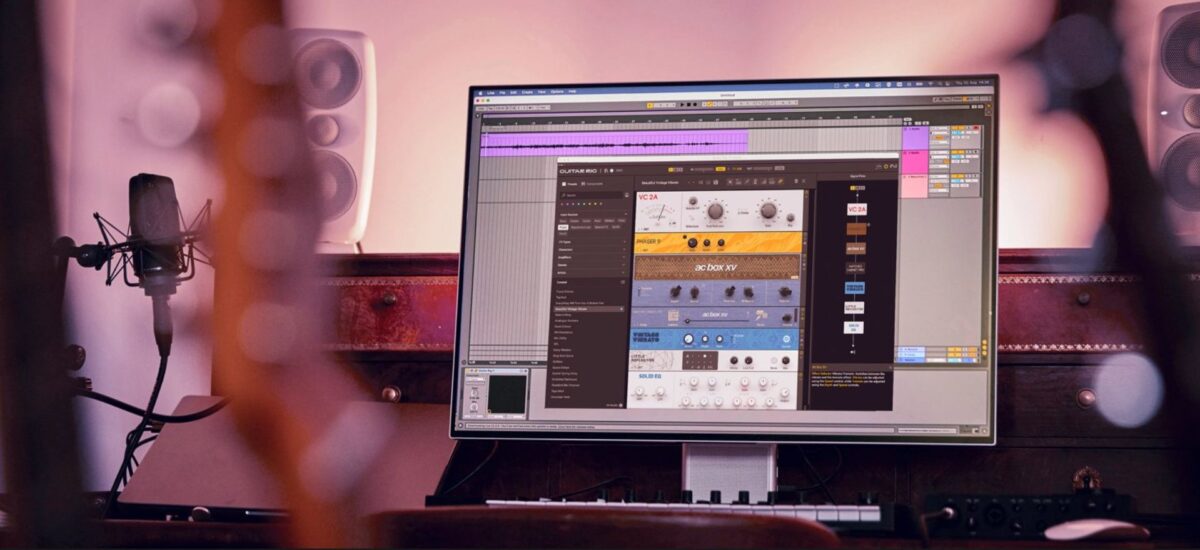
Guitar Rig 7 Pro (and the free Guitar Rig 7 Player) are effects that are designed predominantly for guitarists, but thanks to their large number of powerful processing tools they can come in handy when working with synths and samples too.
In this guide we’ll show you how to make a selection of rich tones using Guitar Rig 7 in conjunction with synths and sample-based instruments, transforming some regular sounds into timbres that will give your music a textured, organic feel.
Jump to these sections:
- Enhance sample-based guitar instruments
- Create guitar-like synth leads
- Create vocal-style bass
- Make modular synth-style sequences
- Bring out your bass tone
To follow along with this tutorial you’ll need Guitar Rig 7 Pro, Kontakt 8, Super 8 and Massive X, all of which are included in Komplete 15.
1. Enhance sample-based guitar instruments
Adding effects to sample-based guitar instruments is a quick and easy way to enhance their sound, and give them a more involved tone. In this example we’re going to give a sample-based guitar more character by running it through a Guitar Rig 7 preset.
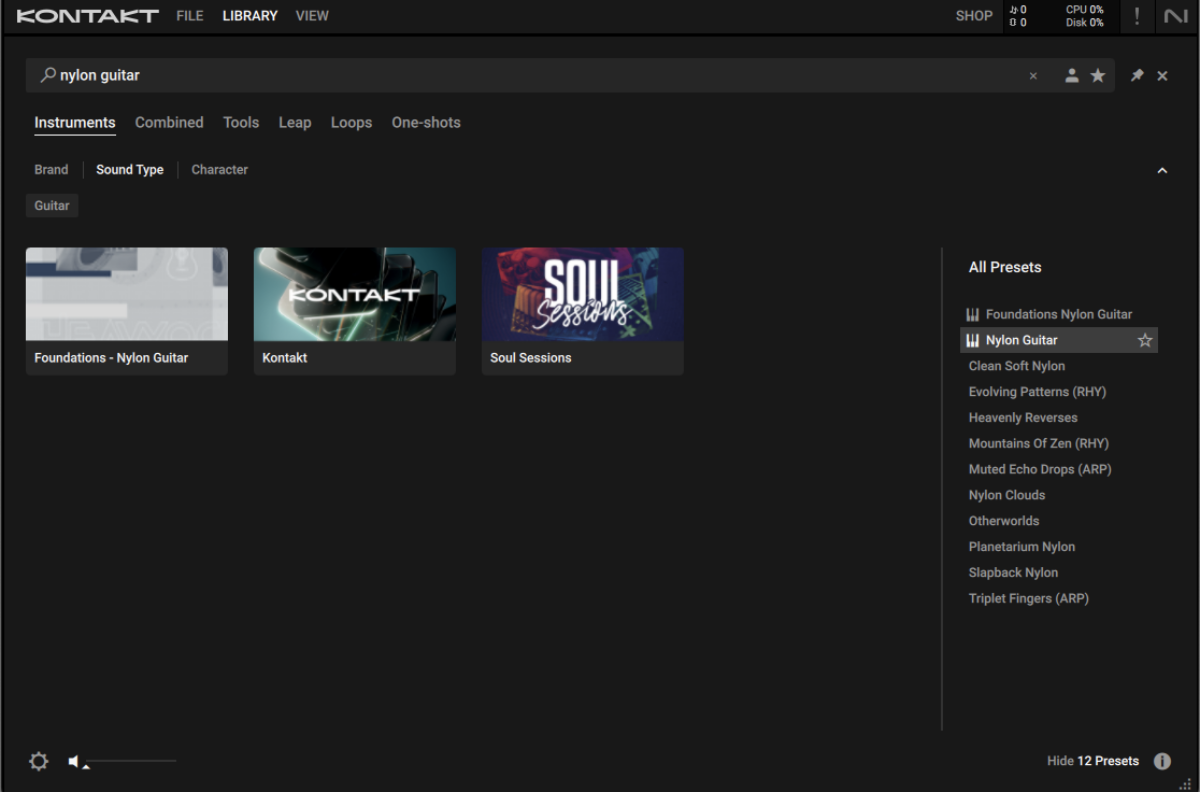
Begin by adding Kontakt 8 onto a MIDI track, and enter “nylon guitar” into the text search field. Double-click Nylon Guitar in the list of presets to load it up.
This guitar patch from Kontakt’s library has a clean tone that makes it ideal for processing with FX. Copy the pattern we’ve used here, or compose your own. We’re using velocity values of 100 for everything in this guide.
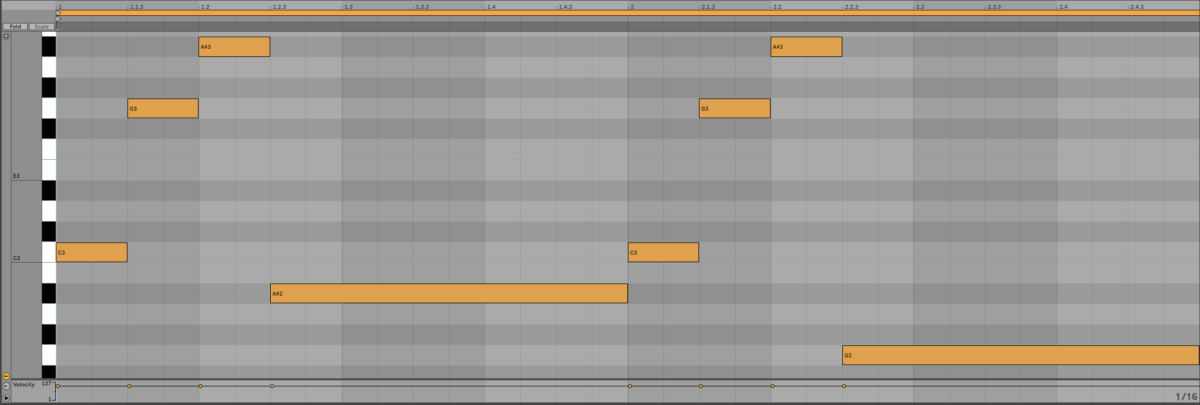
We’ve programmed this guitar instrument in a less than realistic fashion – it’s perfectly quantised, and all the velocity values are uniform. This gives us a bit of a robotic performance that’s not particularly authentic-sounding.
Although this part doesn’t sound particularly organic and natural as is, we can quickly give it a more convincing touch with the addition of a Guitar Rig 7 effect preset.
Add Guitar Rig 7 on the track. Click the Input Sources tab, and select the Guitar tag. Now in the the preset panel at the bottom left of the interface will only show presets designed for guitar. Double click Band Echoes to load it up.
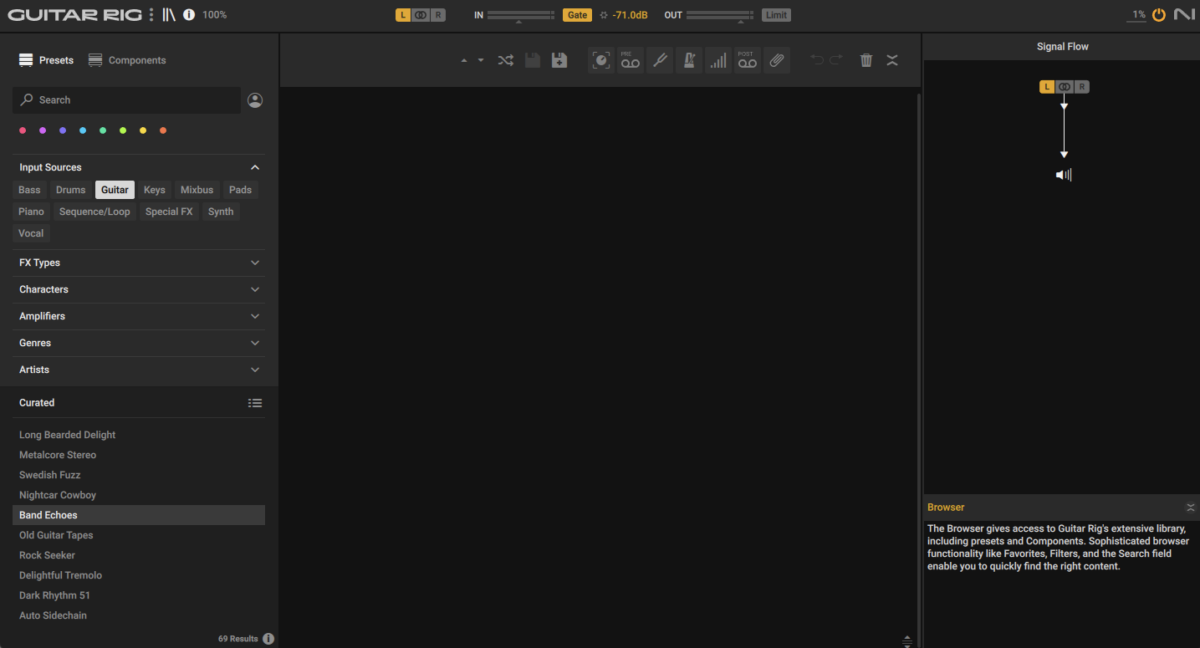
We can see from the Signal Flow panel that this preset splits the signal in two. One signal is sent to Raum reverb, the other is sent to a Pro Filter and a Replika GR delay.
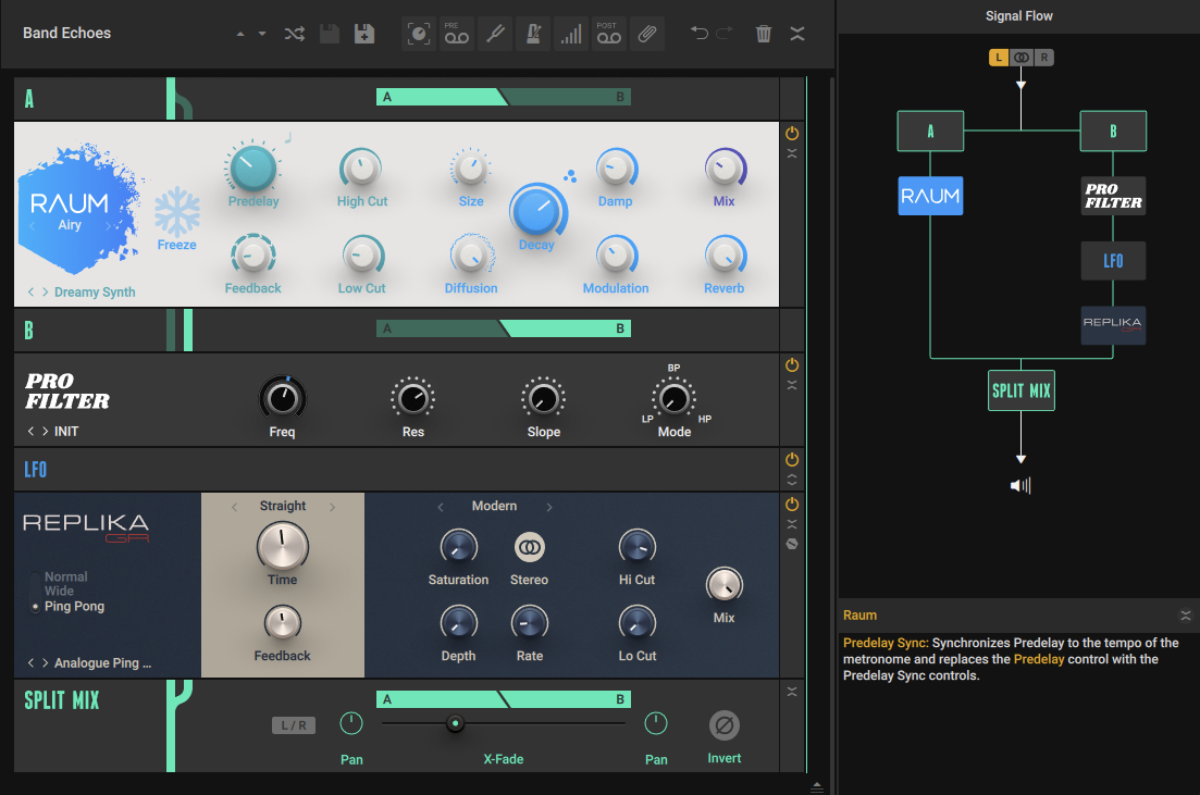
We can see that there’s an LFO sandwiched between these two effects. To learn what parameter this modulation source is affecting, click the Collapse/Expand button then the Show Expert Panel buttons on the LFO unit in the rack.

Here we can see that the LFO is set to modulate the Pro Filter’s filter cutoff frequency. We can adjust the modulation destination with the Reassign Assignment control to the left of the horizontal fader. You can drop this onto a parameter, and it will assign the modulation source to modulate that parameter. You can adjust the modulation amount with the fader itself.
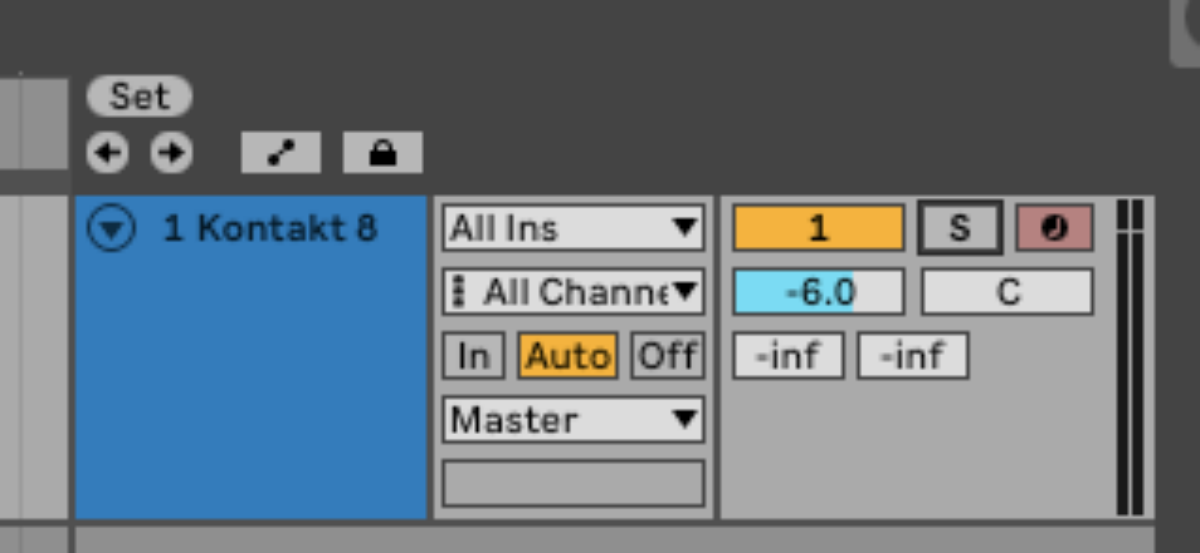
Let’s check out the initial sound of the preset on our guitar instrument. Turn the track down to -6dB otherwise we’ll clip the master, which means the signal will be distorted, and won’t give us an accurate idea about how the preset sounds.
This instantly has a lot more character, and we can of course customise the sound by adjusting the Guitar Rig 7 effects’ parameters. Try unsyncing the Replika GT effect by changing the Time mode to milliseconds (ms), and experimenting with different Time and Feedback levels. Adjusting the Time will affect the rhythm of the effect, and the feedback controls how long the delay effects lasts.

This gives us a much more atmospheric feel than the dry guitar sound.
2. Create guitar-like synth leads
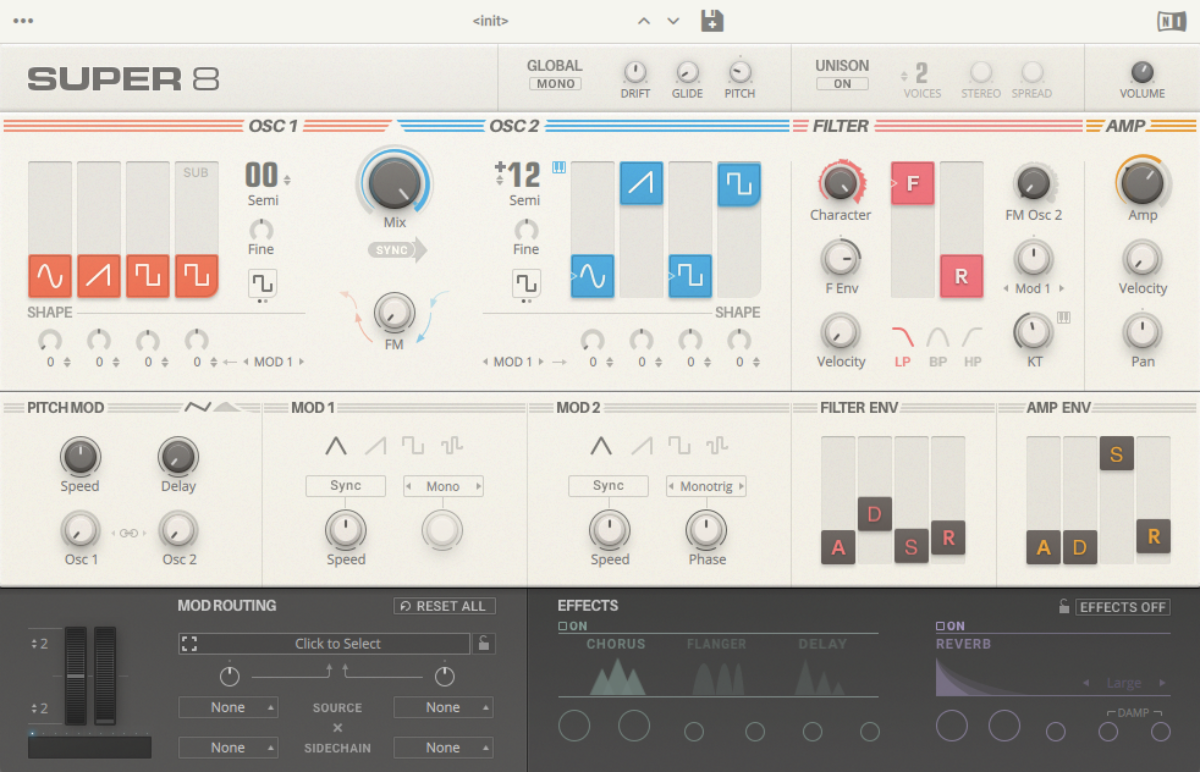
This time let’s use a synth sound and some distortion to create an expressive, wailing guitar lead. First load up Super 8 on a MIDI track. Its default tone might not sound much like a guitar, but it’s a great starting point for our sound.
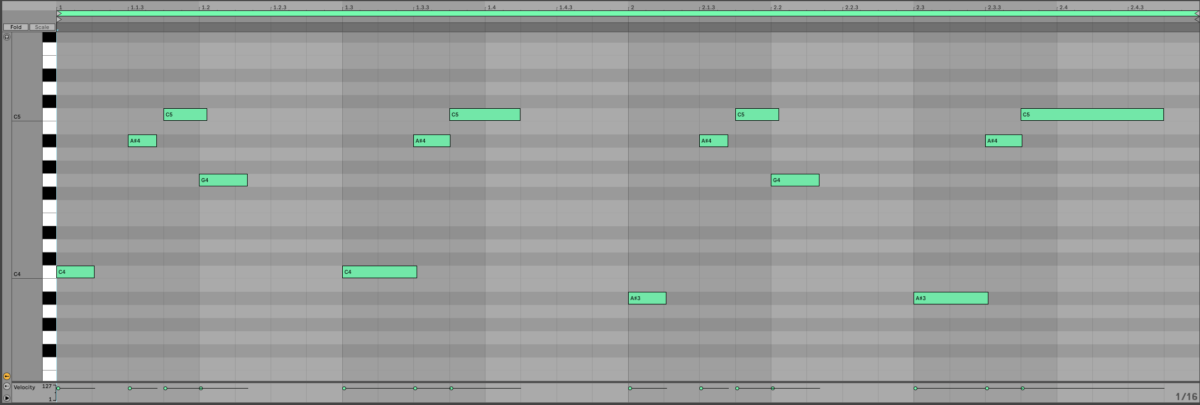
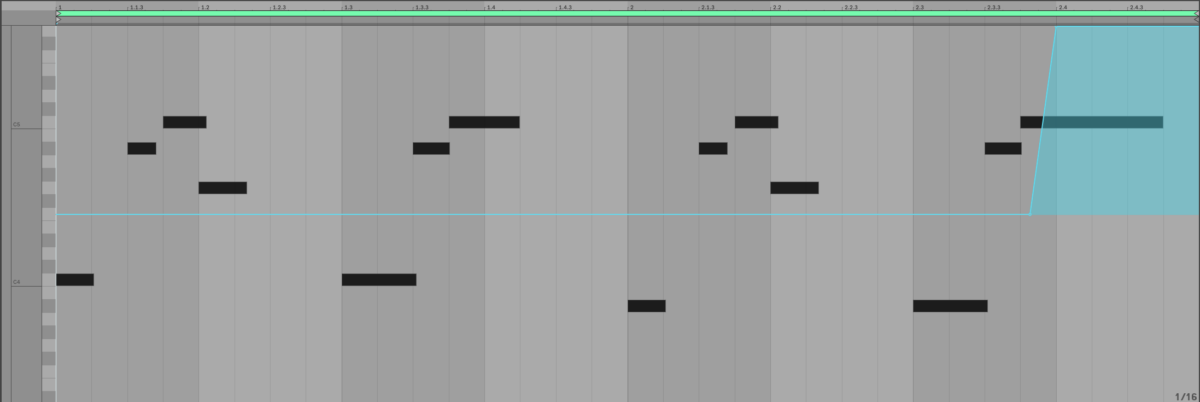
Copy the MIDI part we’ve used here, or create your own.
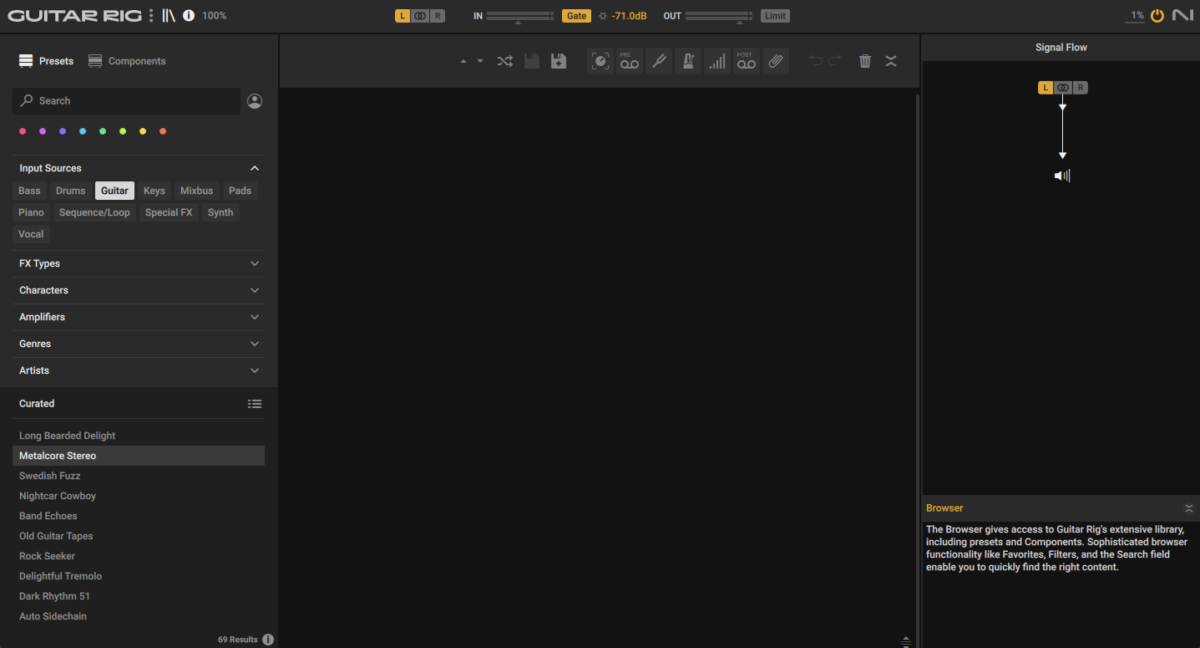
Now add Guitar Rig 7 to the track, again selecting Guitar for the Input Source. Double-click the Metalcore Stereo preset to load it up.
This instantly gives our synth an electric guitar-like tone, though it’s a little dry.
Next select the components button, and locate Replika GR in the alphabetically organized list of effects. Double-click it to add it to the signal chain.
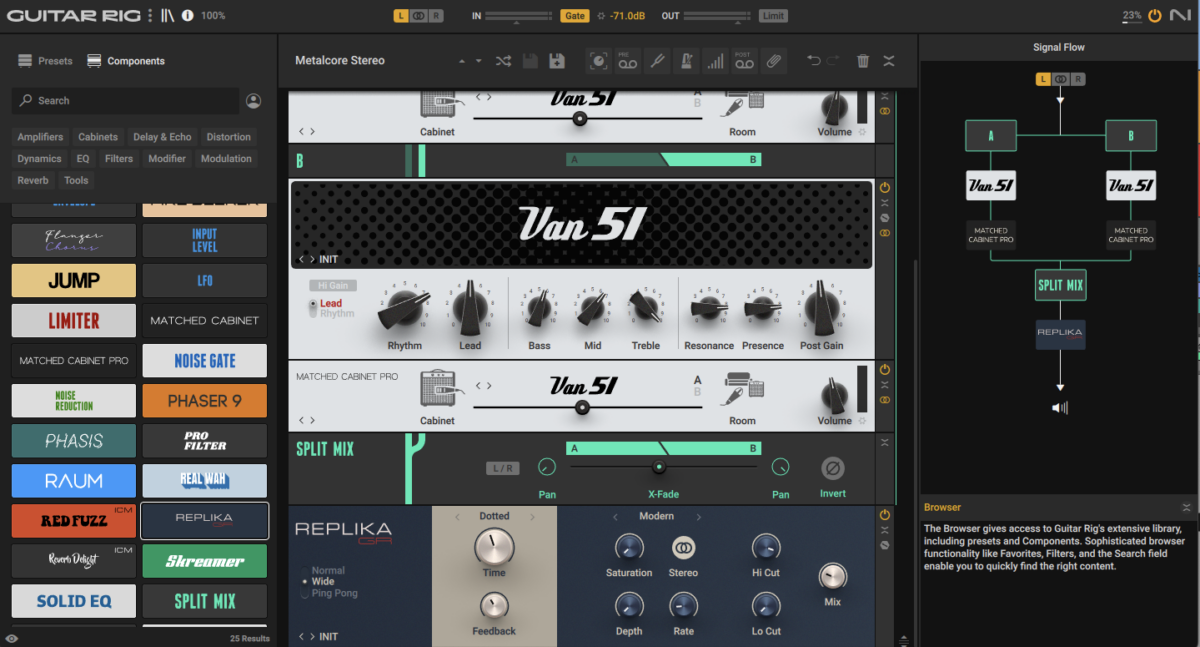
Now double-click Raum to add it. Set Raum’s mix to 25% to make it less overwhelming.

Let’s add a touch of pitch-bend to make our synth guitar sound more expressive. Add a ramp to pitch-bend the last note all the way up.
3. Create vocal-style bass
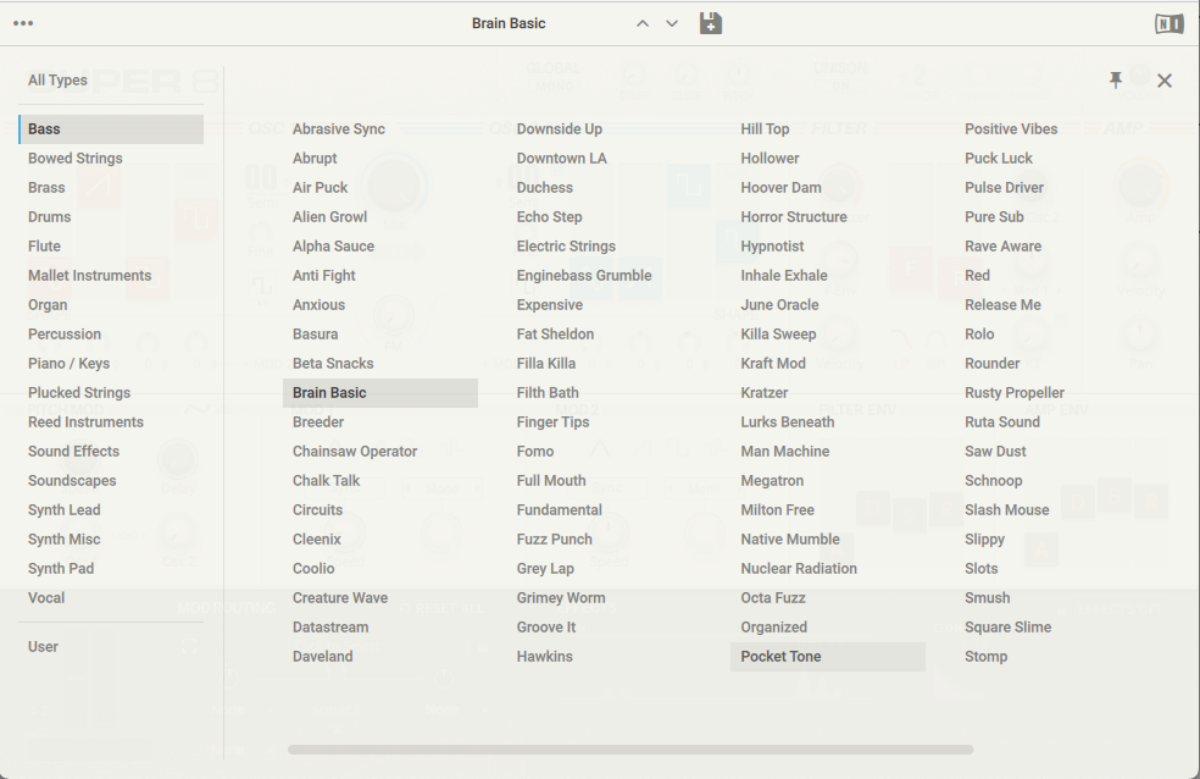
Guitar Rig 7’s Auto Filter effect is particularly useful for giving tones a vocal feel. Again we’ll start with Super 8. This time click the patch name to bring up the browser, then click the Bass tag and double-click the Brain Basic preset.
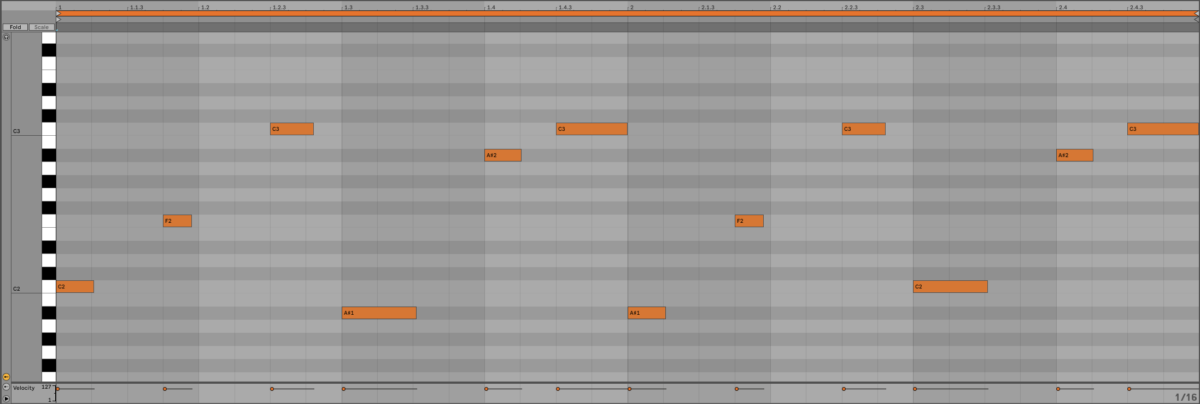
Copy the MIDI pattern we’ve used here, or create your own.
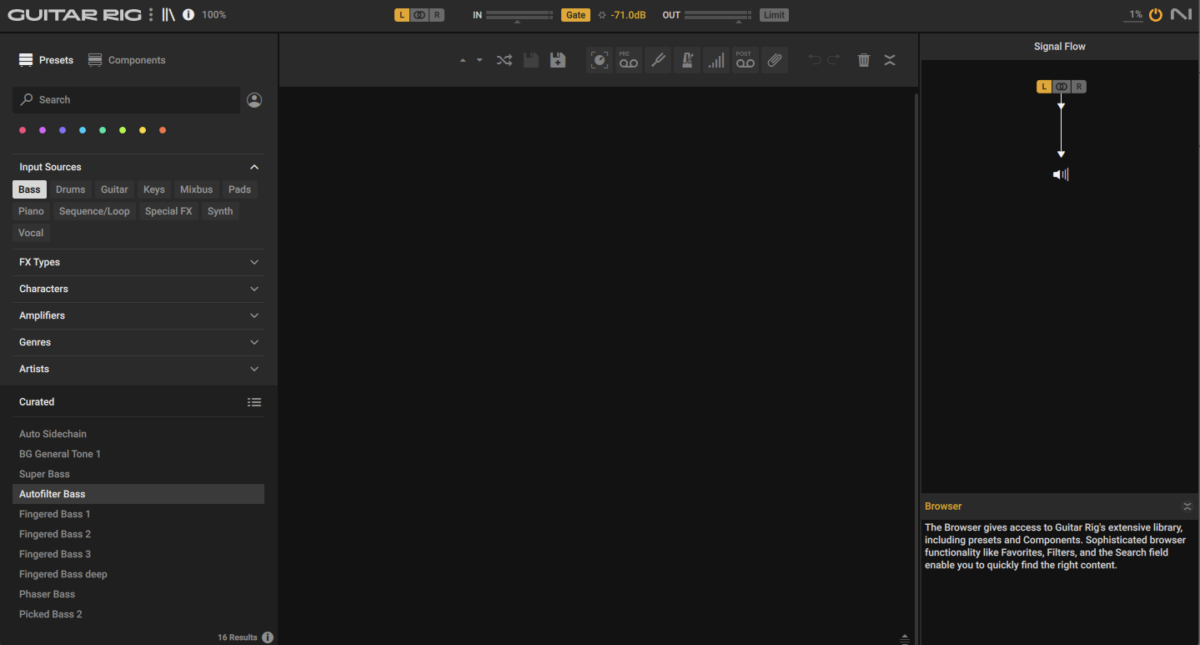
Add Guitar Rig 7, set the Input Sources to Bass, and double-click the Autofilter Bass preset to load it up.
This already gives us an interesting vocal-style timbre, and we can enhance that with some slight changes to the Auto Filters parameters. Set the Sensitivity to 0.92, the Range to 0.00, the Res to 9.40, and the Mode to 14% : 86%.

4. Make modular synth-style sequences
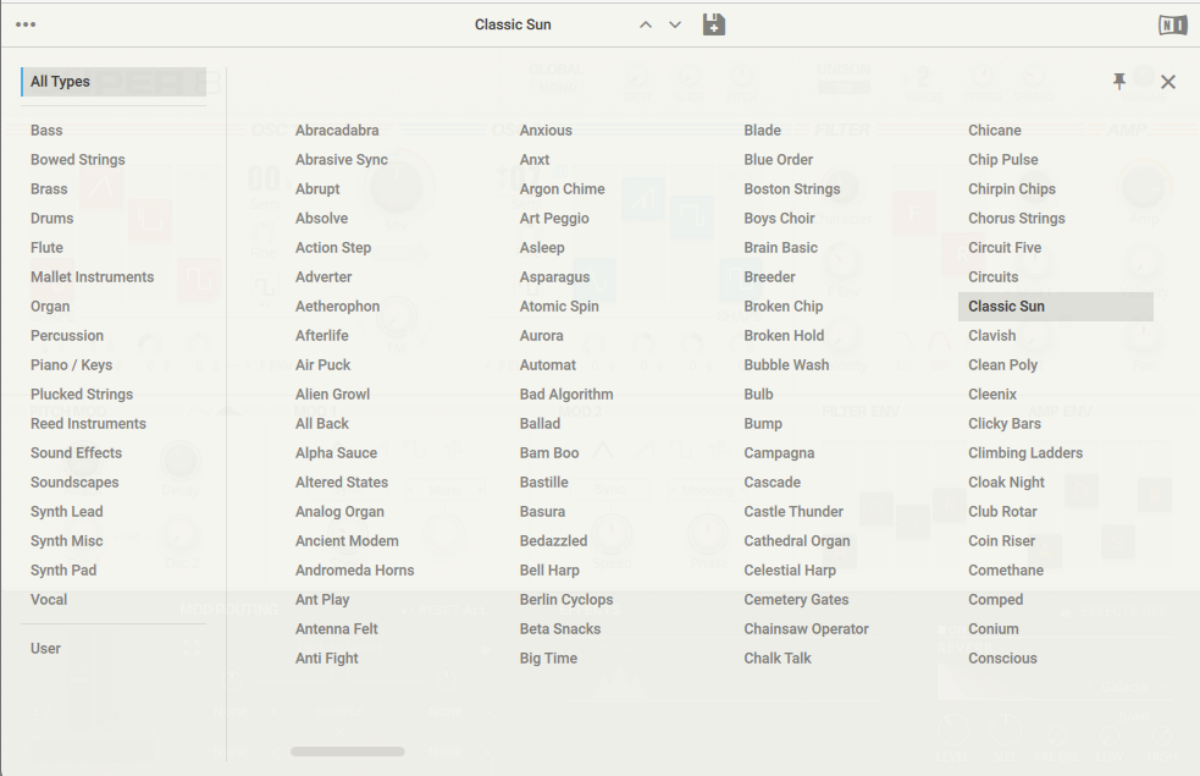
Let’s use a Guitar Rig 7 chain to make a psychedelic synth sound. Again starting with Super 8, this time load the Classic Sun preset.
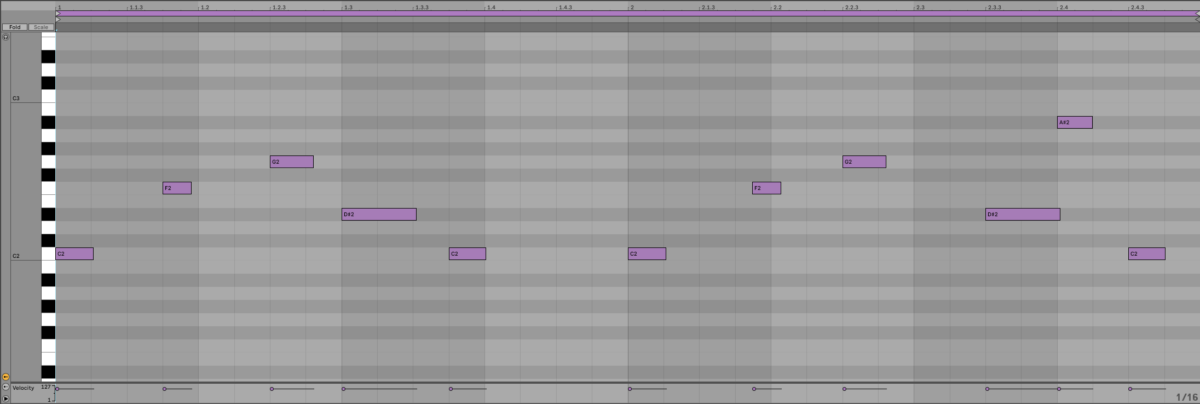
Copy the part we’ve used here, or compose your own.
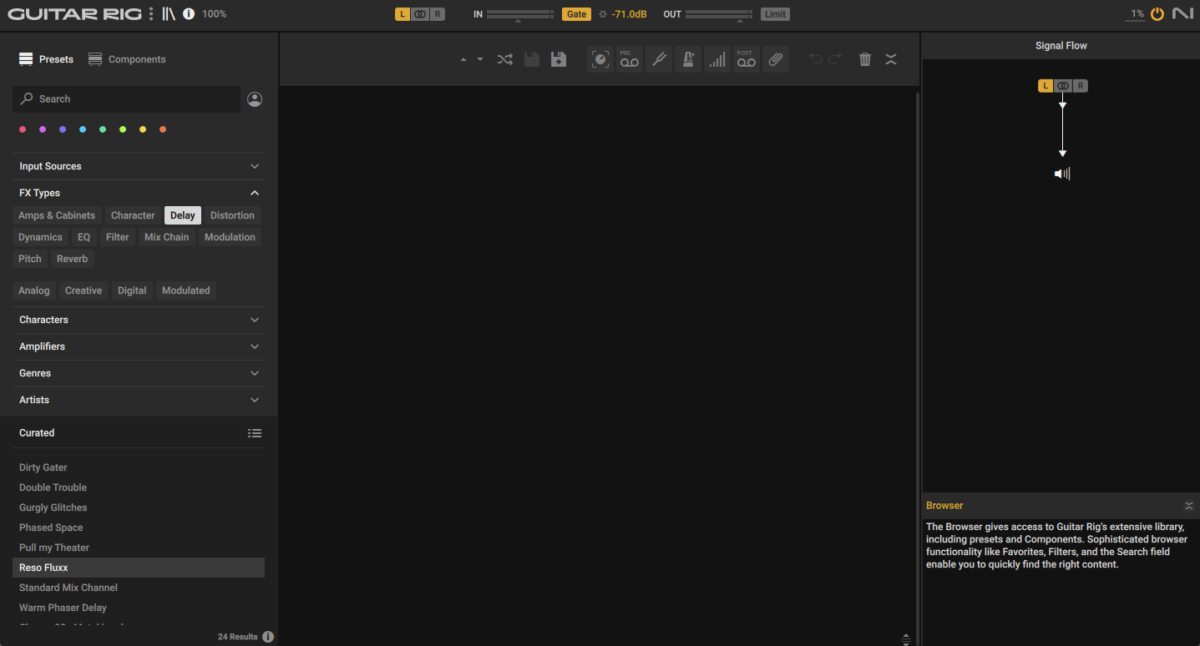
Now add Guitar Rig 7, and this time select the FX Types menu, and click the Delay tag. Double-click the Reso Fluxx preset to load it up.
This gives us a modulating, squelchy sound, and we can increase the intensity of this effect by turning up the Res control on the Pro Filter effect. Set the Res to 0.74 and the Freq to 156 Hz to get a super-slippery synth sound.

To create an evolving effect, try automating the Pro Filter Freq parameter over time.

5. Bring out your bass tone
Sub bass tones can struggle to be heard on smaller speakers, but bringing out their mids and highs with distortion can make them more audible on even the most limited of devices. Let’s use Guitar Rig 7 to achieve that effect.
Start by adding Massive X to a MIDI track. Click the patch name to bring up the browser. Click the Bass tag, and double-click the Essential Eight preset to load up an 808-style bass sound.

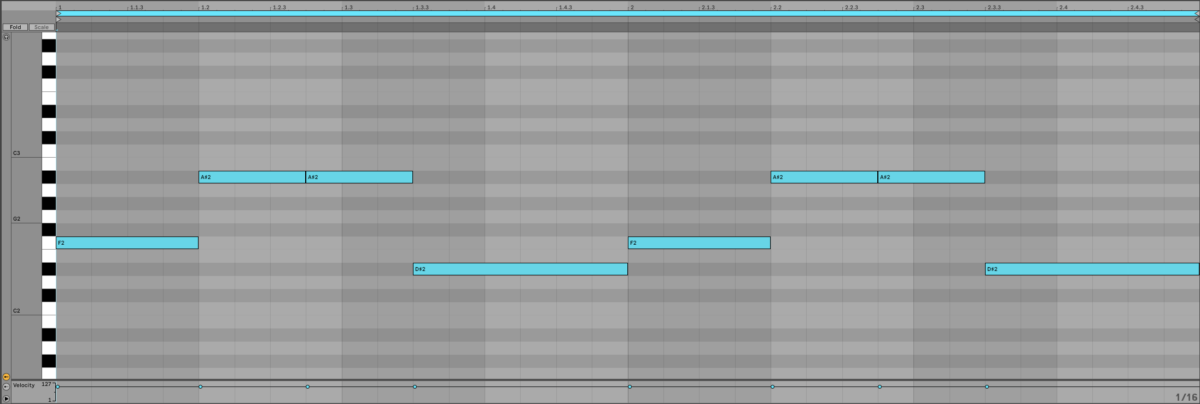
Copy the pattern we’ve used here, or create your own.
Now add Guitar Rig 7 to the track, and this time in the FX Types menu select the Distortion tag. Double-click the Loop Abuse preset to load it up.
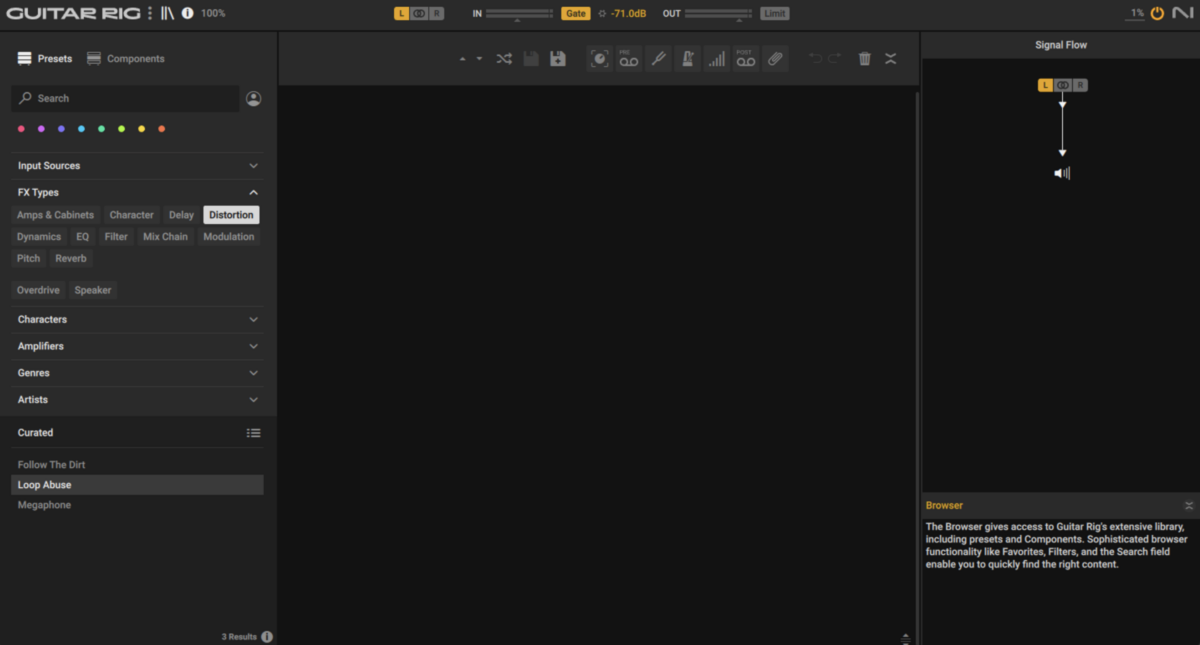
This instantly gives us a big, distorted bass sound with plenty of energy above the sub frequencies.
You can tweak the strength of the effect using the Drive B knob at the bottom of the Dirt effect. At the lowest setting this will let the majority of the low-end through, and as you turn it up the sub will be thinned-out and more distortion will be introduced.

Start processing your synth sounds with Guitar Rig 7
Here we’ve seen how you can transform your synth sounds with Guitar Rig 7, which is available individually and as a part of Komplete 15.


