Focusing on accessibility and simplicity, Scene: Saffron is a Kontakt instrument that makes it easy to make cinematic textures and soundscapes. Based around a curated selection of sound sources and a range of real-time effects processors, Scene: Saffron is the ideal tool for those who want a polished, evocative sound without having to learn a complex interface or trawl through superfluous presets.
In this guide we’ll use Scene: Saffron in Kontakt 8 (you can also load it in the free Kontakt 8 Player) to make an evolving musical soundscape that will provide you with inspiration to create your own unique atmospheric soundtrack.
Jump to these sections:
- Finding an inspirational starting point
- Developing a musical idea
- Adding rhythmic and harmonic elements
- Arrangement
- Mastering
All you need to follow along with this tutorial is Scene: Saffron (included with Komplete 15) and your DAW. We’ll also use Ozone 11 to create a quick master. Ozone is also included in Komplete 15.
1. Finding an inspirational starting point
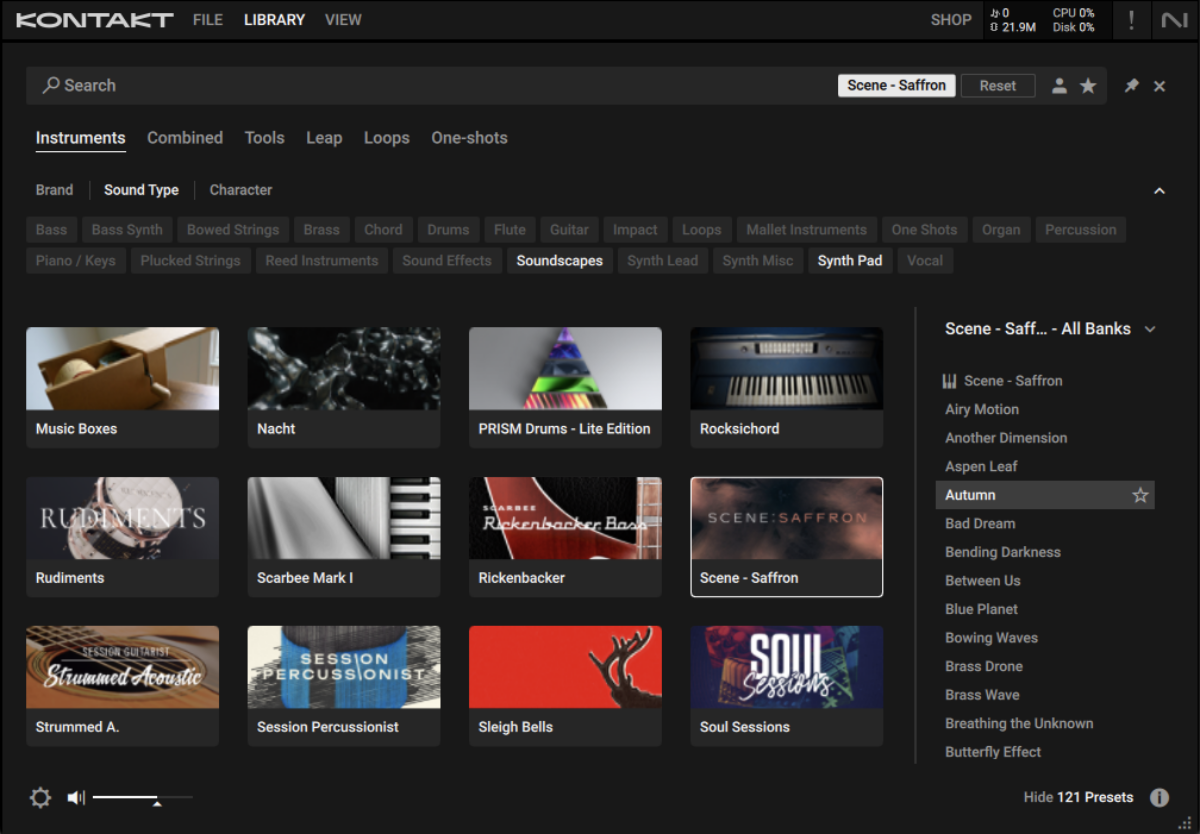
Begin by loading up Kontakt 8 on a MIDI track. In the Library, click the Scene: Saffron instrument and double-click the Autumn preset.
Scene: Saffron features an XY pad at the center of its interface. This is set up to modulate different parameters depending on the preset. First let’s check out the X axis. If you play a note and move the XY pad handle from left to right, you’ll hear the Skyshaku flute element increase in volume.
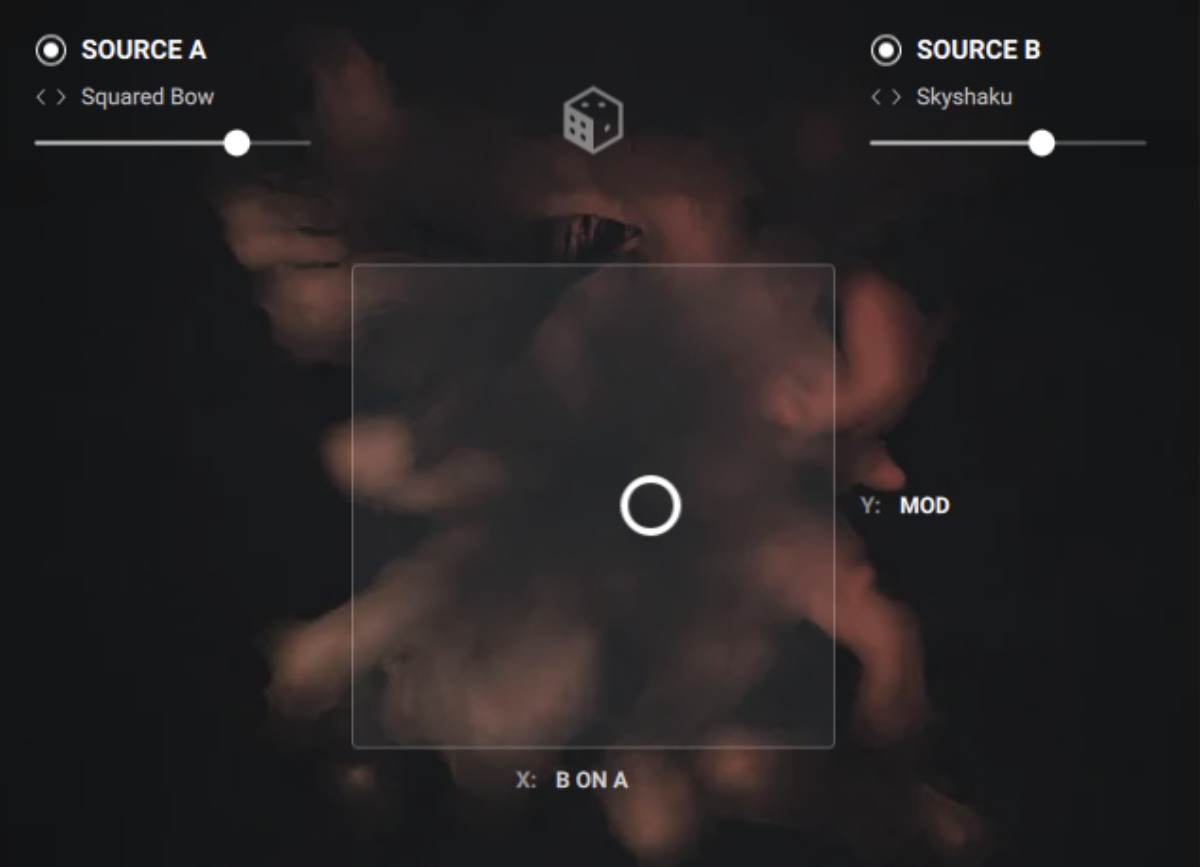
Now for the Y axis. If you move the XY pad handle from down to up, you’ll hear the sound swell.
Let’s use this swelling to create movement in this sound. Position the XY handle at the middle of the XY pad, and program in an eight-bar C5 note on the MIDI track. We’ll use velocity values of 100 in this guide unless otherwise stated.

Now using your DAW’s automation capabilities, modulate the Y axis to move from around to 20% to around 80% and back every two bars.

This eerie, atmospheric movement gives us a foundation to begin building our soundscape on.
2. Developing a musical idea
Add another instance of Kontakt onto a new MIDI track, and this time load up Scene: Saffron’s Between Us preset.
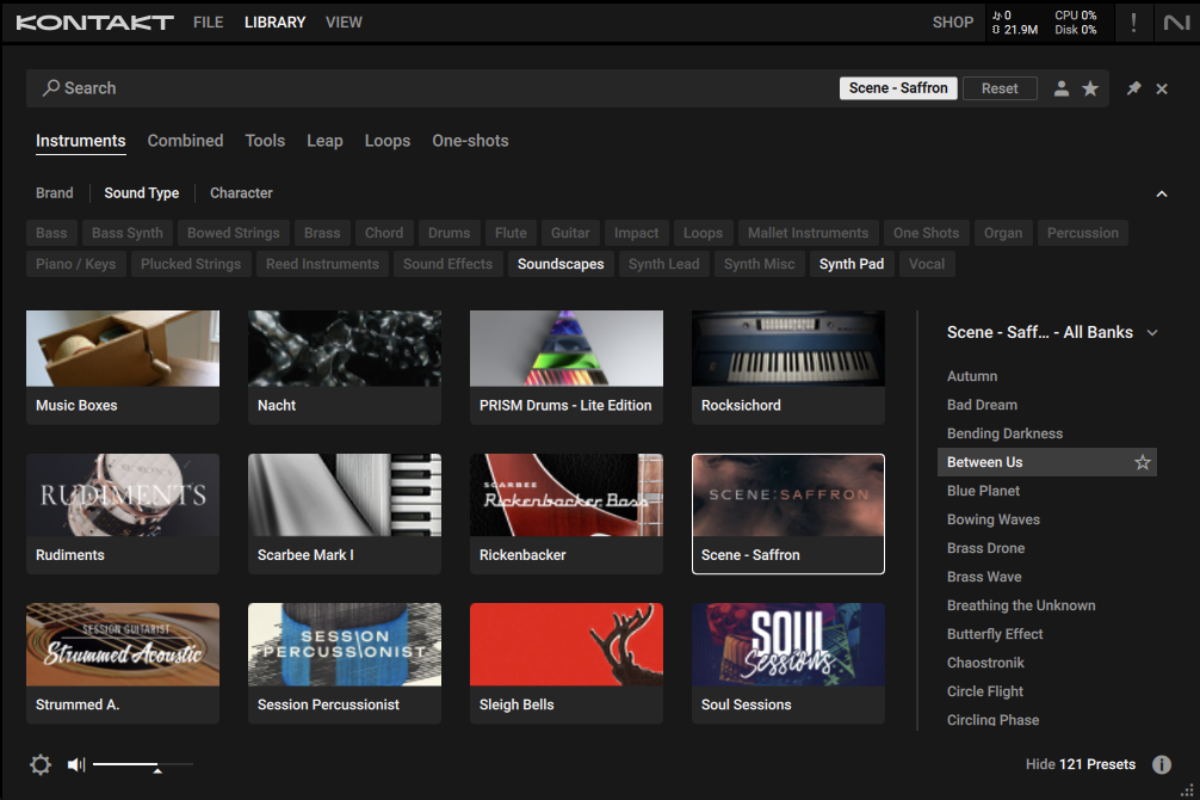
This preset has orchestral feel, fortified with detailed atmospheric elements, making it the ideal complement to our initial sound. Program this to play a C2 and G2 perfect fifth, followed by an A#1 and F2 perfect fifth. Here we’ve used a velocity of 62 for the root notes, and 27 for the fifths.

We’ve now started to get a sense of rhythm and musical movement in our piece. Let’s add a low pad to develop this a little more.
On a new MIDI track, add Kontakt and this time load the Trickle preset.
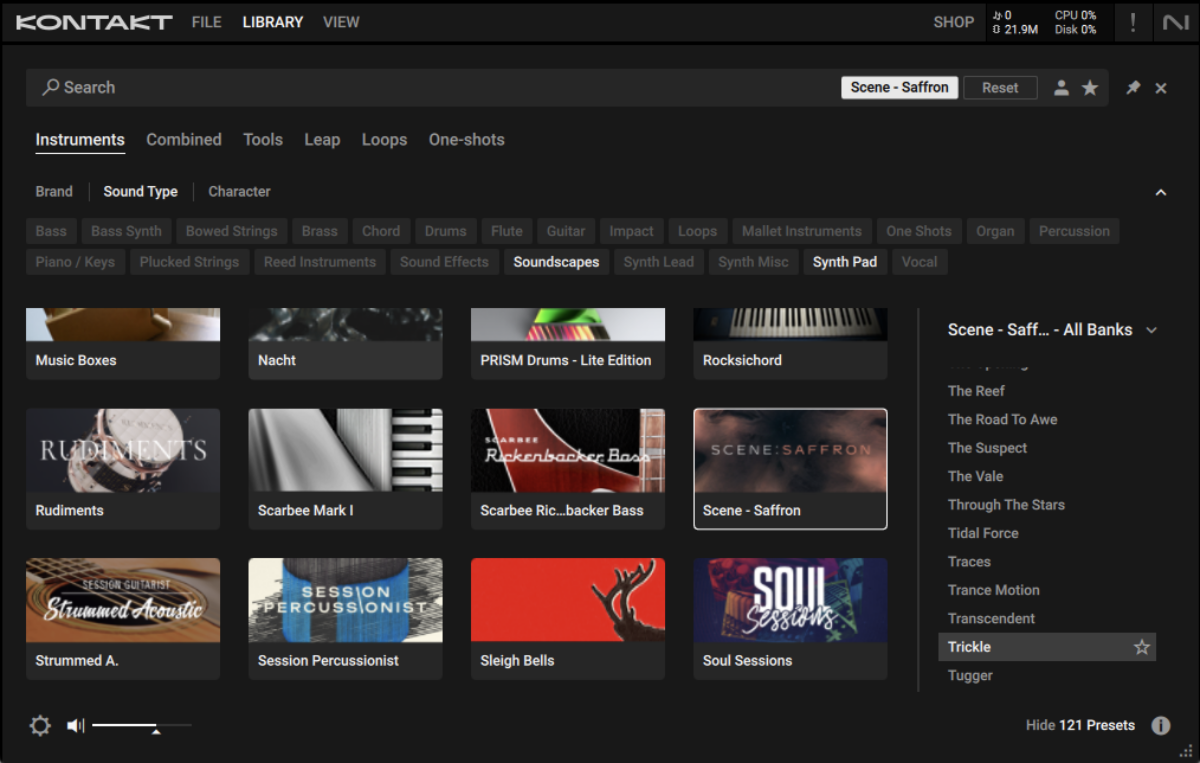
Program this to play C1 and F0 with velocities of 110.

This part helps add some lows to the mix, but the track is still feeling quite sparse. Let’s add another sound to help with that. On a new track load up Kontakt and select the Heaven Bow preset.
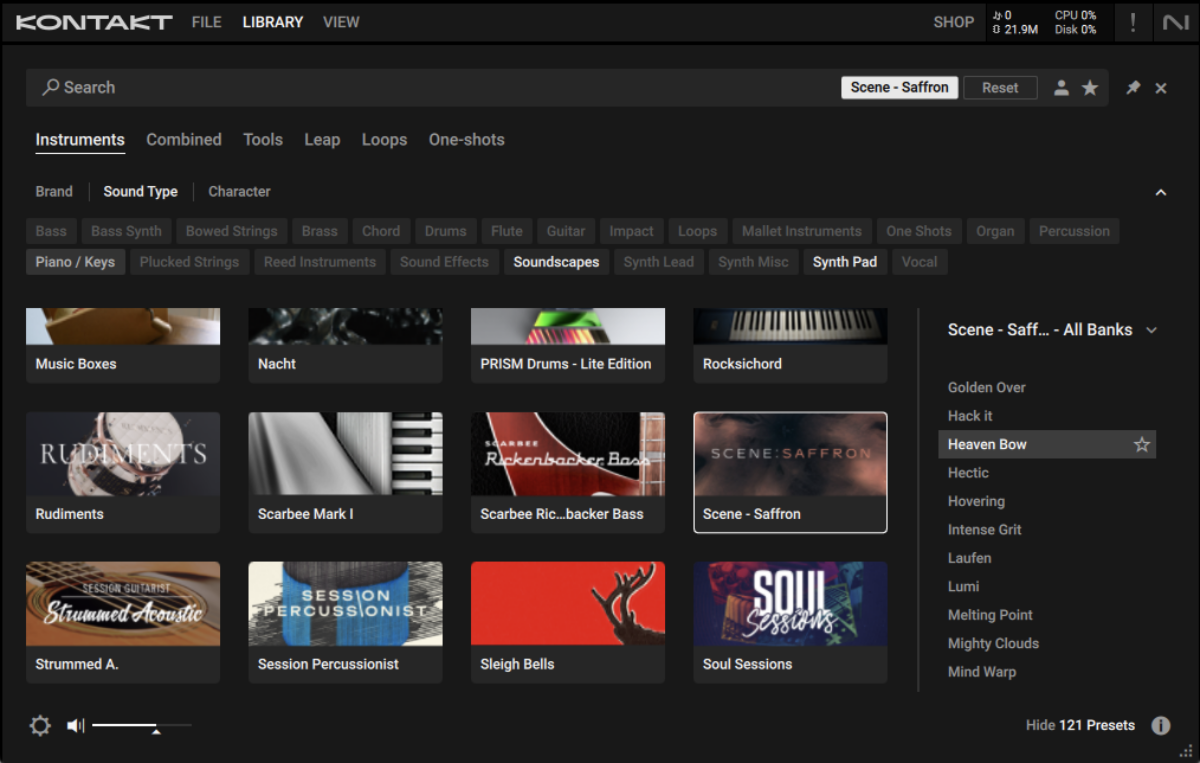
Play this on C1 for all eight bars.

Adding this element helps our soundscape sound more full, giving it a richer texture. Next let’s try adding a more rhythmic element.
3. Adding rhythmic and harmonic elements
Currently everything in our soundscape is a slow-moving textural sound, so let’s add some variety. Add a new MIDI track, and this time select the Saturn Ring preset.

This sound is more percussive and rhythmic than the sound we’ve added thus far. Let’s use it to play an arpeggiated pattern that will play in ostinato over the other textures. First, sequence an arpeggiated C minor 7 chord on 8th notes as we have here.
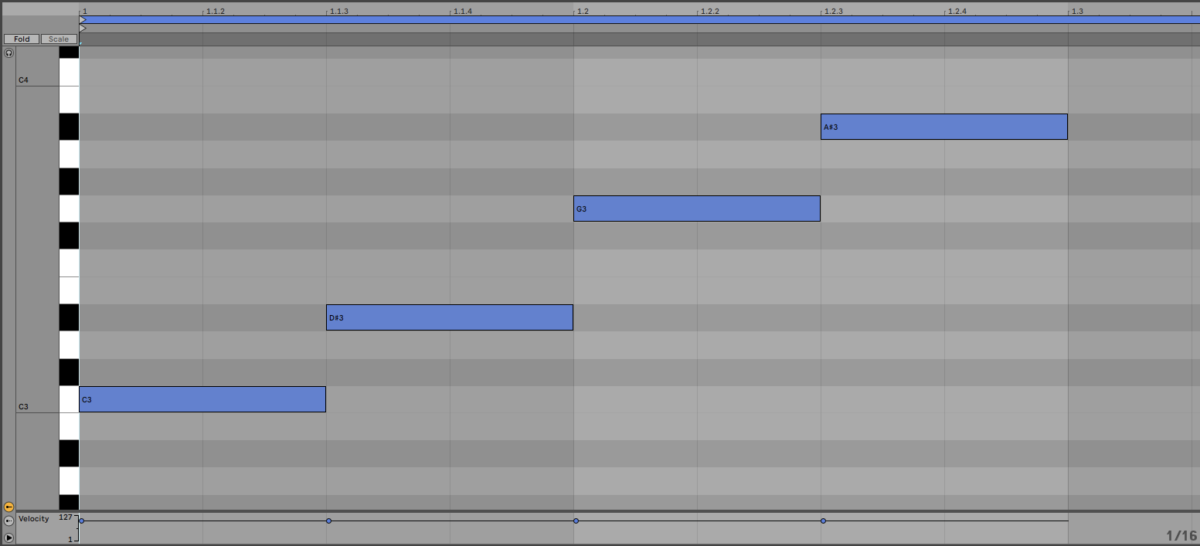
Now duplicate this out for the whole eight bars.
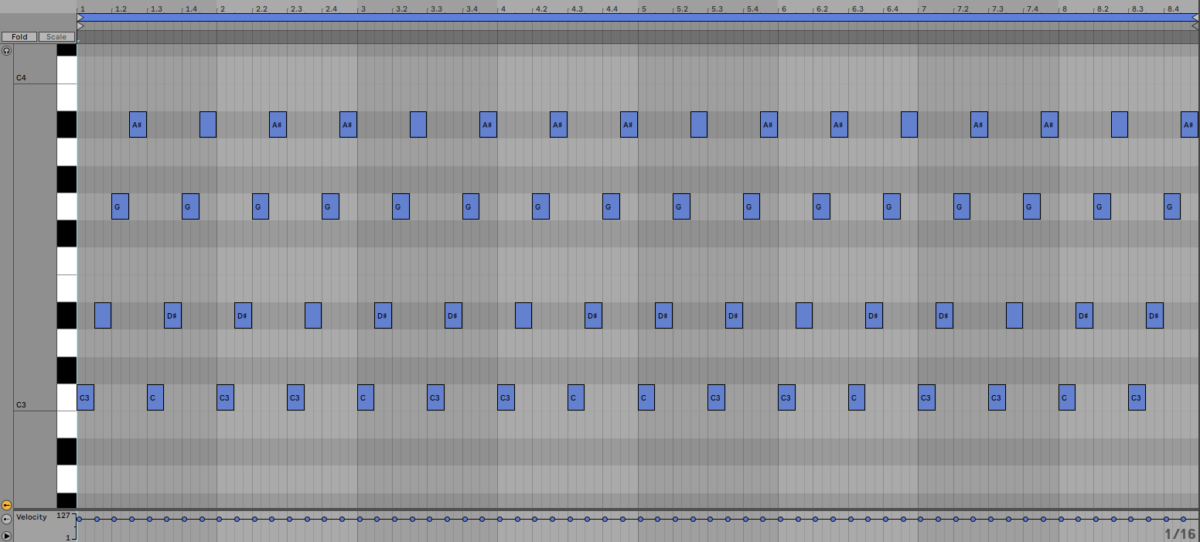
Currently this part sounds quite static, but when it comes to the arrangement we’ll use the XY pad to modulate the sound. Let’s also add some other harmonic elements to make our piece feel more involved.
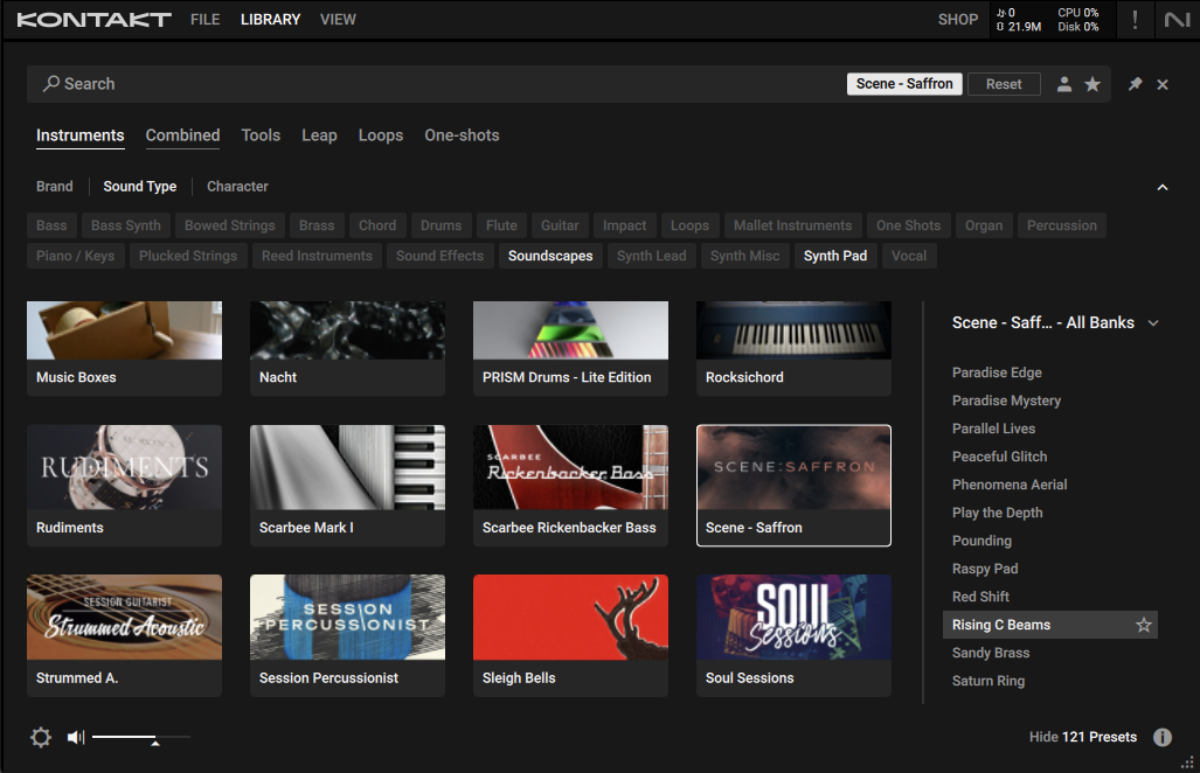
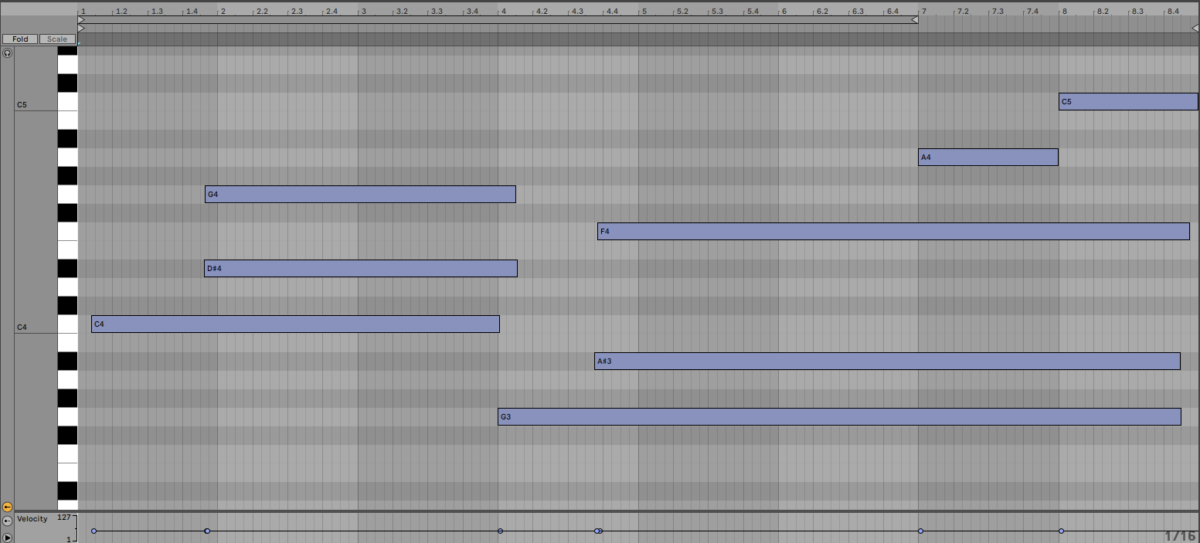
Next, on a new track load up the Rising C Beams preset.
Copy the part we’ve used here, using velocity values of 50, or compose your own part.
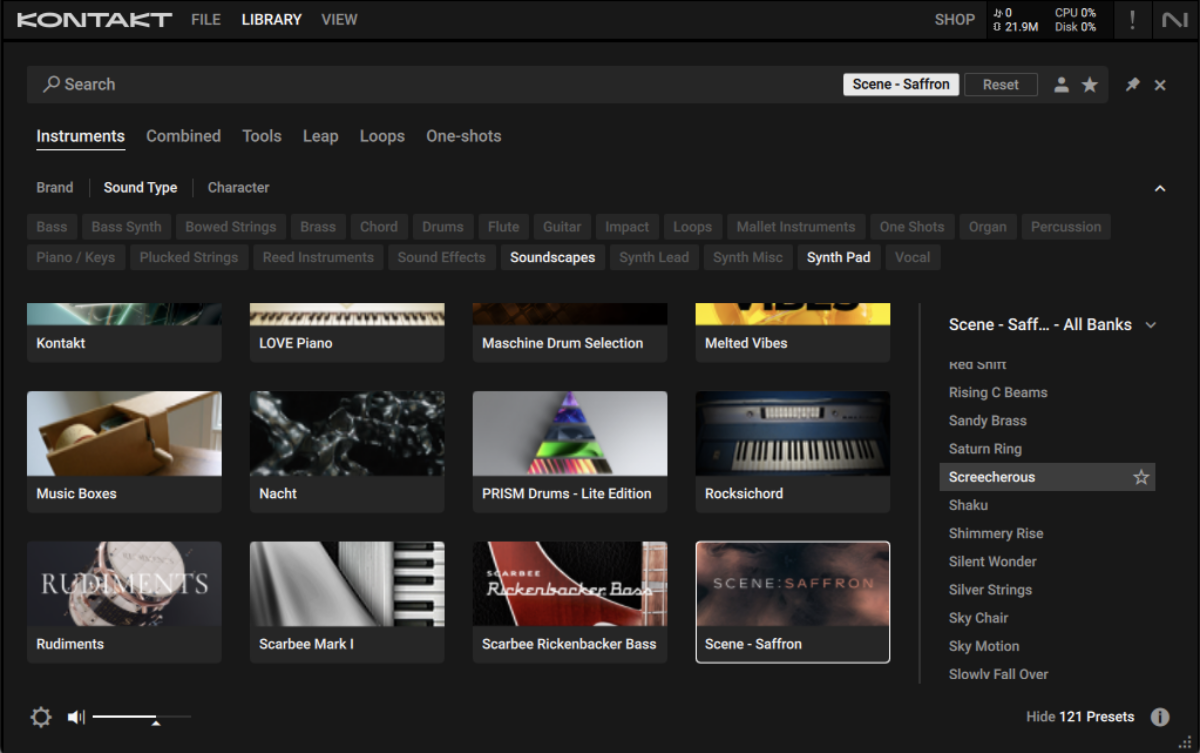
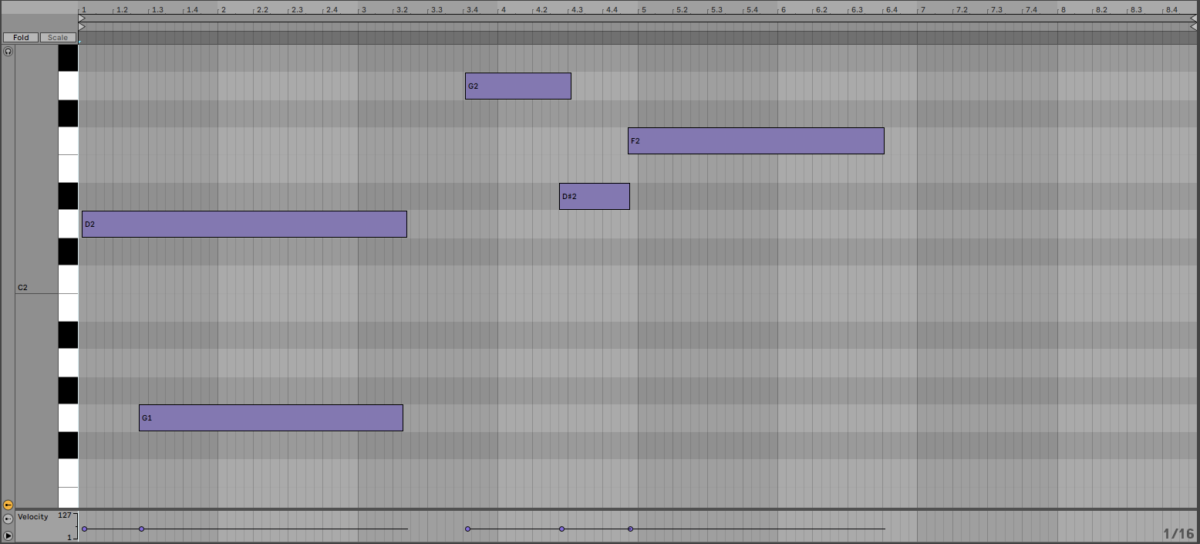
Let’s add one final element. This time go for the Screecherous preset.
Copy this part, again using velocity values of 50, or compose your own.
Now we have a selection of elements that work together to create an involved soundscape, let’s work on an arrangement.
4. Arrangement
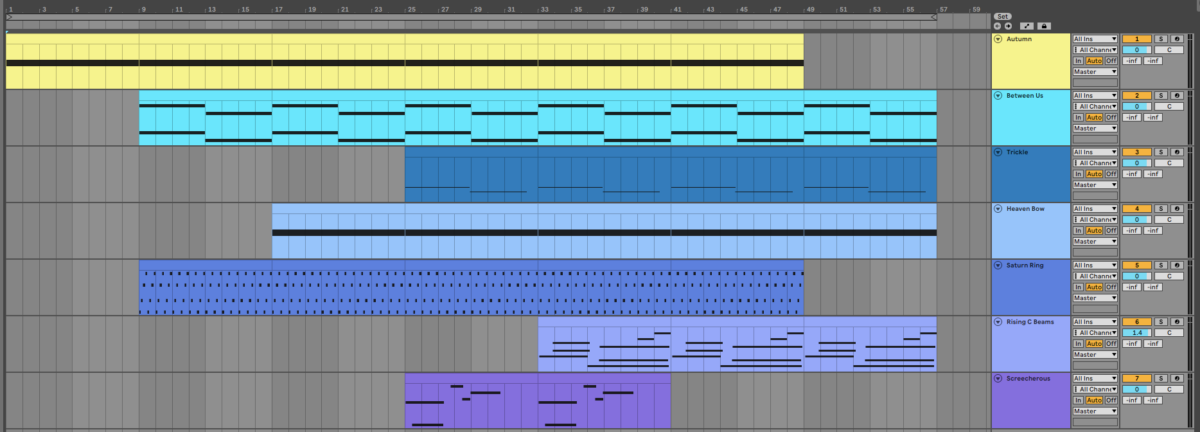
Here’s an example arrangement you can copy, or you can create your own. This arrangement starts out small, gradually adding elements every eight bars until all the parts are playing. Then the arrangement is stripped back to wind things down.
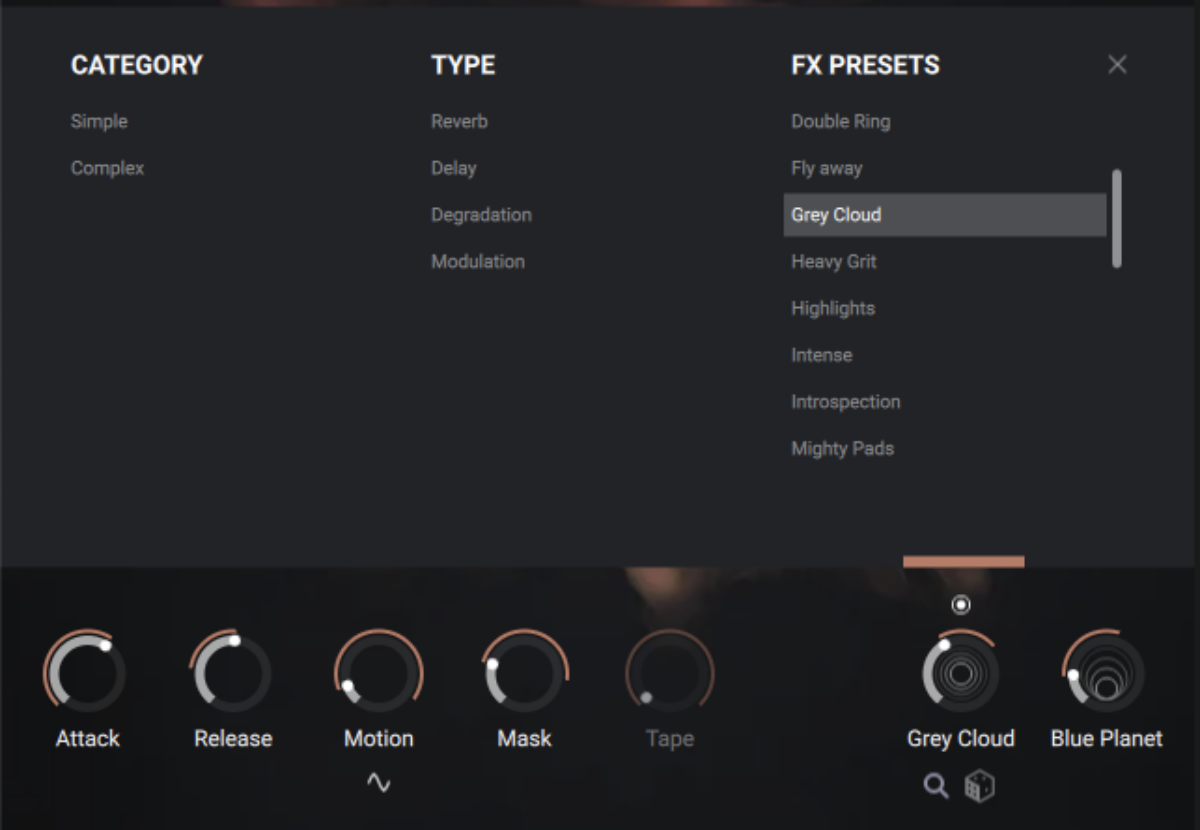
The Saturn Ring part is a special case, because we automate it throughout the arrangement. First, let’s change the FX used on its first FX slot. Click where it says Radiant Echo, and click on Grey Cloud in the FX Presets list to change the effect to a more expansive reverb sound.
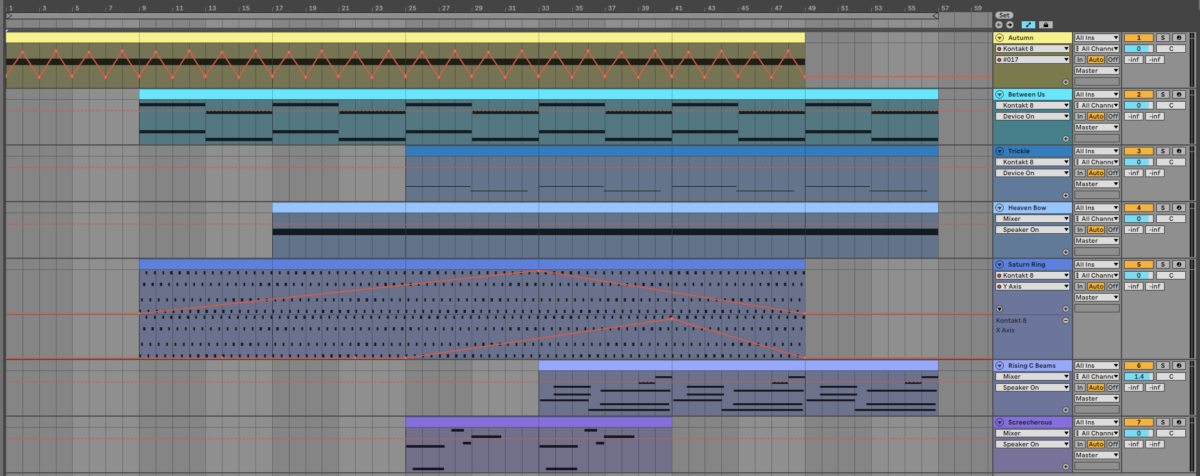
Now let’s add the automation we mentioned earlier when we added the sound. Here we’ve used X and Y axis automation to bring the sound in gradually, allowing it to develop over the top of the other elements.
Let’s take a listen to how this sounds.
Now let’s get the most of our mix with some quick mastering.
5. Mastering
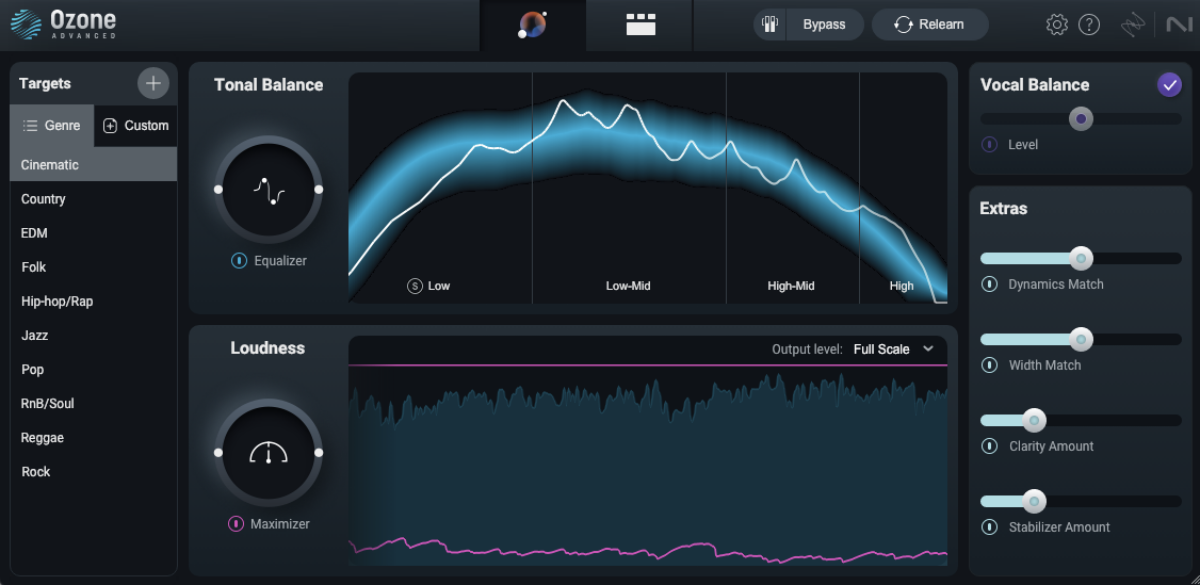
Add Ozone 11 to your master bus, and click the Assistant View button.
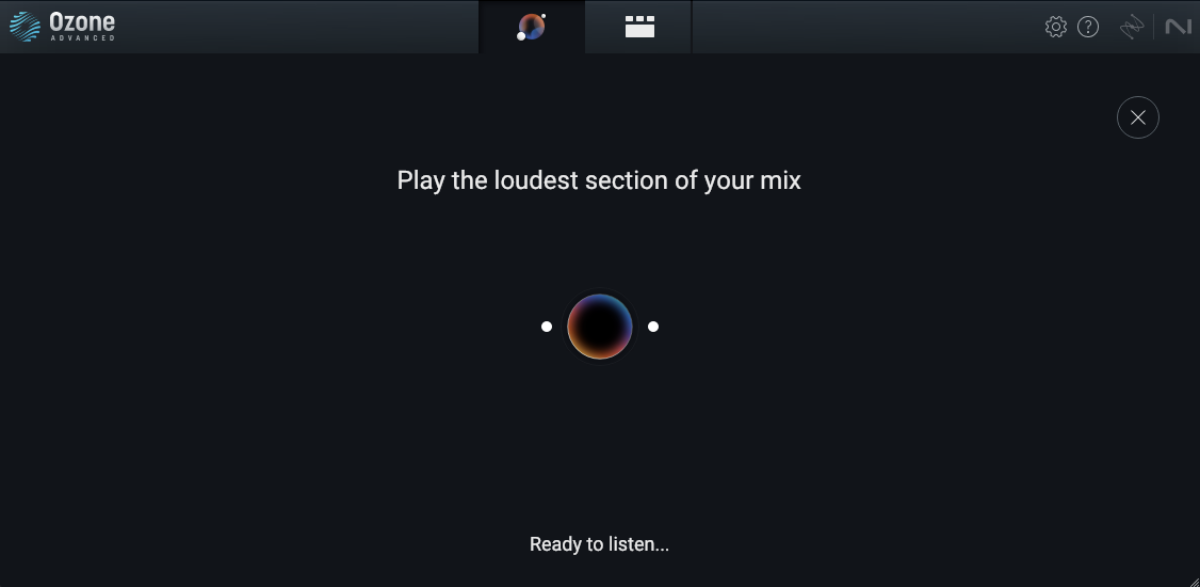
Ozone will ask you to play the loudest section of your mix, so play the project back from bar 33, where all the elements are playing at once. Ozone will analyze the project, and create a custom mastering chain. You can alter the type of Target the master aims for, but as Ozone has correctly identified this piece of music as being “Cinematic,” we don’t need to change a thing
Start creating soundscapes with Scene: Saffron
Now that you’ve learned how to make a cinematic soundscape with Scene: Saffron, it’s your turn! You can get Scene: Saffron individually or as part of Komplete 15.


