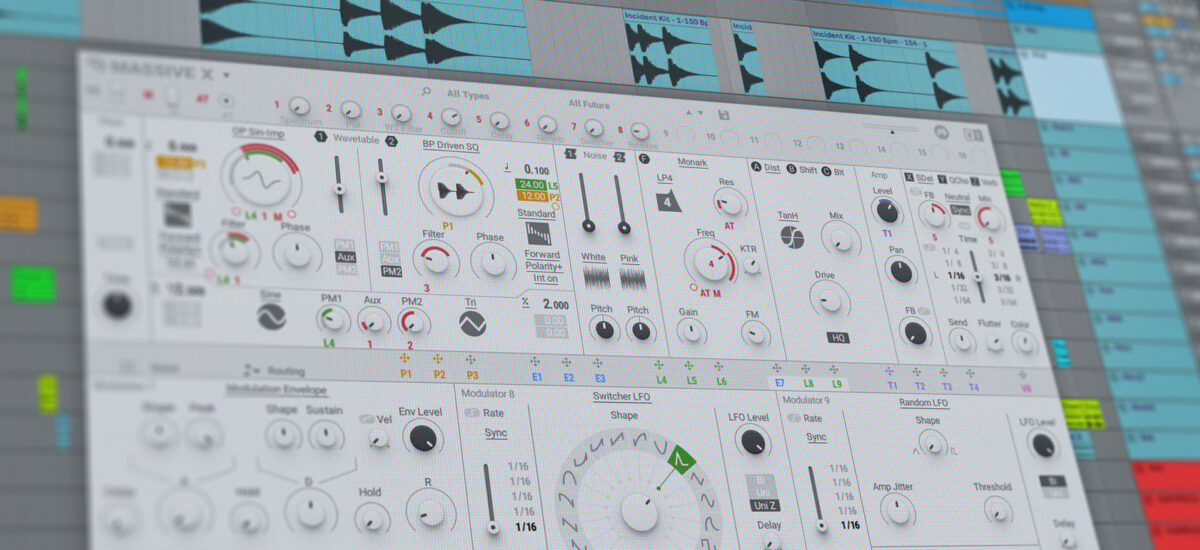
Getting started with virtual instrument plugins can be intimidating, especially when dealing with more advanced synthesisers – and there are few synths as advanced as Massive X! In this guide on how to use Massive X we’ll demystify this powerful instrument, and give you the help you need to begin creating your own unique patches with its array of sound-sculpting tools.
Here’s the sounds we’re going to make in a few simple steps.
Jump to these sections:
- What is Massive X?
- Does Massive X have standalone?
- Does Massive X have presets?
- How to program your first sounds:
To follow along with this guide you’ll need Massive X, which is included with Komplete 15 Standard, Ultimate and Collector’s Edition. If you’re not already a Massive X owner, you can access a free demo version from Native Instruments’ Massive X page.
You’ll also need a Digital Audio Workstation (DAW) to host the instrument. A DAW is a piece of music creation software that can be used with third party instruments and effects known as plugins, Massive X being an example of an instrument plugin. Popular DAWs with free trial versions include Ableton Live, Bitwig Studio and Cockos Reaper. If you’re an Apple Mac user, your computer already includes GarageBand, a user-friendly DAW that’s perfect for beginners.
What is Massive X?
Massive X is a synthesizer plugin with powerful wavetable oscillators, multimode filters, customisable routing and a selection of insert and stereo effects.
Does Massive X have standalone?
Massive X does not have a standalone application, which means that it needs to be used within a DAW. Massive X VST, AU and AAX version plugins are available.
Does Massive X have presets?
Massive X does indeed include many, many presets, and these can be a great way to get started with the synth. To access Massive X’s preset library, click the patch name, which when the synth launches will be ‘Init – Massive X’

This brings up the instrument’s Browser, where you can see the available presets and filter them by type of sound using the tags on the left. Simply click a tag to filter by that kind of sound, this makes finding the perfect preset much easier.
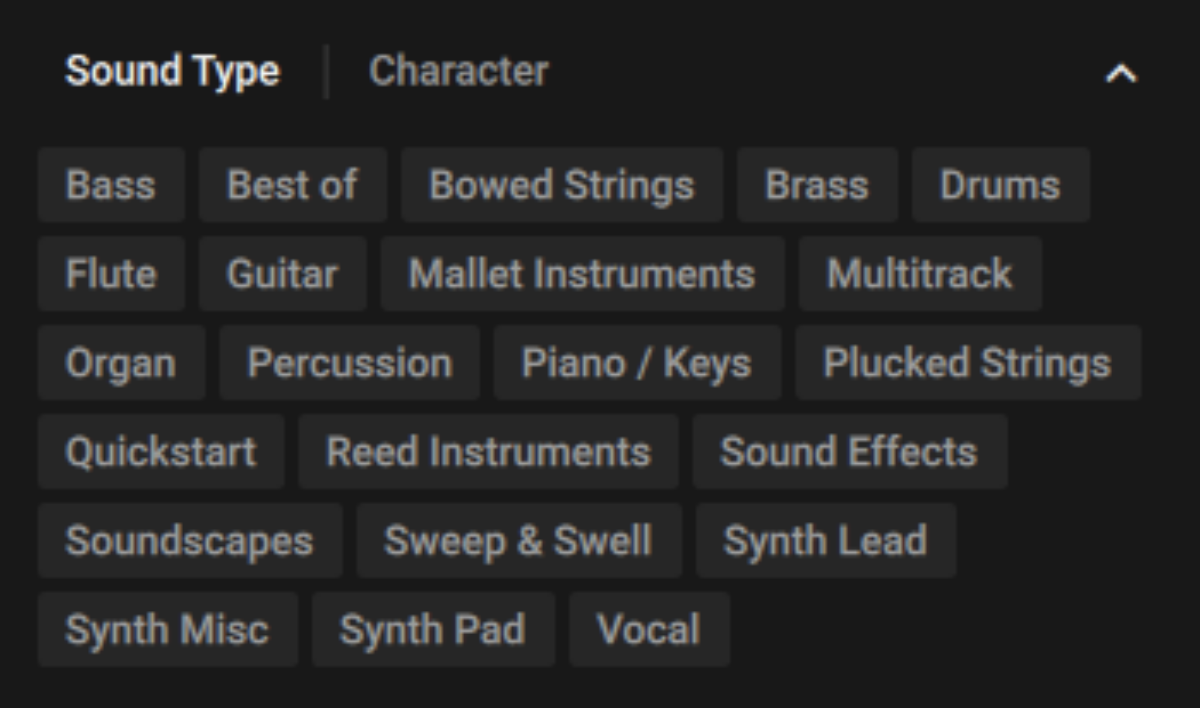
To load a preset, double-click it. You can then cycle through the presets using the up and down arrows to the right of the patch name.

How to program your first sounds with Massive X
1. Generate audio with oscillators
When learning a new synth, it’s typically a good idea to start with the default, initialised patch. If you want to return to the Init patch at any time, you can simply search for “Init” using the text search field in the Browser, and double-click the Init – Massive X preset to reload it.

Let’s play the Init patch to hear how it sounds.
This raw, unfiltered sound is a sawtooth wave, and it’s generated by Massive X’s first oscillator. An oscillator might sound complex, but the only thing you need to know about it right now is that it’s the part of the synth that actually generates sound. Massive X has two oscillators, 1 and 2, and we can see from the positions of the vertical faders that currently only oscillator 1 is turned up, and as a result that’s the only one we can hear.
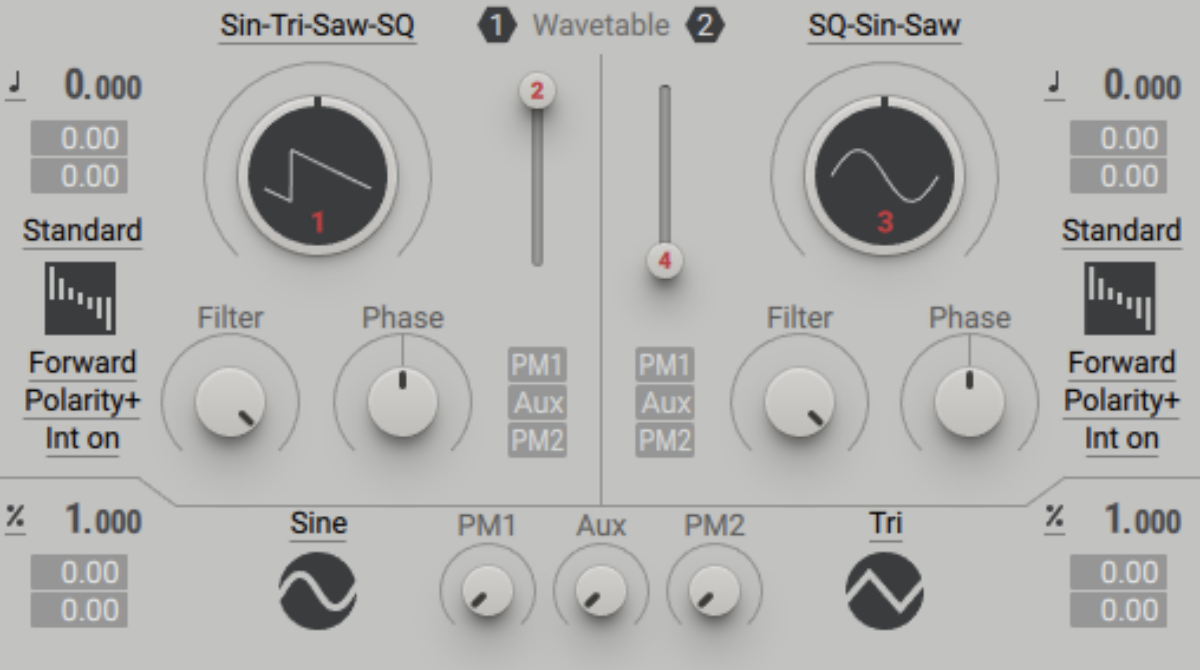
So, how come oscillator 1’s vertical fader is labelled with a ‘2’? That’s because it’s assigned to the second Macro knob at the top of the interface. Likewise, oscillator 2’s vertical fader is labelled with a ‘4’, meaning it’s assigned to the fourth Macro knob.

Massive X’s oscillators are a special type of oscillator known as a Wavetable oscillator. A wavetable oscillator is capable of “scanning” through a range of waveform shapes. Try adjusting the Wavetable Position knob and play a note to hear how this sounds. You’ll notice that the Wavetable Position control is labelled with a ‘1’, which means it’s assigned to Macro 1. So, you can control it directly, or use the Macro 1 knob to do it instead – you’ll get the same result.
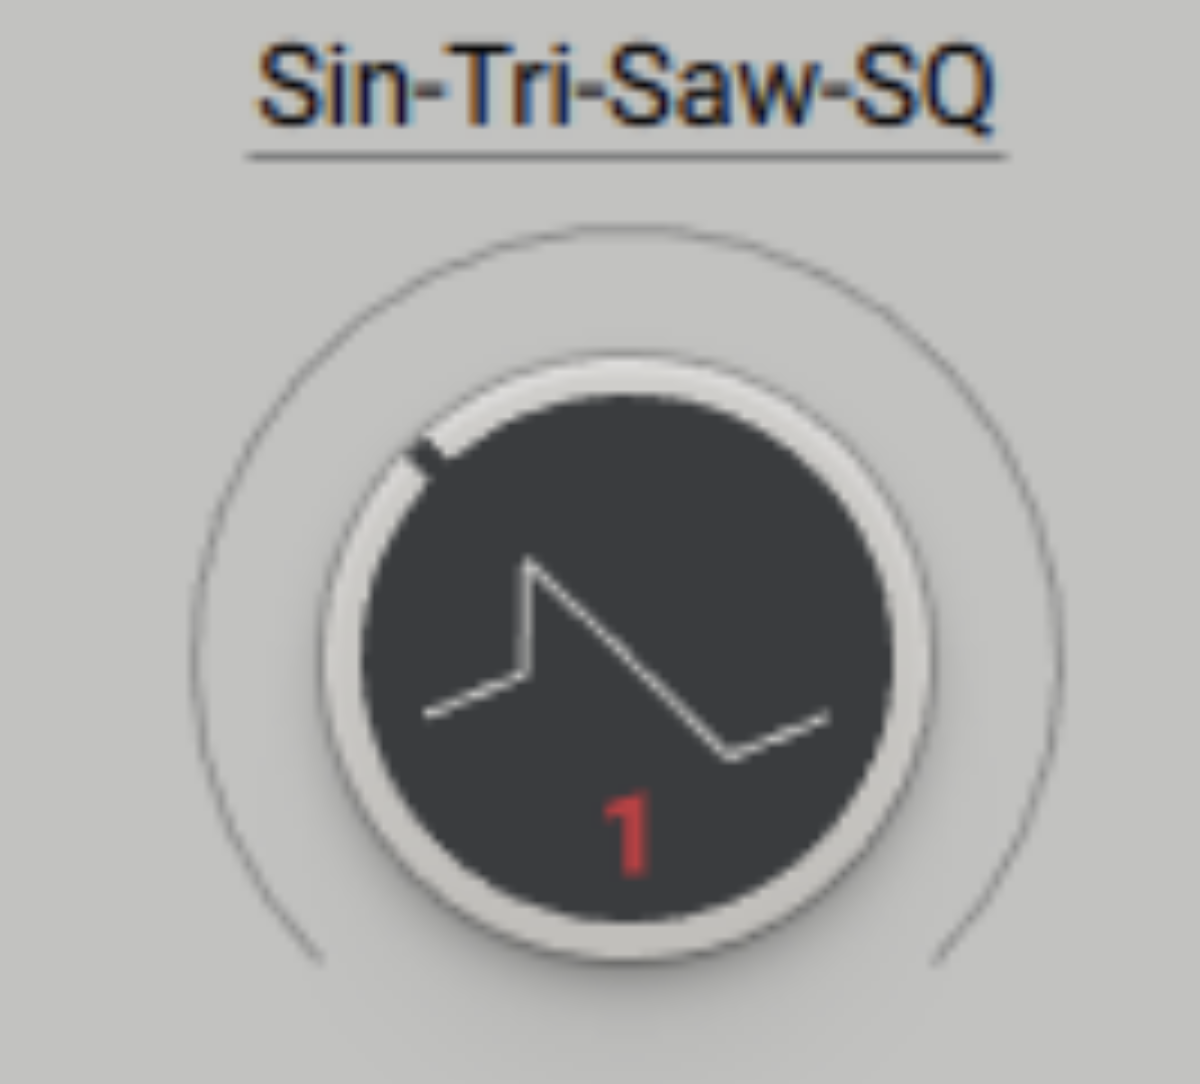
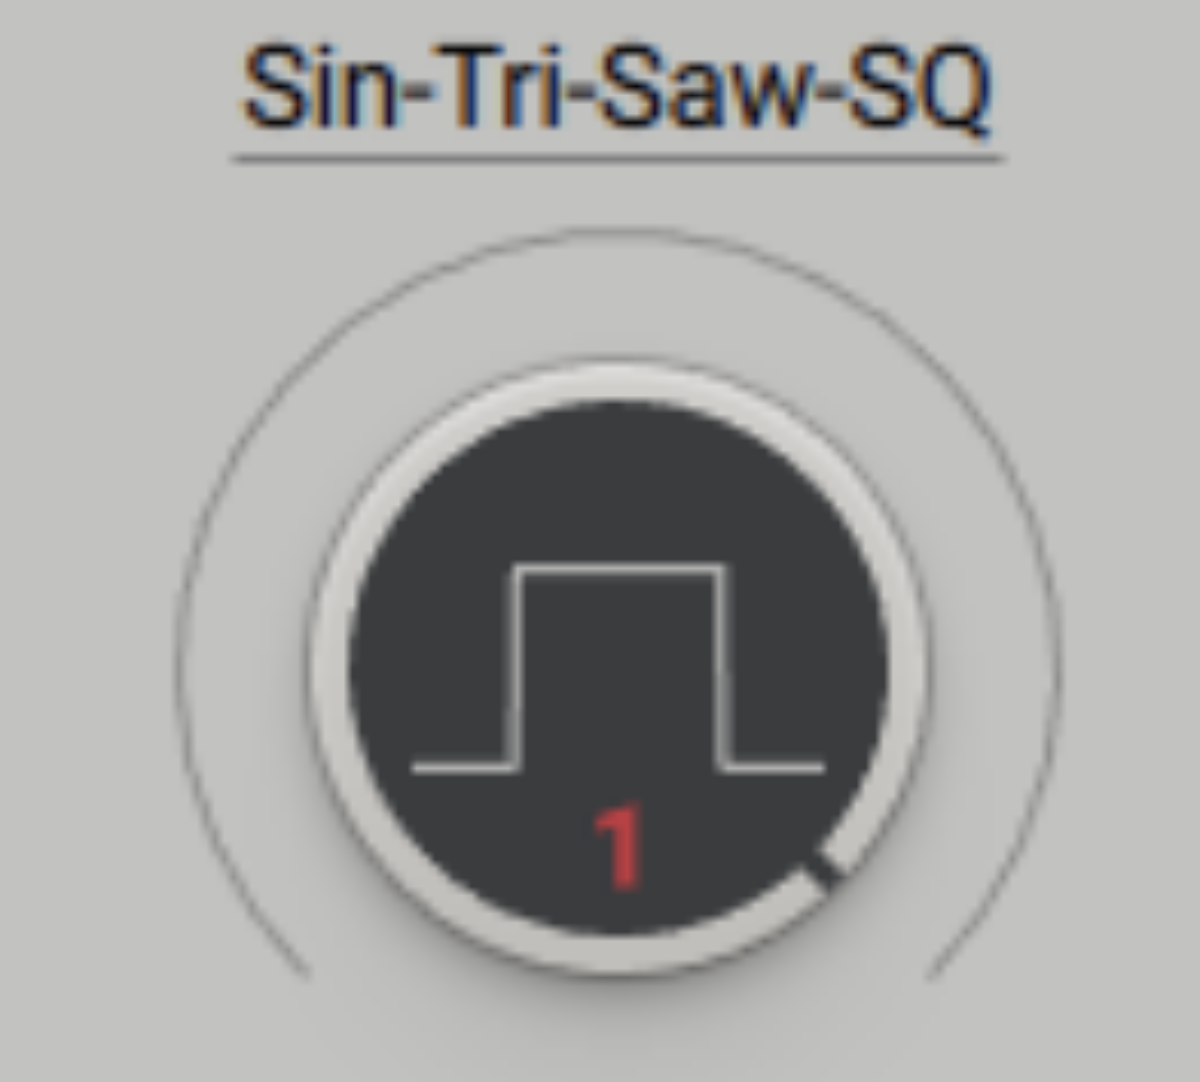
You’ll hear the timbre of the sound change as you adjust the control, and the Wavetable Position knob’s waveform will change to show you the shape of the waveform it’s currently producing. Over to the left you’ll hear a soft sine wave, a waveform with just a fundamental frequency and no harmonics, giving it a smooth sound. To the right the waveform will become a square wave which has rich harmonic content and a more full-bodied sound. Let’s continue with a square shape.
Massive X includes many different wavetables, and these can be accessed by clicking the Wavetable Menu (the wavetable’s name, currently Sin-Tri-Saw-SQ) above the Wavetable Position knob. Let’s change oscillator 2’s wavetable to Sin-Tri-Saw-SQ too, by double-clicking it in the Wavetable Menu.
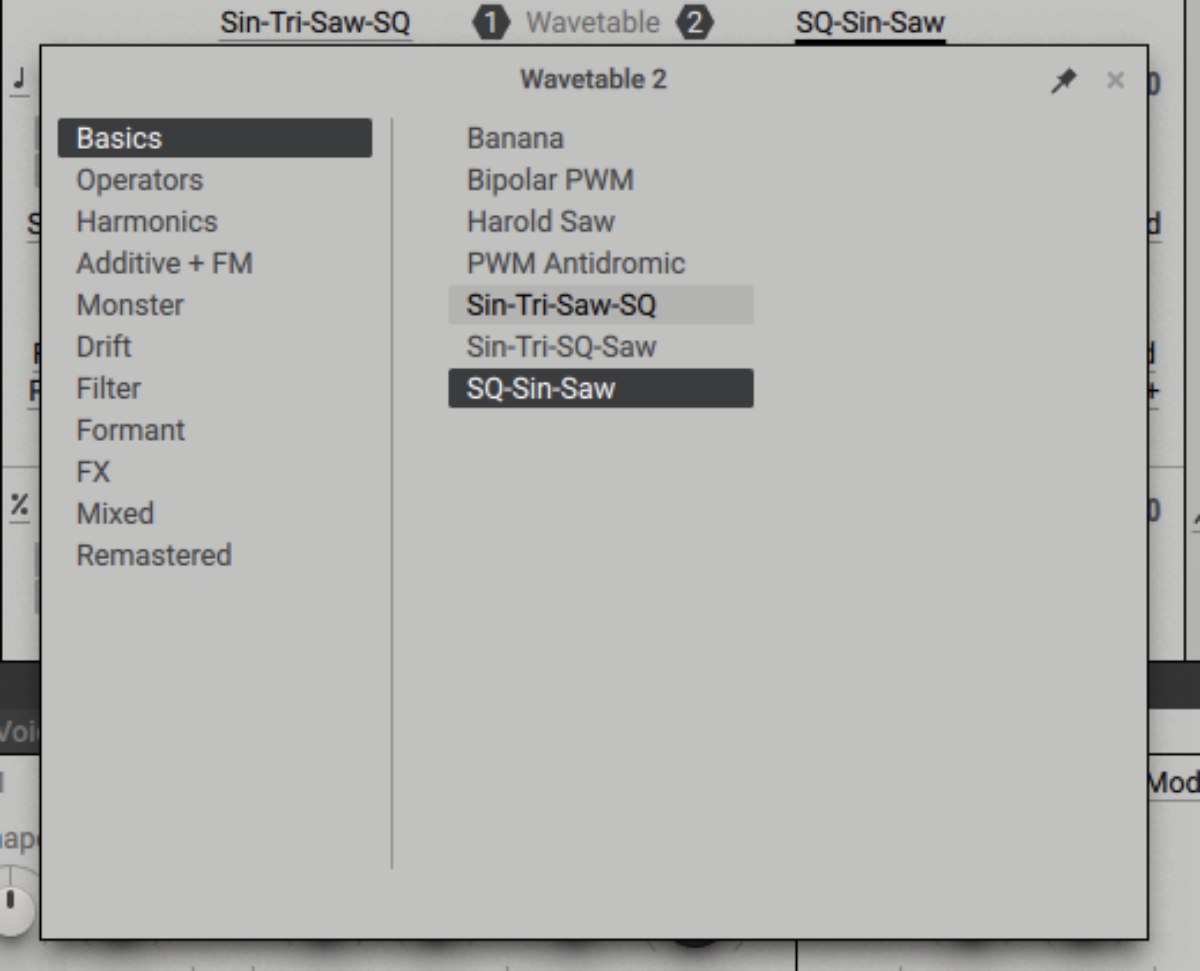
Turn oscillator 2’s vertical fader up to full so that we can hear it in the mix as well, and set its position to square too.
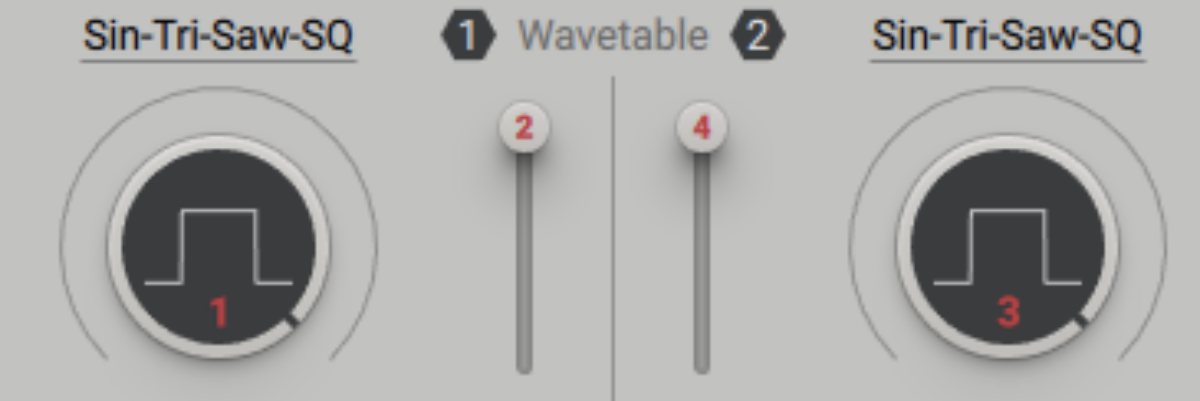
Because both oscillators are now outputting an identical square sound, we’re just going to hear a louder square. However, if we detune them, we’re going to get something more interesting. You can adjust the tuning of each oscillator with their Pitch parameters. Set the Pitch of oscillator 1 to -0.200, and the Pitch of oscillator 2 to +0.200.
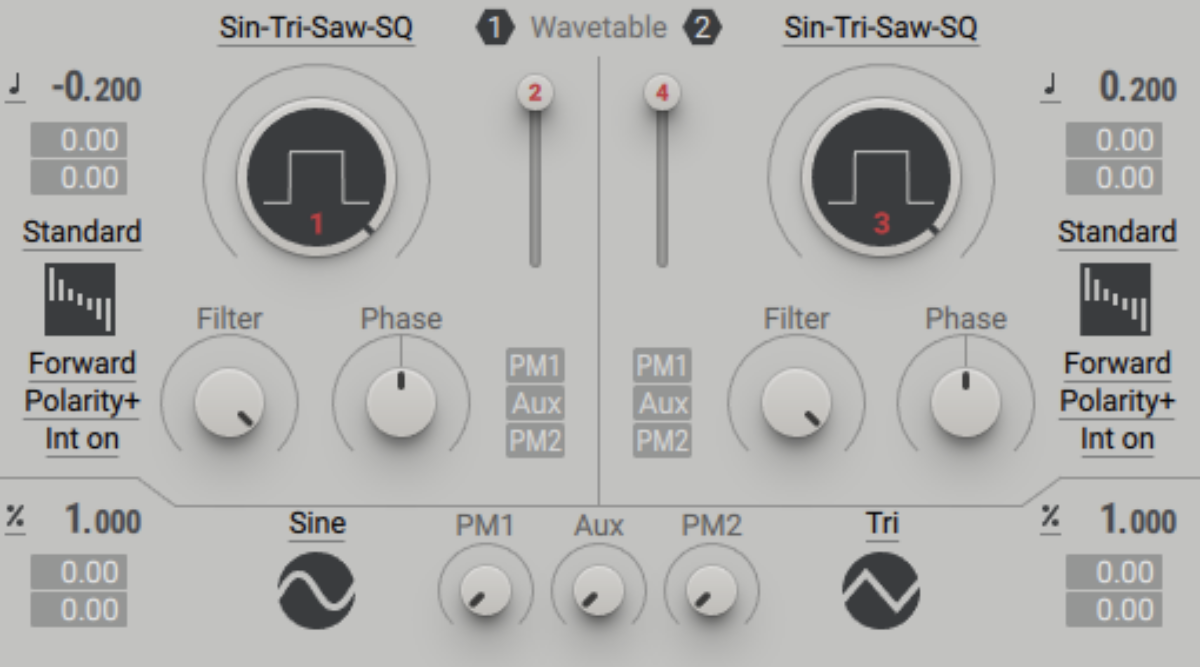
Because the oscillators are now playing at slightly different pitches, we get a modulating timbre as they come in and out of phase with each other.
Massive X’s oscillators are extremely full-featured, and really we’ve only just scratched the surface of their capabilities here, but now we’ve got a more interesting timbre to work with. Let’s explore some of the synth’s other features.
2. Sculpt your sound with filter and modulation
Over to the right-hand side of the interface you’ll see Massive X’s Filter panel. Currently the filter type is set to Asimov. Let’s hear how it sounds when you adjust the Freq (frequency) knob.
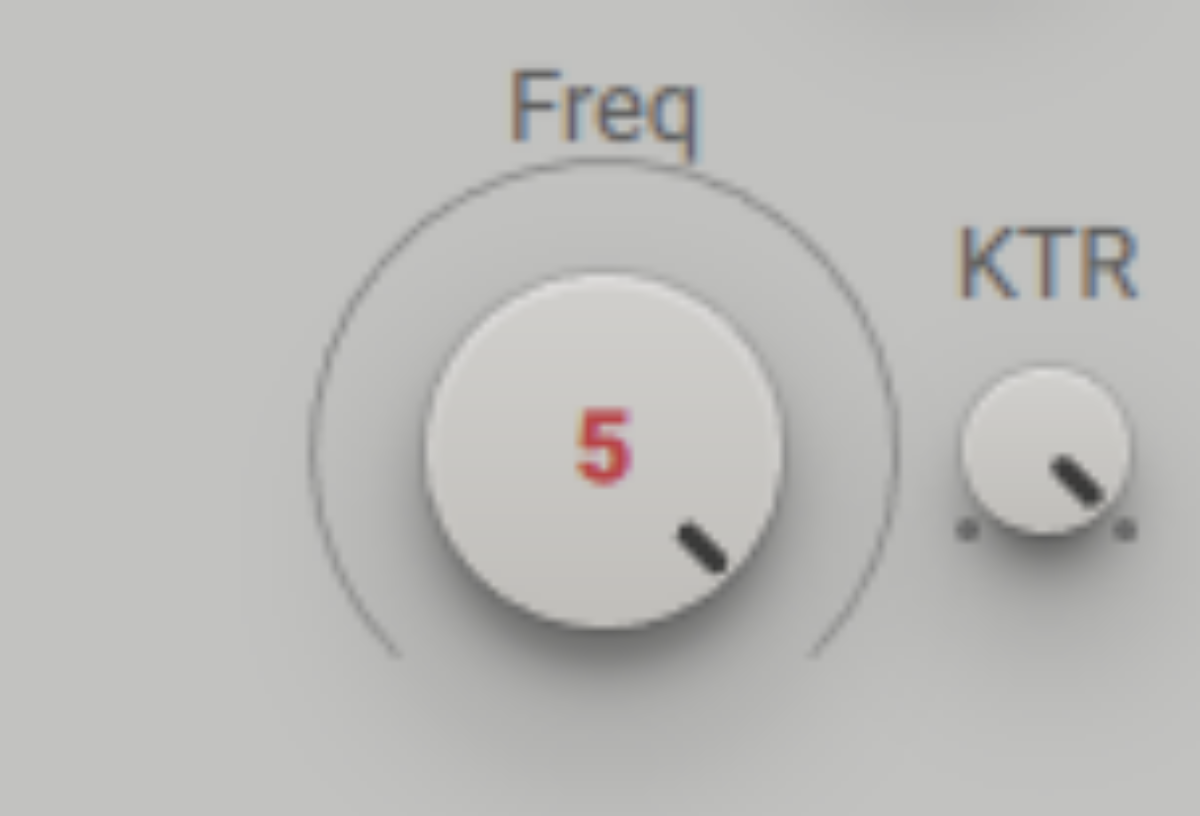
Sweeping the Freq knob with the filter in Asimov mode takes out and brings back the sound’s high frequencies.
Let’s set up some modulation so that the patch adjusts the filter Freq parameter automatically. Double-click the Freq knob, which sets its position to 12 o’clock, then drag the arrow icon above E2 (Envelope 2) in the Modulators panel to the first slot under the Freq knob.

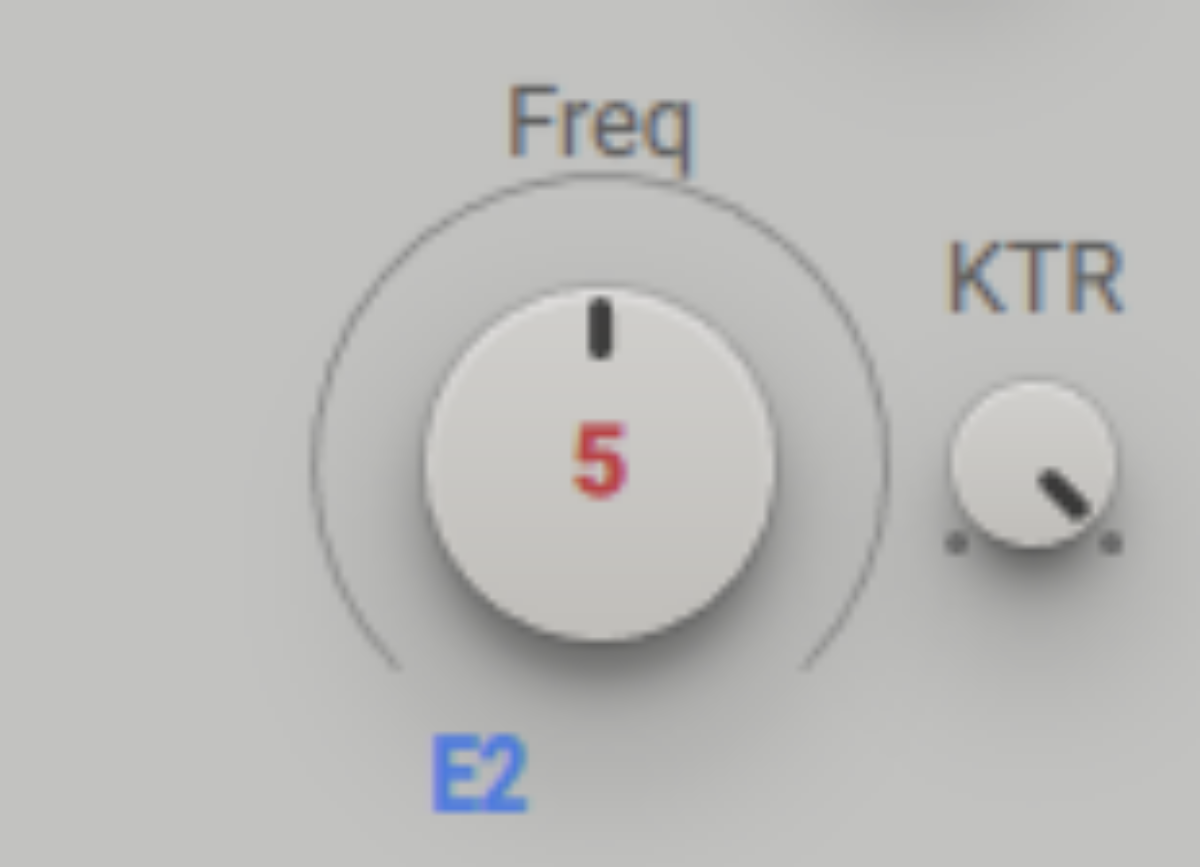
This modulation assignment won’t do anything until we turn up the modulation amount. Drag up on the E2 slot below the Freq knob to turn up the modulation amount like so.
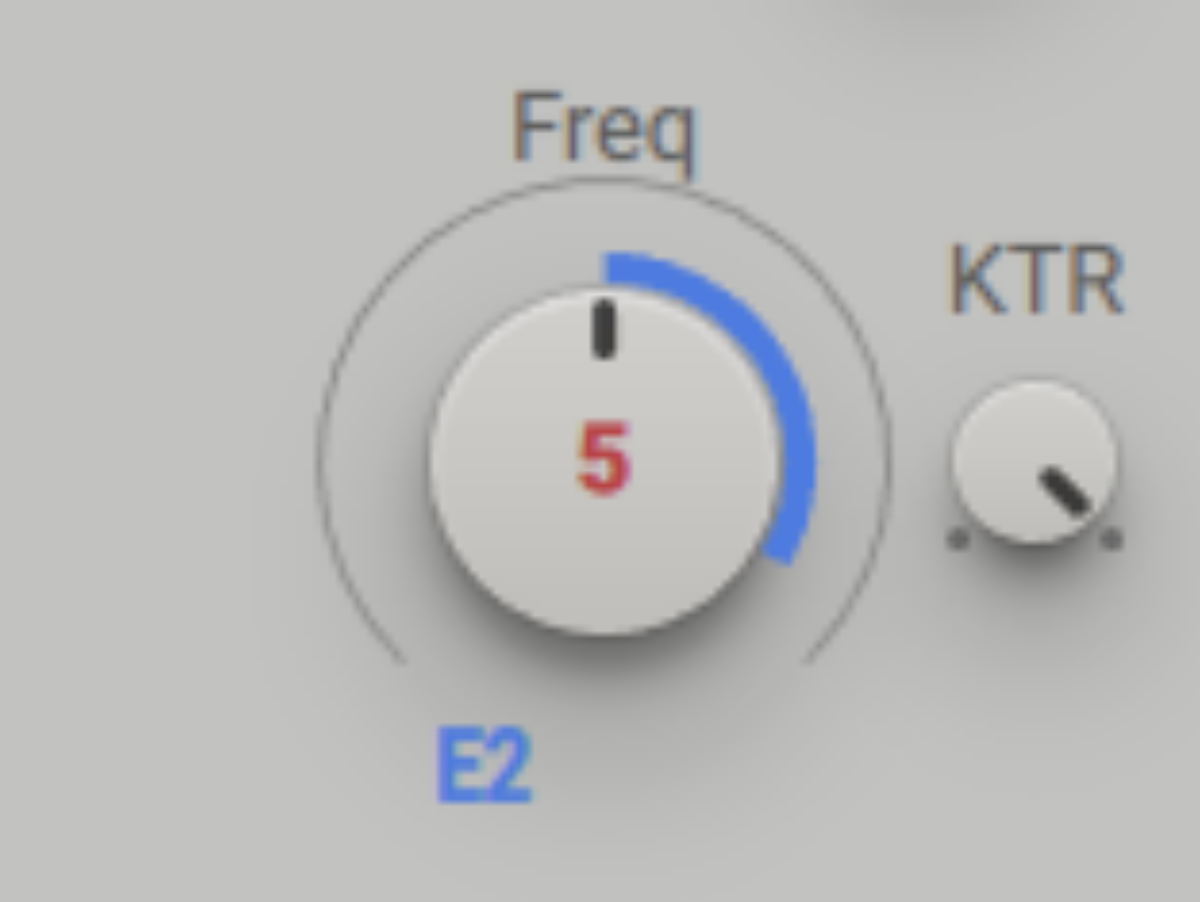
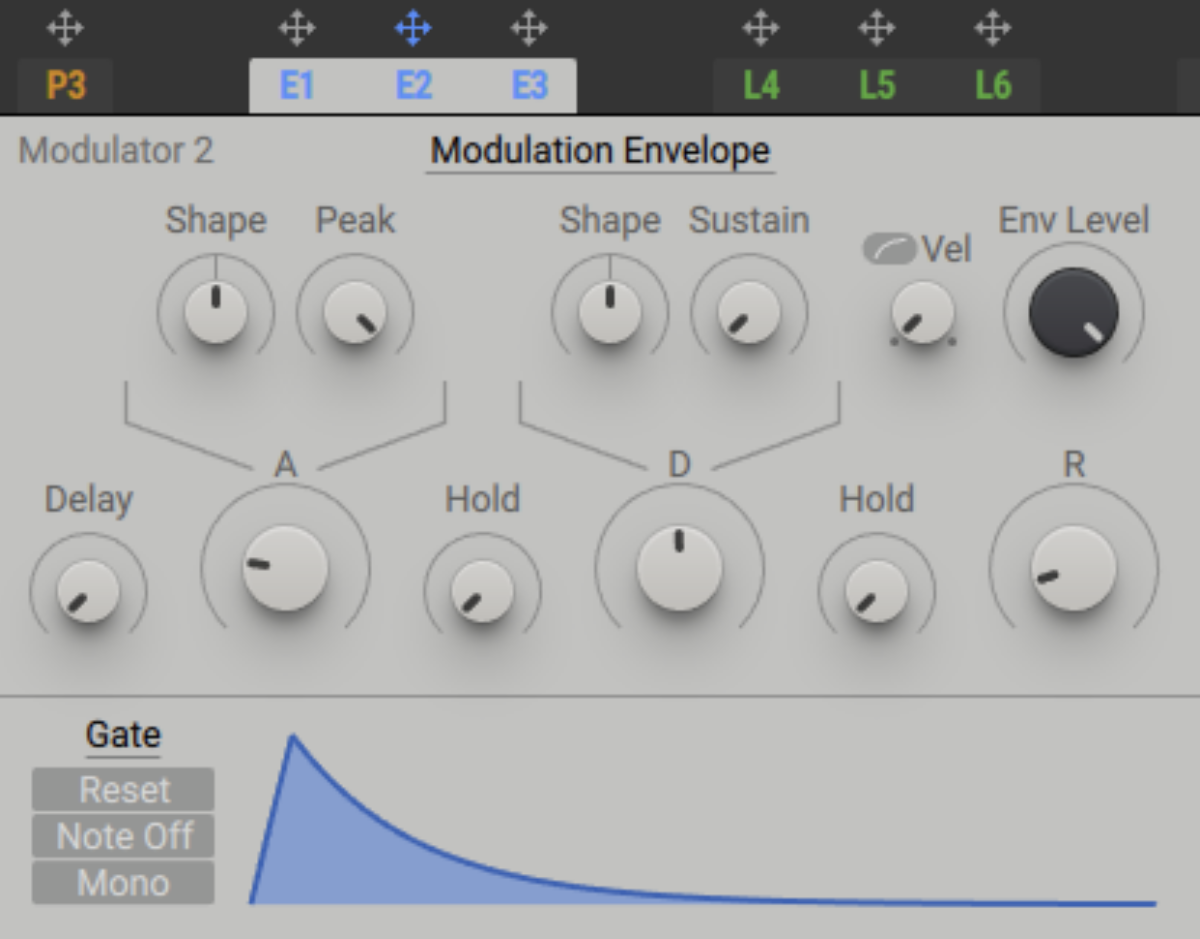
E2 is an envelope, and the envelope’s shape controls how the modulation moves. We can examine its parameters by clicking the E2 button in the Modulators panel

We can add a quick sweep to the start of the envelope but turning up the A (Attack) knob to about 60ms.
3. Insert Effects
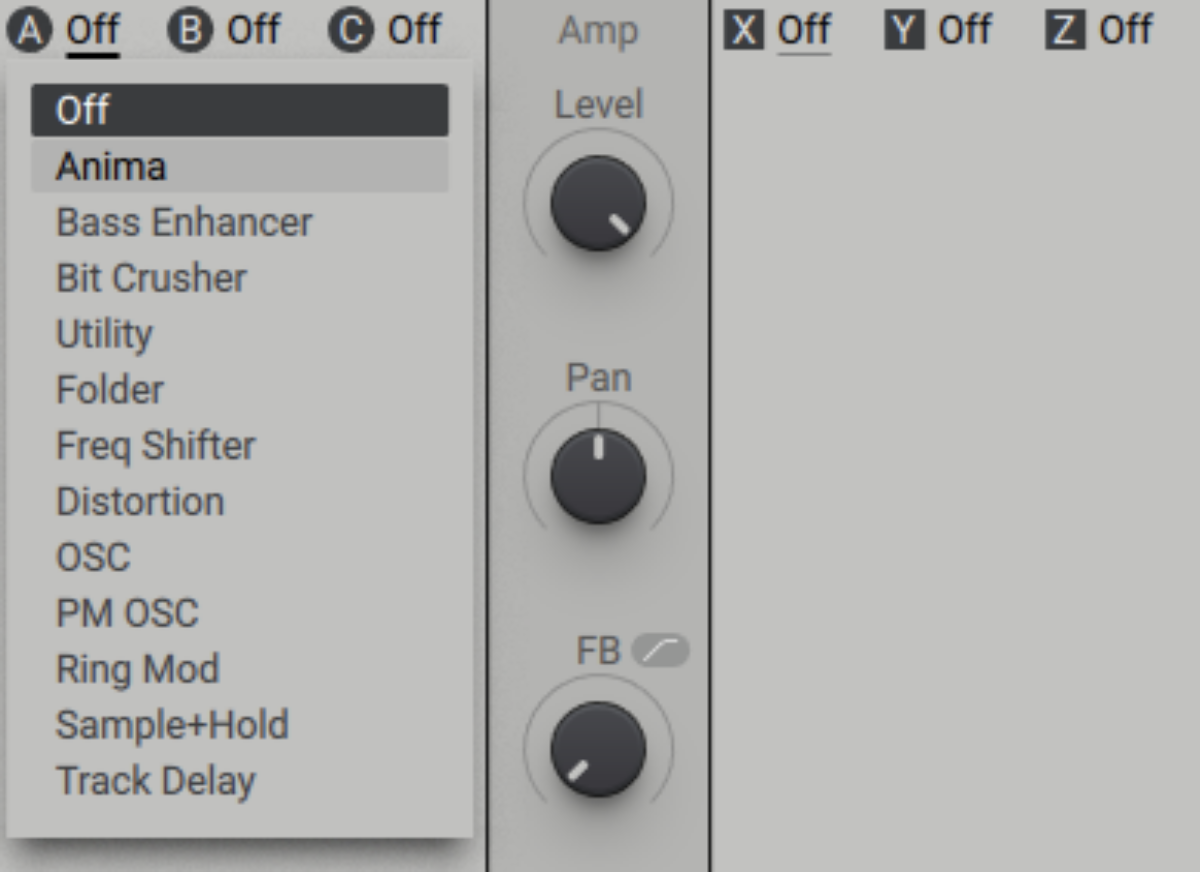
Another way we can change the sound is with Insert Effects. The Insert Effects panel is located directly to the right of the Filter panel. Click the first Insert Effects Menu and set it to Anima.
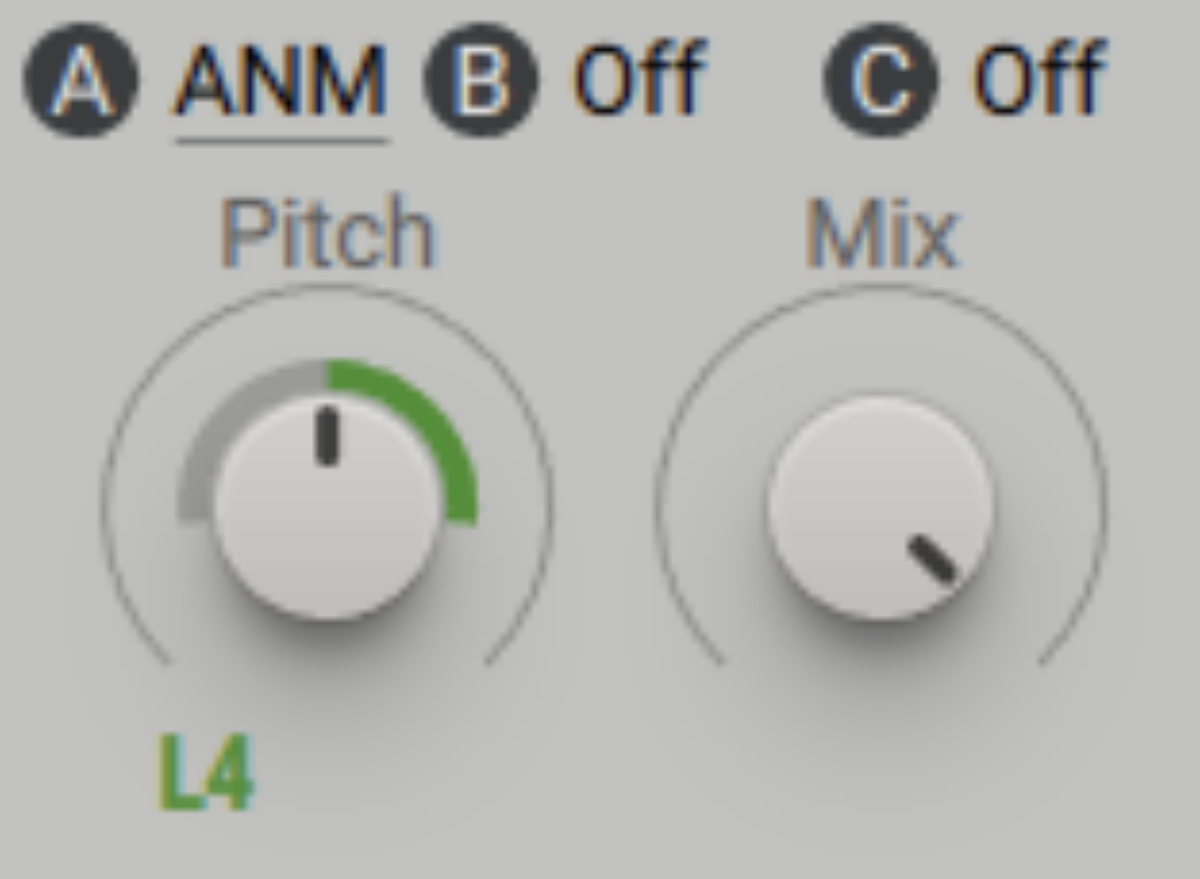
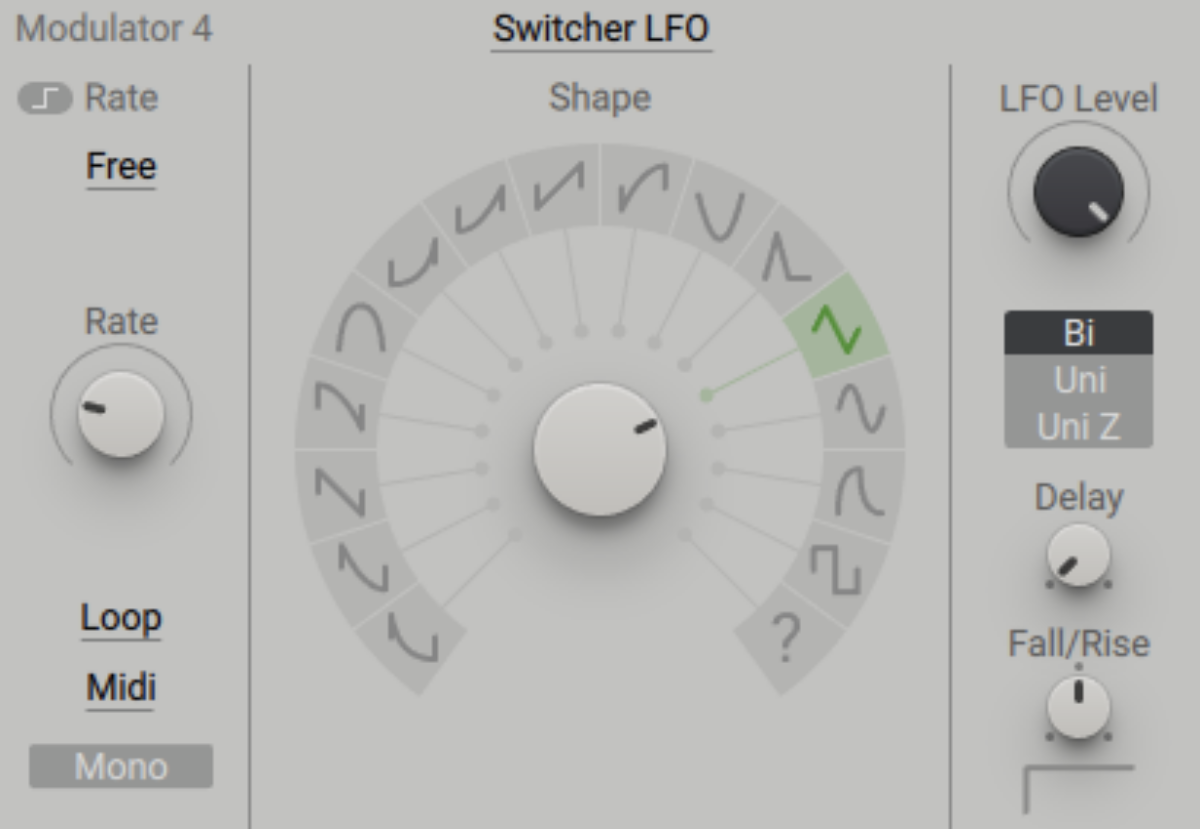
Anima affects the signal’s frequency content, and like the filter we can get a dynamic effect by modulating it. This time drag the L4 (LFO 4) arrow into the first slot below Anima’s Pitch parameter, and turn up the modulation amount.
By default LFO 4 is set pretty fast, so let’s slow it down. Click the L4 button, and in the Modulator 4 panel on the left turn down the Rate to around 0.7 Hz.
4. Send Effects
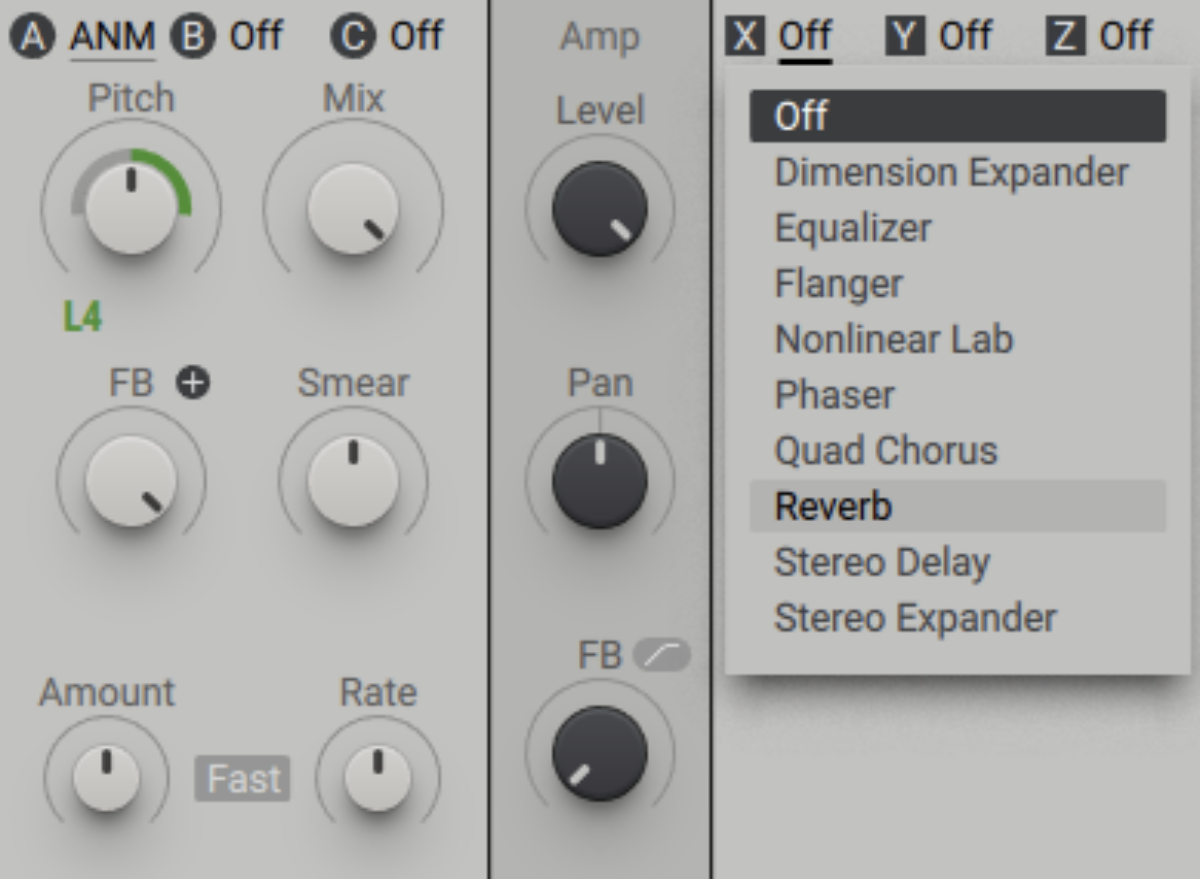
In addition to Insert Effects, Massive X also features Stereo Effects, which are added at the end of the signal chain. You can find the Stereo Effects panel at the right-hand edge of the interface. Set the first Stereo Effect to Reverb.
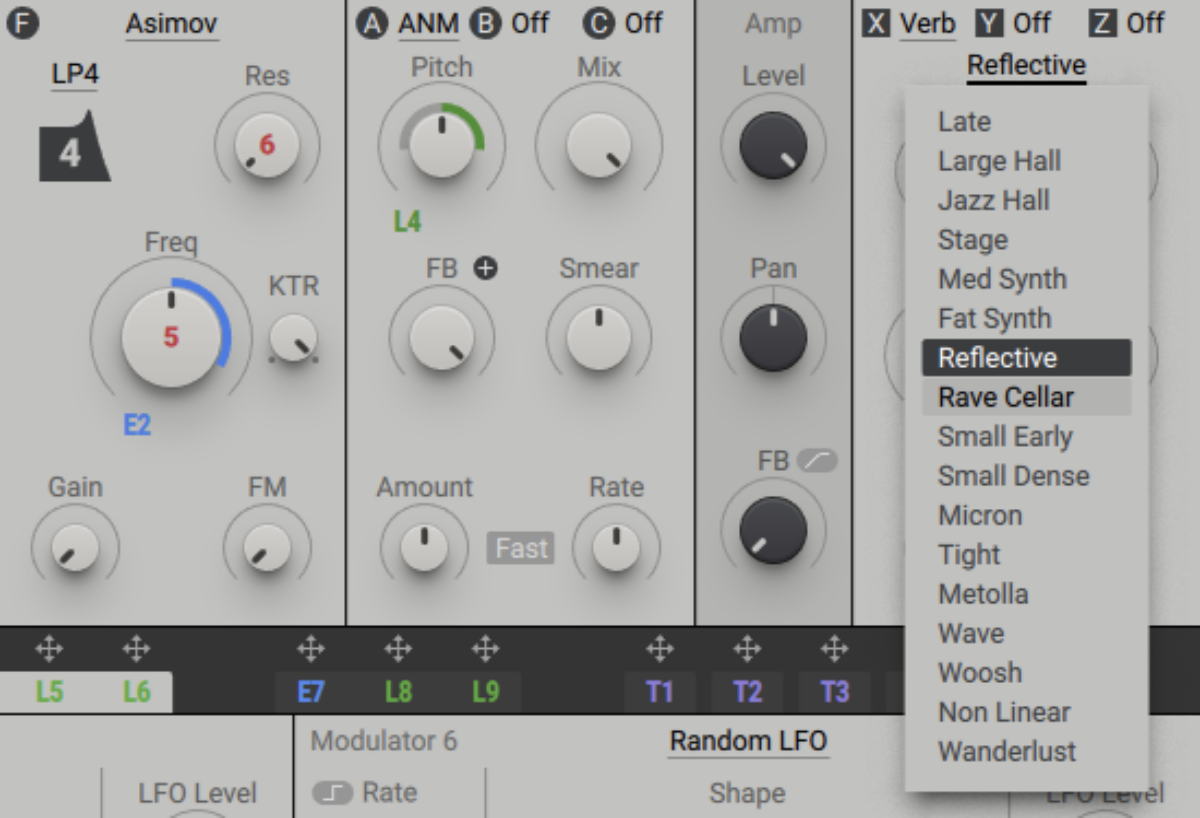
Let’s tweak this effect a touch. Click where it says Reflective, and change the Reverb mode to Rave Cellar.
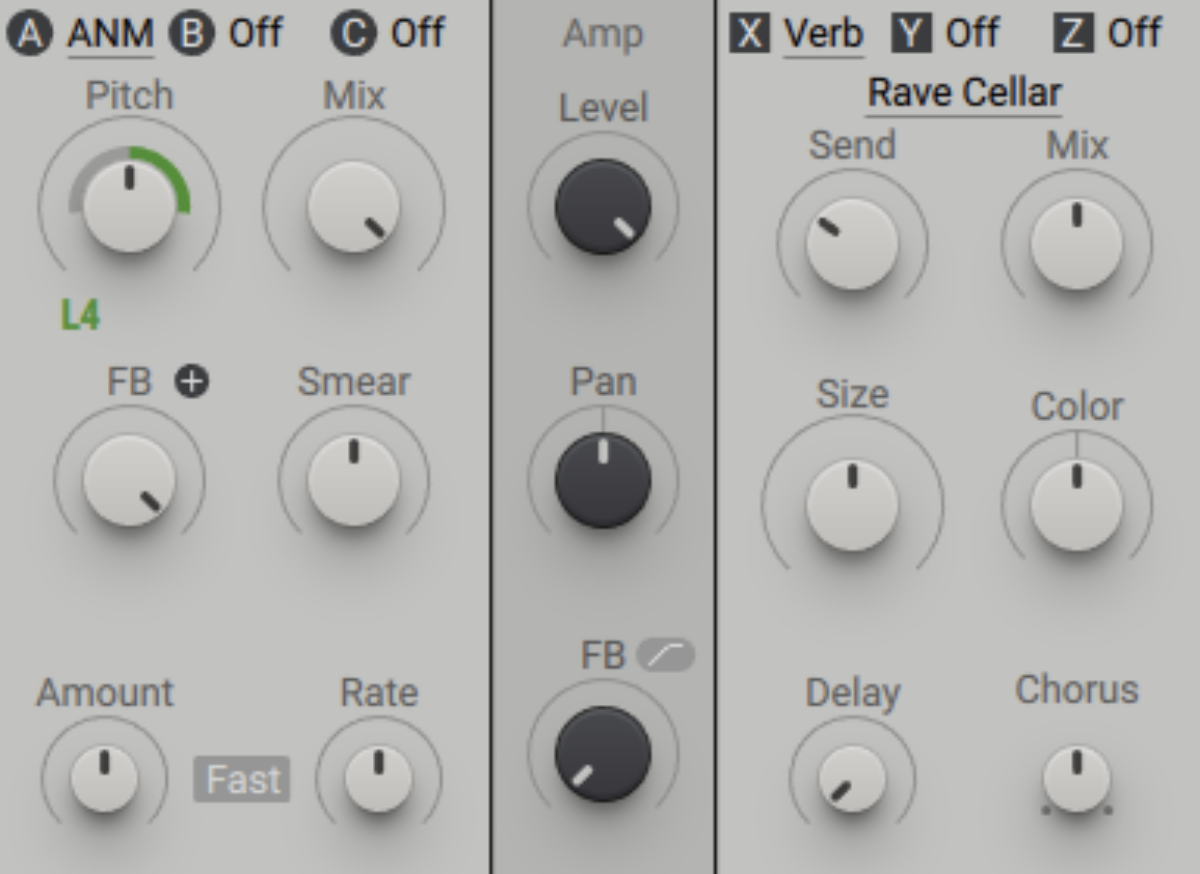
This effect is pretty intense, so let’s dial it back a bit. Set the Send level to around 30%.
5. Voice settings
Now we’ve created and sculpted a simple sound, let’s visit the Voice panel to adjust how it plays. Click the Voice button to bring up the panel.

First, this kind of sound works better when played monophonically, i.e. one note at a time. Set the Polyphony mode to Mono to limit the number of notes it can play simultaneously to one.
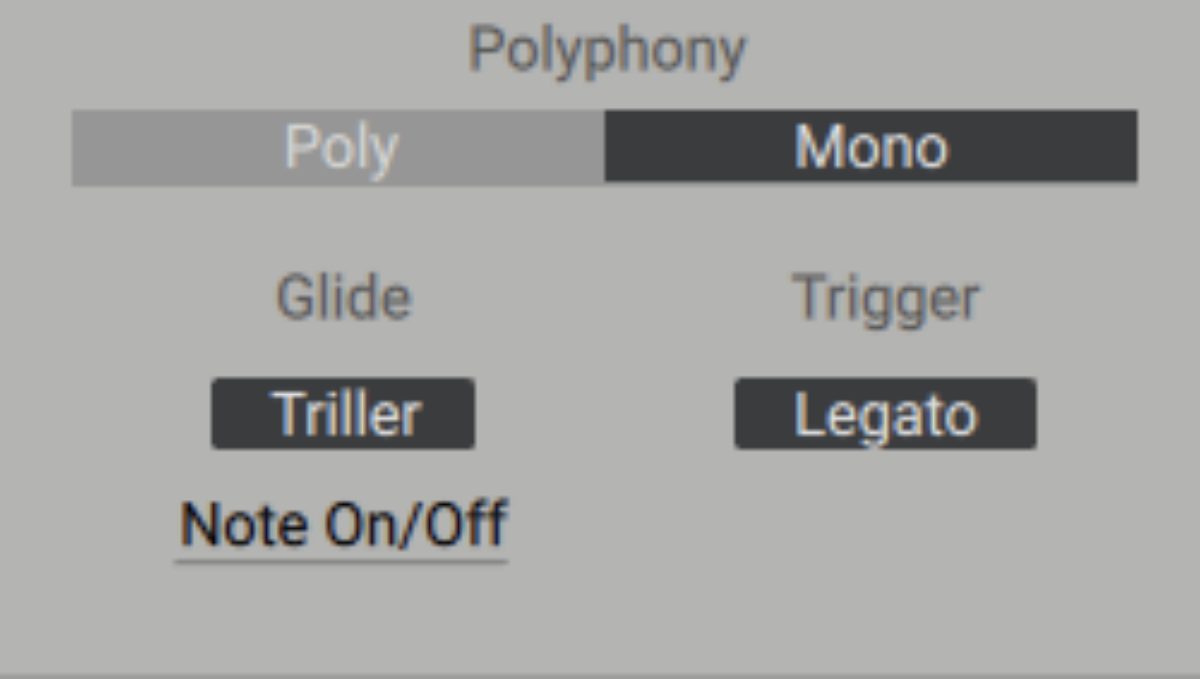
Now let’s add a little glide, which makes the patch’s pitch glide between notes. Click the Glide button in the Pitch panel to activate this.
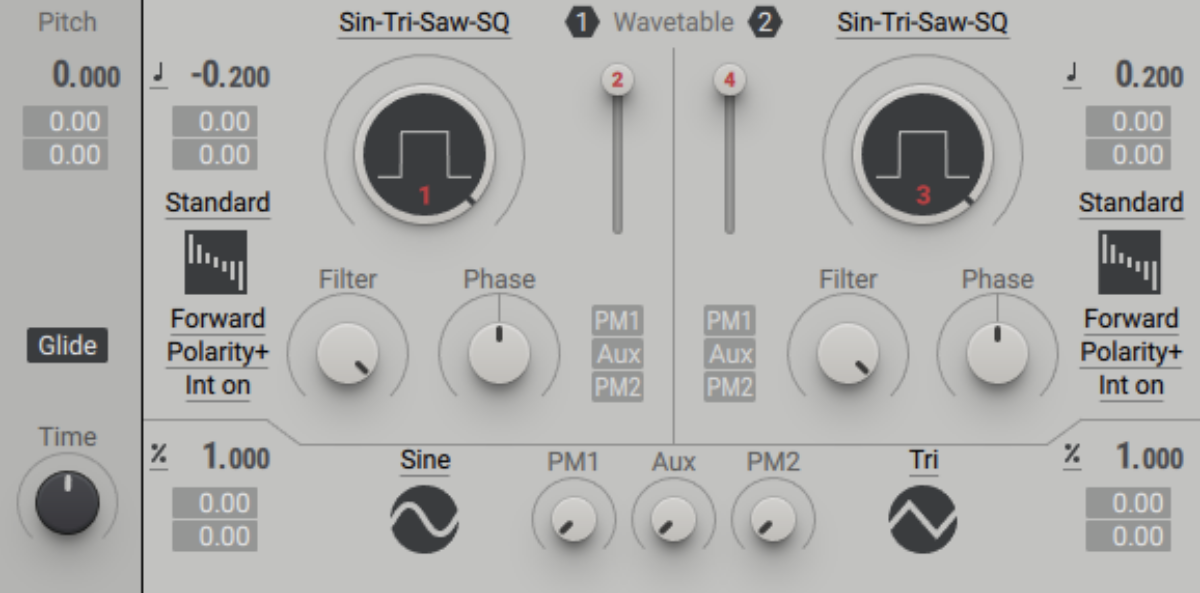
Now when you play a new note when the last one is still held down, you’ll hear the glide effect. Turn the Time knob up to 200 ms or so to make the glide longer.
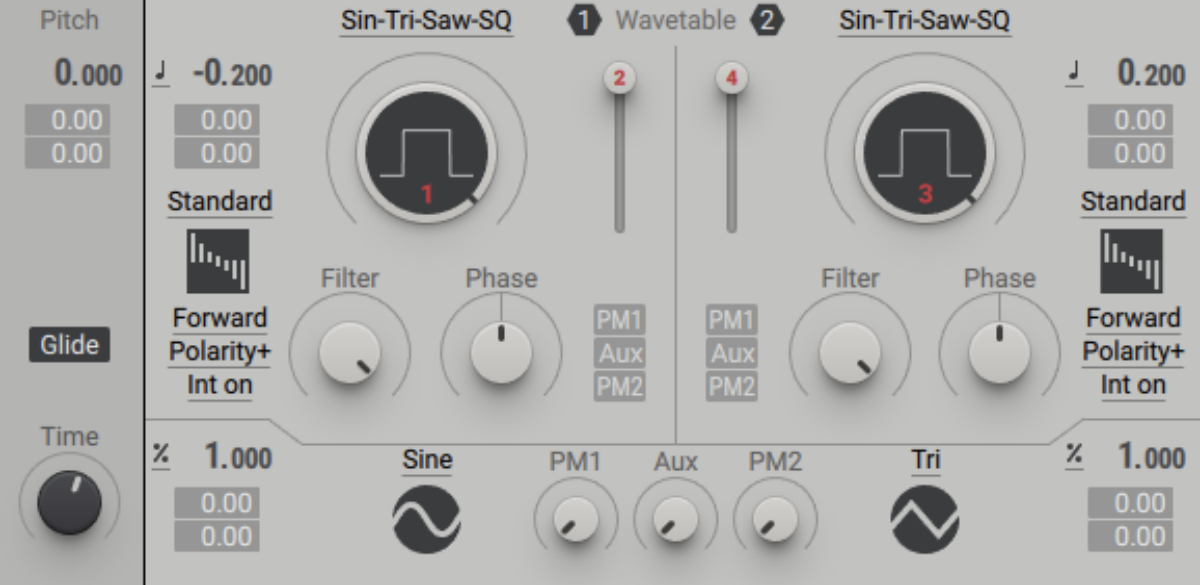
We can get a bigger sound by using unison voices. Click the Unison button to activate this.
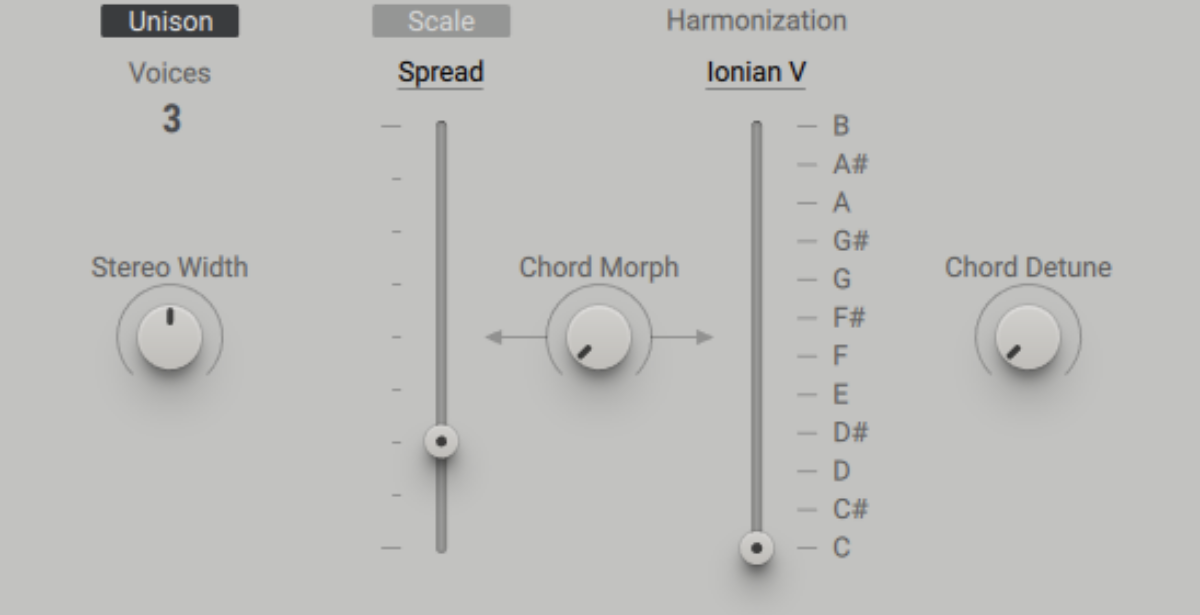
Drag the number of Voices up to 6.

Now we have an interesting tone that you can use in your tracks right away, or save as a foundation for further sonic experimentation. To save the patch, click the floppy disc icon to the right of the patch name.

Start making unique sounds with Massive X
In this guide on how to use Massive X we’ve shown you how to create your own patch from scratch using the synth’s oscillators, filter, effects and voice settings.
If you’d like to learn more about sound design, check out our guides on ADSR, sound synthesis, and wavetable synths.


