


When people started making music on digital hardware for the first time, things often started going wrong. Machines would make shocking sounds that had never been heard before, especially in the context of music. Despite once being a byproduct of malfunction and digital error, glitch has evolved into an intentional and sought-after sound in music. Using glitch effect techniques can give your productions a distinct and futuristic aesthetic.
In this guide, we’ll answer the question “what is a glitch effect?” and explore different techniques you can use to create unique, glitchy textures. By the end, you’ll have a few glitch effect variations to use in your own music – and if you don’t feel like making them from scratch, you can download the ones we create here. The glitch effects we’re building will end up sounding like this when put together:
So, how do you make a glitch effect? Let’s find out.
Jump to these sections:
What is a glitch effect?
A glitch effect is the deliberate use of digital errors, stuttering artifacts, and unpredictable sonic disruptions to create weird textural elements. It’s a form of controlled chaos — distorting, stretching, chopping, and resampling sounds to create something unexpected.
Glitch sounds first emerged as a happy accident from malfunctioning CD players, digital distortion, and corrupted audio files. Over time, producers started replicating these unpredictable elements with sampling, granular synthesis, and creative editing. Now, glitch is a staple in electronic subgenres like IDM, glitch-hop, and experimental music. They are also used in films to create strange sci-fi effects.
You can hear some glitchy rhythms and digital artifacts in “Bucephalus Bouncing Ball” by Aphex Twin:
And in Autechre’s “Gantz Graf”:
On the less extreme end of the spectrum, you can even hear glitchy effects in Billie Eilish’s music. Listen out for it throughout “bury a friend”:
How do you make a glitch sound effect?
Glitch effects happen when you break and reassemble sound in creative ways. While there are many approaches, we’ll focus on a few core techniques you can apply in any DAW.
For this tutorial, we’ll be using plugins from Komplete 15 in Ableton Live. You can follow along with your preferred DAW.
1. Choose your sound source
The first step in designing a glitch effect is choosing a sound source. This could be:
- A drum loop – ideal for rhythmic glitching
- A synth – great for atmospheric glitches
- A vocal sample – perfect for chopped and stuttering effects
- Field recordings – adding organic unpredictability
For this example, we’ll start with a simple drum loop created in Battery, and a basic synth patch in Massive X.
Listen to the dry drum loop here, created with the Brawlz Kit preset:
As well as the basic synth patch we’re using. This is an unaltered triangle wave:
Now, let’s start breaking these apart.
2. Play with parameters
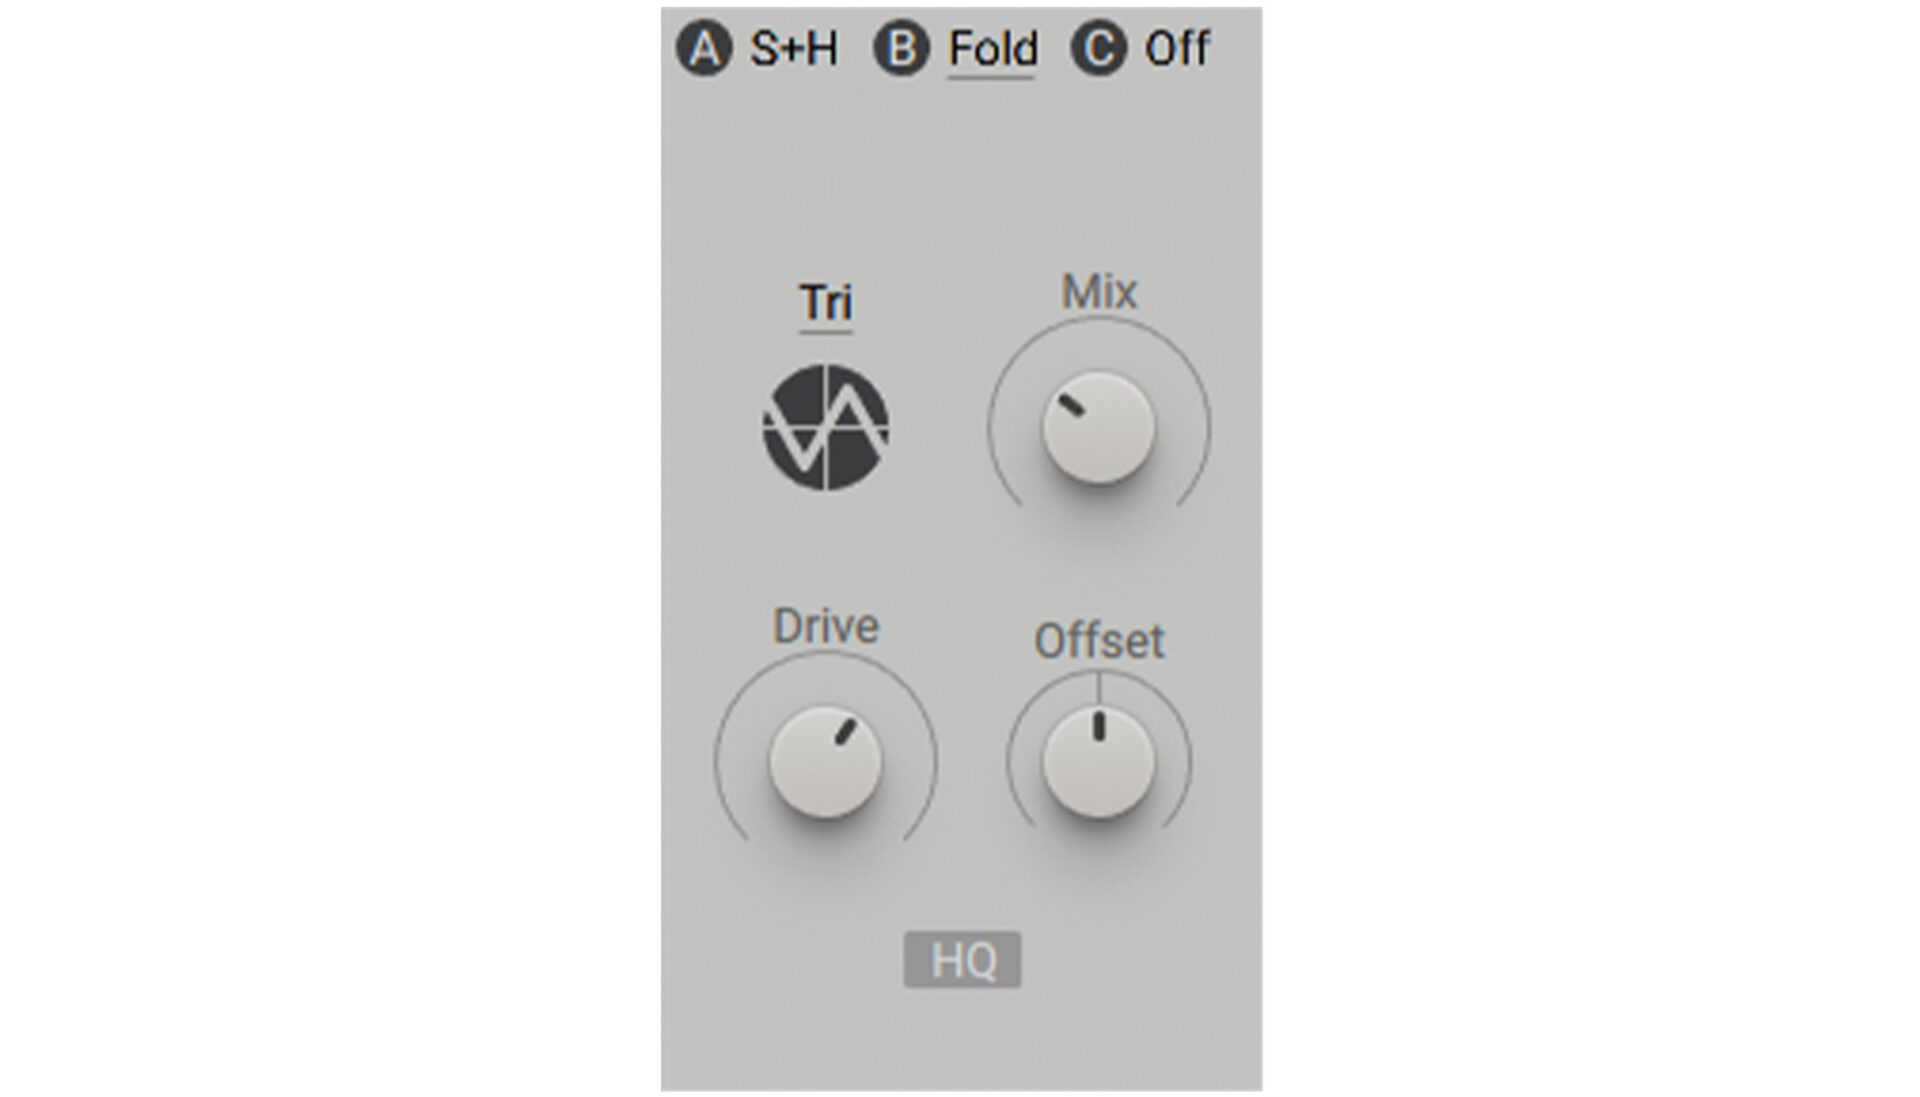
One of the easiest ways to get a glitchy sound is to tweak effects at random. Massive X allows you to do this through the effects panel. The first thing we’ll load up is Sample + Hold, set the mix to around 90%, and start playing around with the key tracking.

We’ll also add a Folder with these settings:
At the moment we’re not looking for anything that sounds particularly compelling on its own. We’re searching for textures and grains that we can use tastefully at a later point.
Create a new audio track where you can resample your experiments. The audio you record here is what you can use later in a track.
We’re left with something that sounds quite unsettling:
3. Time stretch for digital artifacts
Time stretching is a classic glitch technique. When you stretch audio beyond its natural length, it produces artificial textures and digital breakage — like those weird robotic sounds when a file is corrupted or a streaming glitch causes audio to slow down. Of course, we can use this in our music to make unexpected moments of strange rhythm and texture.
We’ll start this technique on our drum loop, and then apply it to the resampled audio we just collected from the synth too.
We’ll start by converting our Battery MIDI track into an audio track. This is generally good practice to make glitches, as you generally can’t time-stretch MIDI notes.
Let’s take one moment from our drum loop as an example. In this case, it’s a hi-hat:
Now, head to the audio editing tab of the sample and click ‘warp’. Below that, you’ll want to hit the ‘x2’ button as many times as your DAW will allow. This shapes the sound into something unrecognizable.

Experiment with the warp modes to find your favorite sound. This time we’ll choose texture mode, setting the grain size to 2 and the flux to 25.
That makes our hi-hat sound like this:
We’ll do the same thing to other parts of the drum loop, as well as random parts of our resampled synth, choosing different warp modes and grain sizes.
You can also use Kontakt’s powerful sampling engine to time stretch samples with zones and keys.
Now, let’s chop these up.
4. Cut, paste, and rearrange
It’s time to fragment our audio by chopping it up manually.
Let’s take our drum and synth resamples, and cut them into small pieces in our DAW. Then, we can create rhythmic glitches out of those chops.
To add variety we’ll:
- Reverse some slices
- Pitch random sections up/down
- Use odd-length cuts to disrupt timing
Once we’ve chopped up those samples and re-arranged them into something crazy, they start to come together like this:
Try repeating rhythmic motifs with your chopped-up samples. This method gives full control over our glitch effects and makes them sound intentional rather than completely random.
5. Add saturation & distortion
Now that our glitch sequence is taking shape, let’s dirty it up with some audio effects.
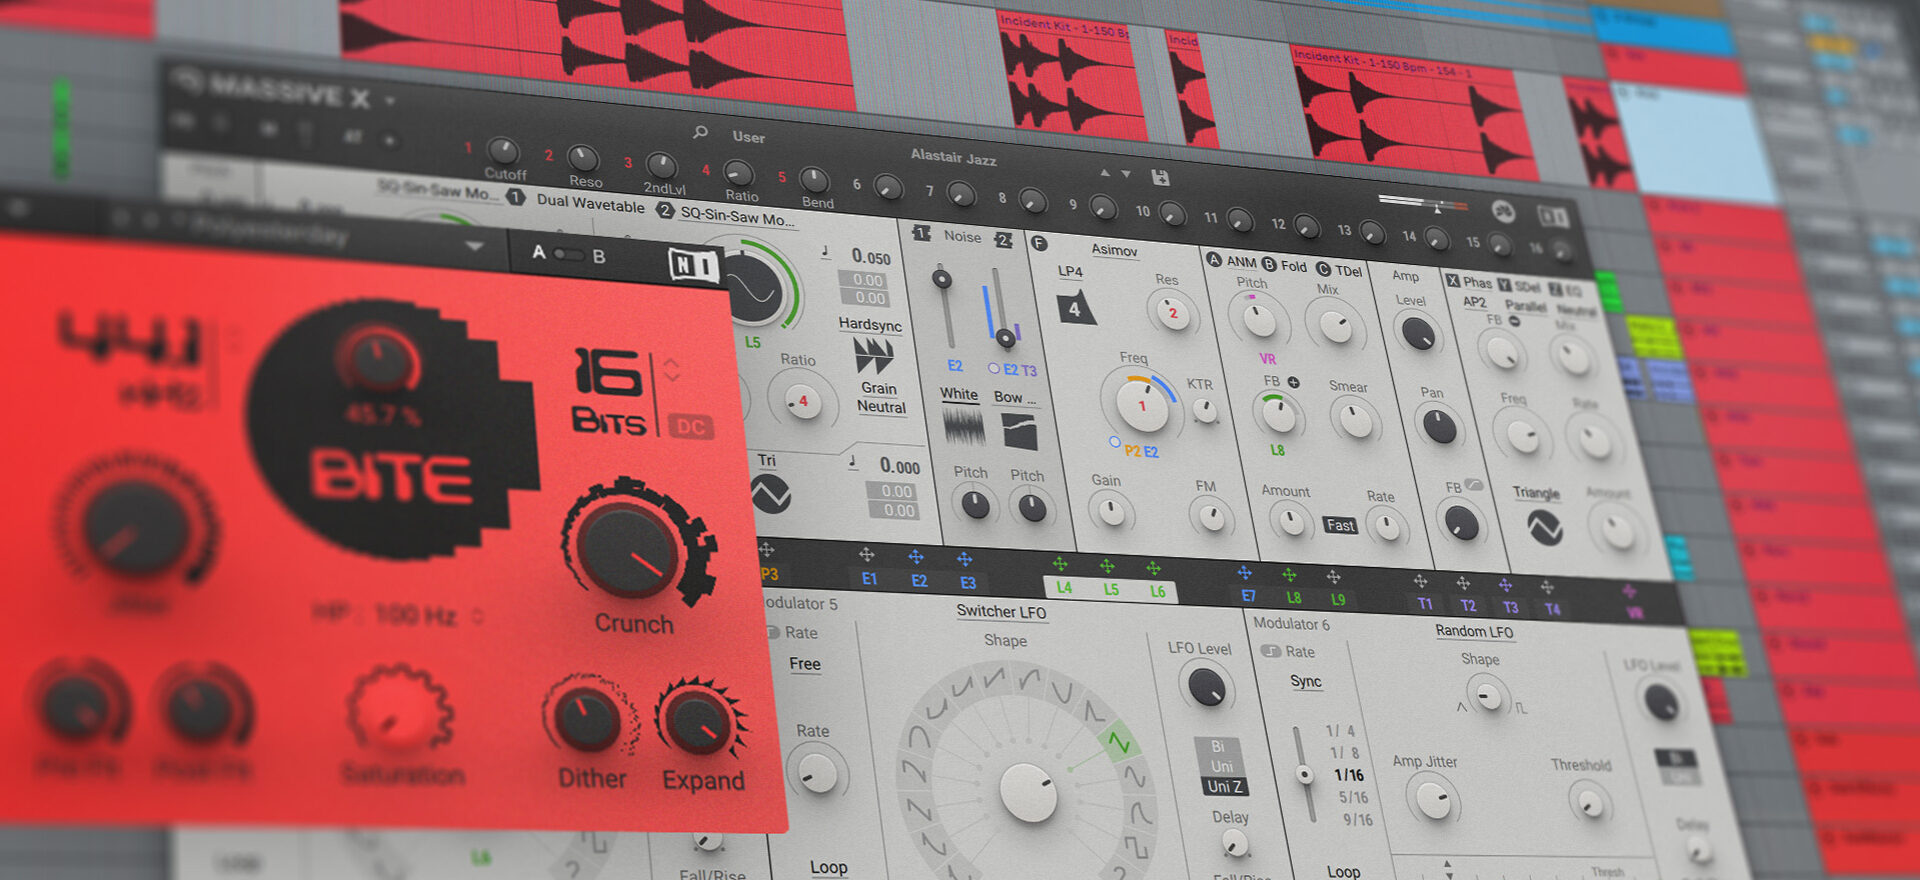
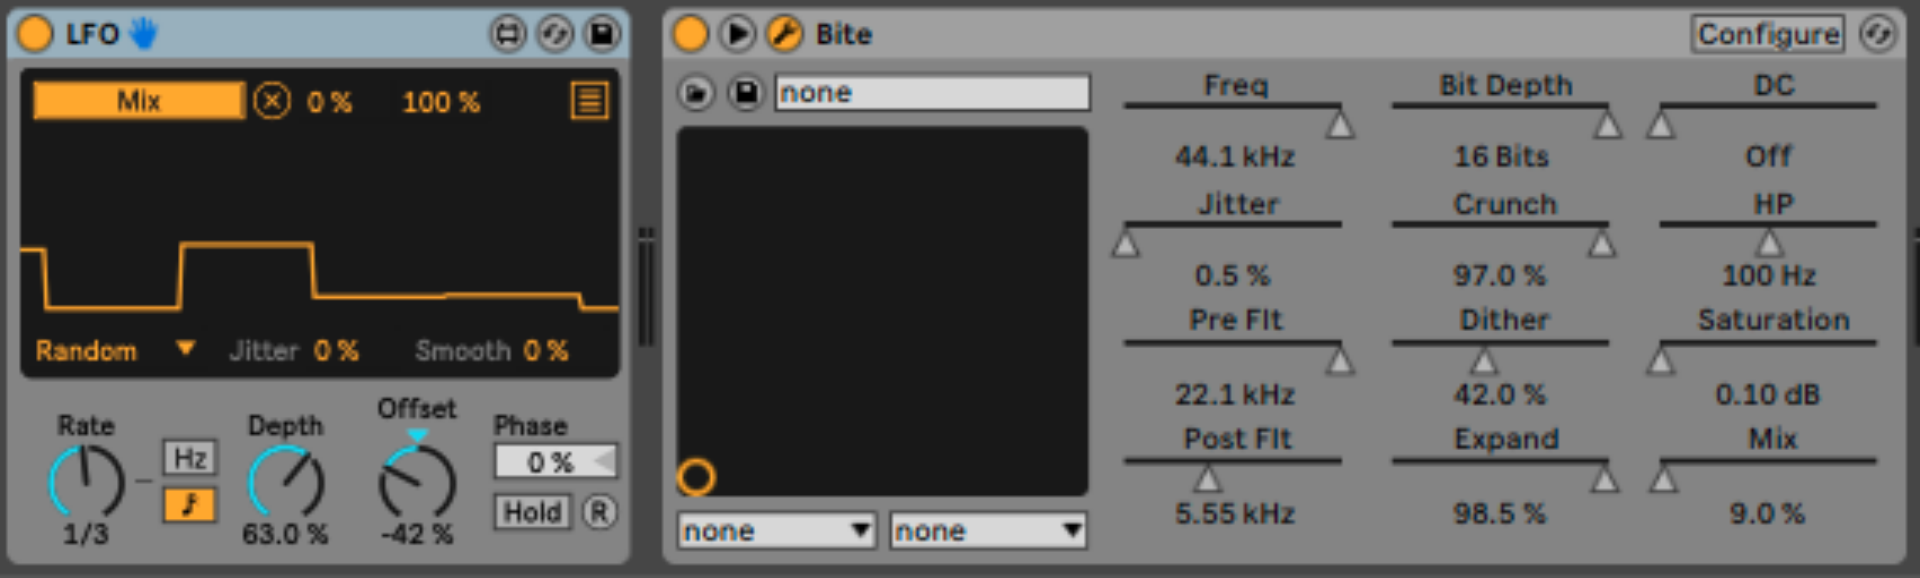
The first thing we’ll add to our chopped-up synth is an instance of Bite, a powerful bitcrusher. We’ll use the Polyesterday preset, with a few edits:

To keep this interesting, we’ll map an LFO to the mix knob of Bite. This will keep the bit-crushing level different throughout our loop.
6. Create a basic arrangement to hear your glitches in motion
We’ve gone ahead and added an extra synth and sub layer to create a small arrangement of our glitch sounds into a short track. This is what it sounds like:
Download these glitch effects
Not ready to make your own glitch effects just yet? No problem. Download the exact glitch effects we created in this tutorial and drop them into your projects:
Start making your own glitch effects
Glitch effects are a great way to add an element of unpredictability to your tracks. Use manual slicing, extreme time stretching, and real-time modulation to add some experimentation to your music.
Want even more sound design firepower? Komplete 15 gives you the tools to build your very own glitch textures, from Massive X’s sample mangling to Bite’s bit-crushing.
Start creating glitch effects today with Komplete 15.
Related articles
-
An update from Nick Williams, CEO of Native Instruments
I want to share a direct update on the restructuring process underway here at Native Instruments. Business continues as usual…
-

NI producer spotlight: Women’s History Month 2026
Discover more than 30 women and nonbinary producers – including WondaGurl, Arca, and Tems – who are defining the modern…
-
Learn how Andre Samuel and Daylight kept Mon Rovîa’s Bloodline sounding natural and clean
Learn how production duo Daylight and Andre Samuel used iZotope RX and Native Instruments tools to capture the organic soul…
-

5 of the best vocal plugins for modern music production
Unlock the power of the human voice. Explore five distinct vocal plugins designed to bring emotion and character to every…
-
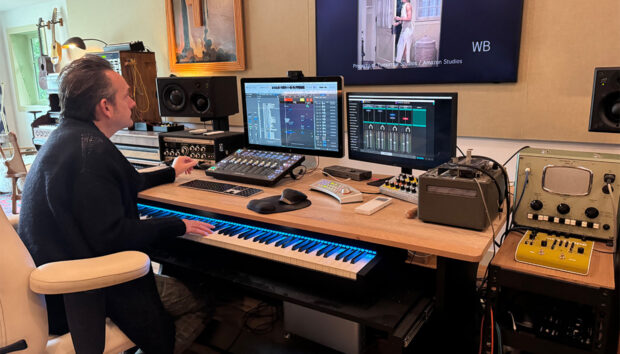
Speed, melody, and instinct: Will Bates on composing for streaming with Kontakt
Will Bates explains how Noire and Kontakt helped him score 'The Better Sister' with speed, emotion, and precision for Prime…
-

Best drum synths for electronic music
Discover the best drum synth VST plugins for electronic music. From professional sound design in Massive X to creative layering…
-

Richie Hawtin: deconstructing the dancefloor with Traktor
Go behind the scenes with Richie Hawtin to see how he uses Traktor, analog mixing, and live sequencing to create…
-

How Nova Wolf finds humanity in loudness with Ozone
Nova Wolf explains how iZotope Ozone helped him master Nomad Tapes: Africa with warmth, emotion, and cohesion, balancing intensity with…