


Related articles
-
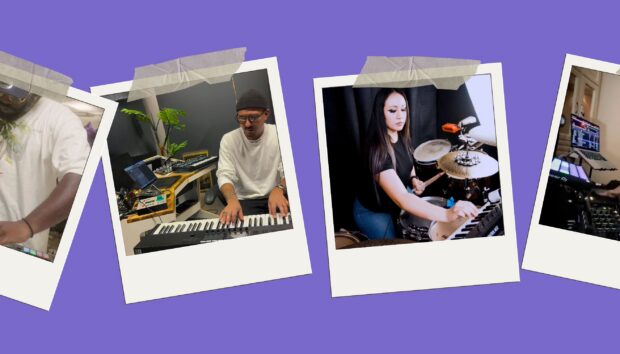
2026 NI community roundup: from the studio to the stage
See how the community is using Maschine, Traktor, and Kontrol keyboards to find their flow in 2026. Get inspired by…
-
An update from Nick Williams, CEO of Native Instruments
I want to share a direct update on the restructuring process underway here at Native Instruments. Business…
-
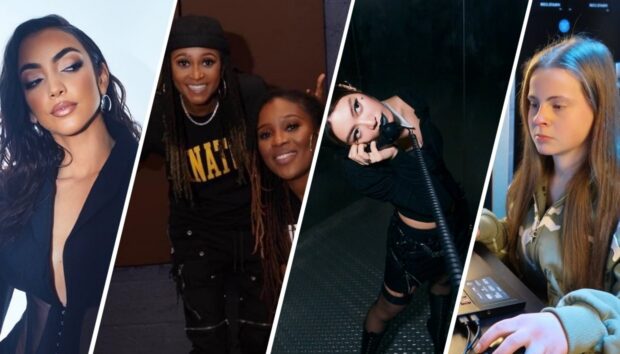
NI producer spotlight: Women’s History Month 2026
Discover more than 30 women and nonbinary producers – including WondaGurl, Arca, and Tems – who are defining the modern…
-
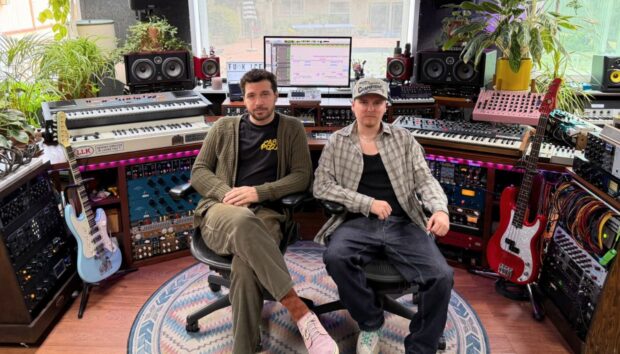
Learn how Andre Samuel and Daylight kept Mon Rovîa’s Bloodline sounding natural and clean
Learn how production duo Daylight and Andre Samuel used iZotope RX and Native Instruments tools to capture the organic soul…
-

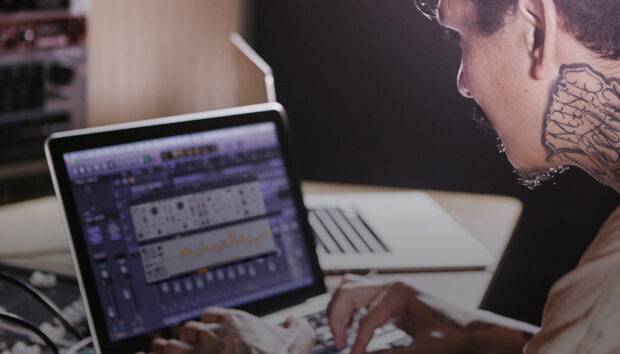
5 of the best vocal plugins for modern music production
Unlock the power of the human voice. Explore five distinct vocal plugins designed to bring emotion and character to every…
-
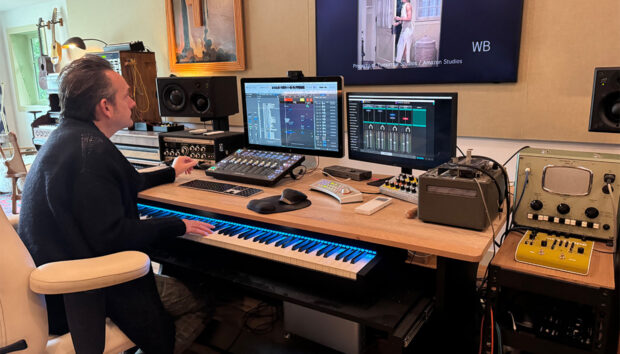
Speed, melody, and instinct: Will Bates on composing for streaming with Kontakt
Will Bates explains how Noire and Kontakt helped him score 'The Better Sister' with speed, emotion, and precision for Prime…
-
Best drum synths for electronic music
Discover the best drum synth VST plugins for electronic music. From professional sound design in Massive X to creative layering…
-
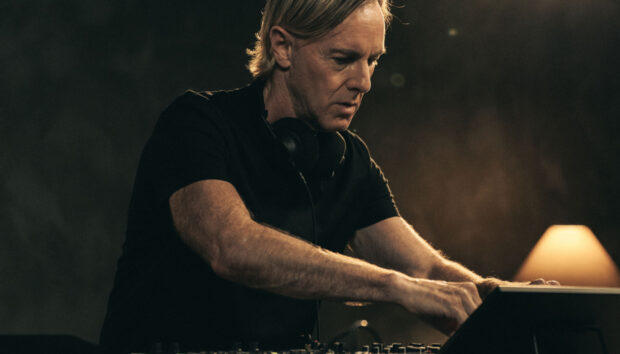
Richie Hawtin: deconstructing the dancefloor with Traktor
Go behind the scenes with Richie Hawtin to see how he uses Traktor, analog mixing, and live sequencing to create…