


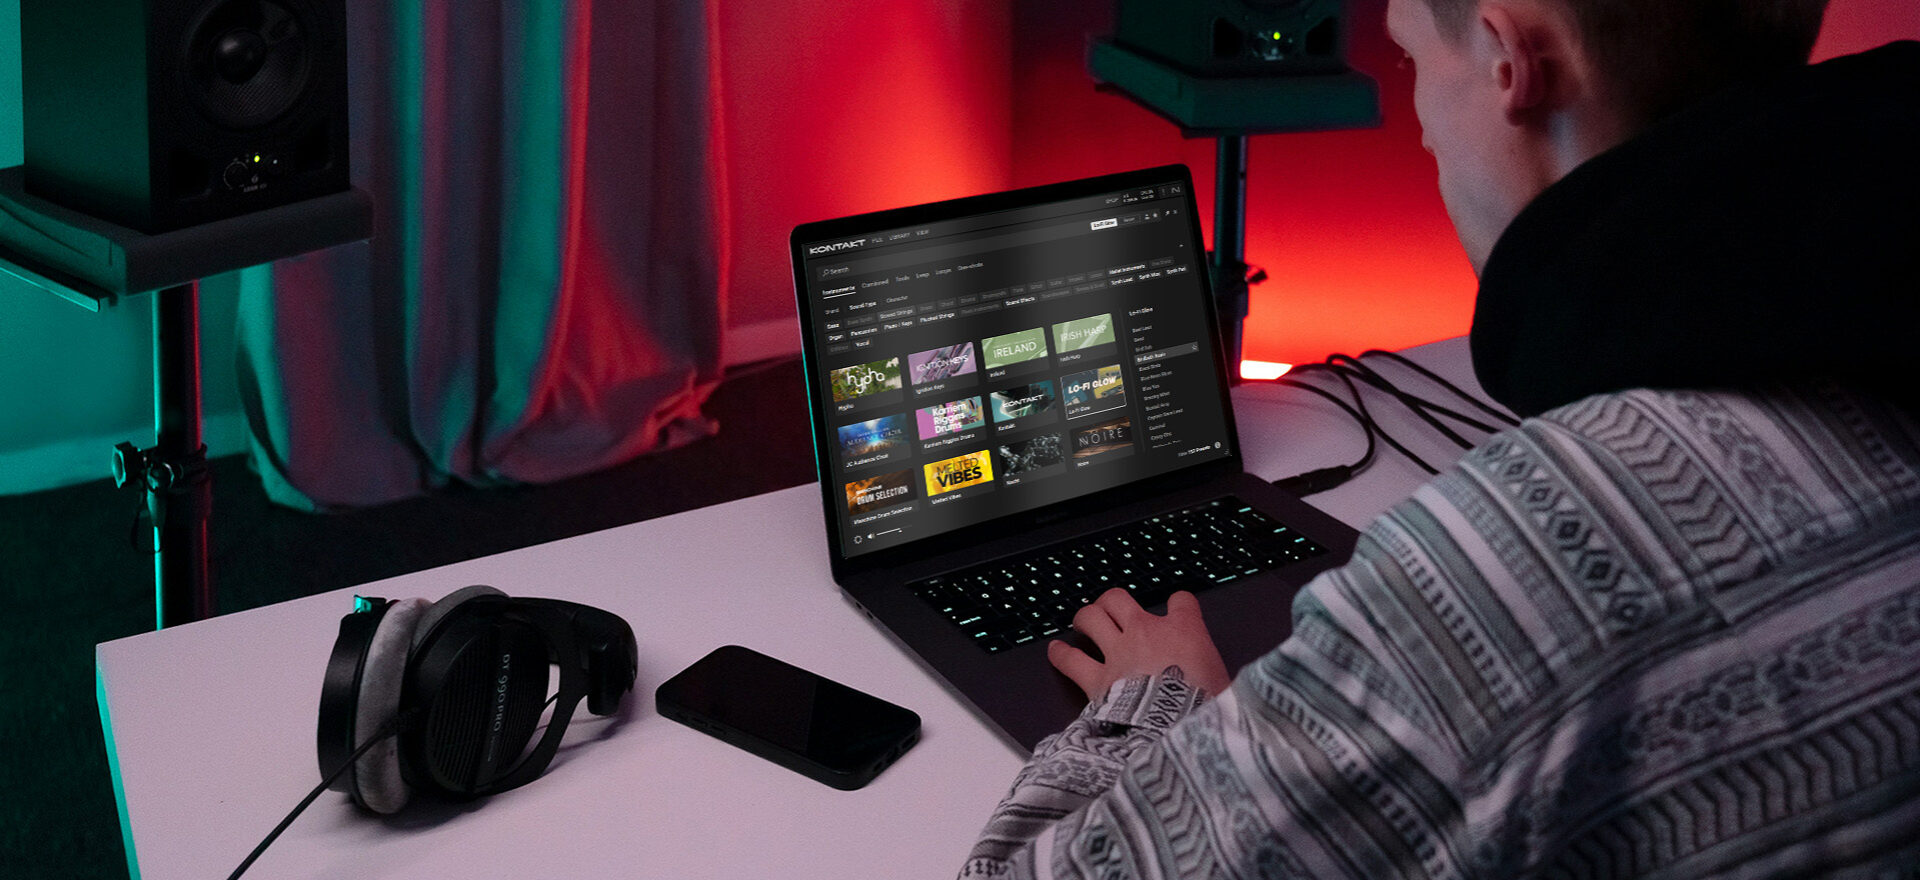
If you want to start your music production journey, NI 360 music production subscriptions are a great way to access all the professional sounds you need to create tracks in any genre without committing to expensive purchases.
NI 360 subscriptions have three tiers: Essentials, Plus and Pro. Each of these offers a comprehensive, ever-evolving toolkit of music production tools from industry-standard music software developers Native Instruments, iZotope, and Brainworx, making NI 360 ideal for budget-friendly music production.
Even better, you can get a free trial to make sure the service is right for you, making it the ideal way to try out music production for beginners with minimal commitment.
In this tutorial, we’ll show you how to make an emotional pop track using just your DAW and NI 360 Essentials. We’ll use Massive X, Kontakt 8 Player, Platinum Pop, Lo-Fi Glow, Studio Drummer, Sway, Pharlight, Replika XT, Raum and iZotope Ozone 12 Elements to make this, all of which are included in the free trial.
How can a music production subscription help me finish my tracks?
Having access to a broad array of sounds and effects can make the creative process more fun, and professional mixing plugins make getting a polished mixdown quicker and easier. You can find all of these useful tools in NI 360.
NI 360 Subscriptions are more budget-friendly than perpetual licenses and can be paid monthly or yearly, depending on your needs. What’s more, the range of available software included is ever-evolving, regularly giving you new tools to experiment with.
Is the 360 subscription a good value for new producers?
NI 360 subscriptions can be a real money saver for new producers, as the upfront cost is small, and it offers the ability to get to know the world of music production before making costly investments. It also offers a free trial, giving you 14 days of music-making power without spending anything at all.
How to make a pro pop track with NI 360 Essentials
1. Use a musical loop for inspiration
If you’re new to music production, you might find it helpful to have some musical inspiration. Thankfully, 360 Essentials is jam-packed with music loops that can give you a head start. Let’s use one of Kontakt 8 Player’s Leap Kits to give us a starting point.
Sticking with your DAW’s default tempo of 120 BPM, create a new MIDI track and add an instance of Kontakt 8 Player. Click the Leap button, then select the Platinum Pop expansion and double-click Pineapple Kit to load it up.

Leap kits will automatically warp to fit your project tempo, so all we have to do is play one of the loops back. Create a four-bar MIDI clip and play A3 for all four bars, using a velocity of 100. We’ll use velocity values of 100 for everything in this walkthrough unless otherwise stated.

This plays a delicate arpeggiator loop that can serve as the foundation for our track.
2. Compose chords
Let’s add some chords to fit this arpeggiator loop. On another MIDI track, load up Kontakt 8 Player, but this time select the Lo-fi Glow instrument and the Birdbath Resin preset.

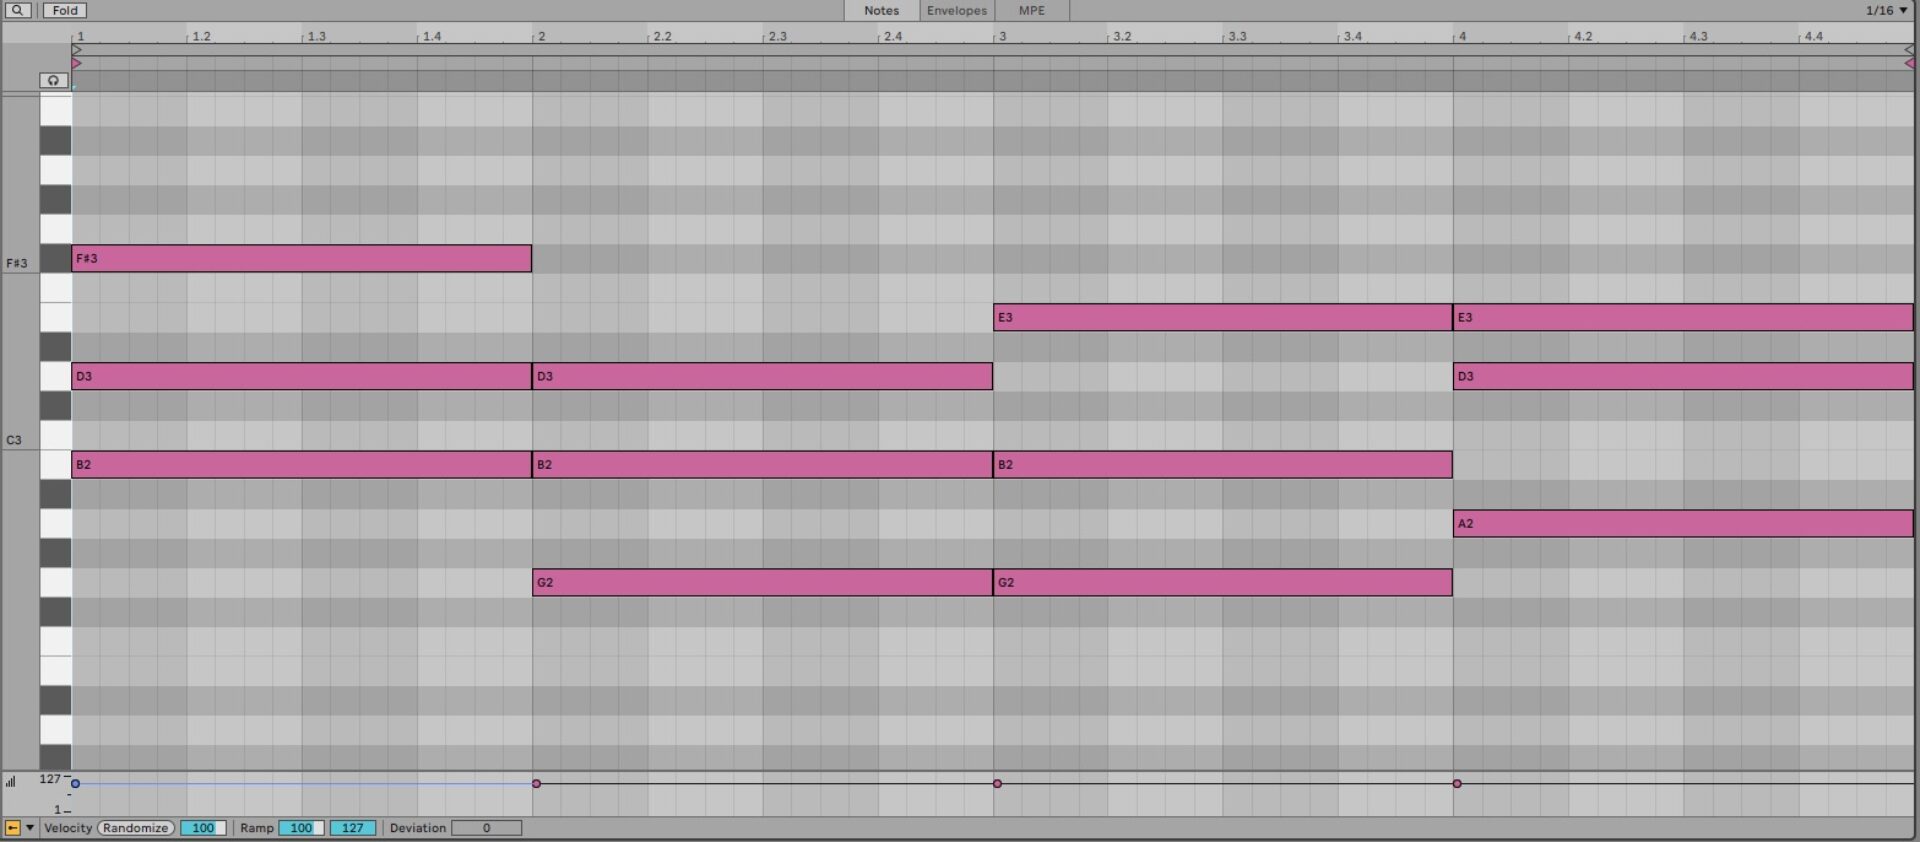
Copy these chords, which are B minor, G major, Emin/G, and Asus4.
This sounds pleasant, but it’s quite loud compared to the arpeggiator loop, so let’s set this track to -12.2 dB.

Here’s how they sound with the arpeggiator loop.
3. Make a drum beat
Next, let’s add a drum beat. Again, add a new MIDI track with Kontakt 8 Player on it, and this time select Studio Drummer and the Session Kit – Full preset.

Start by sequencing C#1 rimshots on the third beat of the first and second bars.

Now add C1 kicks on the first beat of the first bar, and the second and third eighth notes of the second bar.

Place G#1 closed hats on eighth notes, with an A#1 open hat on the last eighth note of the first bar. Use velocity values of 80 for these.

Now duplicate this for the final two bars.

Here’s how the beat sounds with the musical elements.
4. Compose a bass line
Now we have a drum beat, let’s make a bass line. On a new MIDI track, load up Massive X, and select the Bassic preset.

Set this track to -14.5 dB.

First, we’ll sequence a simple bass line that follows the root notes of the chords: B, G, E, and A.

We can make this more exciting with some octave jumps. Add the high B and E notes as we have here:

Let’s hear how it sounds with the rest of the elements.
5. Make a melody
The arpeggiator loop is quite melodic, but it’s really just providing a rhythmic musical element rather than a full-on lead. Let’s add a dedicated lead part. Before we do that, let’s duplicate what we’ve got so far to give us an eight-bar section.

Add a new MIDI track with Kontakt 8 Player, and this time select the Sway instrument and the Desert Guitar preset.

Copy this melody we’ve sequenced for the first four bars, using velocity levels of 45.

Now use this pattern for the second four bars, again using velocity levels of 45.

Here’s how the full melody sounds:
Let’s replace the preset’s reverb with a different effect. Turn down the Reverb knob on the instrument’s interface.

Now add Replika XT on the same track, and load the Synth + Keys > Atmonicer preset.

Let’s hear that with the rest of the elements.
6. Create a counter melody
To develop the musical themes in our music, let’s make a counter melody. On a new MIDI track, add Kontakt 8 Player, and this time select Pharlight and the Witch Kraft preset.

Set this track to -7.5 dB.

Now sequence this part to play a counter melody of B2, E3, and A2.

Duplicate this part so that it plays for the whole eight-bar sequence.

Again, let’s replace this preset’s built-in reverb with another effect. Click the Effects button to bring up the Effects page, and deactivate the AL G Room Wide reverb effect.

Now add Raum on the track, and load the Large > Dark Mod Hall preset.

Here’s how it all sounds together:
Now that we have a good number of elements, we can arrange our track.
7. Arrange your track
Here’s an idea for an arrangement.

This arrangement begins with just the arpeggio and the drums, and builds to a crescendo where the melody and bass drop. After this, the counter-melody is introduced, with elements being removed and added as the arrangement progresses to keep the listener engaged.
8. Master your track
Let’s make a master of our track with iZotope Ozone Elements. Add the effect to your master track, and you’ll be prompted to play back the loudest section of the project. Click the Start Listening button, and play the project back from bar 25.

The plugin will analyze your mix and create a bespoke mastering chain that will dramatically boost the volume of your mix, so make sure to turn your headphones or speakers down!
Here, Ozone Elements has identified the audio input as a pop mix, and you can change the Target on the left-hand side of the interface to a different genre to get an alternative sound.

Start making pro-level music with 360
In this tutorial, we’ve shown you how you can get a polished pop sound using some of the instruments and effects included with NI 360 Essentials.
Get started with an NI 360 music production subscription and make your own pro-level tracks today.
Related articles
-

The 110 best free Kontakt instruments in 2026
Explore the ultimate list of the best free Kontakt instruments and libraries. Discover new sounds and add them to your…
-
Ryan Lott on the living sound of LCO Producer Strings
Son Lux’s Ryan Lott shares how he uses LCO Producer Strings to find the living gradients in his music and…
-

2026 NI community roundup: from the studio to the stage
See how the community is using Maschine, Traktor, and Kontrol keyboards to find their flow in 2026. Get inspired by…
-
An update from Nick Williams, CEO of Native Instruments
I want to share a direct update on the restructuring process underway here at Native Instruments. Business continues as usual…
-

NI producer spotlight: Women’s History Month 2026
Discover more than 30 women and nonbinary producers – including WondaGurl, Arca, and Tems – who are defining the modern…
-
Learn how Andre Samuel and Daylight kept Mon Rovîa’s Bloodline sounding natural and clean
Learn how production duo Daylight and Andre Samuel used iZotope RX and Native Instruments tools to capture the organic soul…
-

5 of the best vocal plugins for modern music production
Unlock the power of the human voice. Explore five distinct vocal plugins designed to bring emotion and character to every…
-
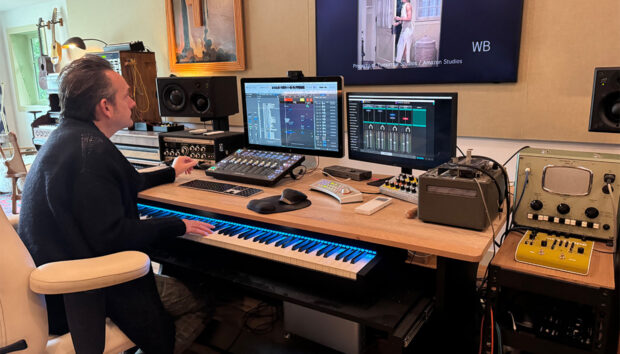
Speed, melody, and instinct: Will Bates on composing for streaming with Kontakt
Will Bates explains how Noire and Kontakt helped him score 'The Better Sister' with speed, emotion, and precision for Prime…