


What is music production? Nowadays, it most often refers to the full journey of creating a piece of recorded music: from the initial spark of inspiration through to writing, recording, shaping sounds and adding effects, and finally mixing and mastering a track, ready for release.
Of course, that’s not a wholly satisfying answer, so let’s rewind a little. Traditionally, a “music producer” was, far more often than not, a specific role, filled by a dedicated professional – as opposed to that of an “songwriter,” “artist,” or “engineer,” for example. The boundaries of the producer role were typically blurry, but he or she broadly occupied the role of a creative leader in the studio, responsible for helping an artist to develop and then capture the best possible version of their track in the studio. They’d also provide guidance to the studio’s technical staff – recording engineers, mixing engineers, etc.
Until the advent of affordable, computer-based music production workflows, the process of producing a single track typically involved all of the above roles, along with many others. Often the artist was the songwriter, and the producer may have also been an engineer, but it was normal to have all of these roles – and many other key functions – separated across a large team. At the top end of the music industry, this is still sometimes (but not always!) how it’s done.
Today, with affordable (or even free) software-based tools for music production widely available, it’s increasingly normal for a “producer” to be solely responsible for an entire track – from writing, to performing, arranging, recording, mixing, and even mastering. Sometimes known as a “bedroom” producer, these lone-wolves have, in a few short years, made an indelible mark on music culture as a whole; “In the box” production (i.e. entirely made within a computer) has become standard across many genres, the hip-hop world has been turned upside down by undiscovered young producers selling incredible beats online, and platinum-selling pop albums have been made in literal bedrooms.
And that’s the kind of producer we’re talking about here. Could that be you? Read on for a Music Production 101 – less of a step-by-step guide and more of a roadmap to this expansive subject. Without digging too far into any one area, we’ll lay out everything you need to know and provide all the links you need to follow your chosen rabbit holes and begin mastering your craft (or simply refreshing your knowledge!) We’ll start from the basics of how to start producing music, move on to recording basics, then finding and shaping your sound, and finally mixing and mastering your track. And read to the end for some further suggestions on how to continue evolving your craft.
Before you start, however, be sure to check out KOMPLETE START – a free set of studio-quality synths, sampled instruments, effects, loops, and samples to get you started (don’t worry – we’ll explain exactly what all of these are later on!).
DOWNLOAD KOMPLETE START FOR FREE
Contents
Step 1: How to get started in music production
Modern music production takes full advantage of digital tools, allowing you to build a powerful, custom recording studio inside your computer. Music production software isn’t just for electronic music – traditional live instruments and orchestral scores are increasingly composed, recorded, and processed digitally.
Choose a DAW
A Digital Audio Workstation, or DAW, is the central command center for your whole production—a platform for recording tracks, laying out arrangements, applying effects, and mixing levels. This is your primary piece of software. There are different ‘industry standard’ DAWs on the market, each with a unique approach to the same base workflow—arrange tracks in a grid window, apply effects to individual channels, and adjust levels using the mixer.
Whether you record live sounds or virtual instruments, everything runs through the DAW interface.
Sounds and samples
The next thing you need is an instrument or sound source. This can be recorded live as an audio file using a microphone, or played on a software instrument within the DAW. Software sound sources typically fall into two camps – sampled and synthesized. Sampled instruments are high-quality audio recordings of live sounds, which can be mapped across a keyboard and played like a software instrument. Our flagship sampler, KONTAKT, hosts many of our most popular instruments and comes with its own selection to get you started. There’s even a free version.
A synthesizer, on the other hand, generates an audio signal from scratch, starting with simple electrical waveforms. These come in many flavors, from analog-style subtractive synths like MONARK, to more complex digital workstations like FM8, and do-it-all wavetable beasts like MASSIVE X.
Most DAWs come with a bundle of instrument and effects plug-ins included. From here you can add more tools and specialize your sound with a wealth of genre-specific Expansions. You can find a free selection of loops and samples from our expansions, along with several studio-grade sampled instruments and synthesizers in KOMPLETE START.
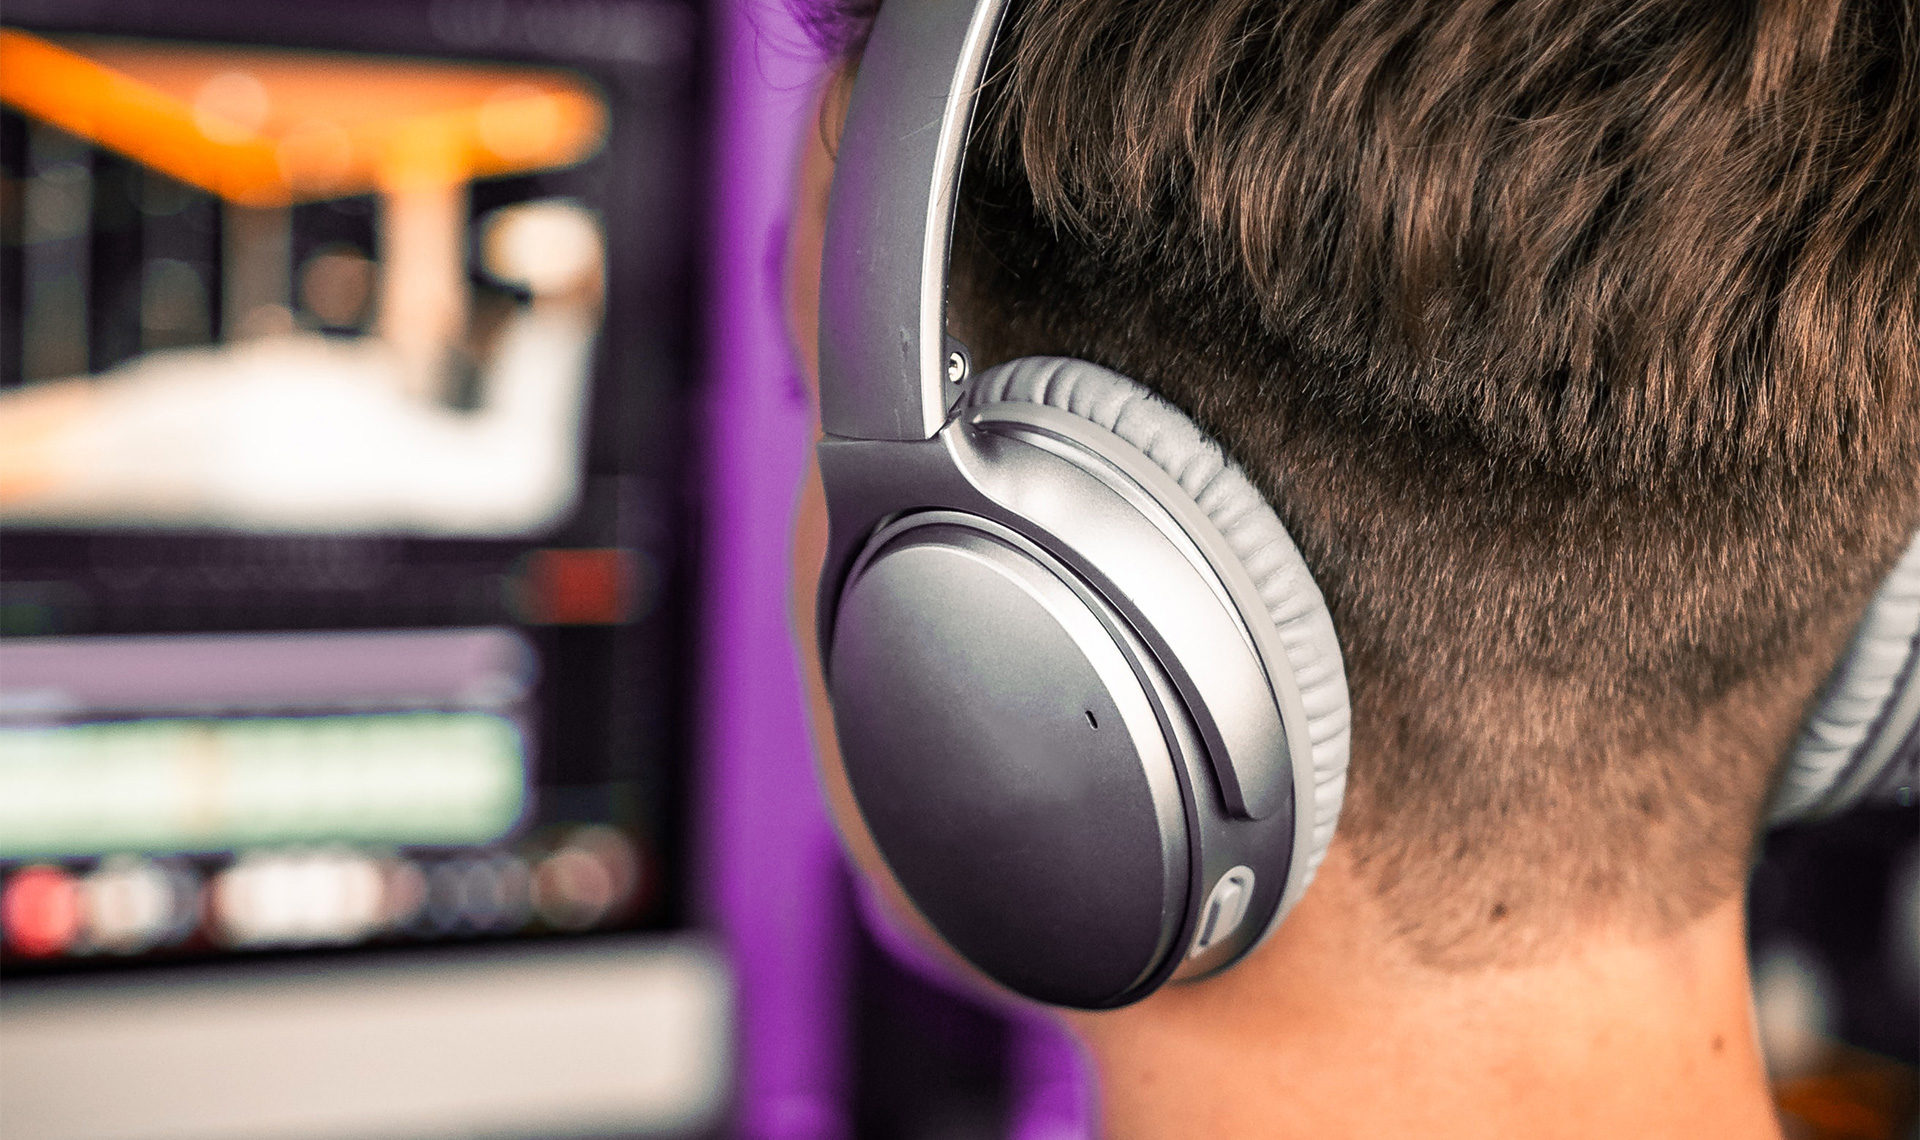
Audio output
To produce music, naturally you’ll need a decent set of speakers or headphones. The aim here is a flat frequency response for a clean, accurate playback of your work—not necessarily the biggest or best sounding but the most precise and objective. If your computer has a built-in audio output you can plug straight in, but to maximize sound quality it’s worth investing in a proper audio interface. These units boast a range of inputs for instruments or microphones and outputs for different configurations of speakers.
Step 1: Set up for recording your (real or virtual) instruments and sounds
The recording stage is where you capture the essence of a project, laying down elements and ideas in track channels in your DAW. This is where the jam happens, and maybe the most beginner-friendly part of learning how to start producing music. Whatever genres or forms of music you’re interested in, the two main options for recording are using live, external instruments or working inside the computer with software plug-ins.
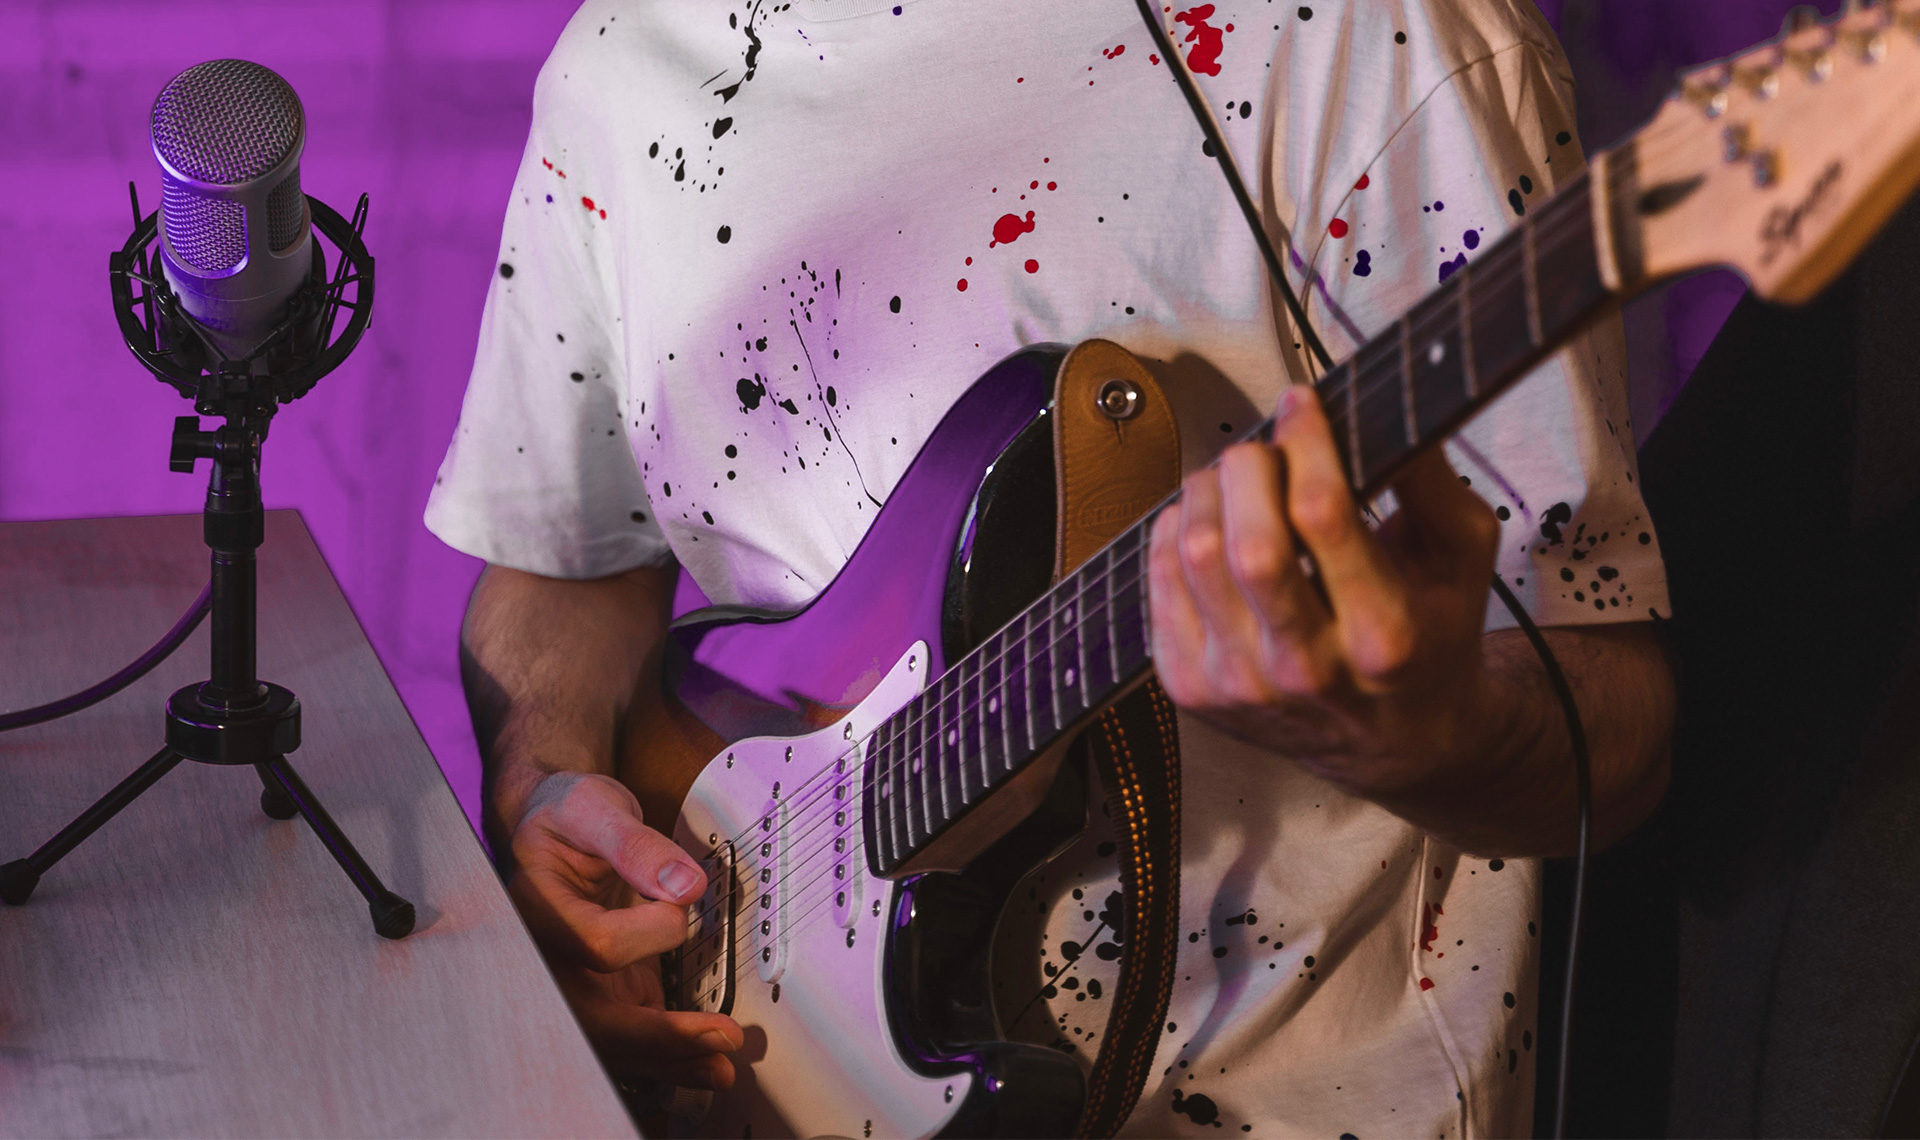
Recording live sounds
Working with audio files is the traditional way of producing music—the first and only way, until modern digital tech came along and massively transformed the landscape. To record electric guitars, synths, or keys, you’ll need to wire them in to your DAW through an audio interface. Connect a microphone for recording acoustic instruments and vocals.
From here, the DAW offers enormous scope for arranging, editing, and processing with effects. If you’re looking for more tips on how to capture your sounds, be sure to check out our handy list of recording tips. And don’t forget that recording isn’t necessarily confined to the comforts of your studio (/bedroom, living room, or wherever your computer lives). For some field recording inspiration, be sure to watch YouTube phenomenon Andrew Huang getting out and about with a microphone, and then check out his own list of music production advice right here on the blog.
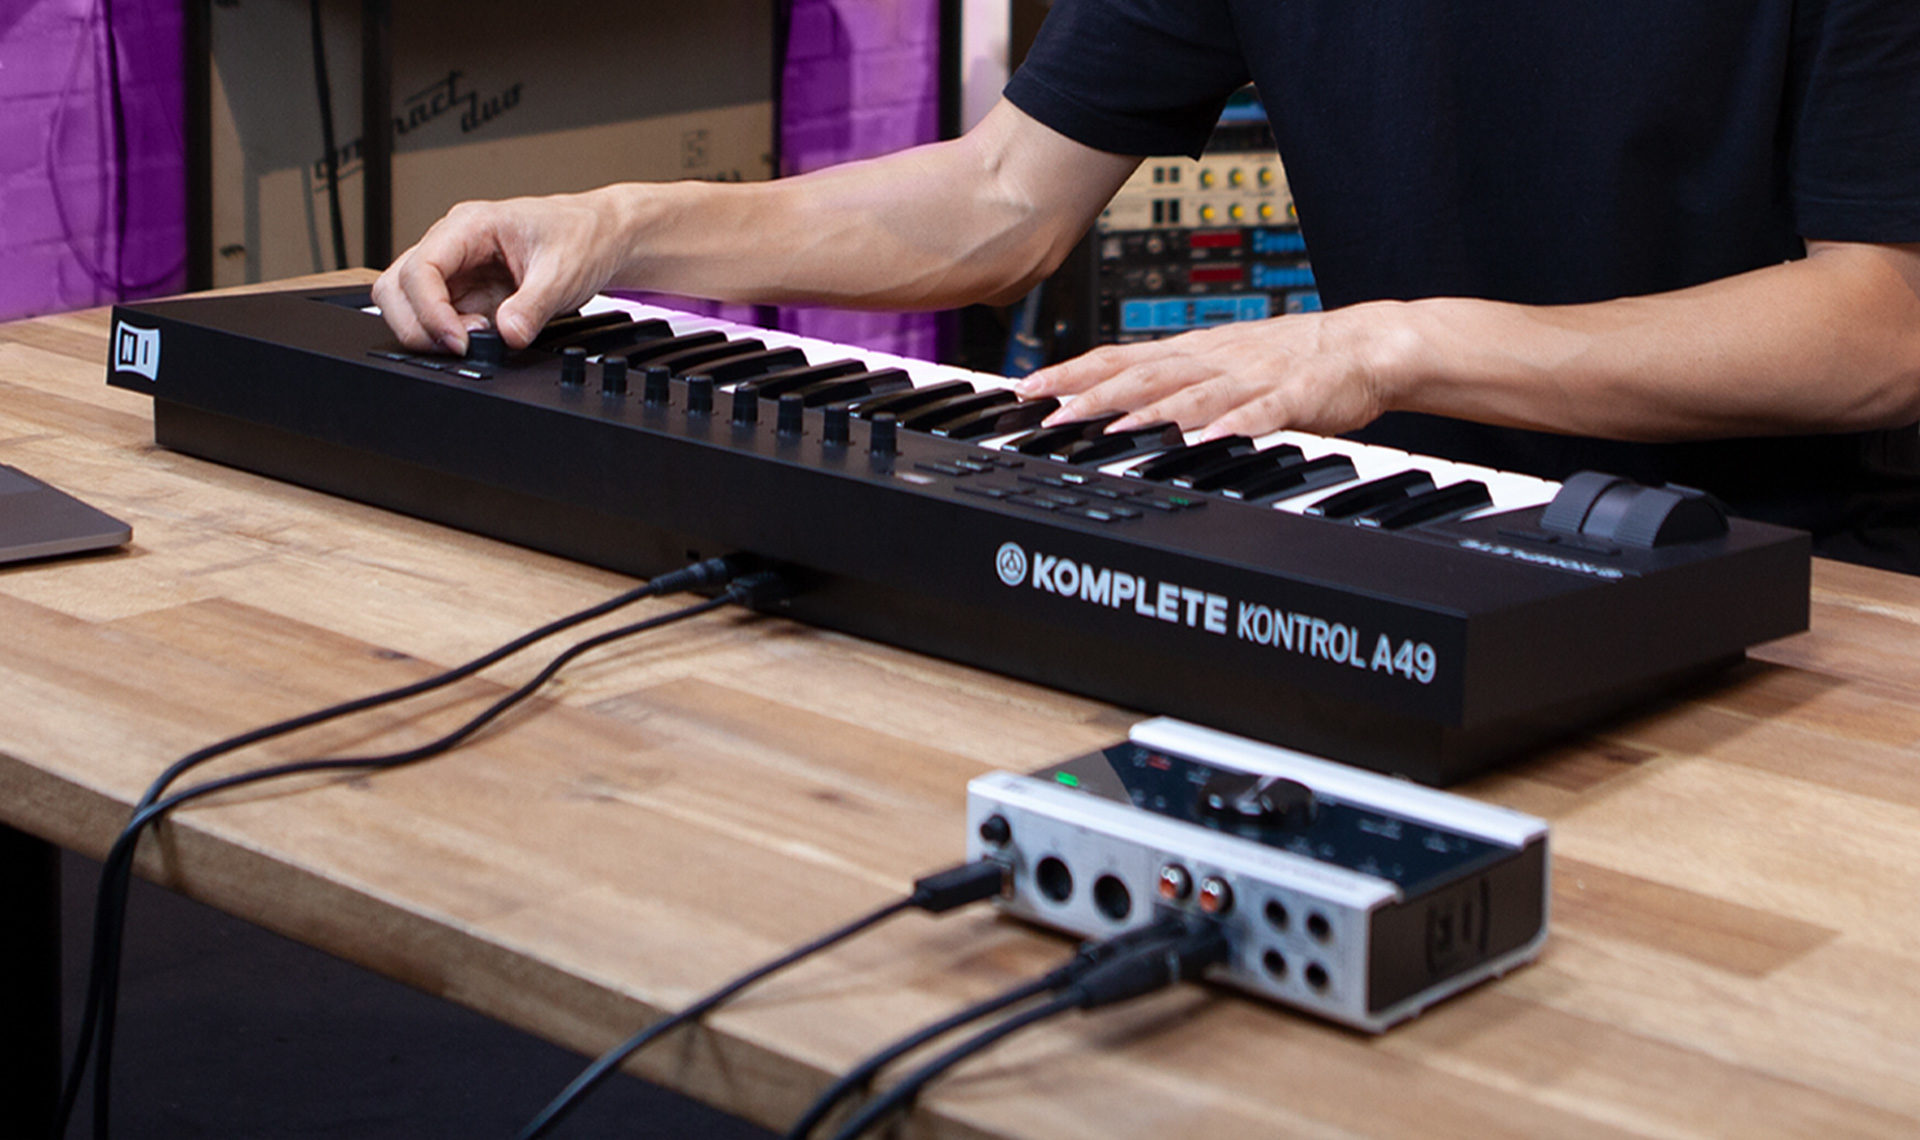
Using a MIDI controller
Epic advancements in computer tech and music production software in recent decades have facilitated an entirely new way to create music ‘in the box’. Producers use MIDI (Musical Instrument Digital Interface) notation to compose and perform with software instruments, as an alternative to recording external audio. MIDI stands for Music Instrument Digital Interface and it is the global-standard digital language for musical notation. Practically all keyboards and electronic music hardware will feature inputs and outputs for MIDI compatibility.
Using MIDI notes, you can trigger virtual instruments to play melodies and chord patterns drawn in your DAW’s piano roll window. Or connect a keyboard (via an audio interface) to record MIDI patterns live with more of an organic, human touch. MIDI keyboards and controllers provide a hands-on, hardware workflow with all the range and flexibility of software plug-ins.
MIDI regions also store data on note velocity and can be used to trigger hundreds of other parameters. If this all sounds somewhat technical—and perhaps anti-creative—don’t worry. In practice, using a MIDI controller is about setting things up once, and then playing it like any other instrument.
Our own NKS-ready controllers, the KOMPLETE KONTROL range of keyboards and MASCHINE grooveboxes, take this to the next logical step, helping you find flow by mapping everything in an intuitive way behind the scenes. Depending on the model, you’ll also get handy visual reminders of what does what via lit-up keys, color screens, and more.
Add audio effects
After recording some elements, you can further shape and manipulate the dry audio signal with processing and audio effects.
Your DAW likely ships stocked with different effects plug-ins, and you can further bolster your arsenal with pro-grade third-party offerings. Effects can be applied for subtle adjustments in the mix, adding dynamics and ambience, or cranked up for more maximal results.
Effects are used at each stage of the production process to shape and balance individual channels and the overall sound. The options for creative effects are practically limitless, adding everything from fuzzy vintage warmth to otherworldly shrieks and pulsing delays.
Reverb effects emulate the sonic reflections we hear in real, physical space—from small, intimate acoustics to loud cathedral echoes or warped, alien soundscapes. Reverb is also effective in the mixing process, helping to soften dry signals, blend sounds together, and add more dynamic range.
Step 3: Express yourself
Music making is not an exact science, and technical set-up is only half of the equation. The rest is about expression – telling your own story and building a production workflow that is personal to you. For a brief guide to the art of actually writing music, as opposed to the technical process of recording or producing it, check out this article on how to create music.
How to find your sound
Many successful artists had formal training, while many more are self-taught. Both are valid approaches, so bring what you know and play to your strengths as an individual. There’s a lot to be said for learning music theory, but just as many masterpieces came from throwing the rulebook out the window.
Anything can be a starting point, a springboard for inspiration and creative flow—a riff popping into your head, a particular instrument or plug-in, or a snippet of recorded audio.
When listening to music, you can ‘train your ear’ (improve your aural perception) by actively focusing on the individual elements and combinations of sounds that make up a track. By deconstructing in this way, you will start to recognize the mechanics of music production that create the overall magic.
Video demos (like those you’ll find on our YouTube channel) are a helpful resource for learning how to produce music, as they teach diverse studio techniques and life hacks in easy-to-follow visual tutorials. Online forums are also worth browsing to answer specific questions or troubleshoot any obstacles you may encounter. The newly-relaunched Native Instruments Community Forum is a great place to go for advice and discussions around using our products, or just for general production chat.
One of the most useful communities out there for aspiring producers is surely metapop. Aside from being one of the friendliest spots on the web for discussing the art and craft of music-making, it’s also a great place to check out remix competitions, win great prizes, and submit your tracks for feedback from professional mentors and the wider community. Reading books, watching videos, and scrolling blogs is a great starting point, but your production skills will really take off once you start finishing tracks and sharing them with your peers.
The role of music producer has never been more fluid, nor has the appetite for new sounds, genres, and breakthroughs in tech. With all that in mind, now is the perfect moment to start producing music and discovering yourself as an artist.
Elements of a track
There are many ways of looking at a project—most of the time focusing in close on individual tracks and sounds that make up the beats, chords, and atmospheres.
But zoom out and the overall production has a character of its own, with different choices of instruments, tempos, and arrangements characteristic of different music genres.
Whatever style you’re into, laying down a rhythm section of beats and bass is fundamental. A lot of dance music is built around the interplay between prominent kick and bass parts. For a great guide to creating the high-impact kick sounds that characterize many modern styles of electronic music, watch our feature with production duo FJAAK.
On top of this you can start layering as many tracks of melodies, vocals, and pads as you like. But be cautious not to overcrowd the mix—taking a ‘less is more’ approach often results in musical ideas that are more pure and precise.
Sound design
You may wonder, how do I start producing music that sounds original? This is the million-dollar question. It’s one thing to emulate the artists you enjoy, but carving out a fresh style is taking things to the next level.
A lot of it comes down to sound design. You know how certain artists are instantly recognizable? Whether it’s the tone, the mixing, or how a certain part is played or sung, they all work with distinctive sound palettes to create a unique sonic signature.
That said, all music and art is more or less derivative. Developing your own sound is a sliding scale between the conventional, ‘correct’ methods and more innovative twists.
Start out experimenting with preset sounds, combining and layering them to your taste. Try tweaking parameters and adding automation to give the track a sense of movement.
Play around with mistakes, capturing ‘happy accidents’ and expanding on what comes randomly. At the same time, don’t be too precious about discarding rough ideas and swapping out elements along the way—you’ll know when it sounds right.
And if you find yourself stuck for inspiration, check out some of our features with respected pro sound designers like Robert Dudzic, Richard Devine, and Sam Bird.

Step 4: Mixing and mastering
The mixing and mastering stages are, in a sense, where the work begins—cleaning up your project and pulling all the raw ideas into a complete composition. In terms of how to produce your own songs to a professional standard, a basic understanding of the post-production process is imperative. While it’s not uncommon today for a producer or artist to mix and even master their own tracks, there are still plenty of dedicated pros making a living from one or the other. If you could see yourself growing into a career like this, take a look at what some top mixing and mastering engineers have to say about these subtle art forms and their role in the music industry.
Mixing
Mixing is all about shaping individual sounds, balancing them against one another, and ensuring that your track has the desired impact at every given point. The lines between producing and mixing have blurred a great deal with modern workflows—sometime to the extent that there is no dedicated “mixing session”. Typically, though, mixing might involve:
- Balancing the levels of tracks against one another—ensuring a lead vocal, for example, can be heard clearly over a rhythm guitar.
- Using EQ (equalizer) tools to boost or (more often) subtract specific points along the frequency spectrum, accentuating the sounds you want to emphasize while mellowing out any undesirable spikes or clashes between instruments.
- Compressing sounds to even out volume spikes or to add specific character, emphasizing the attack of a bass guitar, for example, or bringing out the “body” of a snare. Compression is also often used on groups of tracks, or even on the master, to control overall dynamics or to “glue” parts together.
- Subtle use of creative effects like reverb, delay, or saturation/distortion. Sending parts of several tracks through a single room reverb, for example, can give the impression that they were all recorded in the same place. This is particularly handy when working “in the box” and using virtual instruments or synthesizers.
- Automating changes across any or all of these parameters to suit each section of a track. You may want, for example, louder guitars during a chorus, or more reverb on a vocal during quieter sections.
- Panning tracks left and right: It can be effective to play around with the stereo mix, placing elements across the stereo field to add a sense of depth and aural space. You can also use this to move sounds “out of each others’ way”—placing a vocal in the centre, for example, and a potentially clashing synth riff to one side.
For a great guide to all things mixing, be sure to visit our friends at iZotope:
Mastering
Mastering is the final stage of production, where the definitive version of your work is created. In the past, mastering was regarded as a bit of a dark art—a mixture of technical wizardry and sonic special sauce that can turn a mix into a radio-ready hit. Today though, there are tools that can help you master a track yourself even if you don’t have “golden ears.” iZotope’s Ozone mastering suite comes with intelligent features that will listen to your mix and suggest a starting point based on the genre you’re working in and your desired loudness.
Again, in modern workflows, production, mixing, and mastering can bleed into one process, but we would normally recommend you “bounce” your mix to a single stereo track and give some dedicated attention to this final step. A typical mastering session might include the following processes, some of which we’ll already have applied on the track or buss (or group, depending on your DAW) level:
- Equalizing the mix—for example to bring out the most important frequencies, to clear up “muddy” low end, or to match the norms of a specific genre (Ozone can help by suggesting presets, or by listening to any reference tracks you select)
- Compression to control overall dynamics throughout the track or to add specific flavor (“punch,” for example is a word that’s often associated with certain compressor settings). Compressors used in mastering may be more complex than those we would typically reach for, often working separately across several frequency bands.
- Creative tools like stereo widening, or adding saturation. Typically, you’d consider these things as part of the mixing stage, but you still have the option to add a final layer of sheen in mastering.
- At the end of the chain, a limiter. This is essentially a very aggressive compressor that completely stops levels reaching above a specific point. Sometimes this is little more than a safety measure to prevent ugly-sounding “clipping,” where a track gets too loud and distorts. By increasing the volume of audio going into a limiter, however, it’s sometimes possible to achieve a very loud and energetic sound that works well in certain genres.
- Traditionally, mastering also includes preparing the track for release—exporting the final files in the correct formats, sequencing tracks, adding the metadata required for a release, and dithering.
To learn the ins and outs of mastering, we again defer to our iZotope friends and their excellent 101 guide to the subject:
Step 5: Take it further—resources for learning music production
Learning how to start producing music is a gradual journey of creating, performing, growing, changing, collaborating, and sharing. There’s always more to learn and discover as you delve into the blueprints of different genres and start producing the music of the future.
Why not start here on the Native Instruments blog? There’s near-infinite wisdom locked away in our advice-focused interviews, as well as tips and tricks and a ton of free stuff to help you stock up on sounds without breaking the bank. And once your tracks are starting to come together, head on over to our friends at iZotope for everything there is to know about mixing and mastering them for the outside word.
Related articles
-

Behind the synth: A. G. Cook on stacked sawtooths and the creation of Super*Saw
Explore the extremes of stacked sawtooth waves with Super*Saw, a new synthesizer co-created with A. G. Cook. Learn how to…
-

Inside the evolution of orchestral sampling: an interview with ProjectSAM
Discover how ProjectSAM’s Lineage Series uses NKS and smart features to change orchestral sampling. Plus, save on instruments in our…
-

How New Constellations turn emotion into sound with Massive X
Go inside the studio with New Constellations. Learn how they use Native Instruments gear, happy accidents, and lifelong friendship to…
-

Citizen Kain on building emotion and space with Replika
Citizen Kain explains how Replika helped shape the rhythm, tension, and emotion behind his debut Eversun Records single “Moments.”…
-

The organic precision behind Calcou’s Anjuna release featuring Reaktor
Calcou shares how Reaktor, Monark, and Super 8 shaped the creative balance and live energy behind their new duo EP,…
-

14 NKS instruments that will change the way you create music
Discover 14 NKS instruments to freshen up your workflow. From lo-fi tape synths to cinematic strings, shop the Native Instruments…
-

Parallelle on crafting living basslines with Reaktor and TRK-01
Parallelle share how Reaktor and TRK-01 shape the bass and warmth in 11th Avenue, balancing analog depth with modern control.
-

Where will your sound lead you? Explore the Native Instruments Summer Sale
Save 30% on instruments, effects, and sounds in our Summer Sale. Find the tools to keep your tracks moving and…