When it comes to music production, there’s no finer art than vocal layering. I’ve been a professional top line producer (meaning I write, record, and mix vocals for a living) for nearly a decade now, and I can’t express to you just how good it feels to lock in a balanced, powerful vocal stack (hint: it feels really, really good).
Vocal layering isn’t just about learning a technical skill. It’s more about the thought process and the decisive detail that gets poured into each layer. In this article, I’ll be sharing my go-to process for how to layer vocals, as well as some valuable tips and tricks I’ve learned from my many years of mistakes, triumphs, and “happy accidents.”
By the end of this tutorial, you’ll be well on your way to mastering the art of vocal layering that can sound like this:
Jump to these sections:
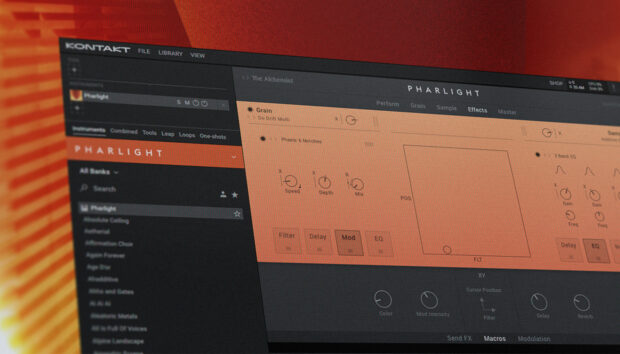
Follow along with Vocal Colors, an expressive engine that infuses creative vocal samples with forward-thinking modulation features.
What is vocal layering?
Vocal layering is simply the process of stacking vocals in your mix to create a robust, full-sounding vocal section. It involves taking multiple vocal recordings (or “takes”) and placing them in your mix to add depth, dimension, and character.
Each vocal layer typically features the same singer or singers performing the same or different parts, which are then mixed together to create a cohesive and captivating sound.
In vocal layering, the multiple vocal tracks may include lead vocals, harmonies, backing vocals, or even ad-libs. The goal is to enhance the depth and emotional impact of the song. Producers can experiment with different vocal arrangements, effects, and processing to create a unique and compelling sonic landscape.
Take a listen to this layered vocal I’ve been working on.
What is the best way to layer vocals?
The best way to layer vocals is to record multiple vocal tracks, each with a distinct purpose, such as lead vocals, harmonies, and ad-libs. Careful arrangement of these layers, adjusting their volume, panning, and applying subtle effects like reverb and EQ, can create a rich, well-balanced vocal sound.
Experimentation is key, allowing you to find the perfect combination that complements the song and adds depth and emotion to the overall performance. Don’t just slap together a ton of vocal takes just because you can. You should always have a specific goal in mind when deciding if, how, and when you’re going to include multiple vocal layers.
There are a number of ways you can go about layering vocals, depending on the needs of your song. Obviously, layering vocals for an Americana Folk track is going to require a slightly different process than creating a vocal stack for the next EDM banger. And where there’s really no “one-size-fits-all” approach to vocal layering, there are some best practices to keep in mind.
Below, I’ll walk you through my typical process for creating a full, rich vocal section, and share with you some useful vocal mixing tricks I’ve discovered over the years.
How to layer vocals
Before we jump in, it’s important to note that you should begin the vocal layering process with high-quality vocals.
When recording vocals, make sure the microphone is properly placed to capture the best audio quality, but know that even the best recordings may need a bit of clean-up work. This may include the use of a de-esser, de-plosive, and mouth de-click plugin (like those found in iZotope RX). This can also include applying timing and pitch correction to each vocal take to make sure the vocals are all lined up and ready to go.
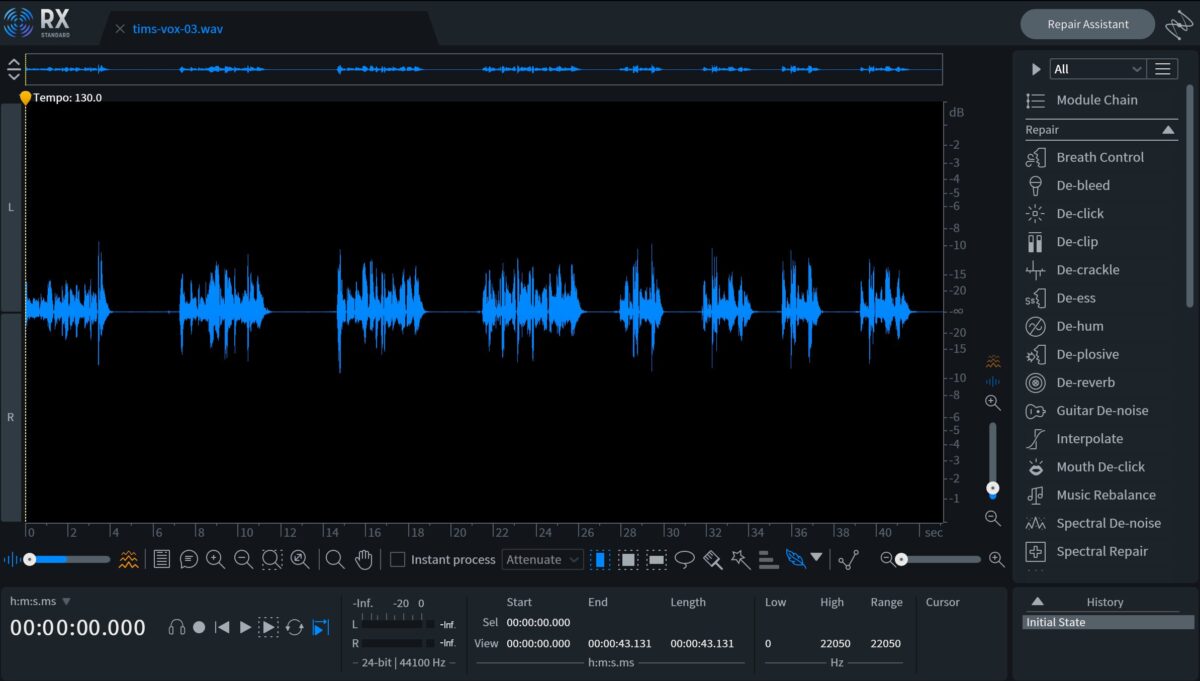
For the sake of this tutorial, I’m going to assume you already have your vocals recorded, edited, and ready for layering. But, should you need a little extra guidance on how to edit vocals so they’re clean and crisp, give this article a read: Vocal Editing 101: Your Guide to High Quality Vocals.
Once you have your vocals ready, let’s take it step-by-step through the vocal layering process.
1. Start with the lead vocal
It’s a good rule of thumb to start with your lead vocal since you’ll want to make sure it’s always intelligible, despite how many other vocal takes you throw into your mix.
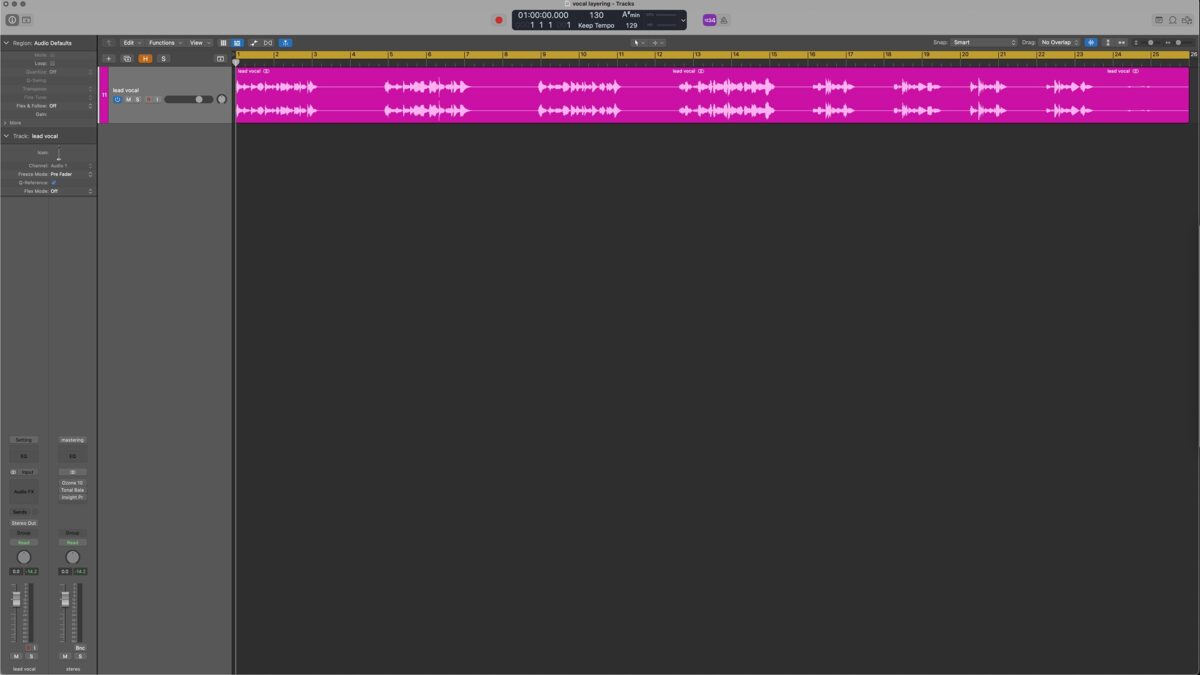
For this example, I’ll be using my own vocals from a track I’ve been working on called “Talking In My Sleep.”
Give the lead vocal a listen.
You’ll likely want to keep the lead vocal front-and-center in your mix so that it doesn’t get washed out by the additional vocal layers you’ll be adding. So, for now, let’s just leave the lead vocal as-is. Pretty easy so far, huh?
2. Create vocal doubles
Vocal doubles are, quite simply, just duplicate takes of your lead vocal. Since each vocal take in a recording session is going to have slightly different timing and vocal inflection, you can use doubles to beef up your lead vocal and add a bit of width.
If you have multiple doubles, consider panning one slightly to the left and another slightly to the right. Then, decrease their volume in your mix until you achieve a good balance. Remember, your lead vocal should be the main focus – the vocal doubles should simply serve as a widening effect.
PRO TIP: If you don’t have a vocal double to work with, you can always use iZotope’s free Vocal Doubler plugin to create one using your lead vocal.
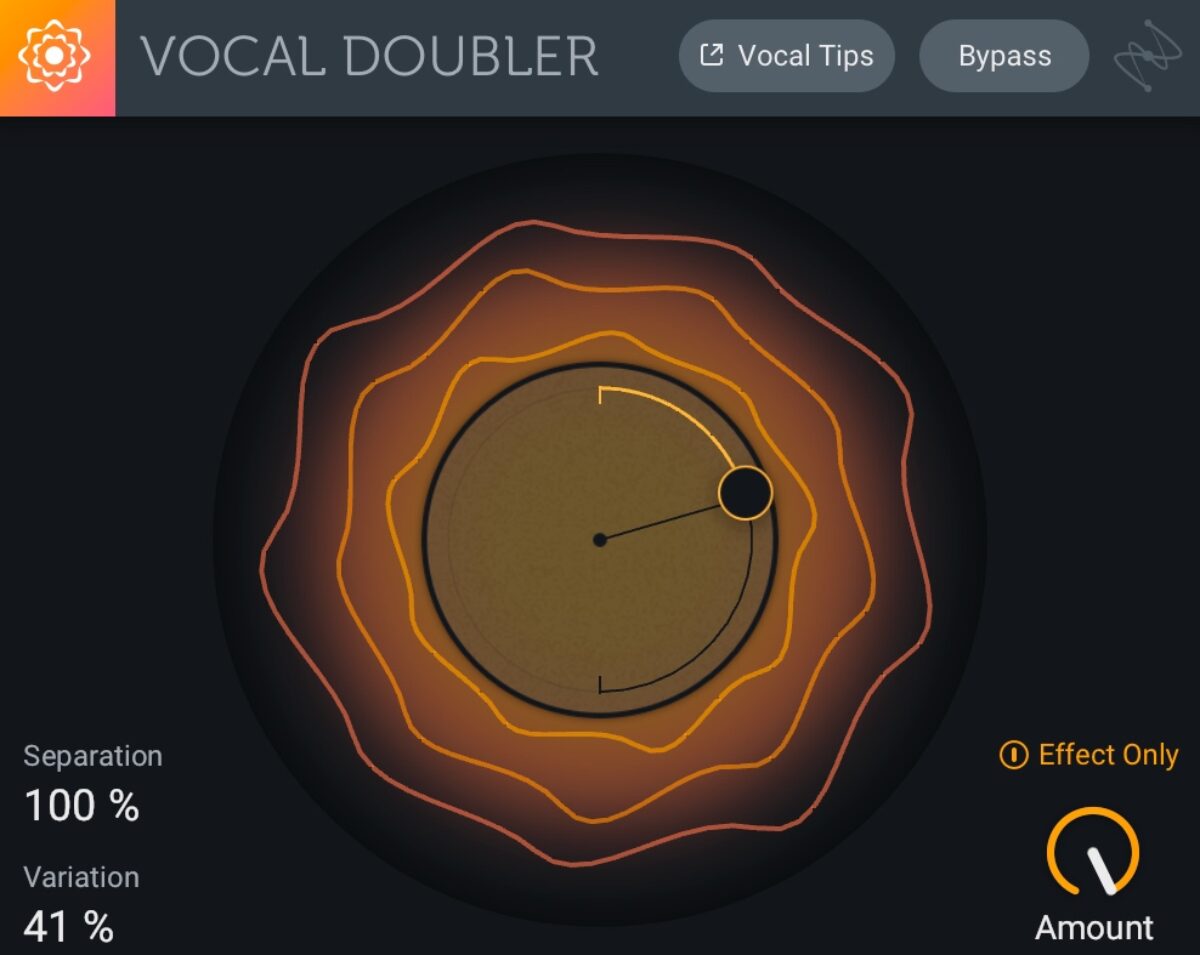
After looking through my vocal files for “Talking In My Sleep,” I realized I only recorded one vocal double. I’m going to add that take to my project timeline and then run it through the Vocal Doubler plugin in order to get that same widening effect, but with only one vocal recording.
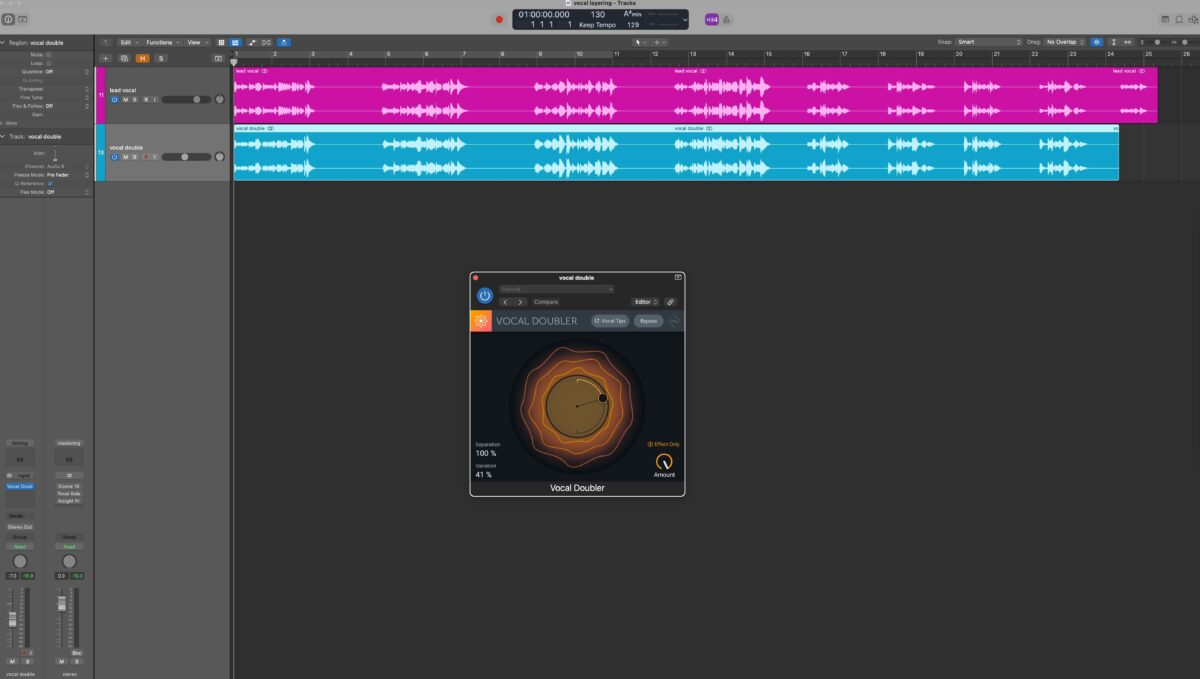
Here’s what the vocal double sounds like after running it through the Vocal Doubler plugin:
And here is the vocal double played back with the lead vocal:
3. Add harmonies
Once you’ve got your main vocal line sounding good, it’s time to add some harmonies. If you don’t have any recorded harmonies to work with, you can create your own by running your lead vocal through virtual instruments like The Mouth, VocalSynth 2, or Nectar 4 Voices module. The first two plugins will allow you to generate new vocal melodies using MIDI and add some pretty sweet vocoder effects if that’s the vibe you’re going for.
Nectar 4 Voices module gives you the ability to create complicated layers for your vocal production without needing to learn voice-leading and harmonic motion.
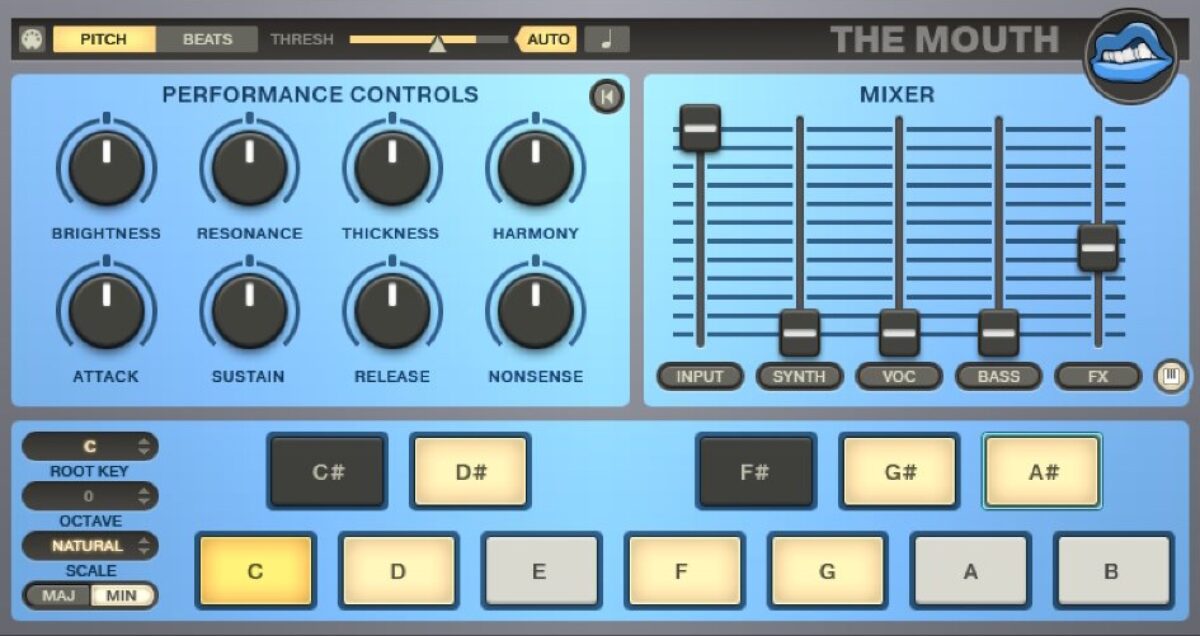
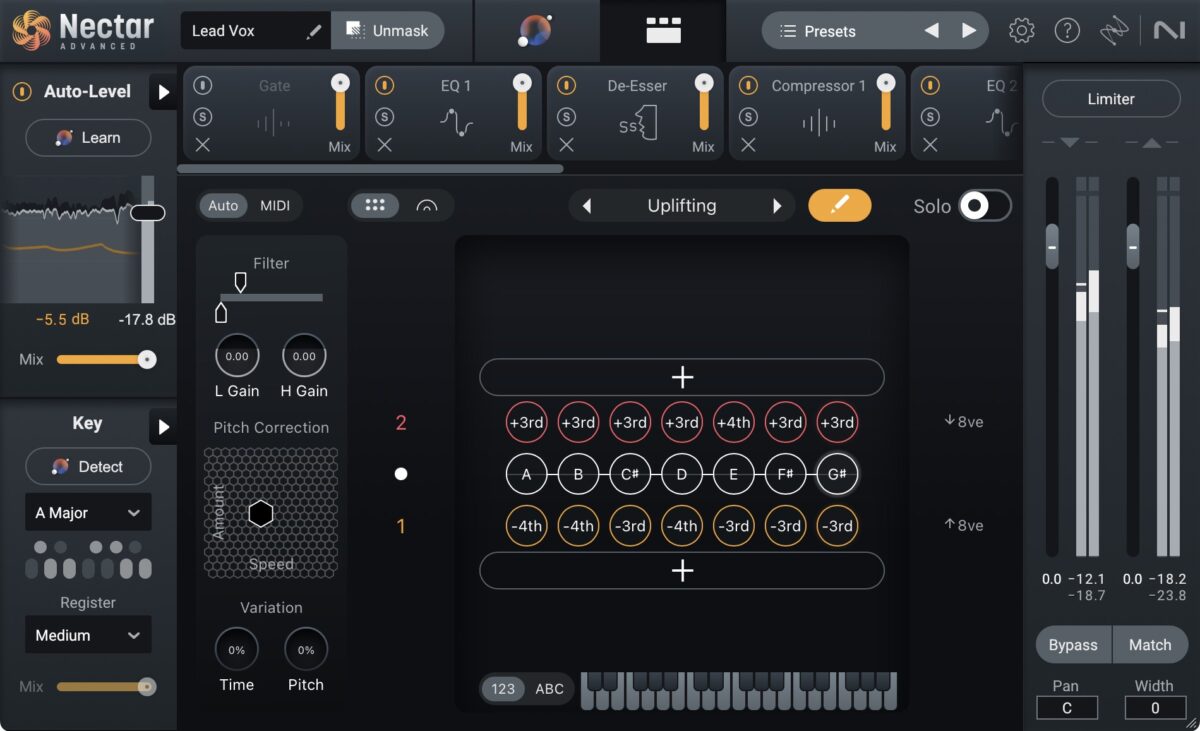
For the track I’ve been working with for this article, I had already recorded four separate harmonies, so we’ll use those for this demonstration. I simply added them all to my session file and applied various amounts of panning to each harmony in order to achieve a rich, wide vocal stack.
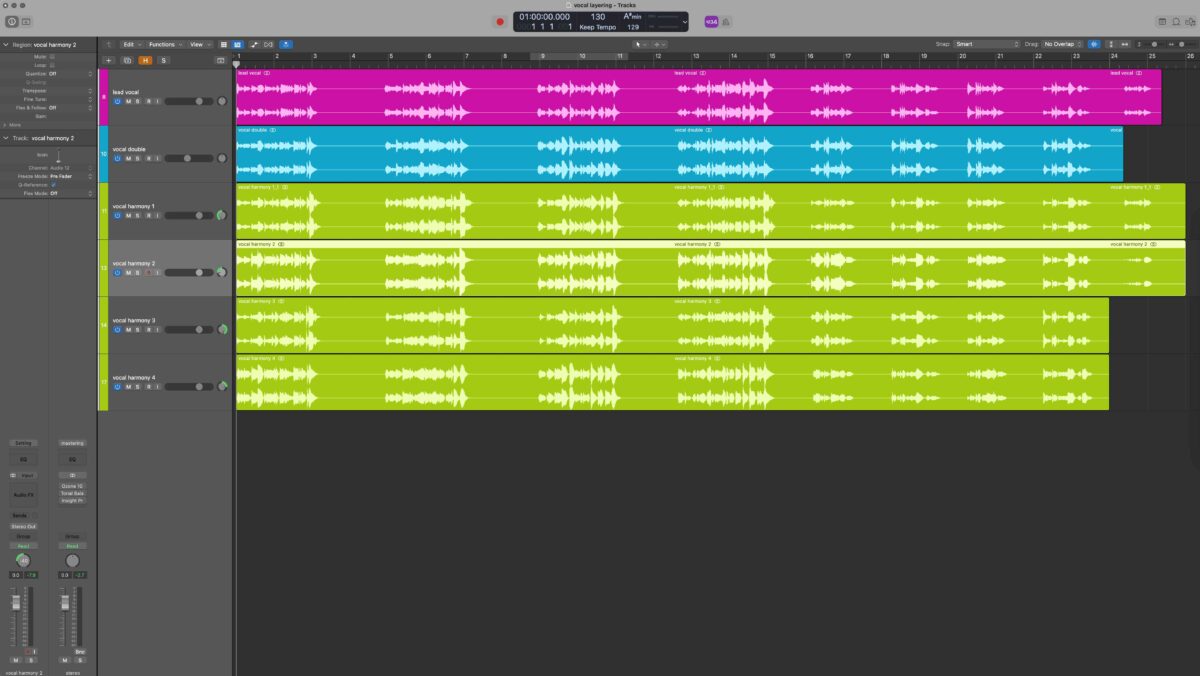
PRO TIP: Labeling and coloring your tracks as you add them to your session file will let you quickly differentiate between the lead, double, and harmonies later on in the mixing process!
With just a bit of panning and some slight volume adjustments, you can create a larger-than-life vocal section pretty easily. Take a listen to how full my vocals sound all together, despite them being totally dry (without any effects).
4. Layer in background vocals
Now that we have our lead vocal, vocal doubles, and harmonies dialed in, let’s spice up our mix with some extra vocal texture by adding some background vocal elements. Although not every track is going to need background vocals, I’ve been having so much fun with the Vocal Colors Kontakt instrument that I figured I’d take it for a spin and show you what it can do!
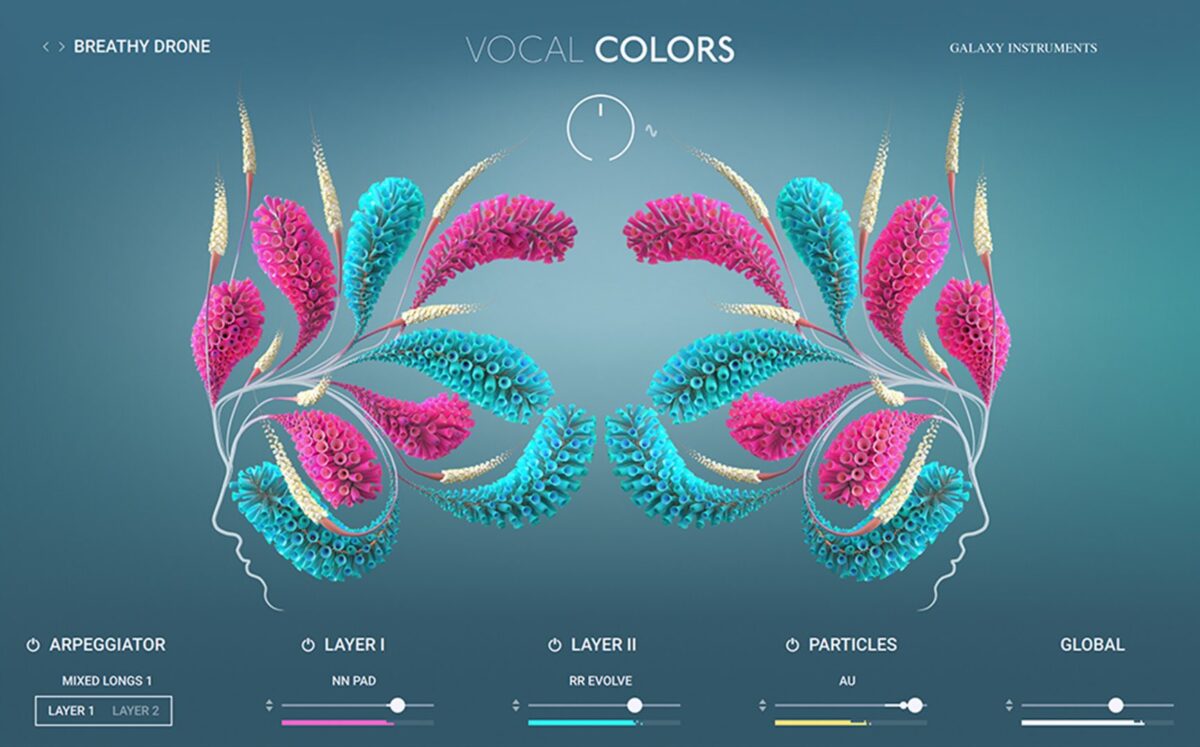
The Vocal Colors library for Kontakt comes packed with presets that truly take the human voice to another level. But, my favorite thing about this instrument is the ability to modulate nearly every parameter over time with one simple modulation wheel (seen at the top of the UI in the image above).
Take a listen to these three riffs I created using only presets that come with Vocal Colors:
As you can hear, the sounds that come out of this library are pristine, right out of the box. I took the three riffs I created above and placed them into my project file to use as background vocal elements.
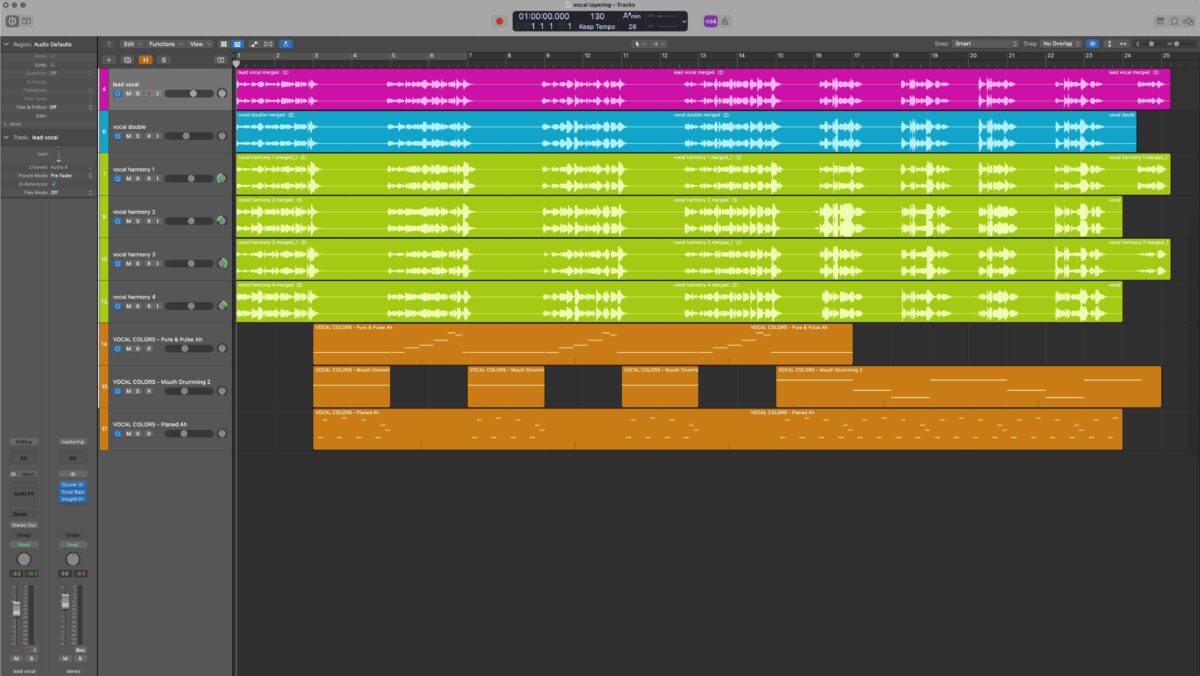
Here’s what the latest vocal stack sounds like with those Vocal Colors riffs added in:
5. Add vocal effects
The next step is to add desired vocal effects to any of the tracks in your vocal mix. This is where “being intentional” really comes into play. Keep in mind the aesthetic you’re trying to go for and don’t add any unnecessary effects, otherwise it can just end up muddying your vocal section.
For my demo track, I honestly don’t think too many vocal effects are needed. The Vocal Colors presets I used for the background vocals already have plenty of delays, reverb, and formant shifting modulation built into them – which gives the vocal mix plenty of space and some interesting texture.
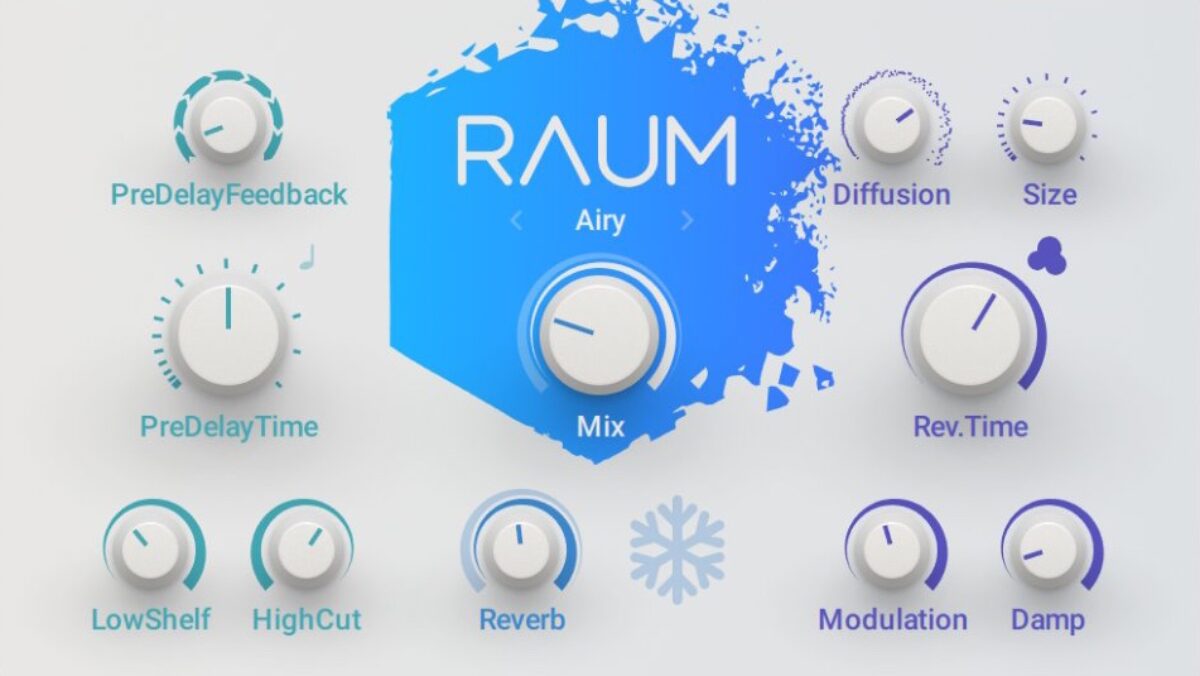
However, I would like to add just a bit of reverb to my vocal double and harmonies in order to help give the main vocal line a sense of space. When it comes to reverb on vocals, subtle is best (unless you’re trying to be the next Phil Collins, of course). I used one of my favorite reverb plugins, Raum, because it’s perfect for creating a really lush reverb sound.
Here’s a snippet of the vocal stack before applying Raum to anything.
Below is the vocal stack after applying Raum with a preset called “Voice Warmer” to the vocal double and each of the harmonies. Note that, when adding Raum, I only took the “Mix” knob up to 15% in order to make sure the reverb doesn’t wash out any of the intelligibility of the vocals.
For more essential vocal reverb tips, check out this article: How to Use Reverb on Vocals.
At this point, you could add any number of distortion plugins, delays, or EQ filters to further modify your overall vocal sound and make it truly your own.
6. Mix in the layered vocals
Unless you’re doing a cover of “Hide and Seek” by Imogen Heap, you’ll likely be wanting your layered vocals to fit nicely in a mix with other instruments.
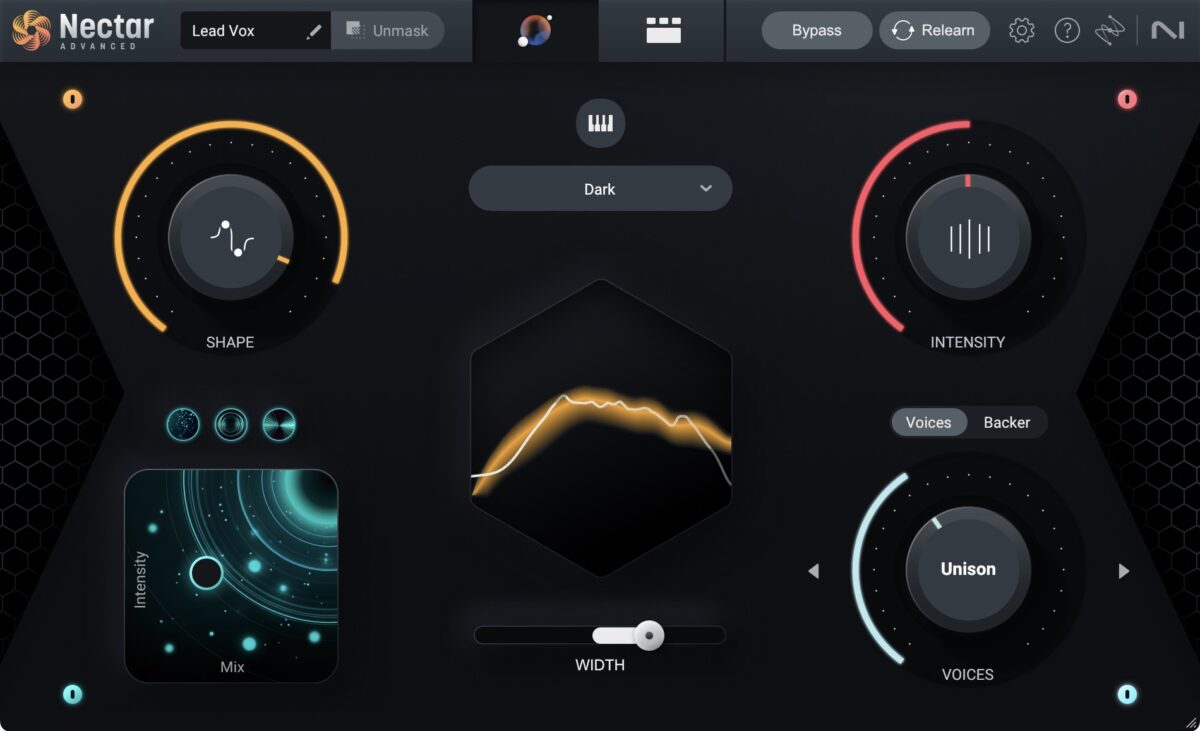
Each song is going to have different vocal mixing needs, but you may want to employ some tools like equalizers and compressors to help you get your vocal stack to sit well with the rest of the mix. I personally like to use iZotope Nectar for vocal mixing because it has an AI-powered Vocal Assistant feature that listens to your audio and provides level and effects suggestions based on your specific mix.
To give you an idea of what the vocal stack I’ve been working on will sound like in a full composition, I added just a few extra elements.
For the bass, I used a Massive preset called Kirin Bass from the Concrete Sun Expansion Pack. I also used the Stradivari Cello and NOIRE instrument libraries in Kontakt for the strings and piano, respectively. Lastly, I threw in a few percussive elements taken from the Lunar Echoes Expansion Pack in order to create the final arrangement for my track.
Start layering vocals
Vocal layering is definitely an art, but one you can master in no time. I hope this tutorial has shown you that with the right tools (and vocals), you can create dynamic, lush vocal stacks for any genre under the sun. Go ahead and give it a go.
This article focused primarily on vocal mixing tricks for contemporary songs, but if you want some great info on how to use vocals in film scores, check out the blog on How to Score with Vocals: Top tips for composers.


