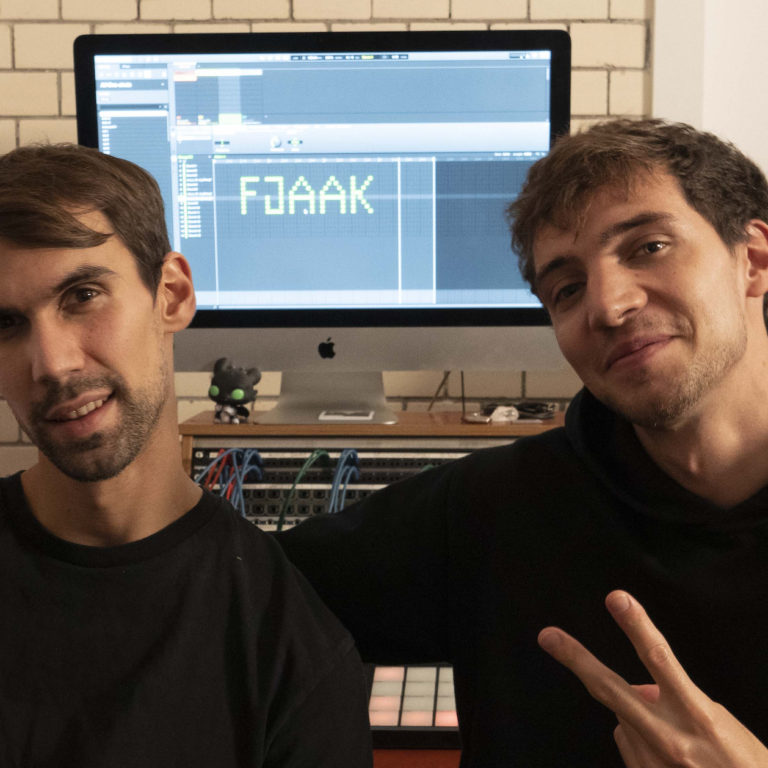
FJAAK’s Felix Wagner and Aaron Röbig have been pressing buttons together furiously since they were in their teens. Growing up in the West Berlin neighborhood Spandau – which their record label Spandau20 is named after – the duo were obsessed with staying up all night playing videogames… until the MASCHINE came along. “We tried it and we definitely got addicted,” recalls Aaron, who says a friend introduced FJAAK to the MASCHINE at age 16. Felix agrees. “When we met the [MASCHINE] controller, none of us was actually playing the games anymore.”
While FJAAK still treats techno like a game – in that they always seem to be having the most fun – they are serious when it comes to their studio chops: producing unpredictable bangers and sculpting kickdrums that do serious damage at clubs, festivals, and family gatherings. We recently sat down with FJAAK in their Berlin studio to find out about how they use our standalone MASCHINE+ and what role it plays in their workflow. We got some amazing tips from them on sound design, sequencing, and using MASCHINE+ in every combination and collaboration possible.
Now that you’ve watched the video, read on to learn tips on how to accomplish some of FJAAK’s magic in your own studio, along with some MASCHINE+ video tutorials to get you going.
Find out more about MASCHINE+ here
Making a beat quickly
“We have all our samples on MASCHINE. It’s fast to use, because you [can] directly see your folders which you uploaded on it. So you have, for example, kicks. You just choose with a pad where you want to have it and press Load, and there it is. And then you go to the next pad. You can go to the next folder – let’s say, claps – and you press Load, and then you have the clap. So kick, clap, and it’s like… You can do a beat in five minutes from sample digging.” – FJAAK
Watch Red Means Recording make a beat with beat making VSTs in MASCHINE+:
Layering sounds
“Every single sound will most likely be at least two or three sounds, if you really look at the different layers. There will be one lower [sound], one will have the punchiness, and then the other one might be distorted or something. You can like literally just press a button [and have sounds layer onto a pad]. You can create like the layers pretty fast and [sculpt each] sample together. There’s so much happening if you put two sounds together, and MASCHINE+ is really focusing on that. That’s very important for us, especially for kick drums, sometimes it can take half an hour to make the different layers right and not phasing because that really changes everything.” – FJAAK
Find out more about layering kick drums in MASCHINE:
Using the Chord function
“With the chord function, we can use [the MIDI] standalone to trigger other stuff. You can use it as a main sequencer also, and just also how we usually use it. You can find a nice chord progression really, really fast. It’s either offering you a set of chords that makes sense together, or it will only play semi-tones together that make harmonic sense – in the harmonic section, you can choose. You can even change the harmonics to like Arabic or Japanese [scales], which are really interesting.” – FJAAK
Essential Chord Mode tips from Jef Gibbons:
MASCHINE+’s internal effects
“One of our favorite things about the MASCHINE+ is the really nice internal effects to colorize the sound: saturator, lo-fi effect, distortion, and of compression, which is super important. And there’s a lot of other stuff that you can use creatively for the kick drum, like reverbs to layer it. [The effects themselves] have different modes… The saturation, for example, has tape saturation and tube saturation but also the classic saturation so you can decide… For the kick, I wouldn’t go for tape saturation because of the low-end, but it’s good for a synthesizer, for example.” – FJAAK
Learn more about MASCHINE+ workflow with Blezz Beats:
Sculpting a big-room kick drum
“You always start with the sampler – if you put in a sample, then you’re automatically in the sampler. Afterwards, I put a saturation on [the sample] and put the drive, the contour, and the input a little bit lower. Then I go for a distortion after the saturation to go more for the low-end. Every big-room techno kick has a lot of distortion but also needs a little bit of reverb. I really like the filter a lot; the resonance, if you put it on the right thing, you can really give some punch on the low-end.” – FJAAK
Learn how to make better kicks:
Making kicks bang in the mix
“You can kind of like modulate the attack as well. There’s an envelope and if you put it a little bit, like 10%, and you go down with the frequency a little bit, it will actually like slightly flow the attack, which works good for the kick drum. Especially if you’ve got like lots of overtones [in the kick], then they will clear up after the beginning and it will leave this early impact of the kick drum alone and make it feel bigger and more powerful – and then it will be like “Bam!” and you got the body. One of my favorite things about these internal effects is like the compressor and the internal sidechain – you don’t have to do so much and you will directly get what you want, and the kick has more place. It’s much faster than with everything I did before.” – FJAAK
Learn how to mix in MASCHINE+:
Working with patterns
“We work with one pattern where we write everything inside – the full, creative part – and then we divide the pattern. And then we can say… I don’t want to have the ride [on this pad] and you can delete it in different ways. And then you can just go on and duplicate the patterns and combine them with different [other elements] that you have, for example, the synthesizer. Then you go to Scenes, and I do pretty much the same thing that I did with patterns to duplicate the Scene.” – FJAAK [Scenes are made up of collections of Patterns. – Ed.]
More on working with Patterns and Scenes:
Arranging scenes in MASCHINE+
“After you wrote all your Scenes, you’re pretty much arranging differently because you have everything mostly in your head – and I think that’s the fun part about it. Let’s say I have an intro, scene one, then something additional coming in, then scene three, four, five… You have all the Scenes in your head already and so you just combine them in the Song Mode. Song Mode is like a sequencer for the Scenes in the end. And the scenes are like a sequencer for the patterns. It will help you to come up with new ideas to arrange your songs because you will just change from this part to this part in a more random way or a different way than if you would do it in the old-school arrangement view that is in every DAW.” – FJAAK
Creating arrangements in MASCHINE+:
Connecting MASCHINE+ anywhere
“If we go to different friends’ [studios] just to jam, we don’t need any MIDI cable or anything to plug in – we just can put on Ableton Link, for example, and we are directly connected if we are on the same network. Even if there’s no internet connection, you can open a network anywhere with most devices. You can literally synchronize your phone to the MASCHINE+ and it’s working flawless. The other time Aaron connected the MASCHINE+ to a computer and we just recorded the stuff into Ableton – you can record the instruments coming out as well [on separate channels] just through your DAW.” – FJAAK
Learn about MASCHINE+ features, including how to connect with Ableton Link:


