


Reverb is one of the most widely used music production tools. It’s also one of the most commonly misunderstood. Reverb is essential to creating realism and cohesion in your tracks, but it’s all too easy to misuse, leading to a muddy mix and an unconvincing soundworld. And reverb’s potential as a sound design tool is vast, but often overlooked.
In this article we’ll examine reverb from the ground up. We’ll ask: what is reverb exactly? We’ll explain the different types of reverb and the different parameters included in most reverb plug-ins. Then we’ll show you how to use reverb on vocals and in your instrumental productions. When we’re done, you’ll have everything you need to start using reverb your own way.
Jump to these sections:
- What is the reverb effect?
- Types of reverb
- Common reverb parameters
- How to use reverb on instruments
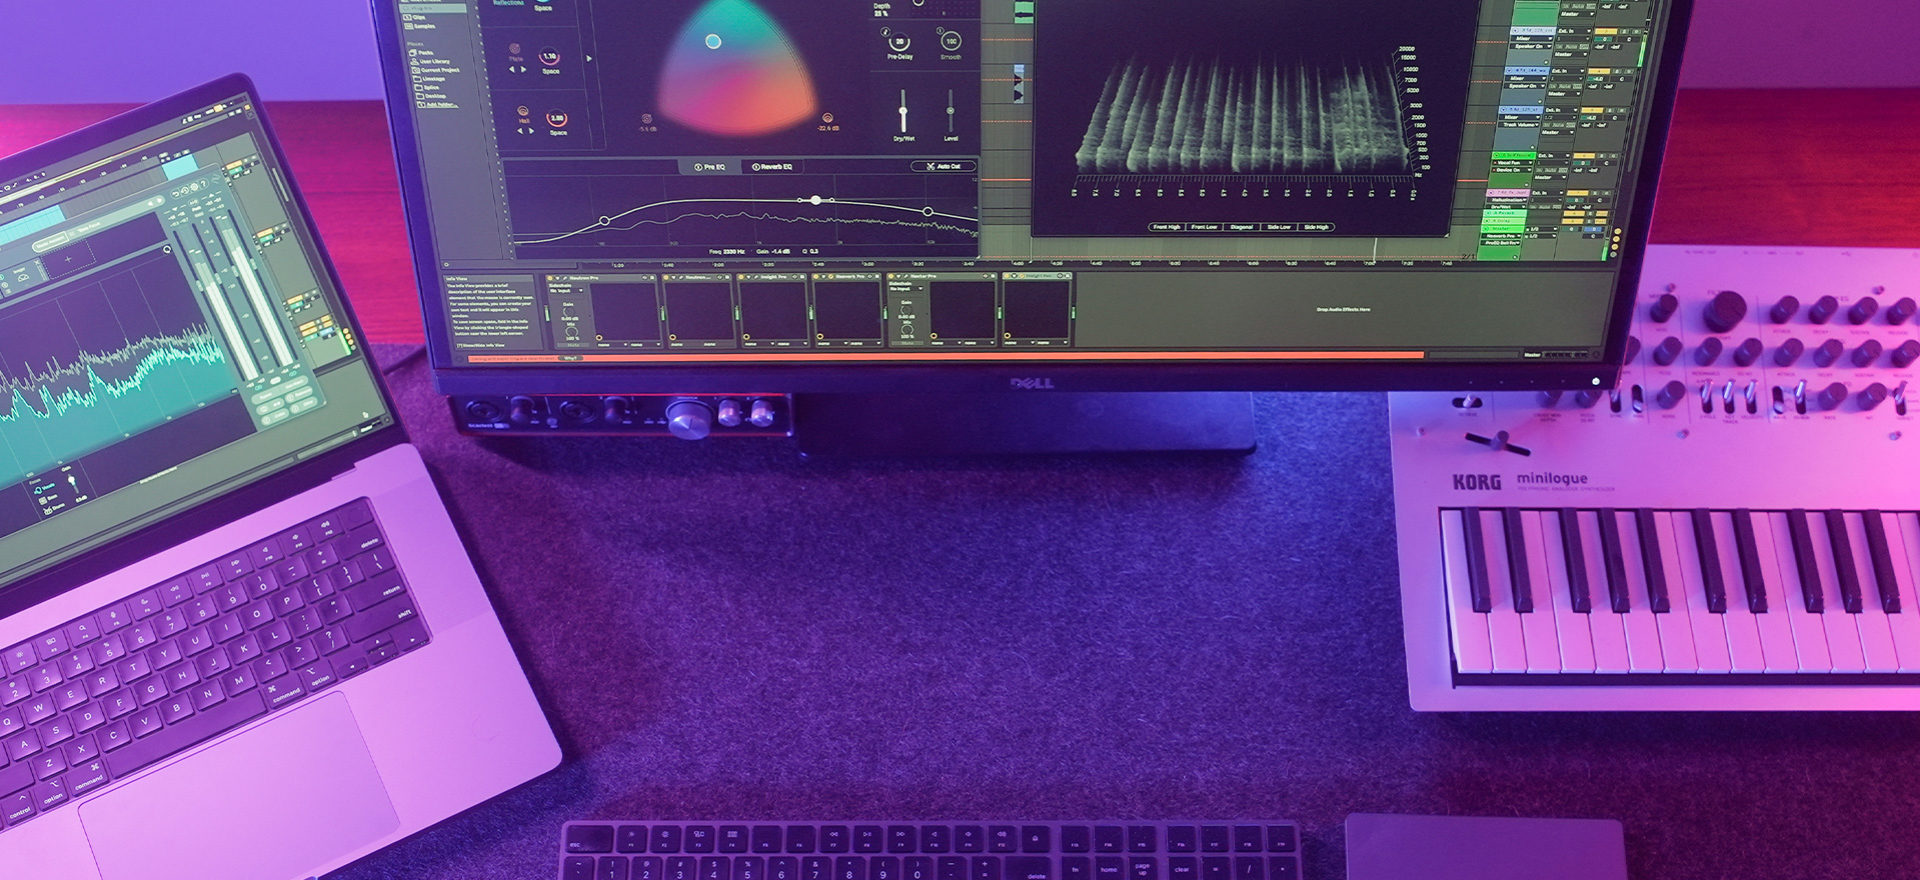
Follow along with this tutorial using Neoverb, a powerful reverb plug-in from iZotope.
What is the reverb effect?
The reverb effect is an audio processing tool that simulates reverberation. Reverberation, in acoustics, happens when sound waves bounce off hard surfaces, creating reflections of sound that spread out in many directions and slowly decay as they get absorbed by other objects. It is commonly applied to audio signals to give them a sense of three dimensional space or ambiance. By adding reverb, you can control how distant an audio signal sounds to the listener.
Sound waves don’t travel in straight lines: they radiate outwards from a sound source. If you clap your hands in your living room, some sound waves will travel directly from your hands to your ears, but others will head in other directions. Many of these waves will bounce off the surfaces around you—the walls, your desk—and arrive at your ears a little later. That’s how reverb works—these reverberations are what give us a sonic sense of the space we’re in. Without them, sounds feel a little off, or dead.
Many sounds we work with as producers don’t include reverberations. Whether it’s a performance captured in an acoustically-treated studio, or a dry electronic sound, we need to apply reverb to give our material a sense of three dimensional space. Thus reverb—typically a digital plug-in or hardware unit—is an essential part of the producer’s toolbox. Beyond this functional application, we can use reverb to create surprising sounds and spaces that never existed. Reverb can be an expressive tool in its own right.

Types of reverb
Modern reverb plugins offer a variety of types, imitating different real-world spaces and analog production tools. Your first task when working with reverb is to decide which type you need. Let’s take a look at them.
We’ll demonstrate each reverb type using a simple drum loop. Here’s how the loop sounds dry.
In the examples, the reverb will be set to 100% wet, so you can hear exactly what it’s doing.
Room reverb
Room reverbs simulate a room-like interior. They are ideal when you want to simulate the acoustics of smaller spaces, where reflections quickly decay and get absorbed by objects in near vicinity.
Chamber reverb
A chamber is a room in a studio designed to capture the sound of reverb. These rooms are built with exaggerated reverb properties; large exposed surfaces with no objects to absorb sound. Sound would be played into the chamber via speakers and captured using a microphone. Digital reverbs emulate this distinctive sound, whose pungent quality can bring personality to your mixes.
Hall reverb
Hall reverb imitates the flattering acoustics of a concert hall: a large space with a long, smooth decay. Hall reverbs can make your mixes sound panoramic and deep without sacrificing realism. They’re great for acoustic ensembles and spacious mixes—not so much for busy electronic tracks.
This Hall reverb was created using Native Instruments’ RC 48 reverb plug-in.
Plate reverb
A plate is a specially designed sheet of metal found in analog studios. The audio signal is played through the metal, whose reverberations are captured by a contact microphone. Bright but smooth and with a metallic attack, plate reverbs can cut nicely through a busy mix, and give key instruments an extra boost.
Spring reverb
The spring reverb is another workhorse of the analog days. In this case the audio is sent through a spring. The resultant “boing-y” sound is highly idiosyncratic and not very subtle. But in the personality stakes it’s hard to beat, and it’s great for sound design—and a signature in genres such as dub reggae.
Common reverb parameters
Now that you’ve selected your reverb type, it’s time to get to grips with some of the key controls offered in modern reverb tools. Master just a couple of these parameters and you’ll be crafting effective reverb in no time.
Decay
Decay time—also known as reverb time—is the amount of time it takes a sound to stop reverberating. Shorter decays will slot better into a crowded mix. If you’re working on a spacious track, long decays can lend it a dreamy shimmer.
Room size
Room size refers to the size of the hypothetical “room” in which your signal reverberates. Imagine the different reverb qualities in two tiled spaces: your bathroom and a train station concourse. Smaller spaces tend to have a tangy, pungent quality, while larger spaces reverberate more openly.
Decay and size are the two most important parameters in your reverb because they allow you to determine how large of a space you want your listener to perceive. Size and decay interact in complex ways. As is clear in the example of the bathroom and station concourse, different sized spaces made from the same materials will produce different length decays. (If you shout in the train station, the reverberations will last much longer). With digital reverbs, you can create sonic spaces that would be difficult or impossible to construct in the real world. A tiny bathroom with a 17 second decay, anyone?
Pre-delay
Determines the amount of time between the original dry signal and the onset of reverb. The closer you are to a sound, the more of the dry signal you hear. If you want a sound to be closer and more present to the listener, try longer decay times to move the reverb tail out of the way of the original signal sound.
Early reflections
Early reflections are the first reflections of sound that reach the listener’s ear once they have bounced off surrounding surfaces. Early reflections allow you to determine how loud the first reflections are. The louder the early reflections, the smaller the room will seem.
Diffusion
Diffusion in reverb refers to the scattering of sound reflections within a space. High diffusion means that sound reflections are scattered widely, resulting in a more diffuse or dispersed reverb sound. Low diffusion means that sound reflections are more focused, resulting in a more distinct reverb sound.
Damping
High frequency damping causes the high frequency content of reverb to dissipate more quickly. This emulates the way real rooms absorb sound. Typically, the high frequencies get absorbed quicker than low frequencies.
Wet/dry mix or reverb level
The wet/dry or mix level allows you to dial in the amount of reverb in your signal. The dry signal is the original sound source unaffected by reverb while the wet signal is the reverb effect.
In the real world, we never hear reverberations on their own: they always come with the sound that caused them. This means that we generally want a mix of the reverb (“wet”) signal and the original (“dry”) sound. Reverb plugins offer a wet/dry mix knob for quick adjustment. Most mix situations call for settings of 50% wet or less, while sound design applications might benefit from a wetter mix.
Reverb EQ
Reverb EQ refers to using equalization (EQ) to adjust the frequency content of the reverb sound in a mix or recording. Some reverb plug-ins come with built-in EQs. Pre-EQ affects the incoming audio so you can carve away harsh, resonant, or muddy frequencies in the signal before it hits the reverb. Post-EQ affects the reverberated signal and allows you to minimize frequency masking by carving away frequencies that clash with other elements in your mix.
EQ is an important tool for shaping and customizing the reverb sound to fit the needs of the specific mix or recording.

How to use reverb on instruments
In music production, reverb effects are used to add a sense of three dimensional space and ambiance and to position instruments closer or further away from the listener. Let’s take a look at how we might apply these techniques in practice.
1. Listen to your material
Any decisions you make about reverb should be influenced by the material you’re working with. It’s crucial to pick a reverb that suits the character of your track. So let’s start by listening to the instrumental.
Let’s select a reverb type based on how it sounds. The track’s electronic style suggests that we needn’t worry about creating a “naturalistic” sound. And something bright should pop through the fairly busy arrangement. So let’s go for a plate reverb. We’re using Neoverb from iZotope, a quick-to-use plug-in with tons of intelligent features. Add the reverb to a bus or send-return channel and set the signal to 100% wet.
2. Adjust reverb parameters
Now it’s time to set decay and size. Again, follow the material. There’s not a lot of space in the instrumental—particularly thanks to the 8th note arpeggio running through it—so a shorter decay should avoid muddiness. In terms of size, a smaller space seems to fit the intimacy and closeness of the music, so keep this setting low.

3. Balance the signals
Now that we’ve set up our reverb bus, we can decide which instruments to send to it, and how much. The kick and sub bass should remain dry—these low frequency elements rarely benefit from added reverb. With the other elements, it depends on how “distant” we want them to be in the mix. The 8th note arp can be pushed into the distance by applying plenty of reverb, while the snare should only get a little so that it remains crisp and clear.
Now it’s time to balance the reverb volume. It’s very easy to apply too much reverb and wash out your mix. As a rule of thumb, it’s always best to turn down your reverb level—and keep going a few dB further than you might think. You’ll thank yourself later when you have a clean, uncluttered mix. Let’s pull down the level of the reverb bus by -4 dB.
4. Process the reverb signal
Finally, let’s do a little more processing on our reverb signal. Reverb isn’t really an effect like EQ or distortion: it’s more like adding a whole new signal to our track. If we don’t control this signal like we would any other, it can clash with other sounds. The best solution is to deploy your reverb not as an insert on a single channel, but as a separate bus or send-return channel. When doing this, set the reverb mix to 100% wet. You can then send signal to the reverb bus from other channels in your project, and control the wet/dry mix by adjusting the volume of the reverb bus.
If you are using your reverb in a bus or send-return channel, as mentioned here, then you should consider applying further processing after the reverb itself. Try using EQ to roll off unwanted low and high frequencies and catch harsh resonances, and apply sidechain compression so that your reverb signal ducks when important instruments are present. You could even get creative and process your reverb in wilder ways: why not try a flanger or distortion?
With an EQ, cut the low frequencies below around 400 Hz to avoid muddiness, and cut the highs above 10khz so that the hi hats can shine. Now let’s apply sidechain compression so that the reverb ducks whenever the snare hits.
Here’s how it sounds. You’ll hear the dry version first, then the reverb kicks in halfway through.
The reverb gives a subtle depth and cohesion to the track. It’s a light effect–we want to leave space for the vocal to do its thing.
Start using reverb your own way
In this article we’ve examined reverb from the ground up. We’ve looked at what reverb is, explored the main reverb types and parameters, and shown you how to use reverb in your own vocal and instrumental productions.
Now that you’ve got to grips with reverb, start using it your own way with a few different choice plug-ins, including Neoverb, RAUM, or RC 48.
Related articles
-

Inside the evolution of orchestral sampling: an interview with ProjectSAM
Discover how ProjectSAM’s Lineage Series uses NKS and smart features to change orchestral sampling. Plus, save on instruments in our…
-

How New Constellations turn emotion into sound with Massive X
Go inside the studio with New Constellations. Learn how they use Native Instruments gear, happy accidents, and lifelong friendship to…
-

Citizen Kain on building emotion and space with Replika
Citizen Kain explains how Replika helped shape the rhythm, tension, and emotion behind his debut Eversun Records single “Moments.”…
-

The organic precision behind Calcou’s Anjuna release featuring Reaktor
Calcou shares how Reaktor, Monark, and Super 8 shaped the creative balance and live energy behind their new duo EP,…
-

14 NKS instruments that will change the way you create music
Discover 14 NKS instruments to freshen up your workflow. From lo-fi tape synths to cinematic strings, shop the Native Instruments…
-

Parallelle on crafting living basslines with Reaktor and TRK-01
Parallelle share how Reaktor and TRK-01 shape the bass and warmth in 11th Avenue, balancing analog depth with modern control.
-

Where will your sound lead you? Explore the Native Instruments Summer Sale
Save 30% on instruments, effects, and sounds in our Summer Sale. Find the tools to keep your tracks moving and…
-

How Mr. Bill builds sonic worlds in Massive X
Mr. Bill explains how Massive X and instinctive sound design shaped the storytelling process behind his new downtempo album, Mr.