Getting the right drum feel is an important aspect of contemporary music production. A problem new producers often run into is that their drums can sound unnaturally rigid and robotic, and while a “drum machine” style sound can be desirable for some genres such as synthwave and techno, it’s not ideal for all types of music.
The solution to this problem is a better understanding of drum programming, specifically timing and velocity modulation. You can read more about these aspects of drum programming in 7 drum patterns every producer should know.
In addition to a solid understanding of swing and velocity modulation techniques, something you might find useful when programming realistic MIDI drums is a dedicated percussion plugin such as Session Percussionist. This instrument features patterns recorded by experienced Session Percussionists, which will imbue your music with the rhythmic richness required to give it the realistic feel you need.
In this guide to getting realistic drums with Session Percussionist we’ll look at how you can use the instrument to quickly take basic drum patterns in five genres to the next level, giving them a more interesting sound and a more human feel.
Jump to these sections:
Follow along with this tutorial using Session Percussionist. You can use this instrument with Kontakt 7 or the free Kontakt 7 Player.
What are MIDI drums?
MIDI drums, short for Musical Instrument Digital Interface drums, are a type of electronic drum system that uses digital communication to trigger and control drum sounds. Instead of producing sound directly, MIDI drums consist of electronic drum pads or triggers that send MIDI data to a synthesizer or drum module. These MIDI messages include information about which drum was struck, how hard it was hit, and when the hit occurred. The synthesizer or module then translates this data into the corresponding drum sounds, allowing for versatile drum sound customization and electronic music production.
How to make MIDI drums sound realistic
Before we dive into how to make MIDI drums sound real in different genres, here are some simple steps to follow to make your MIDI drums sound realistic that we’ll be incorporating in each genre.
- Humanize timing and velocity: To make MIDI drums sound more realistic, vary the timing and velocity (how hard each note is struck) of your drum hits. Real drummers don’t play with perfect precision, so use subtle timing adjustments and velocity variations to emulate the nuances of a live performance.
- Add realistic articulations: Incorporate drum articulations such as ghost notes, accents, and flams into your MIDI patterns. These articulations help mimic the subtleties and expressiveness of a live drummer. Use different note velocities and articulation markings to achieve this.
- Utilize drum kit libraries: Invest in high-quality virtual instrument libraries designed for MIDI drums. These libraries offer a wide range of drum samples, including multi-sampled, round-robin, and various velocity layers, which can greatly enhance the realism of your MIDI drum tracks. Experiment with different kits and samples to find the most suitable ones for your project.
1. Pop drums
Here we have a basic 100 BPM pop beat consisting of just kicks and a layered snare and clap combination. You can recreate this with any drum kit you like, here we’ve used the Cali Nights Kit Battery 4 kit from the Neon Drive expansion.

This is a good foundation for a pop beat, but it certainly features room for a more human feel.
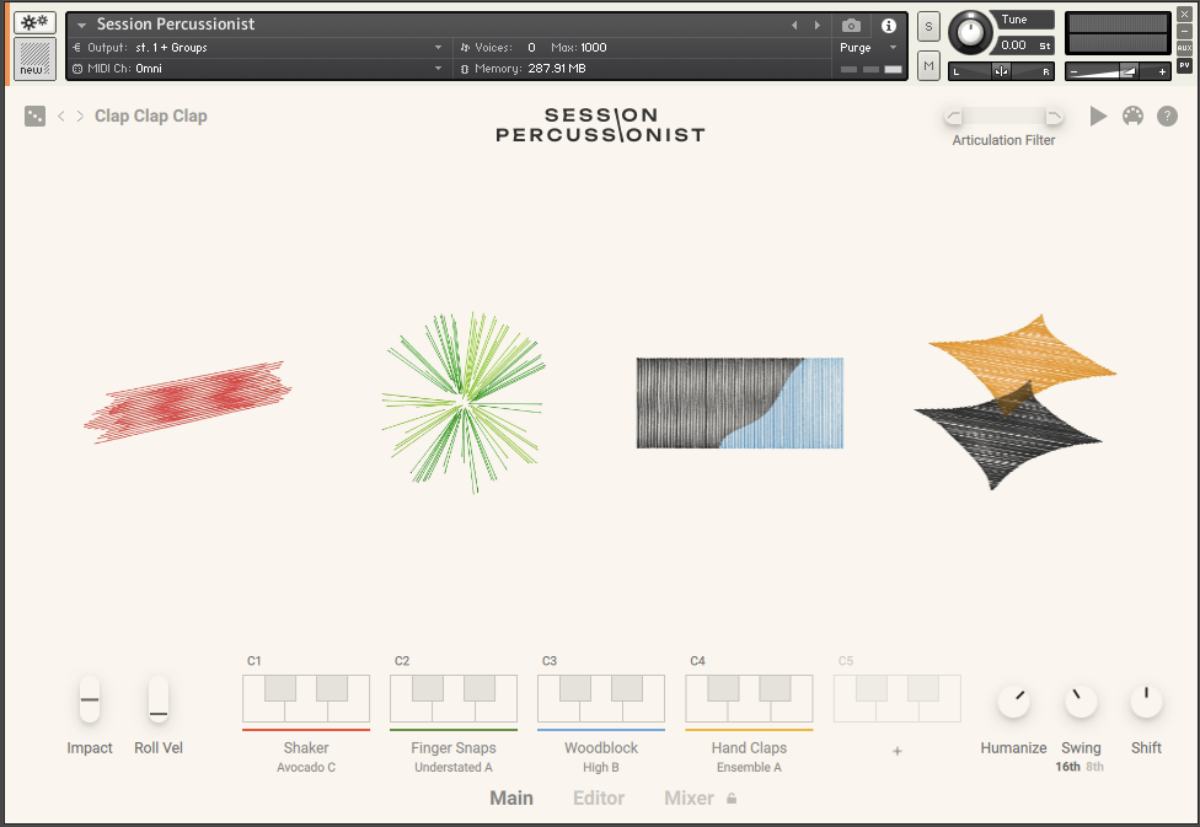
On a new MIDI track, add an instance of Kontakt 7, then select the Session Percussionist instrument and double-click the Clap Clap Clap preset to load it up.
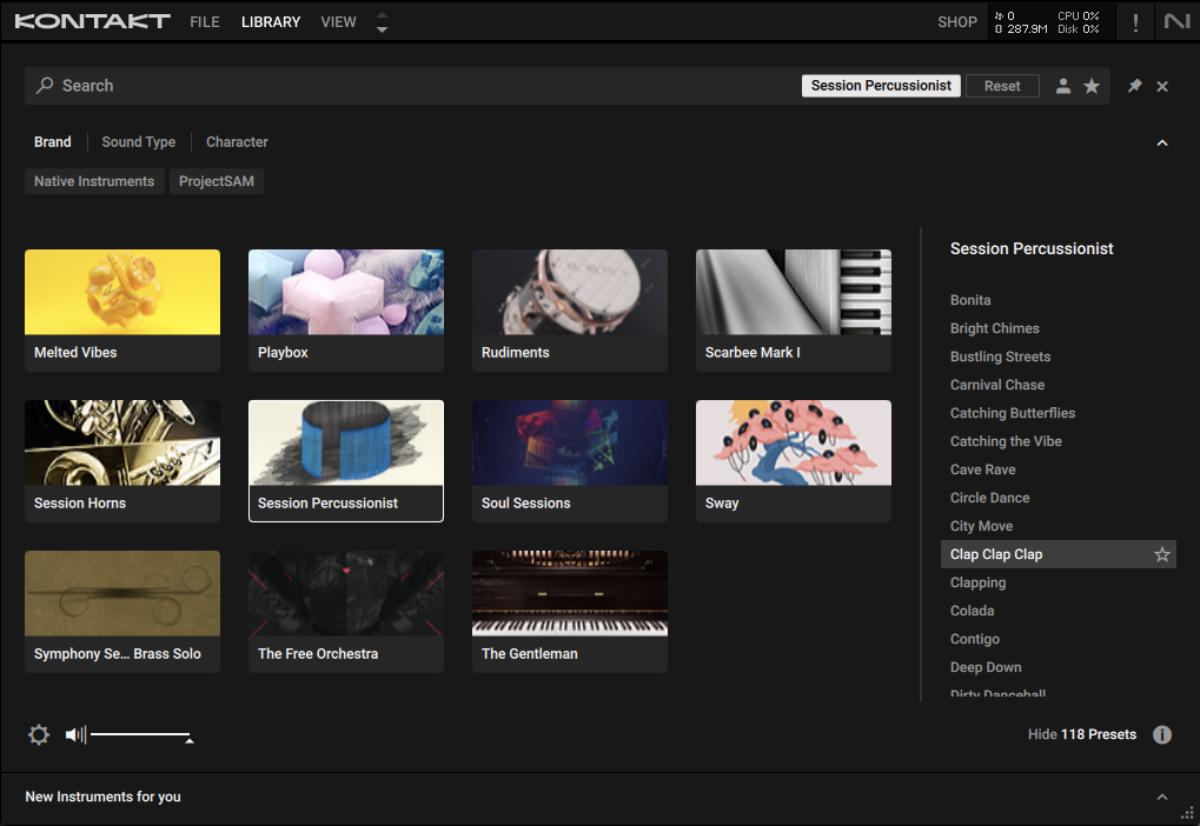
This preset features shaker, finger snap, woodblock and hand clap elements that we can trigger using the C0 octave, indicated by the green keys on the virtual keyboard.
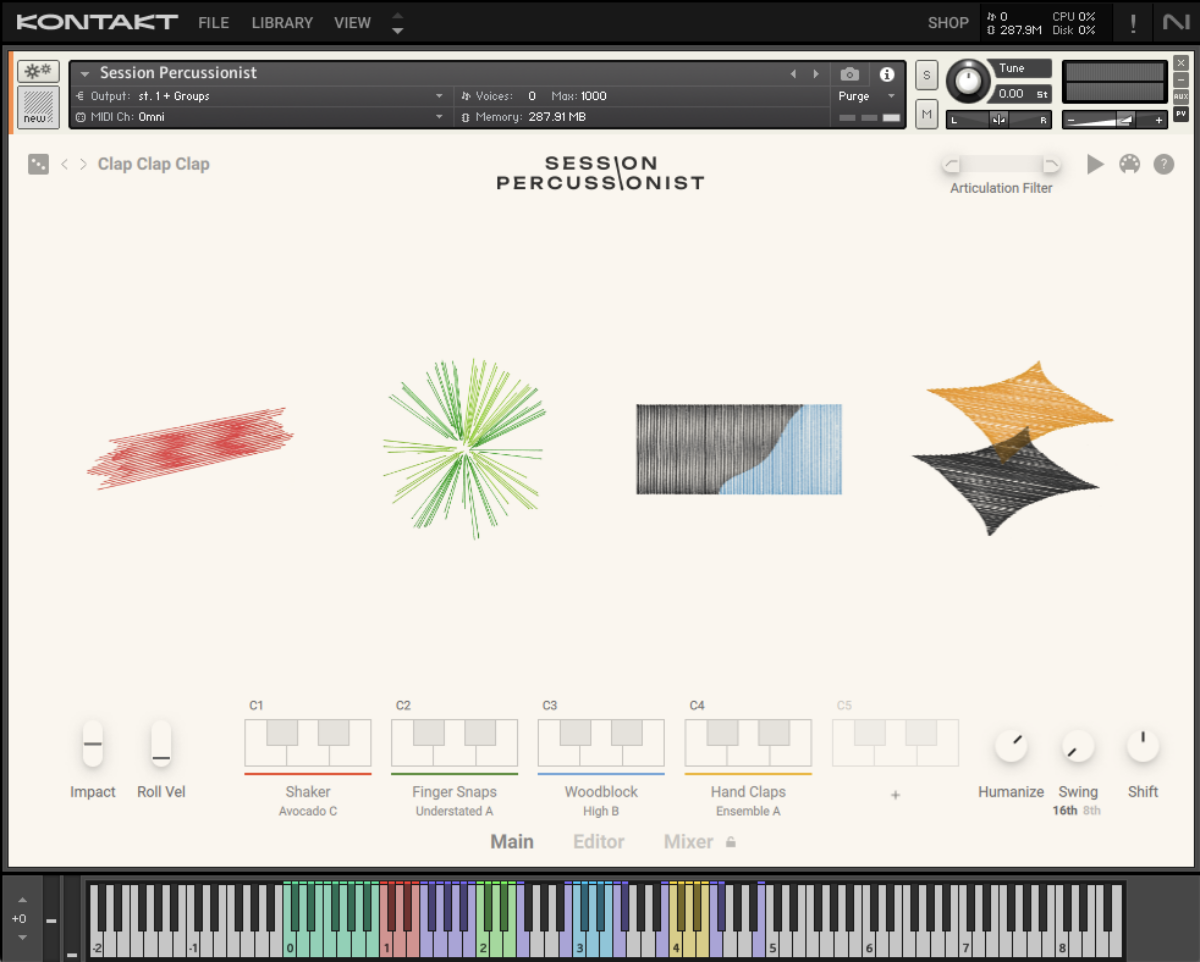
Sequence an E0 note that lasts for the duration of the existing beat to complement it with extra percussion.

Now let’s funk the rhythm up a bit by turning the Swing knob up to 38%. This increases the push-pull of the timing variations already inherent in the percussion pattern, giving it a funkier feel.
2. Rock drums
This time we have a 145 BPM two-bar rock drum pattern. We used Abbey Road 70s Drummer to create this, specifically the AR70s Tight Kit Full preset, but again you can use whatever instrument you like.

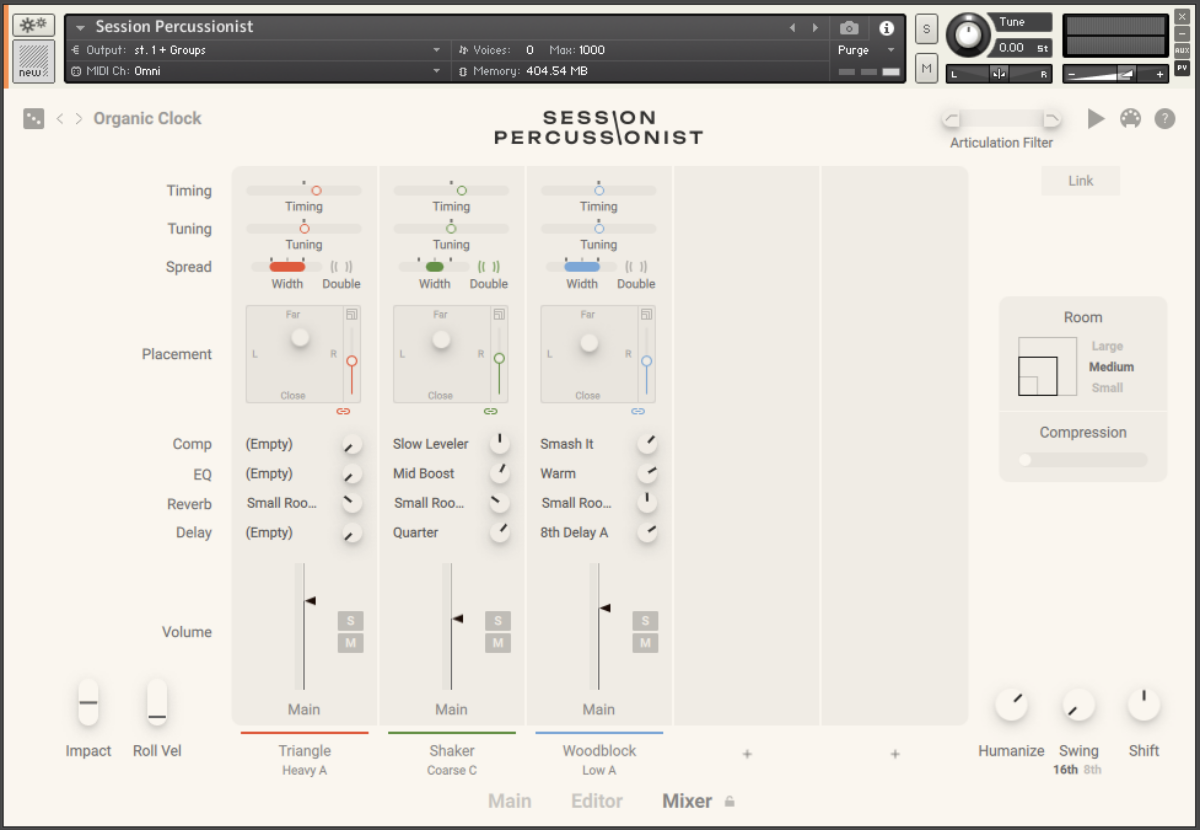
This time, load up Session Percussionist’s Organic Clock preset.
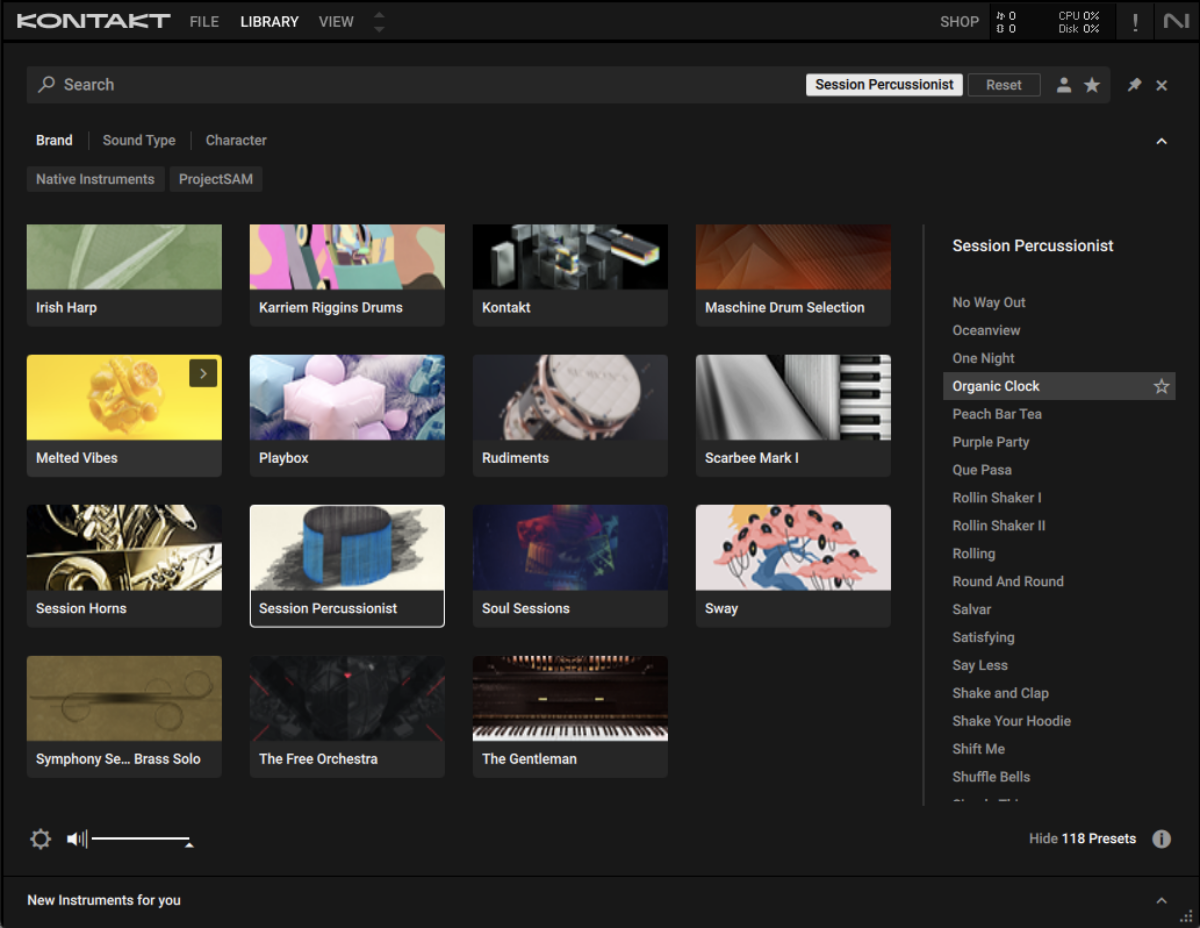
For this preset the patterns on green keys include a triangle, which doesn’t particularly fit the rock vibe we’re going for. So, let’s sequence the other sounds individually.
First, add a C3 woodblock part that plays for the whole two-bar sequence.

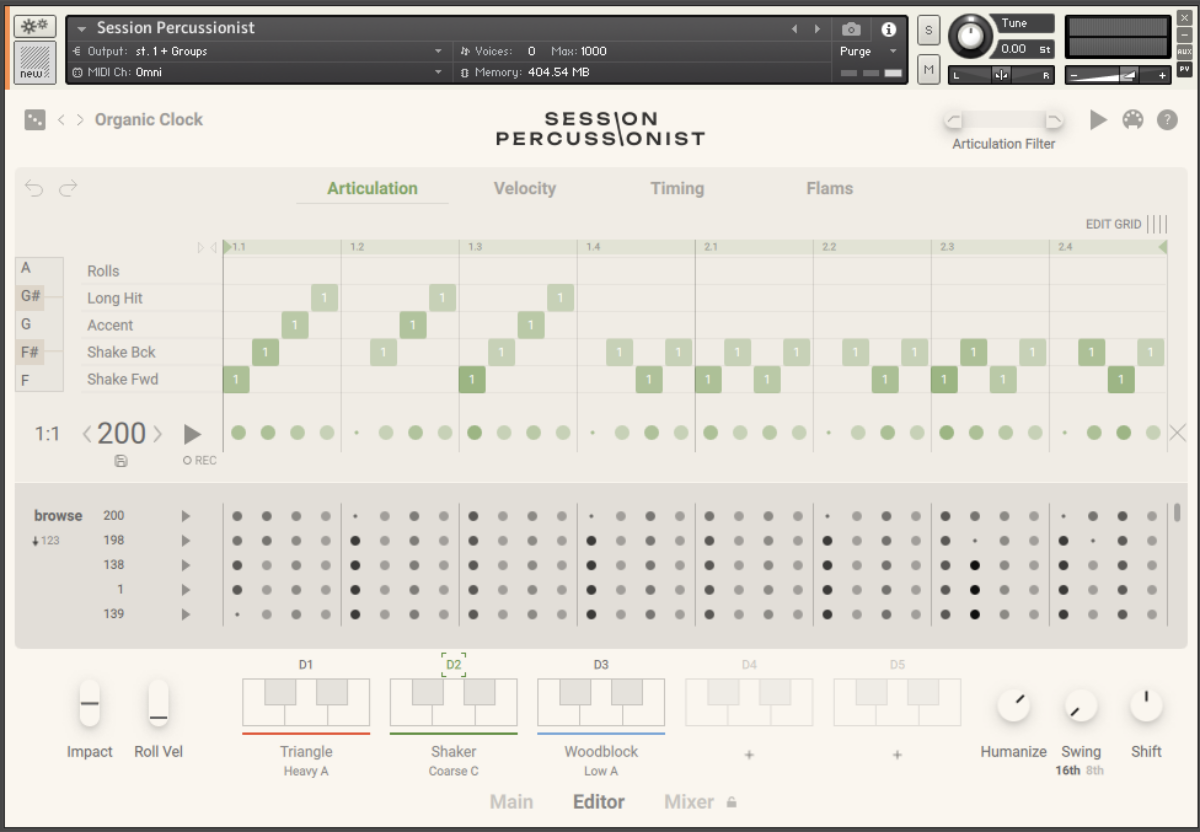
Now let’s add the shaker pattern on D2. This complements the rock pattern as it de-emphasises the second and fourth beats of the bar where the snare plays.

If you want to see this de-emphasis for yourself, click the D2 button in the Shaker section at the bottom of Session Percussionist’s interface. This brings up the Editor page, where you can see that the second and fourth beats of the bar aren’t used in the Articulation step sequencer.
The shaker is a little loud, so click the Mixer button at the bottom of Session Percussionist’s interface, and turn the Shaker channel down to -3 dB.
3. Funk drums
This time we’ve got a two-bar 105 BPM beat using the Abbey Road 70s Drummer’s Tight Funk preset.

This time let’s use Session Percussionist’s Bells and Claps preset.
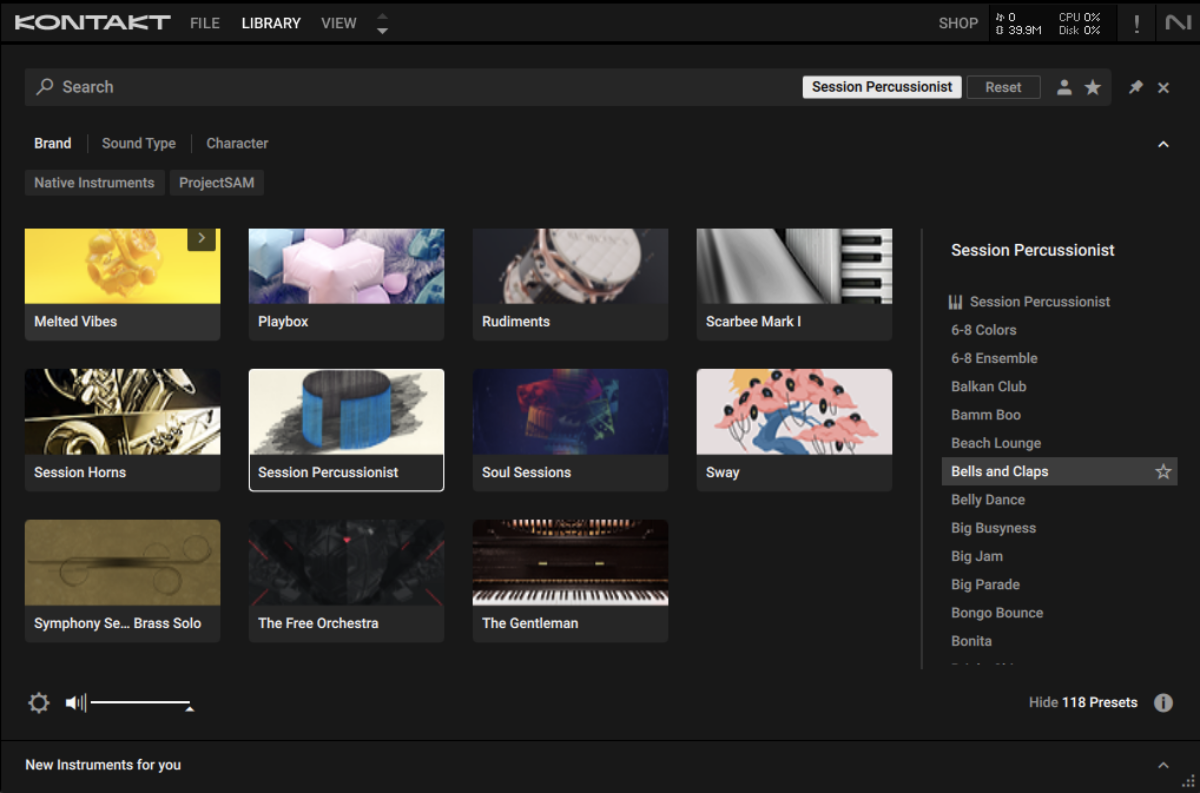
Sequence the D0 pattern for the two bars.

This sounds decent enough, but we can make it funkier by turning up the Swing knob. Set it to 76%.
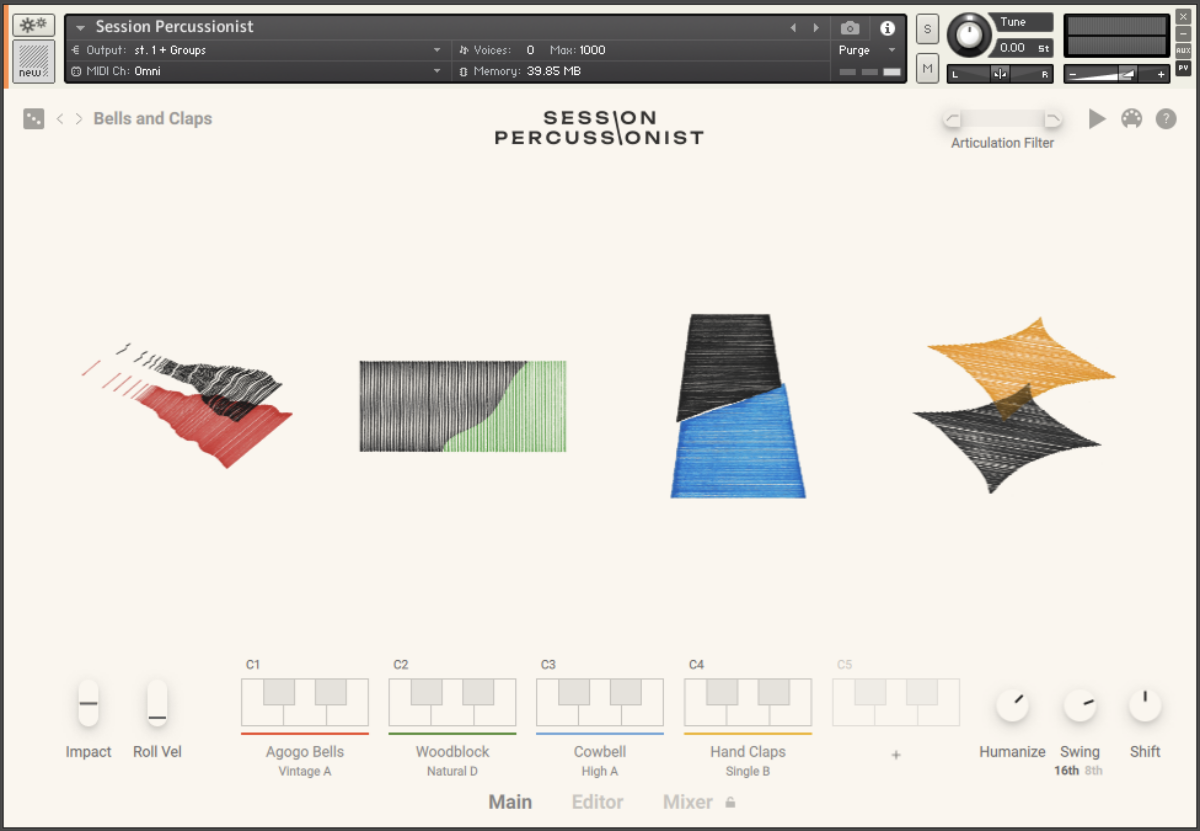
Note that the clap only comes in at the end of the second bar, giving us a cool two-bar groove.
4. R&B drums
Let’s slow things down with a two-bar 70 BPM R&B beat. We’ve used Kontakt’s Linndrum Kit to get a classic 80s R&B sound.

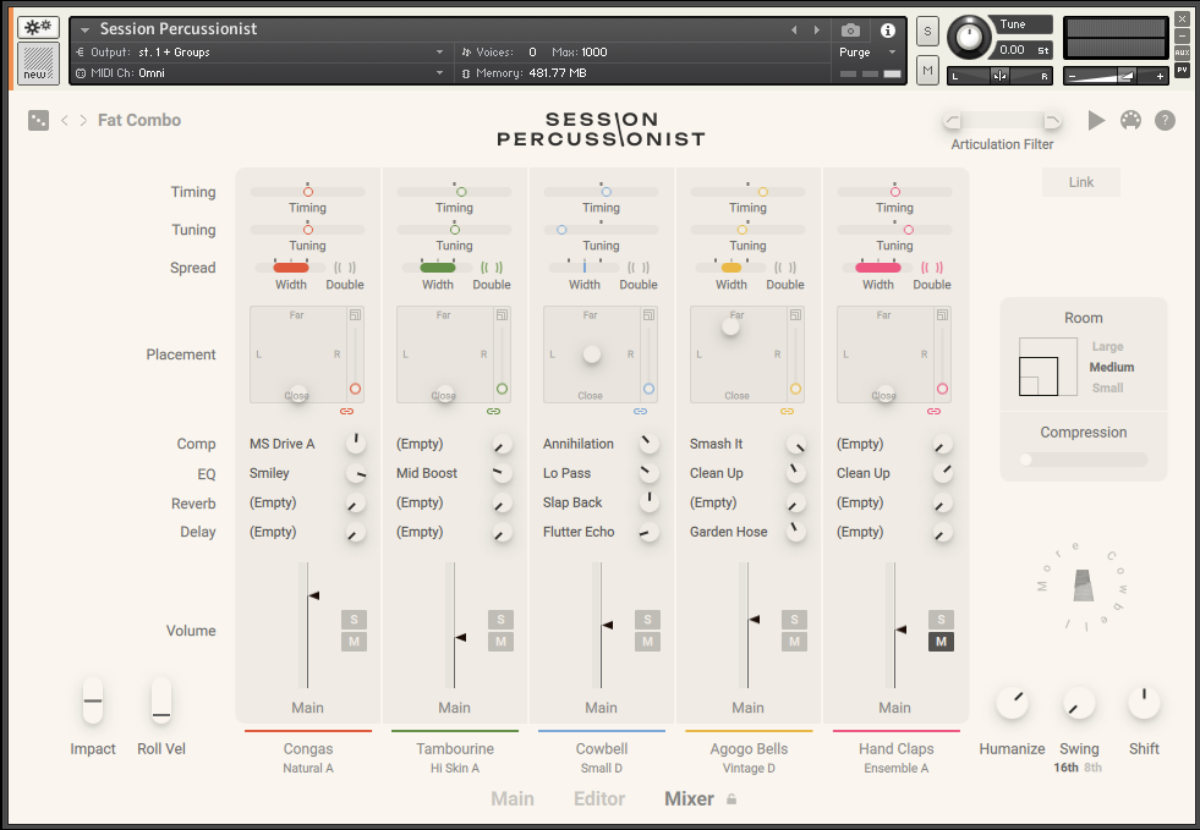
There’s plenty of room here for additional elements, so let’s go for Session Percussionist’s Fat Combo preset.
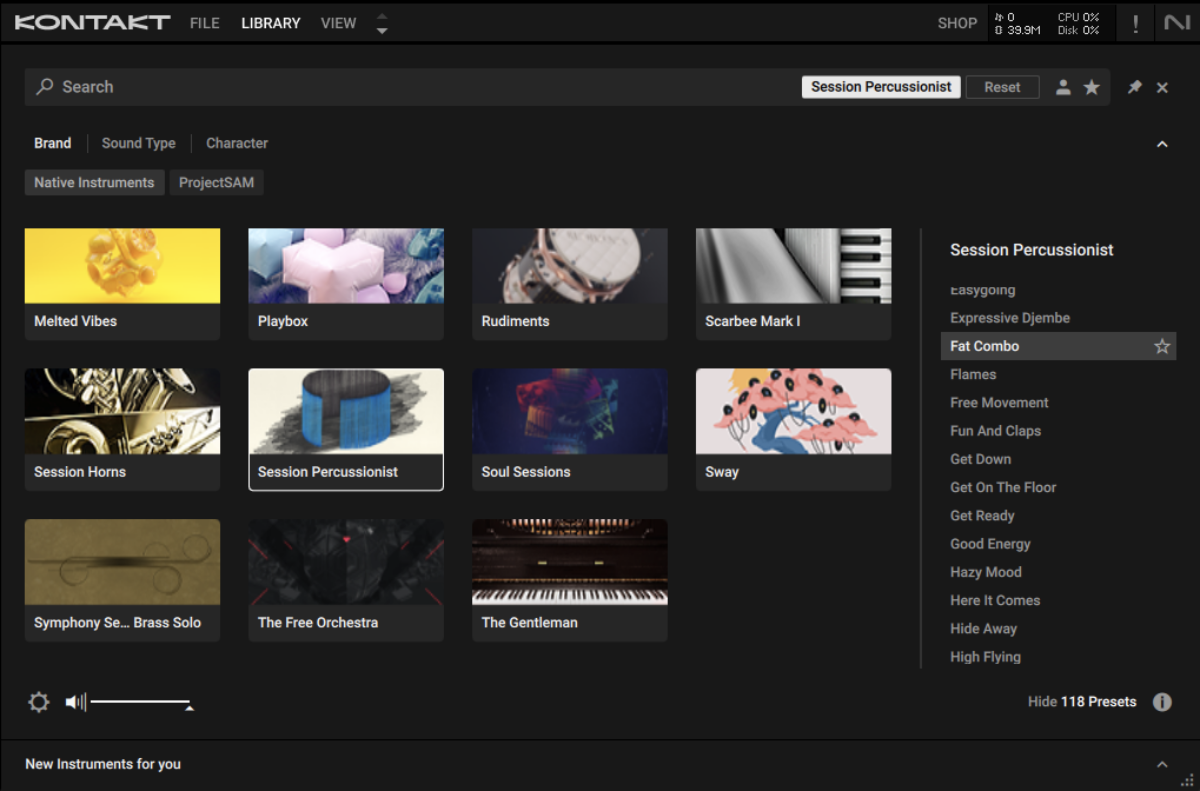
Sequence it to play D0 for two bars.

The sounds great, but the claps don’t really complement the sensual energy we’re trying to create here. Click the Mixer button to open the Mixer page, then click the M button on the Hand Claps channel to mute it.
5. EDM drums
House music is a style of EDM that particularly suits rich, layered percussion. Here’s a 120 BPM house beat created using the Higher Place expansion’s Bassment Kit in Battery 4. Note the swung, slightly quieter C#2 shaker before this beat – this already gives the part a funky, organic feel.

There’s still plenty more room for energy and character here, so let’s load up Session Percussionist’s Voodo preset.
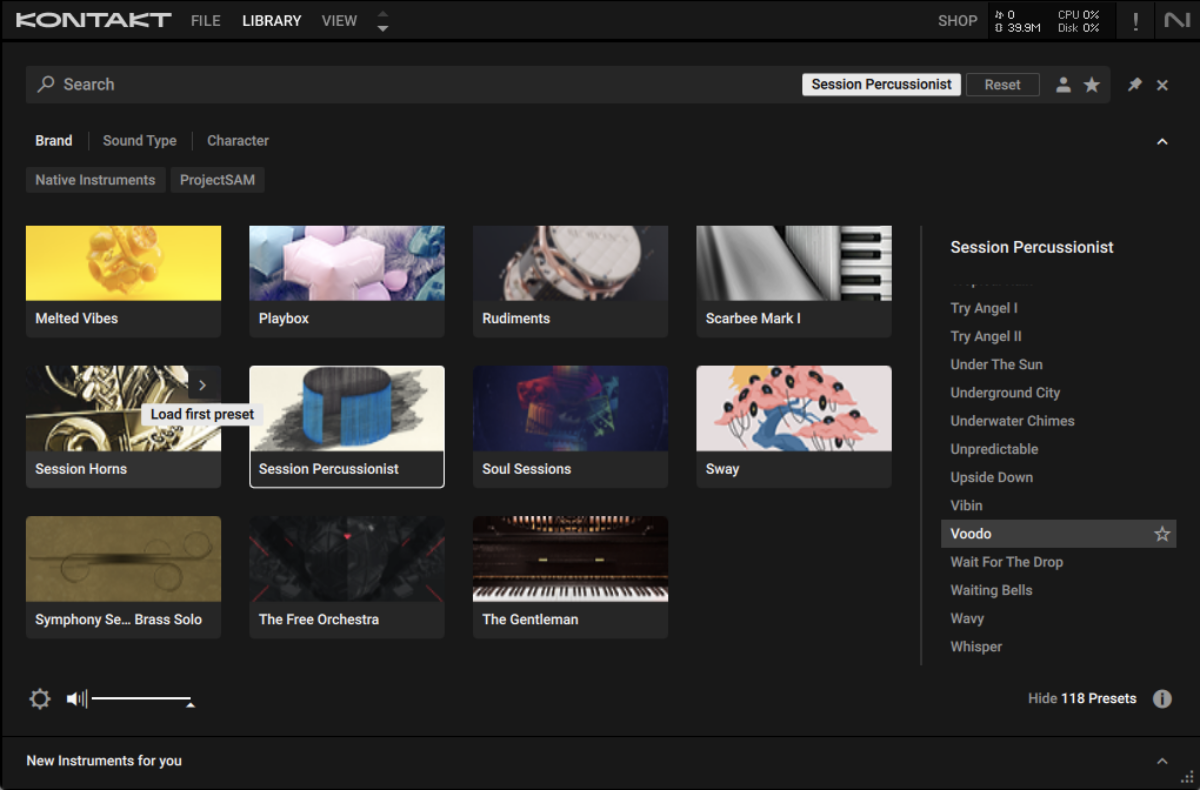
Sequence a C#0 note for the whole bar.

This percussion is played a little straight relative to the programmed house beat, so let’s turn the Swing up to 75% to help the beats sit together rhythmically.
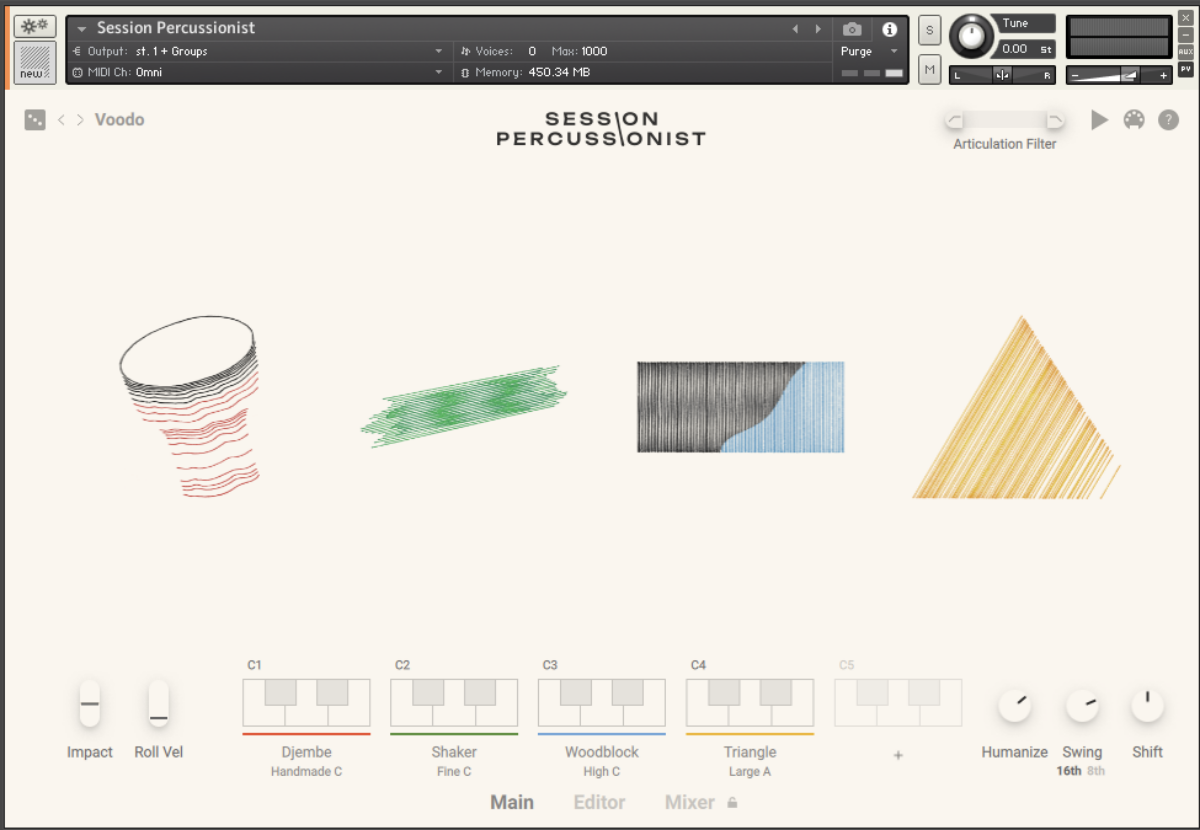
We can get a more consistent sound in-keeping with house music’s groove-based nature but turning the Humanize knob down. Let’s set it to 0%.
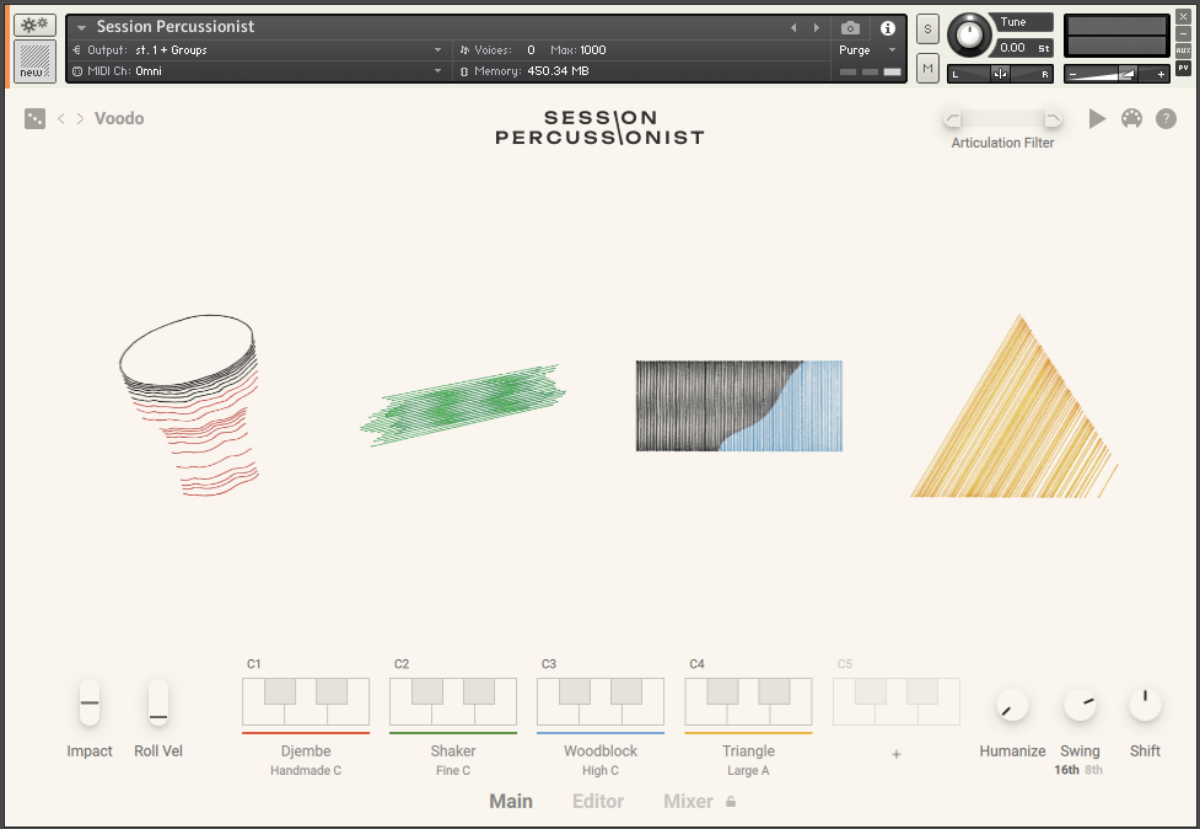
This gives us a more consistent sound that nevertheless has that authentic funky human swing.
Achieve realistic MIDI drums with Session Percussionist
Here we’ve seen how you can use Session Percussionist to enhance your pop, rock, funk, R&B and EDM drum parts with a more human feel, and a broader array of rhythms and timbres. Incorporating these techniques and a touch of creativity into your MIDI drum programming will elevate your music production, bringing life and authenticity to your digital beats.
If you’d like to learn more about this subject check out how to create MIDI bass lines that groove, how to make a jazz rap beat, and drum programming 101.


