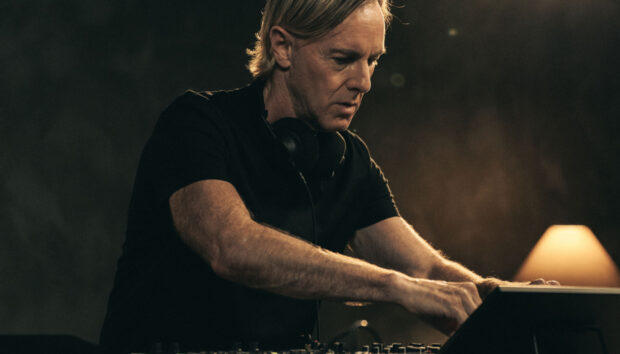
Over the course of his 25-year career, electronic music pioneer Richard Devine has become synonymous with state-of-the-art music technology and the unending pursuit of sound design excellence. A long-time Native Instruments collaborator and contributor, he is also an avid user, with REAKTOR BLOCKS’ ‘modular in the box’ aesthetic and inventive user community winning his particular praise.
Atlanta-based producer and sound designer Richard Devine orbited hip hop and punk before tuning in to the punishing, mechanised rhythms of subversive ’80s industrial acts like Coil, SPK, and Meat Beat Manifesto. With his path firmly set on that of electronic experimentation and carefully controlled chaos, Devine would eventually become aligned with the trailblazing ’90s IDM scene, as popularised by Aphex Twin and associated acts on the Warp, Skam, and Rephlex labels.
Devine adopted analogue modular gear and computers alike early on in his career, but Professor Don Hassler at the Atlanta College of Arts would open his mind to the true creative potential of computer synthesis and digital signal processing. In turn, Devine became fascinated by the science of sound design, pushing the envelope on a series of richly complex and somewhat forward-thinking solo albums, such as his debut full-length Lipswitch (2000) and the more recent RISP (2012).
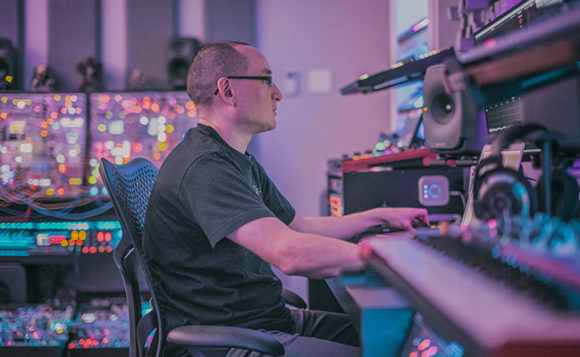
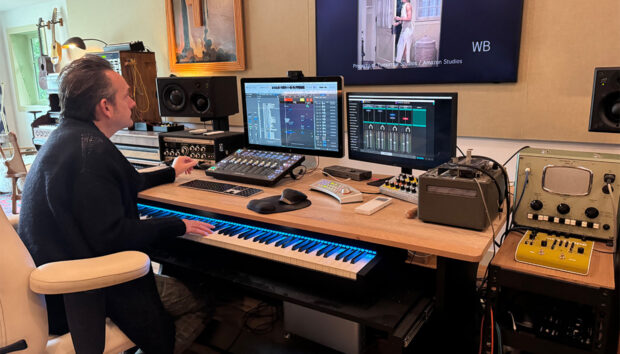
Software continues to play a massive role in Devine’s artistic output and his professional life, whether he’s working as a commercial sound designer or collaborating with developers on the very sharpest of cutting-edge musical tools. As Native Instruments catches up with Devine in his analogue-digital hybrid studio, he discusses his history with electronic music; how THRILL, BLOCKS and KONTAKT slot into his setup; and how he keeps his head when mixing for 360° audio formats.
DISCOVERING ANALOGUE
Initially, I was using analogue synthesizers. The first one I bought was the ARP 2600, which was a strange introduction to synthesis because it was a semi modular synth. It got my foot into the world of sound shaping, sound design and the basic fundamentals of synthesis. I learned a lot about ring modulation, frequency modulation, amplitude modulation, reverb, envelope generators, lag processors, and sample & hold.
These concepts would have been much more difficult if I’d not had a synth with a lot of that stuff built in. It allowed me to try infinite combinations, whether patching or using the faders to come up with sounds, and I could physically see how things were structured from one module to the next because I had this visual diagram of the signal flow. That foundation’s now ingrained in my head, whether using modular or semi modular instruments.
A NEW WORLD OF COMPUTER SYNTHESIS
I was already pretty heavily into using modular synthesizers and computers, but when I met Professor Don Hassler at the Atlanta College of Art, he introduced me to a whole new world. He was teaching modular synthesis, computer synthesis, DSP processing, Max/MSP, SuperCollider and Pure Data — a lot of the more esoteric building block environments, where you could build things very similar to how you would in the modular world but within a virtual environment.
It was Don who introduced me to SuperCollider and Csound, which was a big turning point for me because what I’d heard computers do up to that point was not very impressive. They were more or less digital tape recorders and there weren’t many tools for creative sequencing or advanced synthesis generation. When Don showed me SuperCollider [a sound-oriented programming language], it had everything from physical modelling, Klang (sine oscillator banks), and advanced FFT-based processing to really sophisticated granular synthesis.
Those sounds were so far away from what you’d expect a computer to sound like. I remember SuperCollider’s FM Landscape patch, which was this otherworldly, organic, ever-changing patch that produced a beautifully drippy, webby sound. In all my years of programming on my old-school Yamaha synths, I couldn’t get anywhere near what this patch was running with a few kilobytes of memory.
STUDIO ROLE
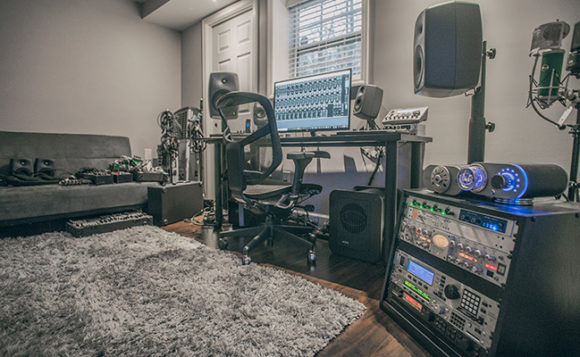
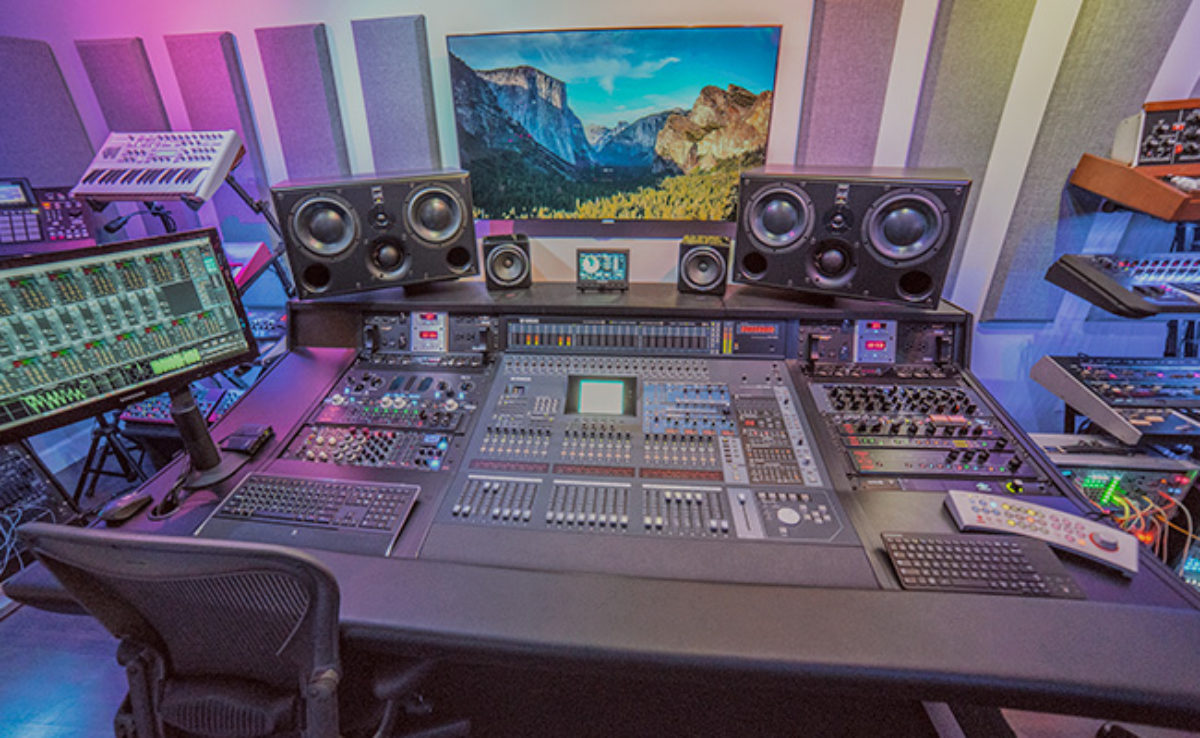
My studio is pretty crazy, with a lot of gear crammed in, but it’s not there just for show. I try to organise everything so that the machines are always on and ready to record, so I can immediately capture stuff at any point in time. I have areas set up for sample editing, sound effects generation and one for mixing and engineering, which is where the desk is. But although I have all this gear, I work much better when I have limitations and can just focus on one or two instruments or software environments and get creative with those.
Basically, I decided to only keep the machines that I’ve worked on, and I can pretty much program any of them blindfold. A company will come to me with an instrument that I’ve never heard of before and ask me to make sounds for it. Usually, they don’t even know how cool their instrument can sound, so my job is to find the sweet spots in their instruments, figure out what they’re capable of doing, and give users a wide palette of sounds.
I feel people should do that when they buy a synth or a new instrument; they should create a whole canvas of sounds based on all the components that make up a musical composition, like percussion, strings, pads and bass. It’s really helpful if you can wrap your ears around what an instrument’s strengths and weaknesses are, because that’s when things start to reveal themselves.
SOUND DESIGN PROJECTS
A lot of people think I just play with synthesizers all day, but I do some pretty crazy high-level sound design work that goes into a lot of different software and hardware environments completely outside of the music industry. I’ve been doing a lot of sound design and music composition for TV, film and video game companies, but I try to keep my own stuff completely separate — that’s usually my release after putting in a full day of sound design work.
Last year, I was doing Ambisonic VR audio for Google’s Daydream, primarily working with headphones on the HTC Vive virtual reality based system and using these little in-ear plugs that most people are going to be experiencing on their Google apps. I had to figure out how to make everything sound really great on these little tiny headphones, but also mix in 360° audio in the HRTF format. I had to work in this strange new environment that is completely different to surround sound, 5.1 or 7.1. You’re dealing with these complex filters where your head turns in a space and you can tilt it up or down on an XY vertical axis — all these strange physical things that happen in the real world that I have to emulate using code and software to make them sound realistic and convincing.
CREATING SONIC LOGOS
One of the most challenging parts of my job is when I get asked to do sonic logos, where a company wants me to design a two- or three-second sound logo. They’ll send me a 12-page brief telling me about the company’s history and how I have to encompass all of these elements into the sound. Usually I’m wondering how I can do this in two seconds, which can be extremely challenging.
It’s almost like a language. The listener needs to be able to hear two or three articulated notes in combination with the timbre of the sound you’ve chosen that articulate an idea or a feeling that the company is about. I’ve also made some ringtones in the past, which is a similar idea. You also have to solve how to get the sound to play back as optimally as possible on the device you’ve been given, which may have a limited range of parameters and physical characteristics, which can also be tricky!
MEETING NATIVE INSTRUMENTS
My initial meeting with Native Instruments was when they only had one software product called Generator, which I was using live on a 60 MHz Toshiba laptop to create a sample-based drum machine. I’d built things using Max/MSP but couldn’t get it to sound good on a loud PA system. When I started building synth- and drum machine-based instruments in Generator, the sound was so much punchier, beefier and louder. NI asked whether I had ever designed sounds and patches for a company before, so I started working with them on the Battery libraries and helped make early sonic expansion libraries for Kontakt and Absynth, as well as FM7, FM8, Massive and various electronic instruments for Reaktor Vol. 1 and 2.
To me, they’re one of the most professional companies that I’ve come across. Not only do they push innovation but sound quality, and I’m a real stickler when it comes to stuff sounding really good. A lot of software I use is great architecturally, but the sonic output is just not there. With NI, the quality is extremely high, which is why I’ve consistently gone back to using their products. Even if I didn’t work with them as a sound designer, I’d be using their stuff, because you want to have that level of quality in your work.
The complexity of Native Instruments software is also really great. You can use them as a preset machine or to tweak a preset, but if you want to dive deeper, there’s tons of options for programming your own sounds and getting really deep under the hood to create some very complex and tailored solutions. I love how this theme carries through their instruments, whether you’re working with Razor, Absynth or Reaktor.
USING REAKTOR BLOCKS
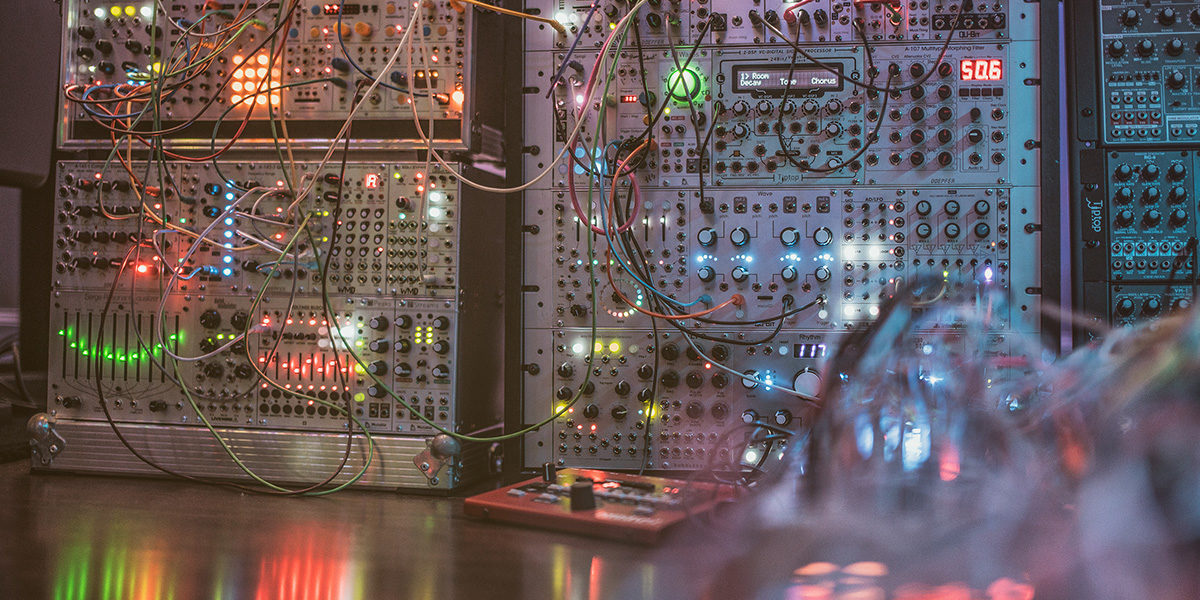
It was awesome when Reaktor 6 introduced the whole Reaktor Blocks idea of having this self-contained system that takes the analogue synth patching experiencing into Reaktor. The whole idea of using these analogue circuitry blocks of oscillators, VCAs and filters and simplifying these sound generators and manipulation devices into a drag-and-drop system makes much more sense than having to build things at the lowest level.
The hardest thing for me was trying to convince my friends, because they didn’t understand how much power they could have using Reaktor. When the Blocks format came out, they eventually jumped in because it was something they could understand and get along with. They were no longer looking at event dividers and mathematical operators and could just plug stuff up and get sounds happening quickly. I think Reaktor Blocks was a huge turning point for a lot of people and it was great for me because I’ve built so many Blocks instruments. I actually uploaded a wavetable synthesizer and a synthetic drum sequencer-based module to the Reaktor Blocks Factory Library just for fun, but I have tons more stuff that I use for sound design and my own music projects. I’ve used it since the beginning and it’s never left my side.
BLOCK PATCHING
Patching’s very easy with Reaktor Blocks. When patching a modular, you’re working with physical cables, and the key here is the interaction between the modules. I wish sometimes that modular hardware had the ability to visually see the control voltages going into and out of each module like you do with the Blocks. You can set the ranges of the parameters you want to modulate very quickly on multiple devices and see that visually, which you can’t with Eurorack. What I’m most interested in is that interaction between the modules, trying different combinations and using Reaktor Blocks as a source for generating new sounds that I’ve never heard before.
Another huge thing is that you can store presets. With a modular, once you’ve pulled the patch, you’ve lost that sound forever. Many times I’ve explicitly written what module I used and how I patched it, but it still didn’t sound how it did before. But that’s the nature of the beast. Whether it’s the circuitry or the temperature of the room, so many things can drastically change how things interact with each other that you’ll never get the same result twice. That’s both awesome and terrible [laughs], but recall is so important for me, especially if I want to go back and recreate a sound that a client might like.
REAKTOR’S LIBRARY COMMUNITY AND MUTEK COMPETITION
I check the Reaktor User Library almost every night for new instruments and I’ve actually worked with a quite a few designers like Rick Scott and other guys that build really some cool Reaktor instruments. I’m always looking for new tools, like user Blocks, sequencers and samplers, and it’s such a great resource for getting new ideas and instruments that are free. Sometimes I’ll download a delay, filter or some new Block and build something similar that I never thought about building in that way, or create a whole new Block or instrument built on someone else’s idea.
I’m actually going to be taking part in a competition based on people designing Reaktor instruments at San Francisco and Montreal’s MUTEK later this year. I’ll be one of the judges along with three or four other people. We’ll listen to each one of these instruments and judge them based on different criteria, such as how well it performs, playability, functionality, and some of the other parameters that NI will be setting up. It’s going to be pretty cool, and I’m looking forward to seeing what comes from this and giving more attention to the Reaktor community.
A LOVE OF KONTAKT
I use Kontakt quite a bit and use a lot of its internal libraries. I love Action Strikes and Rise & Hit, which I use all the time for sound design projects. It’s incredible for creating these whooshes and riser/stinger/impact sounds that you can actually time. You can set the duration of seconds and make transition hits perfectly timed to whatever you’re working on, whether it’s for a scene in a commercial or a video game. Drumlab is another one that’s great for percussion and I’m big on Heavyocity Damage, and Output Substance, Analog Strings, Exhale, and Rev. I use Kontakt libraries on a daily basis — they’re a huge part of my creative sound design process, along with my own custom libraries.
USING THRILL
When Thrill came out, I was really blown away. As a sound designer, these are sounds that I have to create from scratch all the time, but what’s really amazing about Thrill is that it’s continuous, which might sound stupid, but it’s really difficult to generate synthesis and sample layers and create clustering or droning that stays constant. When you’re working with film, you’re often working to weird time constraints at certain durations, but sample libraries are confined to however long the sample material was recorded at. That means you often have to crossfade stuff or do 20 minutes’ worth of editing to make a seamless loop that fits a scene, but with Thrill it runs continuously so you can pump out stems at any length.
The interface is so easy to use. To create more tension, you’ve got an XY bar graph that allows you to change the intensity of sounds, which makes it amazingly expressive and simple. It’s been monumental for me on my TV sound design projects because the quality is unbelievable and the depth of some of the presets is incredible — you really don’t have to do much other than lay them into your track and tweak something here or there.
Richard Devine’s latest LP will be out Sept/October on Timesig
photo credits: Benn Jordan


