Tech house is one of dance music’s most popular genres, with its combination of grooving house beats and chugging, techno-inspired bass lines making it a club and festival favorite. With tech house tracks ranging from accessible and catchy to deep and dark, it’s a versatile genre, making it a great starting point for those new to producing dance music.
In this guide we’ll show you how to make a dark, rolling tech house track using Komplete 15 Select Electronic Edition, which includes a range of instruments ideal for making dance genres.
Jump to these sections:
- Sequencing a house loop
- Creating a lead line
- Composing a bass line
- Adding atmospherics
- Developing harmonic ideas
- Arrangement
- Mastering
To follow along with this tutorial you should have Kontakt 8 or Kontakt 8 Player with the Progressive Trance Expansion, Feel It and Nacht Instruments, Massive X, Ozone Elements, Replika XT, Phasis and Raum. These are included in Komplete 15 Select Electronic Edition, Komplete 15 Standard, Komplete 15 Ultimate and Komplete 15 Collector’s Editions.
How to create a tech house track
Most tech house producers use DAW (Digital Audio Workstation) software to make tech house tracks. In this walkthrough we’ll demonstrate how to make a tech house track using the DAW Ableton Live, along with instruments and effects from Komplete 15 Select Electronic Edition.
How to structure a tech house track
Tech house tracks are often based around a rhythmic “DJ-friendly” intro, which leads into a beatless breakdown, followed by a drop where the beats and bass kick in. This guide will show you how to make tech a house arrangement in addition to crafting each element.
What makes a good tech house track
A good tech house track features an energetic house beat, an infectious bass line, and some kind of catchy vocal or melodic hook.
1. Sequencing a house loop
Begin by setting your project tempo to a speedy 130 BPM.

Create a MIDI track, load up Kontakt 8 or Kontakt 8 Player, then click the Leap button to view the Leap Expansions. Click the Progressive Trance Expansion, then double-click Molecolar Kit to load it up.

Create a four-bar MIDI clip and sequence C4 to play four all four bars. We’ll use a velocity value of 100 for this, which we’ll use for everything in this guide.

This will play a beat loop for four bars, and this gives us a rhythm to build a track on.
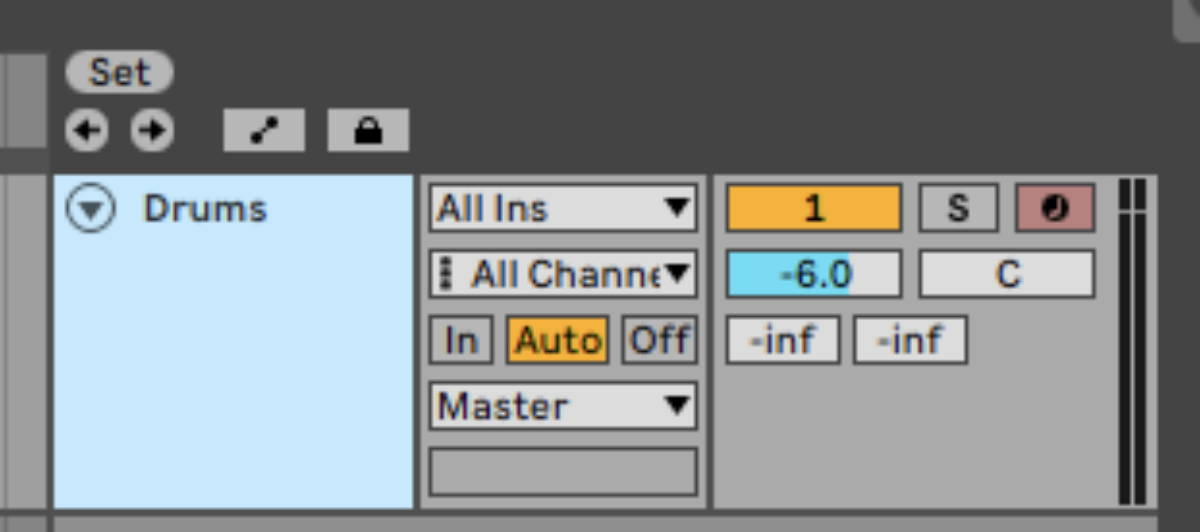
Set this track to -6 dB to give us some headroom to add other elements.
2. Creating a lead line
Now we have a rhythm to work with, let’s start adding musical elements. First we’ll add a simple lead line that will help establish our track’s vibe and musical identity.
Add another MIDI track, and again add Kontakt. This time click the Feel It Expansion, and double-click the Faux Organix preset to load it up.
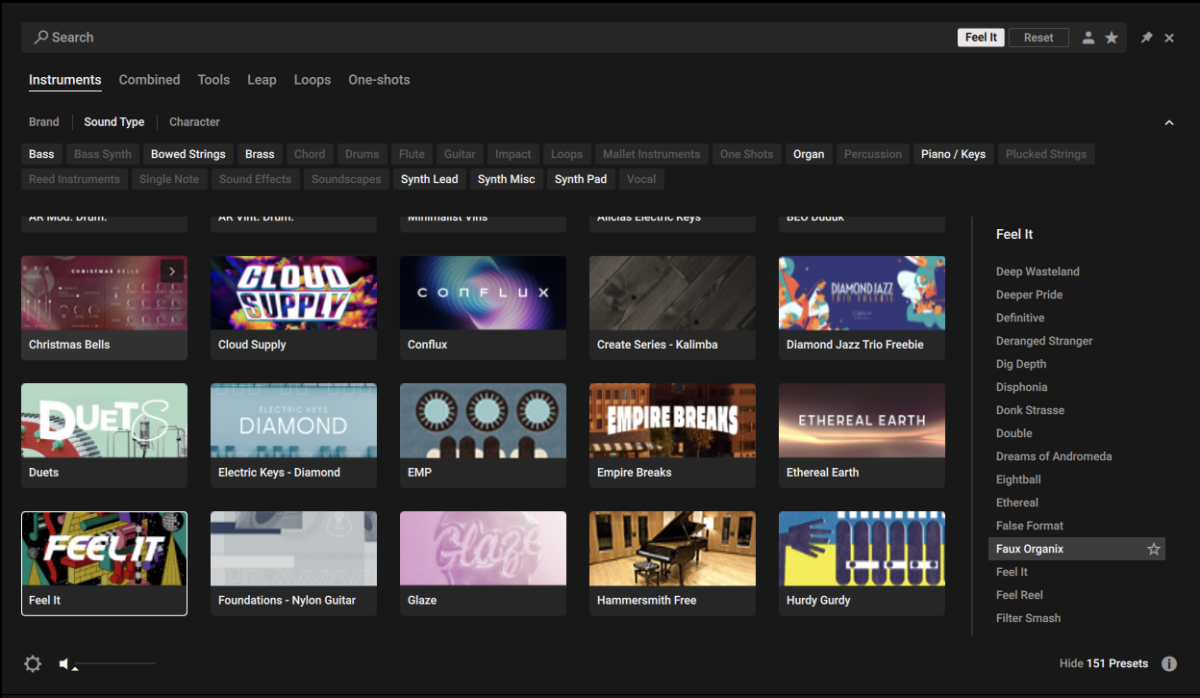
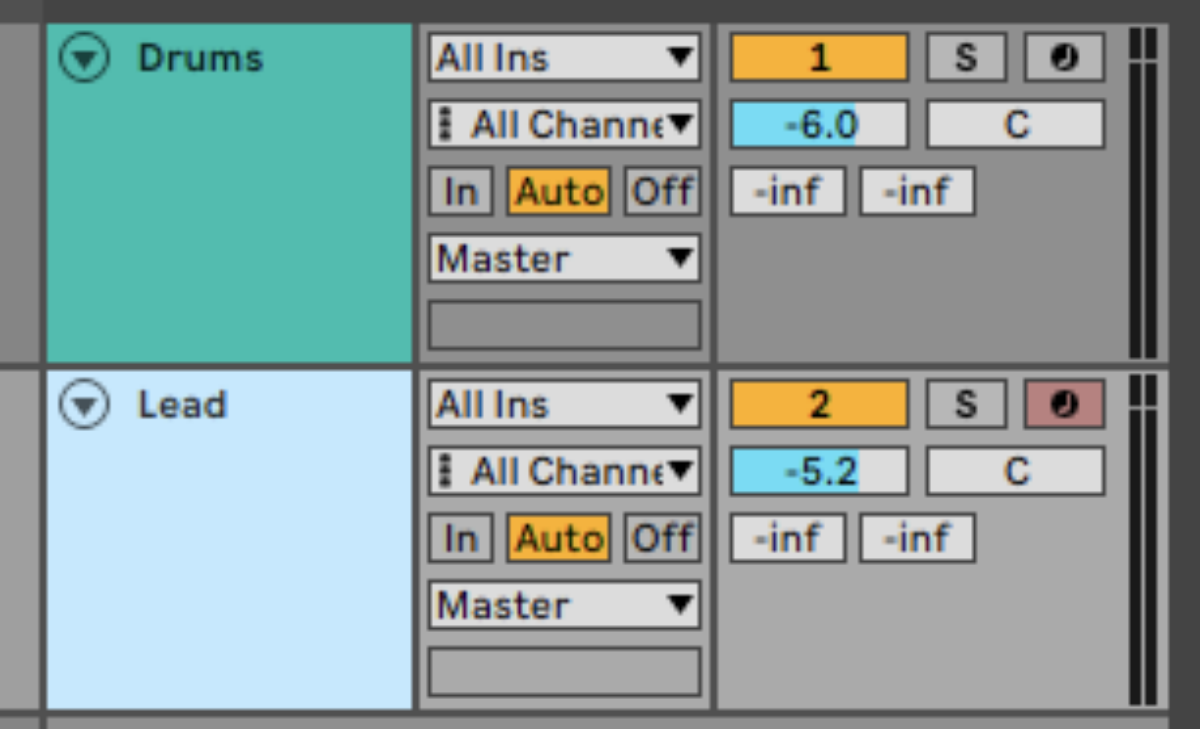
Set this track to -5.2 dB.
Copy the pattern we’ve used here, which plays G3, A#3, and G3 again.

This unfussy part isn’t over-complex, but it gives us a musical direction and helps set the tone for the track.
3. Composing a bass line
Alongside the beats, the bass line is the next most important part of a tech house track. We’re going to compose a chugging, techno-inspired bass line that will compliment the beat and lead.
On a new MIDI track add Kontakt, again click the Feel It Expansion, and this time double-click the Praise the Bass preset to load it up.
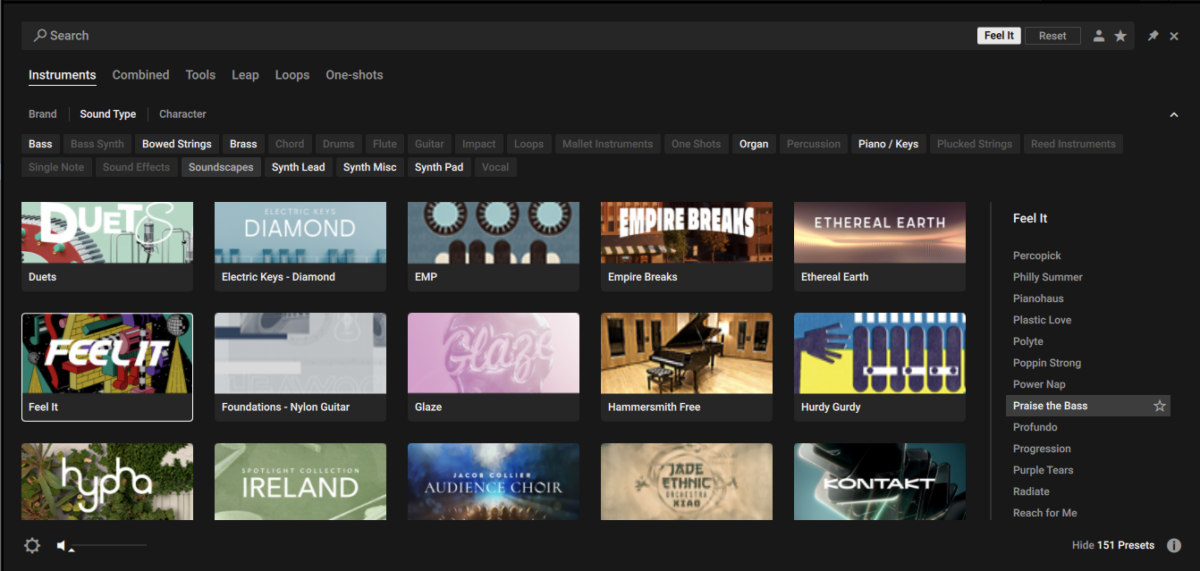
Set this track to -2.2 dB.
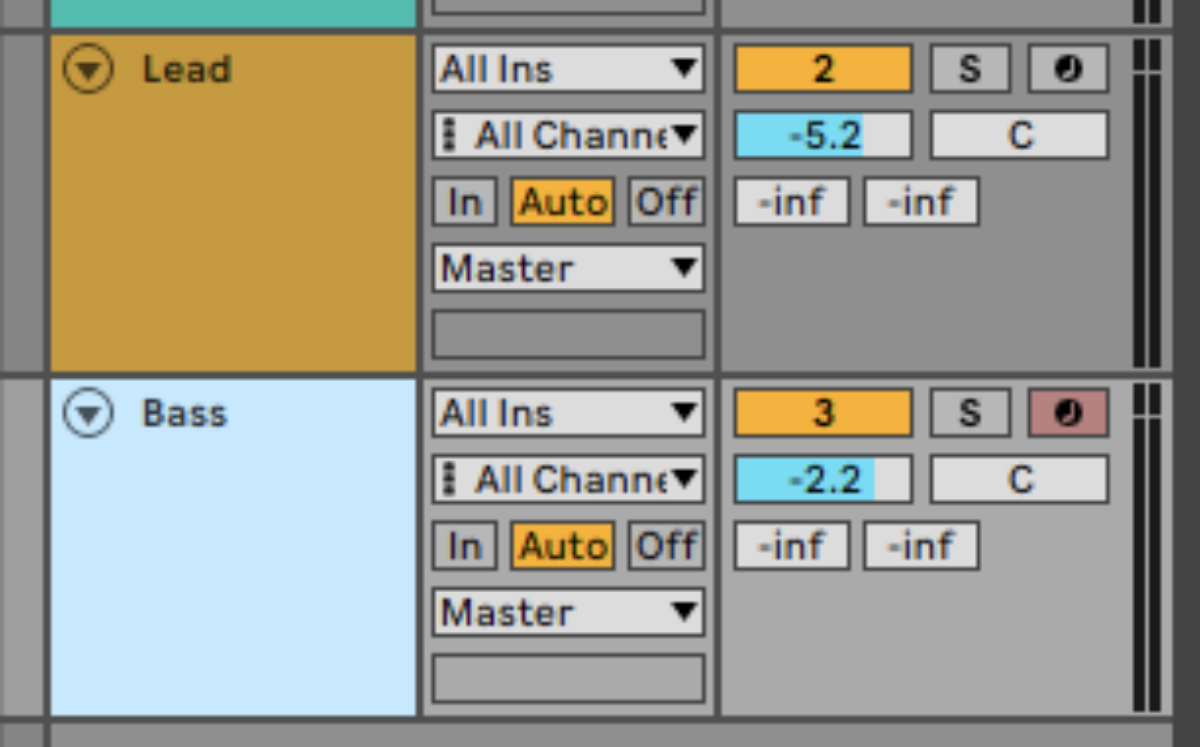
Now copy the pattern we’ve used here, which plays G1 on the first, fifth, ninth, twelfth and fifteenth 16th notes of a bar. This pattern then repeats for all four bars.

We now have a beat, lead and bass line that give our track a lot of driving energy, but because they’re quite simple, we have plenty of room in the mix for adding more texture, atmosphere, and emotion.
4. Adding atmospherics
Let’s add some atmospheric sounds next to give our track more of an individual feeling.
Create another MIDI track, and this time in Kontakt click the Nacht Expansion and double-click the Cue Riddim preset.
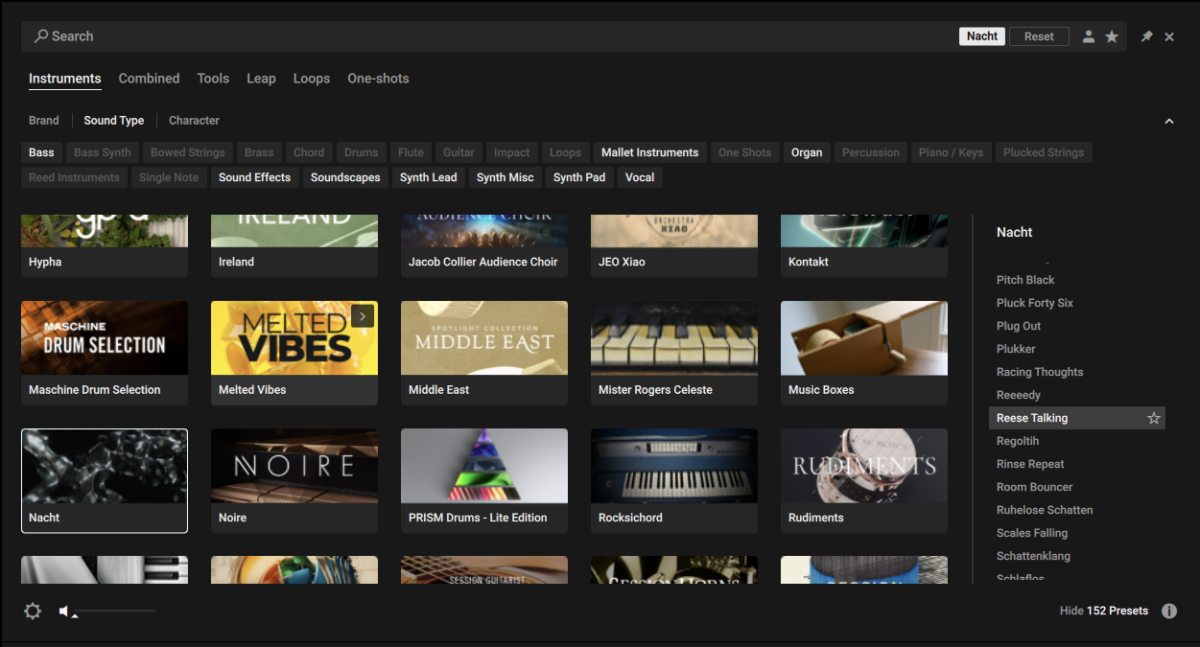
Set this track to -8.7 dB.
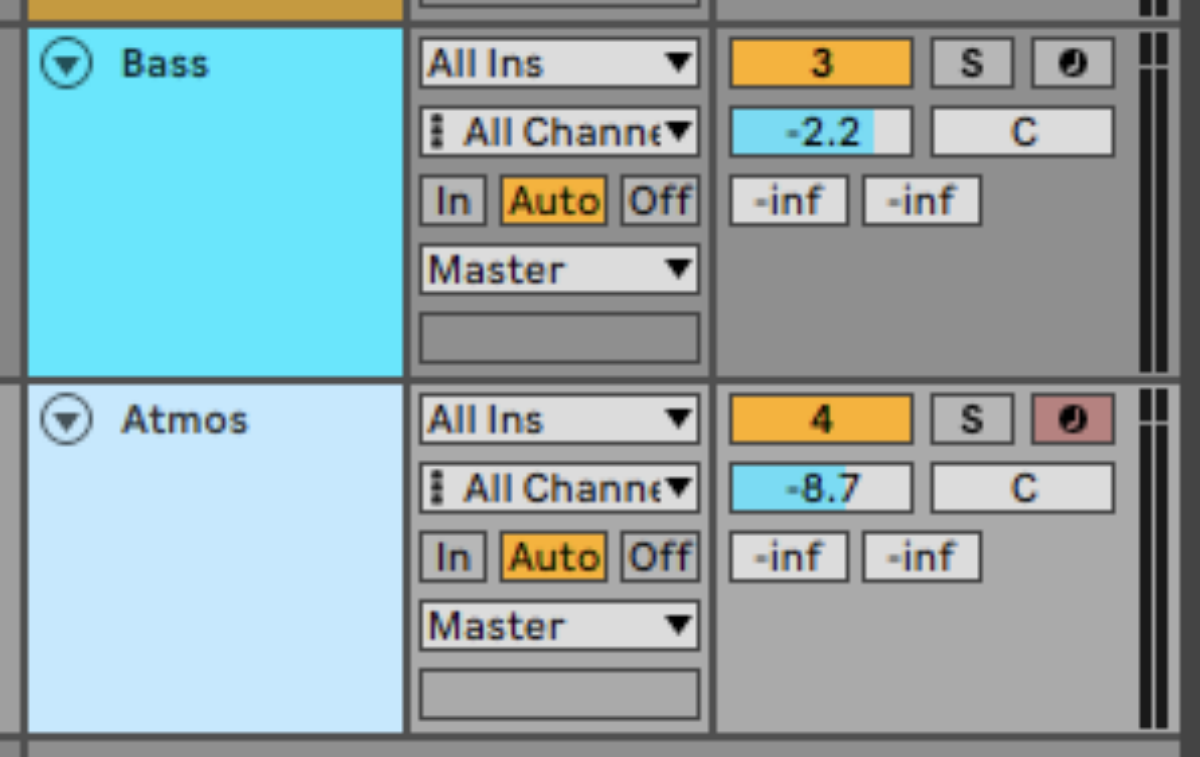
Sequence this to play G3 for all four bars.

This gives us a pitched, rhythmic atmosphere loop.
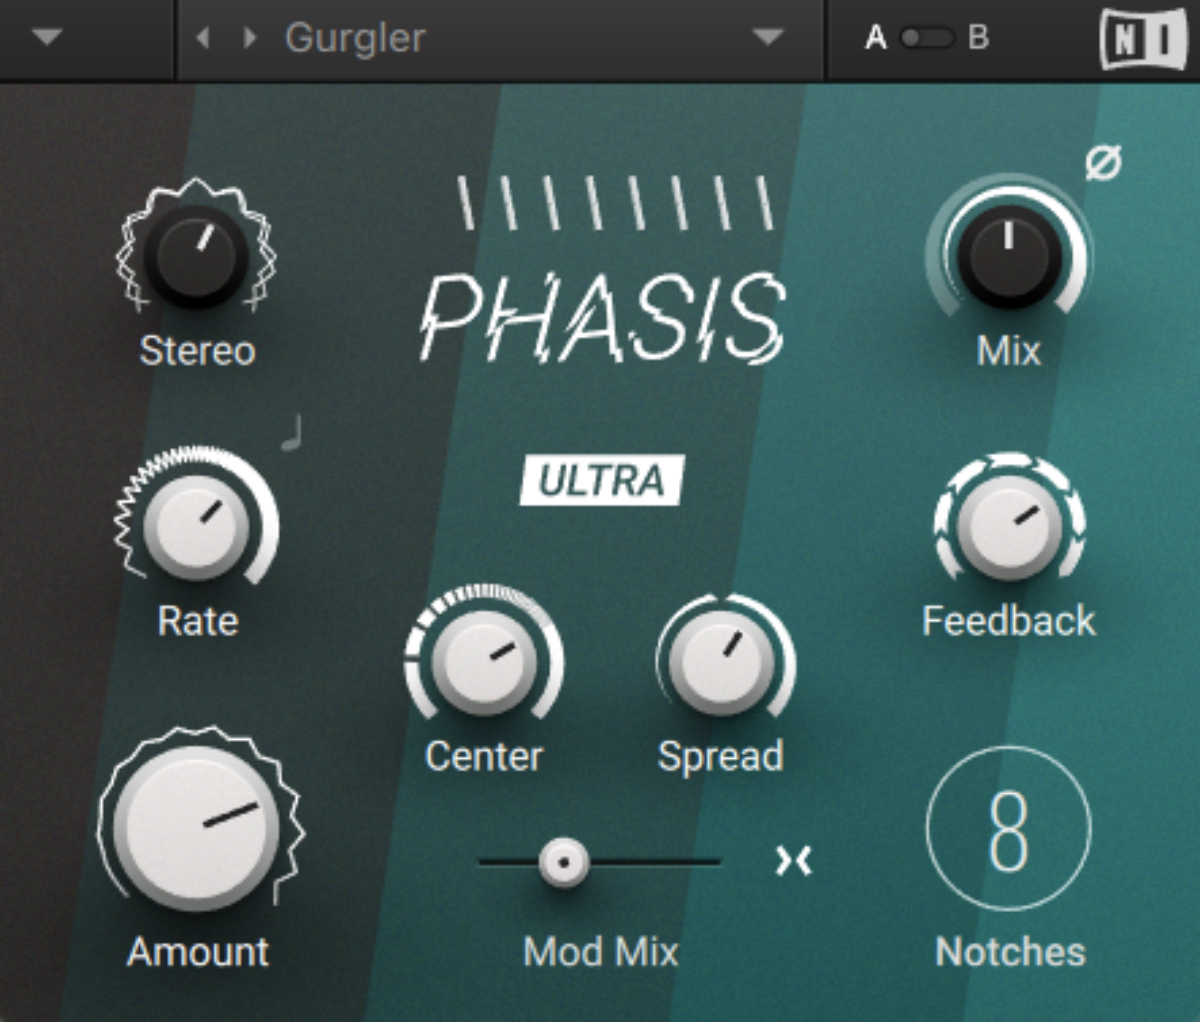
We can help this sit in the mix more neatly with the other elements by adding a phaser effect. Add Phasis to the track, and load the Special FX > Gurgler preset.
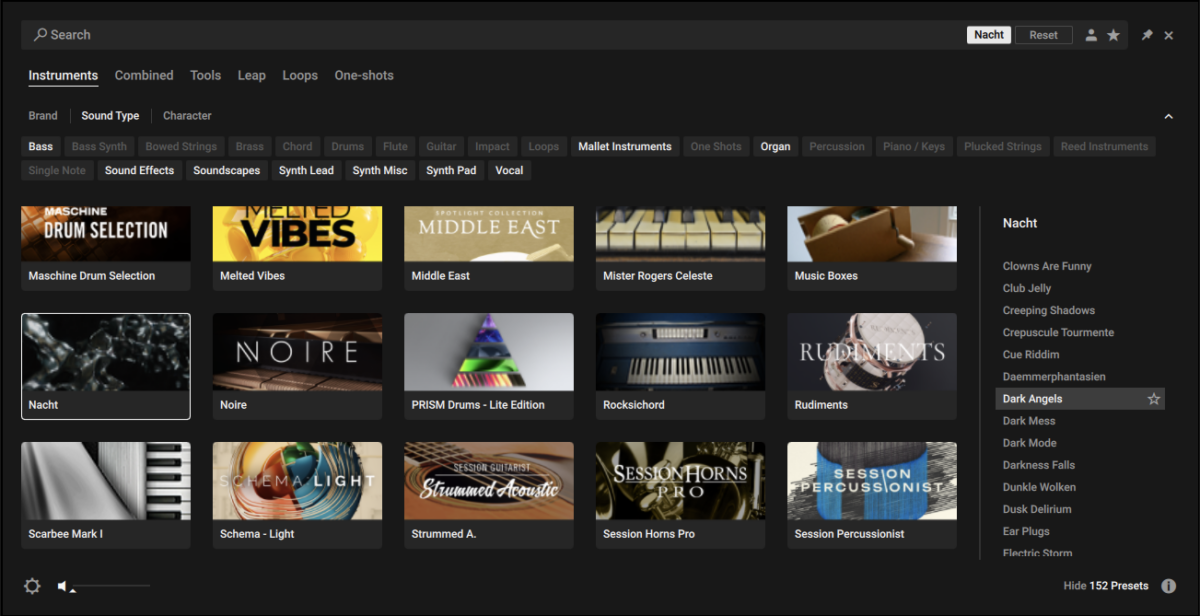
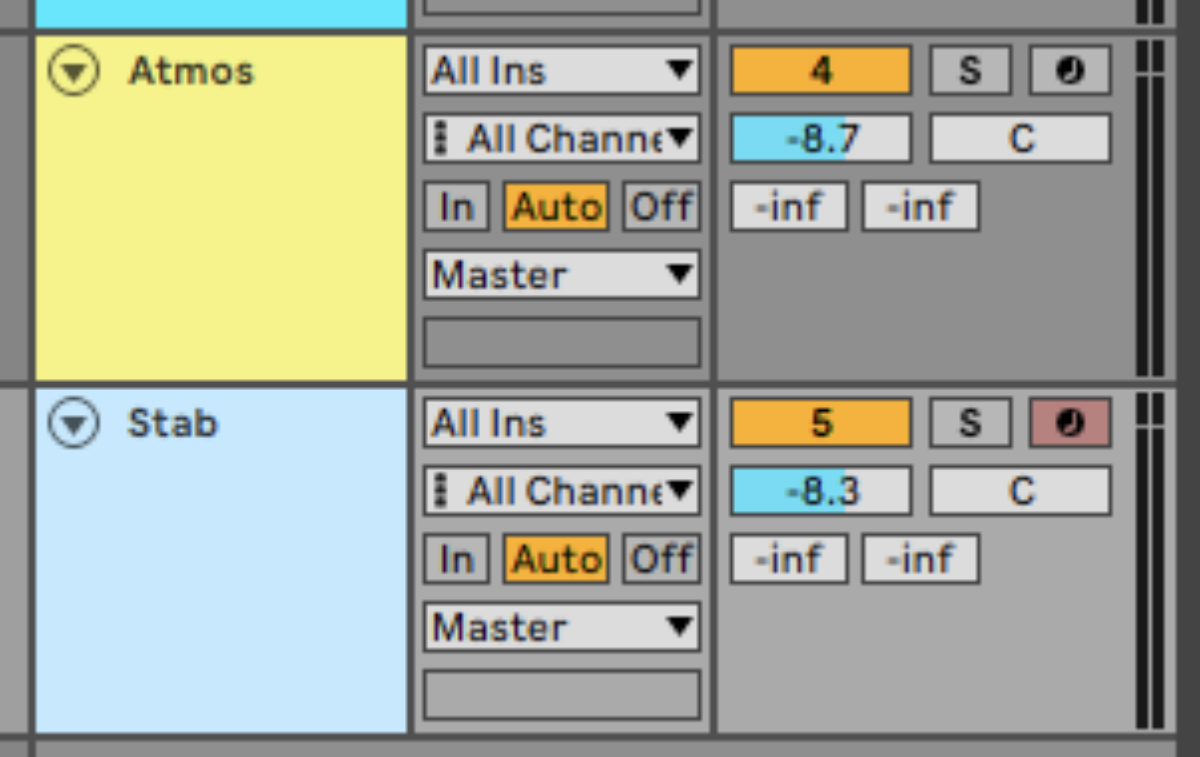
Now let’s add a more staccato, stab-style atmospheric sound. Add another MIDI track with Kontakt, and this time select Nacht’s Dark Angels preset.
Set this track to -8.3 dB.
Sequence this to play G1 for a 16th note on the first beat of the first bar.

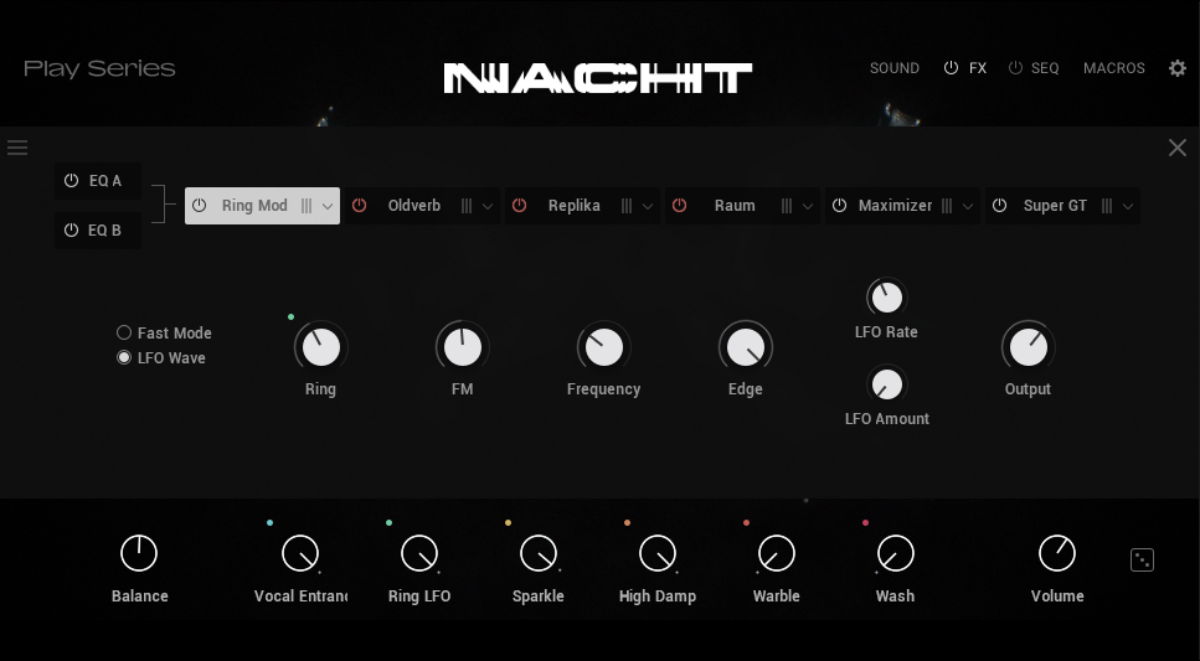
This preset has a little touch of reverb and delay on it already, but we want to add our own more substantial effects. Click the FX button at the top right-hand corner of the interface to bring up the FX page, then deactivate the Oldverb, Replika and Raum effects by clicking their power buttons.
Now add Replika XT to the Dark Angels track, and load up the Classics > Dubmatic Tape preset.

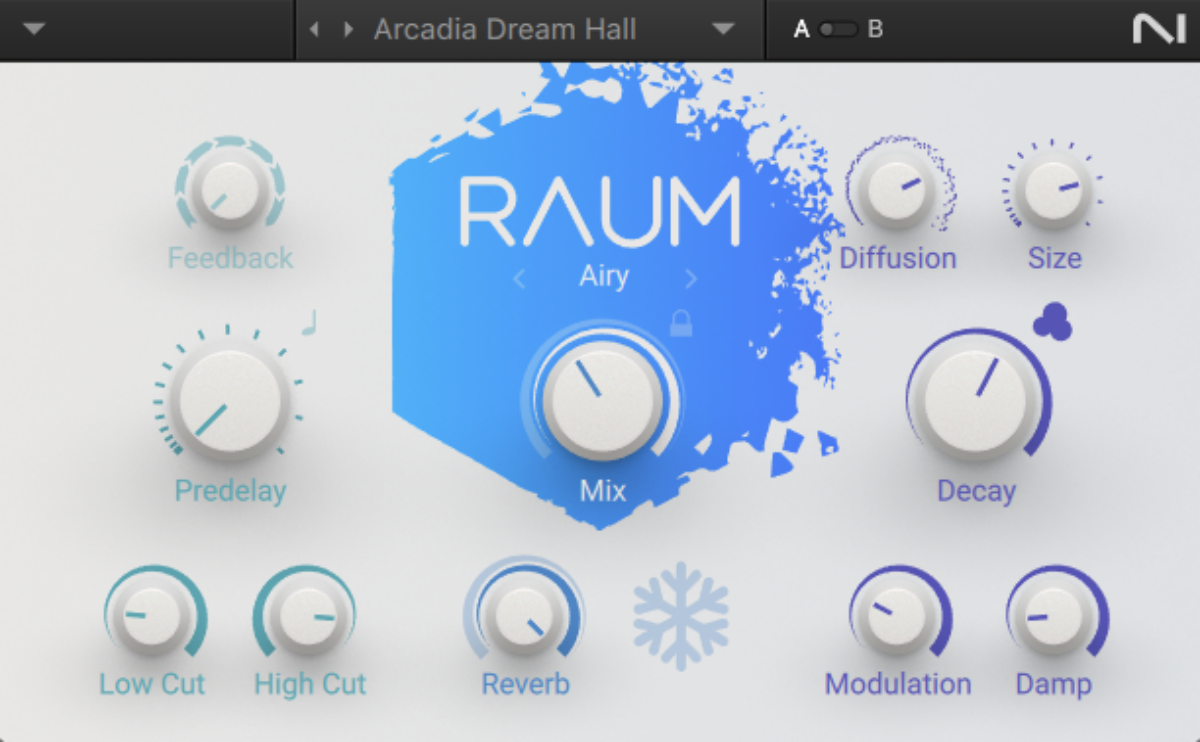
Next add Raum to the Dark Angels track, and select the Factory Presets > Large > Arcadia Dream Hall preset.
5. Developing harmonic ideas
Our musical concept is becoming more fully-formed, but it could do with some more harmonic interest. Let’s add some simple synth lines that, while sparse, will make our track more involving to listen to.
First, create a new MIDI track and add Massive X. Click the patch name to bring up the preset browser, click the Synth Misc tag, and double-click the Festival Island preset to load it.
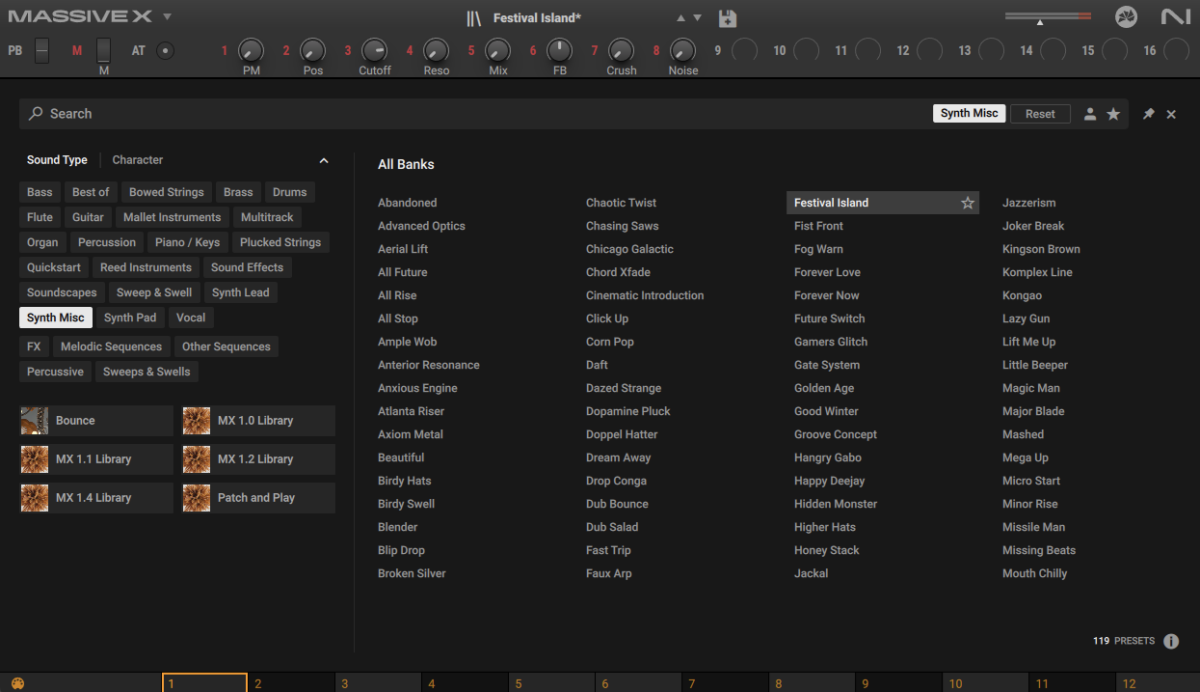
Set this track to -7.8 dB.
Copy this very simple part that plays G3, G3, A#3, G3 and G3.

This sound is quite dry and staccato, so again we’ll add some reverb and delay to help bring it out. First, add Replika XT, selecting the Modulation > Boyz preset.
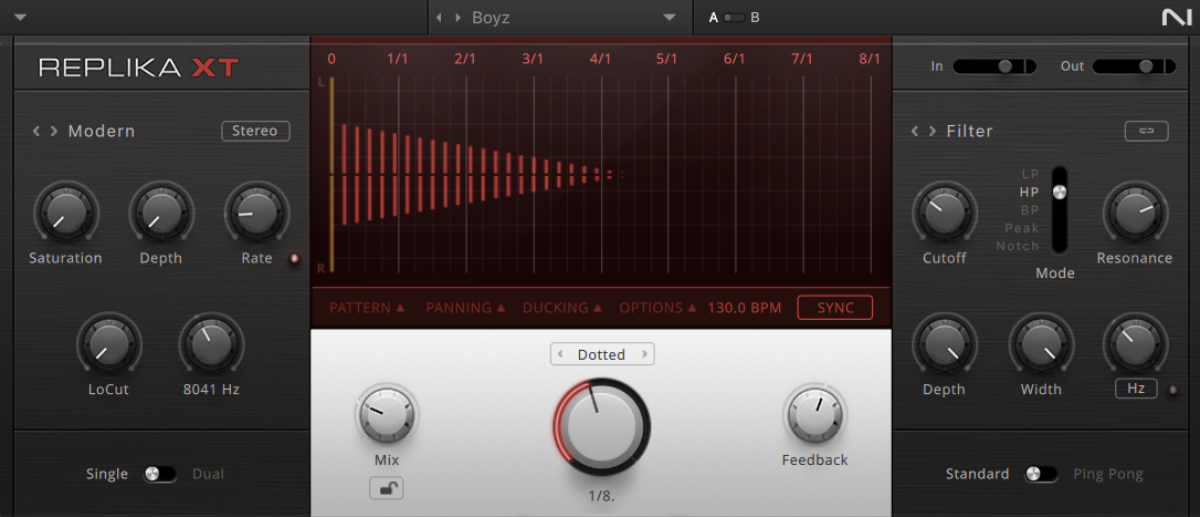
Now add Raum, and again load the Factory Presets > Large > Arcadia Dream Hall preset.

Next, create a new MIDI track and load up Massive X. This time click the Mallet Instruments tag and select the Woozle preset.

Set this track to -1.5 dB.
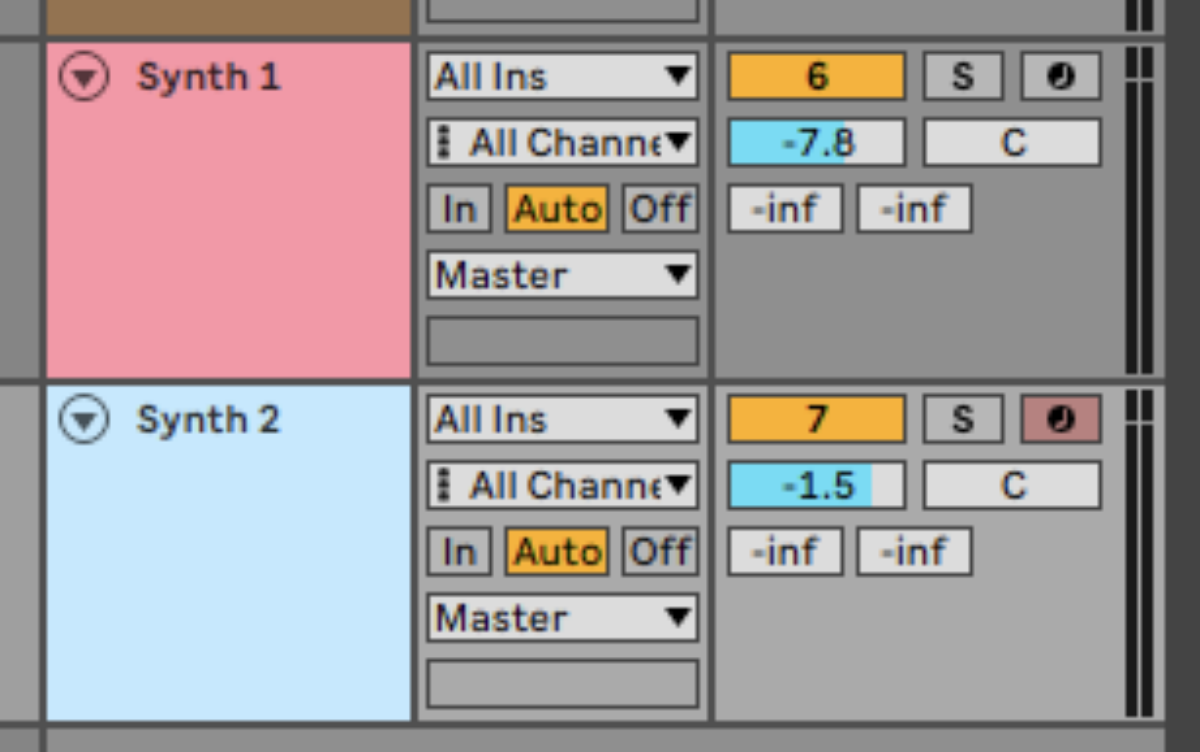
Copy the sequence we’ve used here, which gives us some light harmonic interplay with the previous synths.

Add Raum to this track, and this time load the Factory Presets > Large > Dark Mod Hall preset.
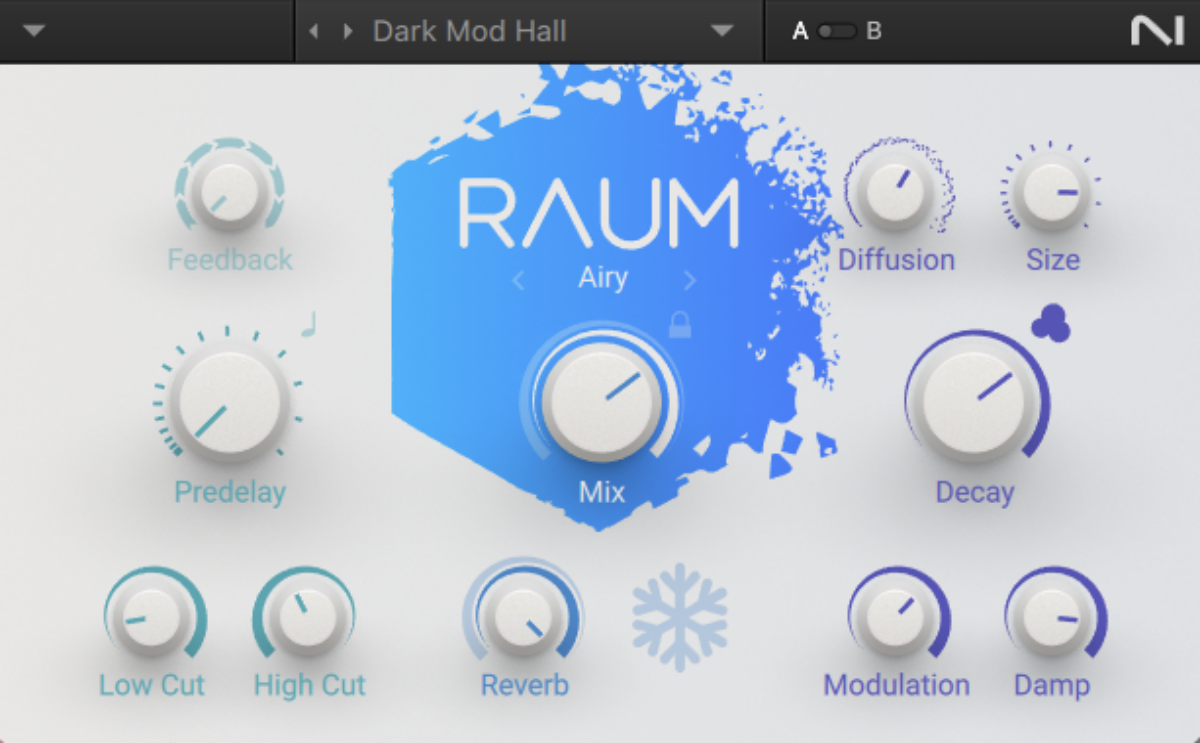
Now we have a good amount of musical content to sustain listener interest, let’s create an arrangement.
6. Arrangement
Here’s an example arrangement that you can copy.
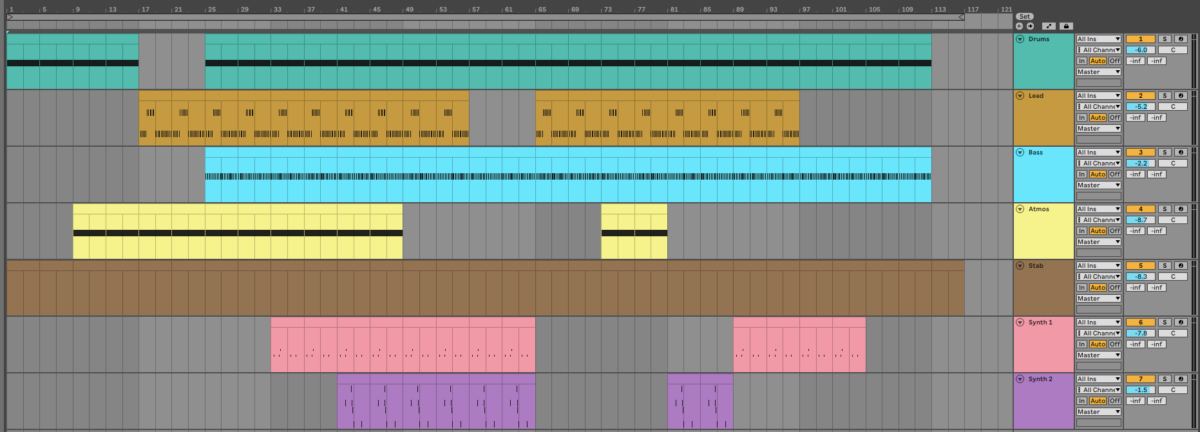
This uses the formula of starting with a rhythmic, DJ-friendly intro, the segueing into a breakdown which is followed by a drop. The rest of the arrangement focuses on switching up which elements are used every eight bars to keep listener interest.
7. Mastering
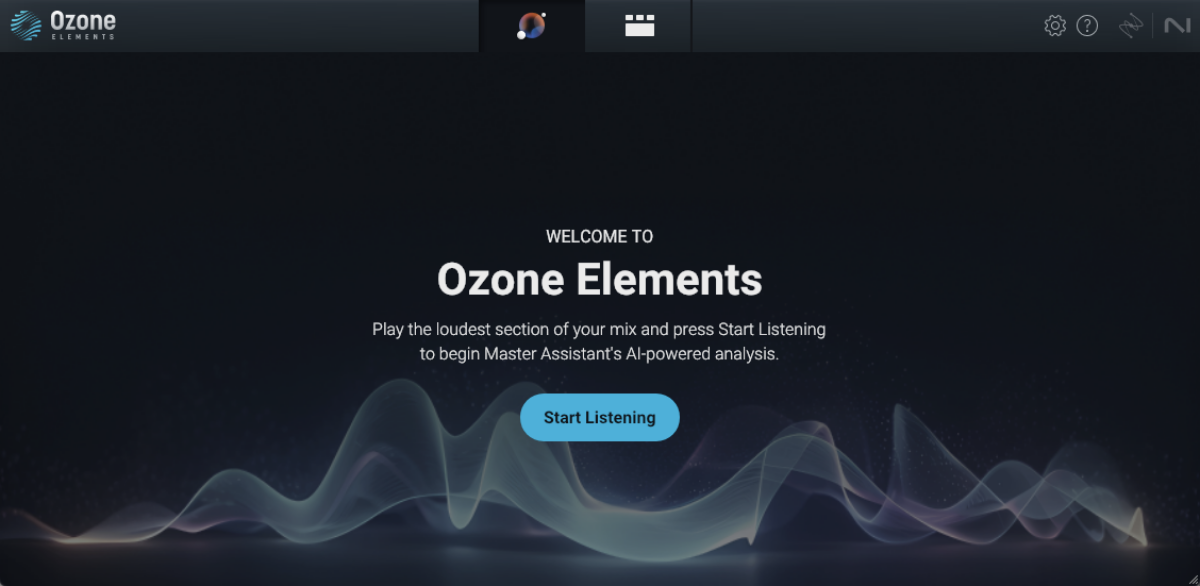
We can use Ozone Elements to automatically master our track. Add Ozone Elements to the project’s master track, and the plugin will ask you to play the project back from the loudest part. Click the Start Listening button and play the project back from bar 41, where all the elements play at once. Bear in mind that when Ozone Elements has finished analyzing the project, its volume level will be boosted significantly.
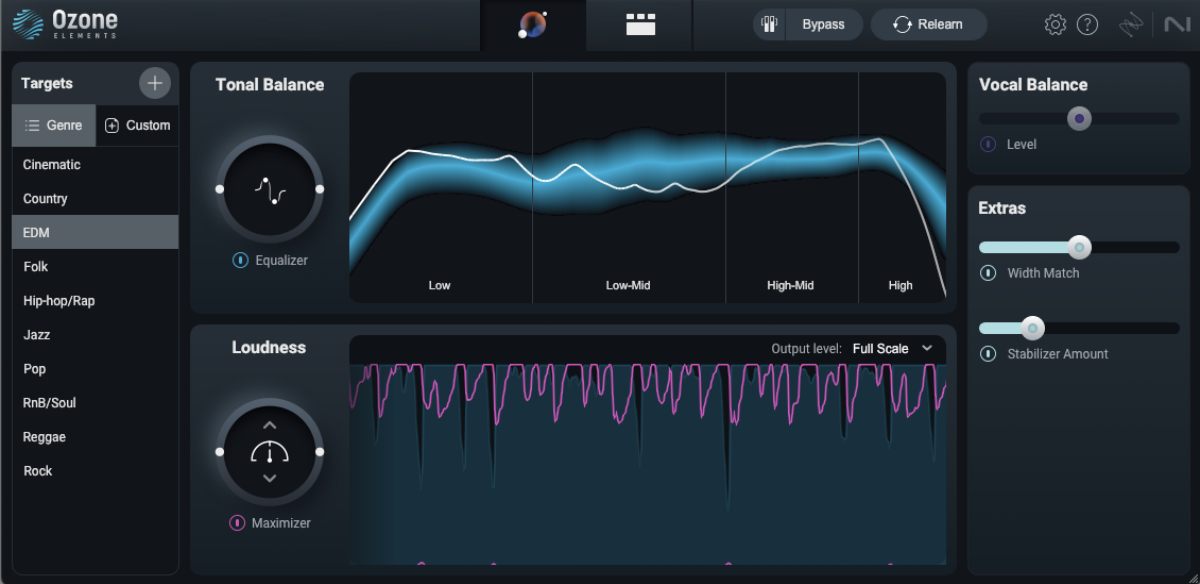
Ozone Elements will create a bespoke mastering chain. Set the Target to EDM to focus on getting a big, tight, bass sound.
Start making tech house with Komplete 15 Select Electronic Edition
Here we’ve seen how you can make a tech house track with Komplete 15 Select Electronic Edition’s Progressive Trance Expansion, Feel It and Nacht Instruments, Massive X, Ozone Elements, Replika XT, Phasis and Raum from Komplete Start.
If you’d like to read more electronic guides, check out:


