


You’ve produced your track, mixed it, and you’re ready to release it to Spotify, Apple Music, and more. But before you distribute your song to streaming platforms, there’s one last part of the music production workflow that will make sure your music sounds professional no matter where and how your audience is listening.
Audio mastering is an essential part of music production. In this tutorial, learn what mastering is, why it’s such an important part of the production process to get your tracks sounding professional, and how to master a track yourself.
We’re going to be using iZotope Ozone 10 Standard which is included with Komplete and NI 360 subscription. Get your copy to follow along.
What does mastering a song mean?
Mastering a song involves taking the mix and putting the final touches on it, enhancing the overall sound, and getting the music ready for distribution to places like streaming services or physical formats like CDs and vinyl. This can involve aspects such as adjusting levels, applying stereo enhancements, and monitoring unwanted clicks and pops–basically anything that can distract the listener from the music. The end goal is a published, loud, clean sound that’s optimized for consistent playback across different formats and systems.
The easiest way to think about mastering a track is comparing it to a cake. The production elements are all of the ingredients. After baking you have a nice layered cake which is your mix. And the master is topping it off with icing and decorations to give it that nice, clean, polished look.
Tools for mastering your music
It’s really easy to get a great sounding master with iZotope Ozone, especially the built-in tools like the AI-powered Master Assistant. You can match the tone of your favorite songs, make your track hit hard with Ozone’s legendary limiter, and more.
I made a pop synth wave track using the sounds from Komplete. The mix sounds great, so let’s put iZotope Ozone on the output, use the Ozone Master Assistant, and get this track ready for distribution.
How to master a song
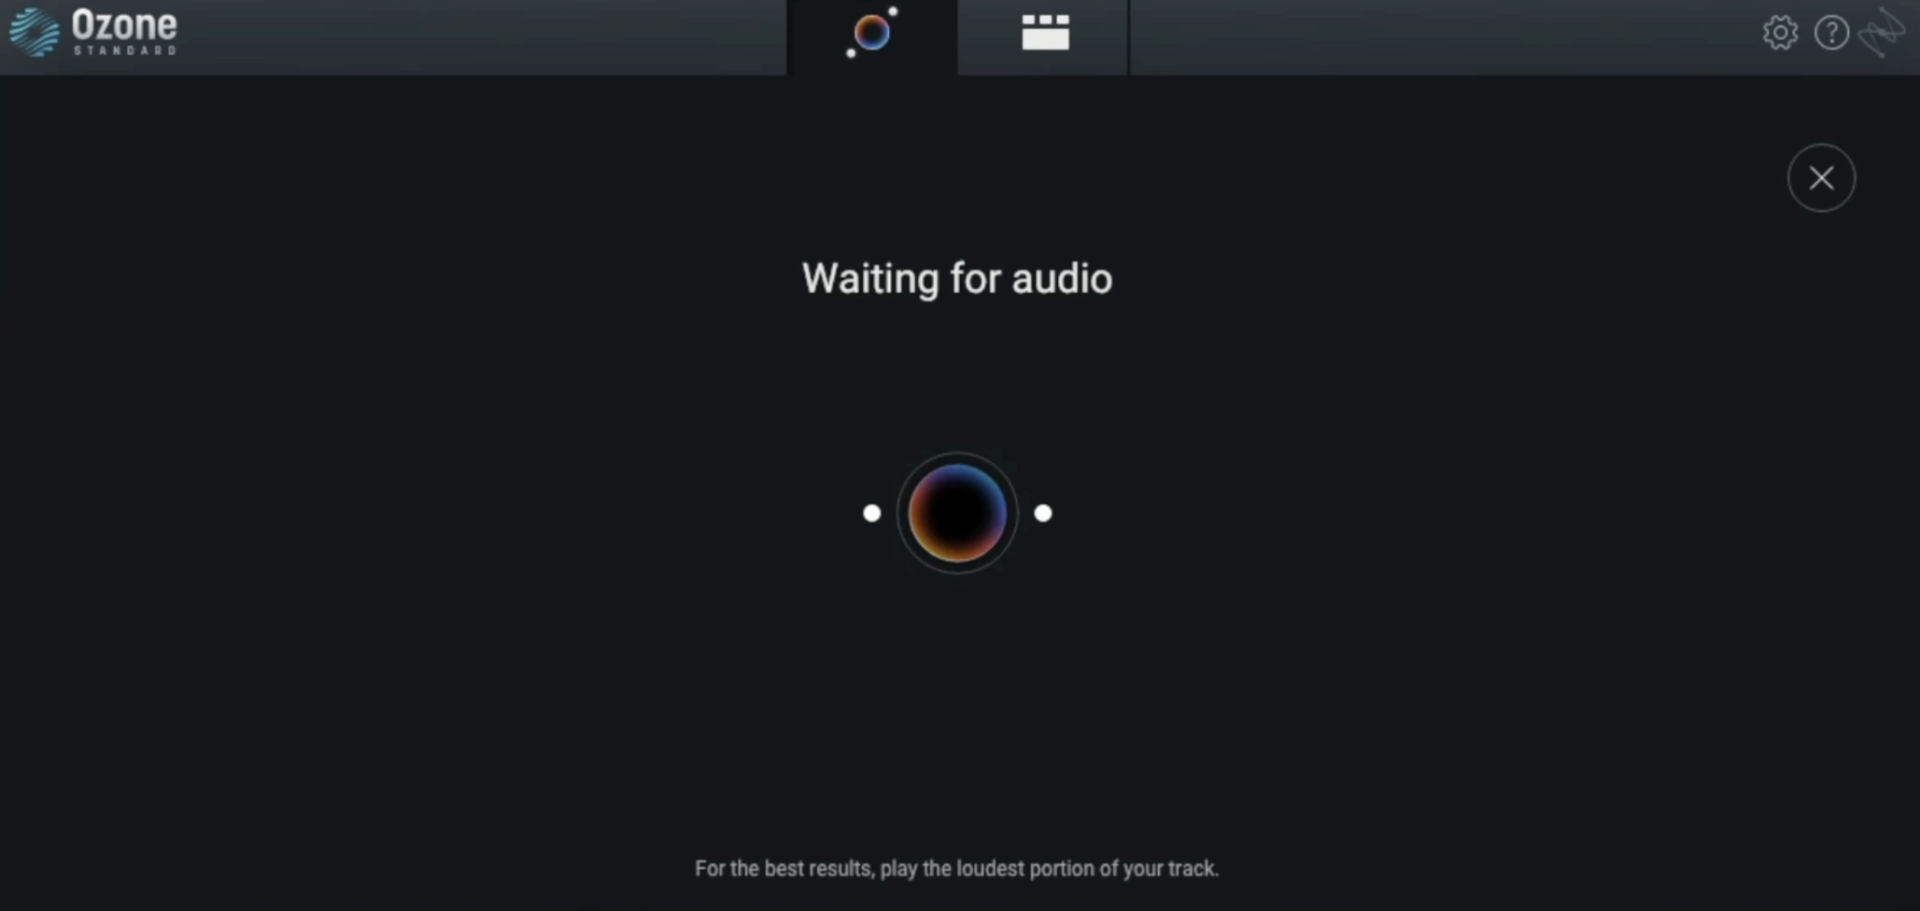
Mastering a song starts with listening to your mix. We’re using the Master Assistant on my track. I opened Ozone Standard and clicked the Master Assistant, selecting the loudest part of the track to play back.
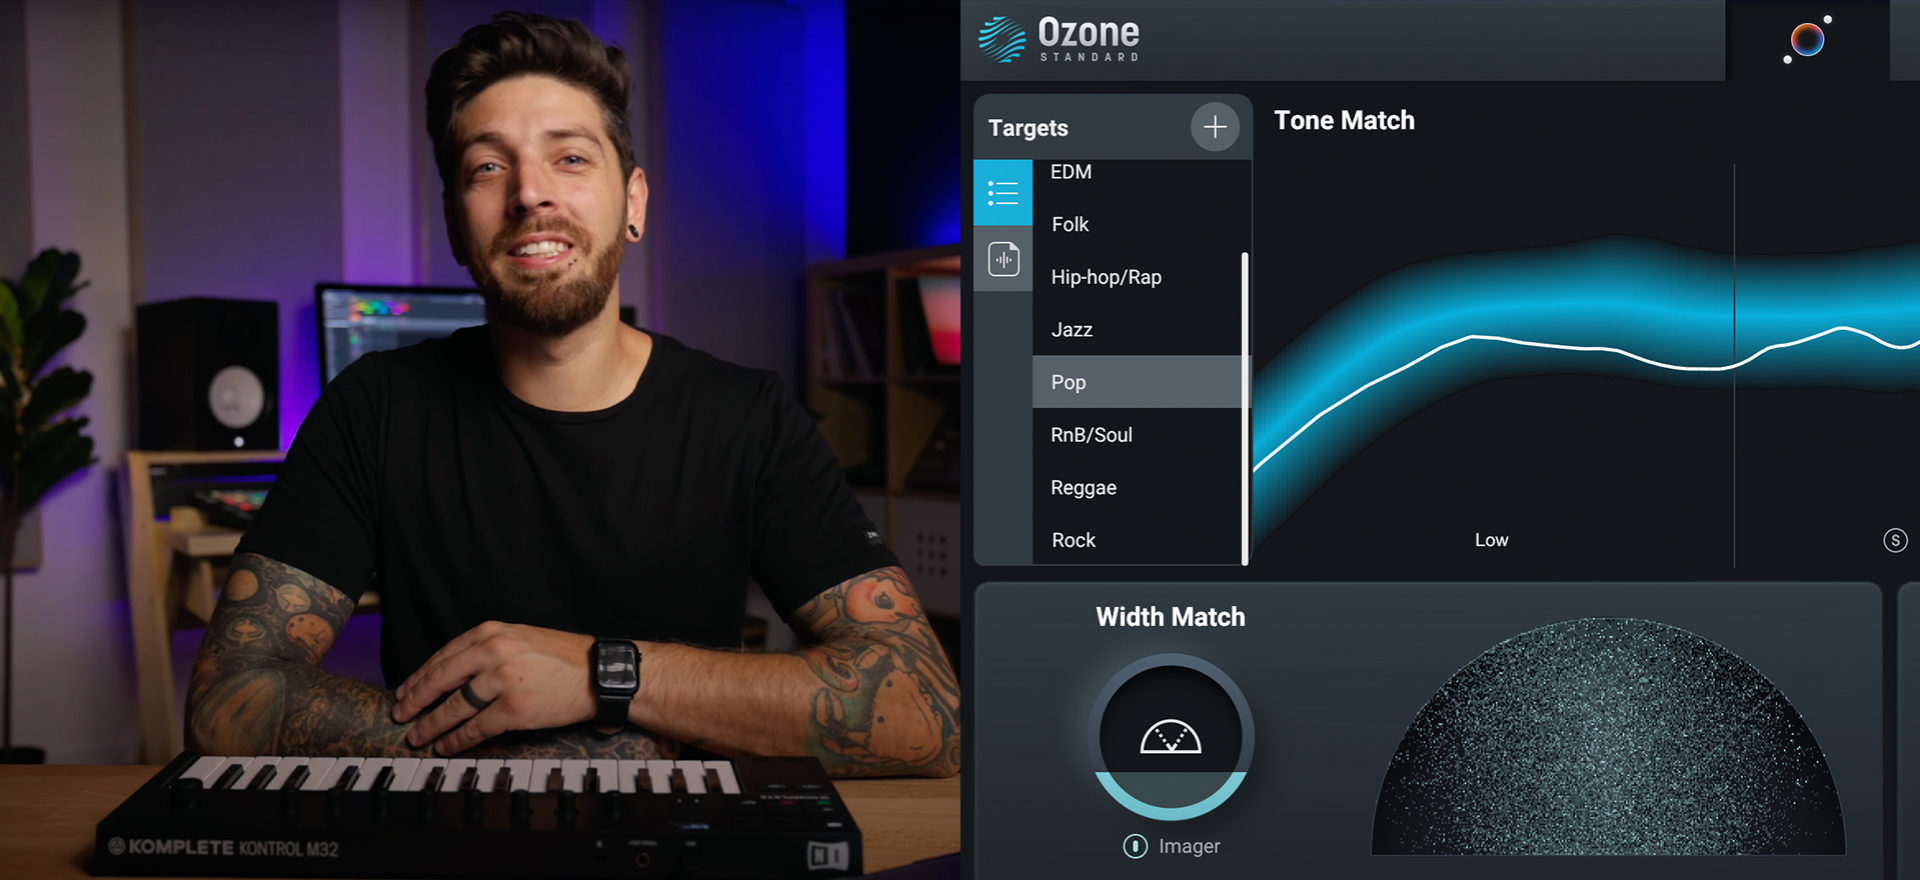
After the analysis pass, Ozone attempted to identify the genre of my song. It chose Rock for my song, which makes sense because of the drums I used in my track. I’ve switched the genre to EDM because I like the way it sounds better.
After selecting EDM, you’ll see Ozone then matches the song’s Tone, Width, and Dynamics to targets that are generated from the latest chart-topping hits.

Another cool thing you can do is upload your own reference track. Just hit the plus button next to the Targets section and select any file from your computer. This works well when you have a similar sounding song and you want to match the overall tone.
The layout of the Master Assistant lets you manipulate different modules with just one slider. For instance, the EQ slider affects the entire EQ module. You have Width which affects the Ozone Imager module, and Dynamics affects the Ozone Maximizer. If you turn it up it will limit more, if you turn it down, it will limit less.
Another key setting is the “Optimize For” option. On streaming it’s going to set everything to cap out to -1 dB which is perfect for distribution on platforms such as Apple Music, Spotify, Tidal, and more.
DJ player is going to lower the threshold so it’s limiting more and change the ceiling to -0.1 dB.
Now that we understand the Master Assistant parameters, let’s dig a little deeper into Ozone’s modules and the mastering chain the Assistant created for me.
Exploring the mastering chain
The Master Assistant EQ, Width, and Dynamics sliders impact parameters within an Ozone module that together make up an entire mastering signal chain. Let’s explore each module in more detail.
Ozone Equalizer module
The Ozone Equalizer module helps with the initial shaping of your master.
Since this track is bass guitar heavy, the Master Assistant pushed the low end on the EQ. It’s also shelving the highs to get rid of some of the shimmer.
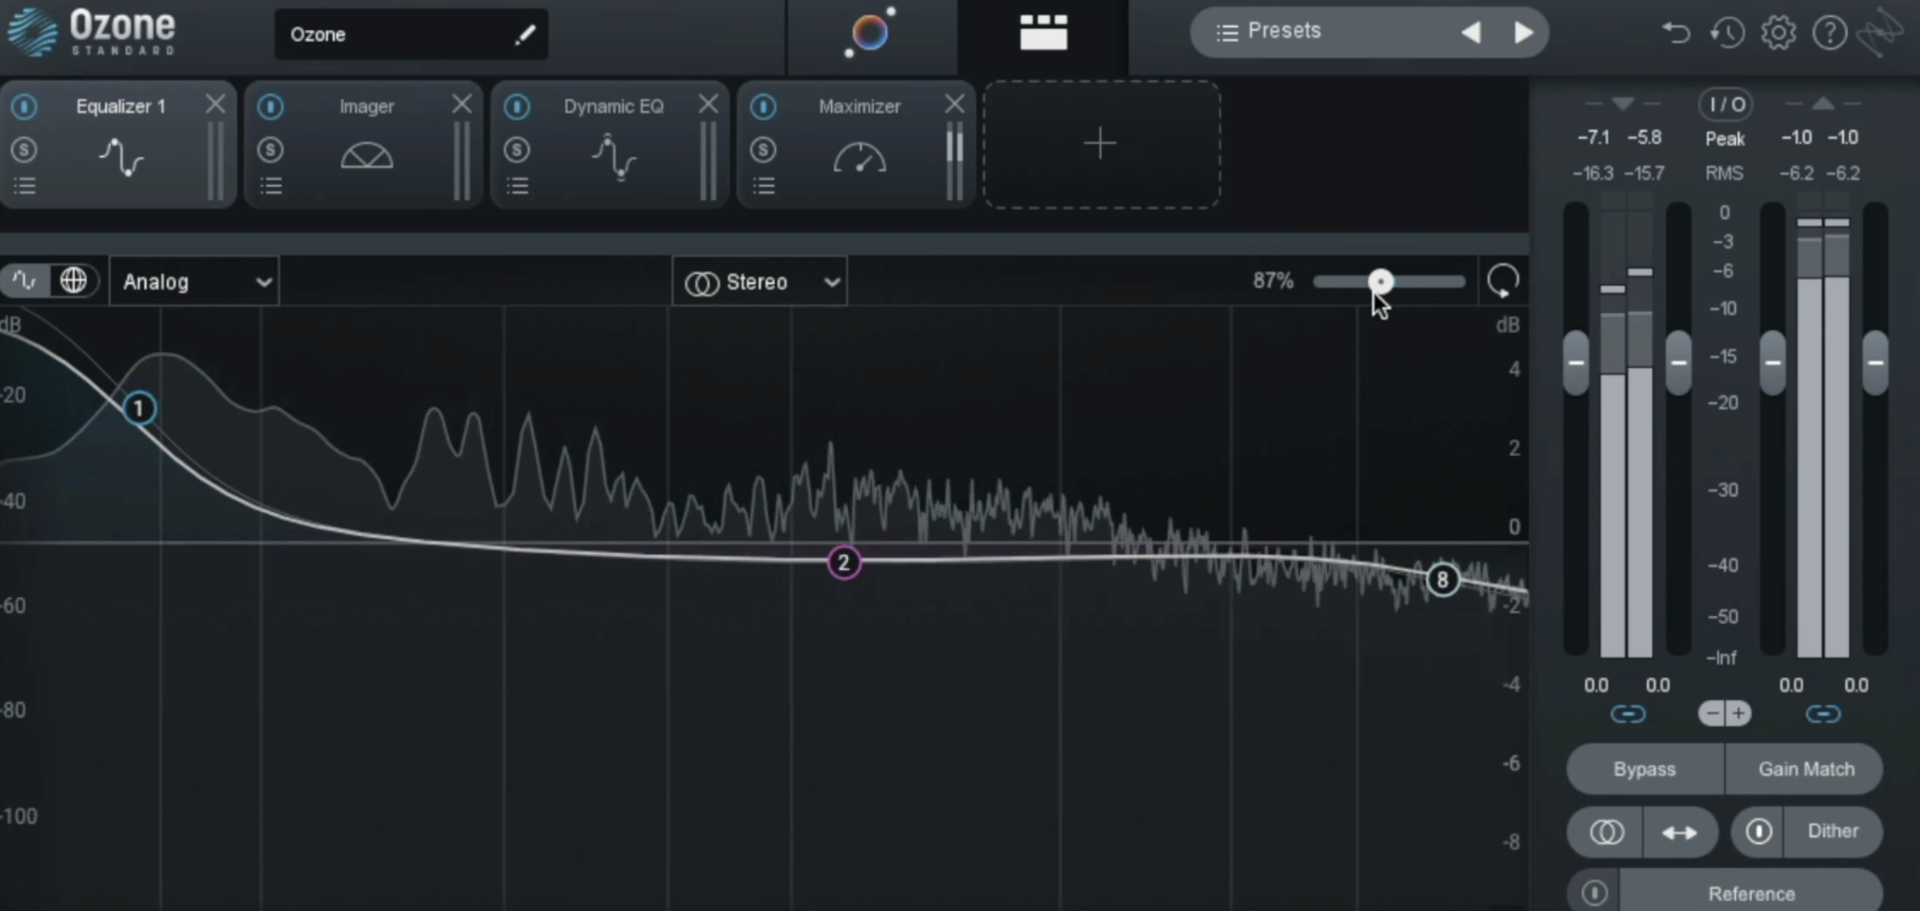
I’m happy with the results here. I’ve just changed the amount to 70 percent.
If you want to learn more about all of the parameters within each module in Ozone in detail, check out the audio mastering video series Are You Listening? from iZotope.
Ozone Imager module
Now let’s check out Ozone Imager. This is one of my favorite modules because audibly it makes one of the biggest differences in the mastering stage. You can change the frequency crossover which corresponds to the sliders below. If you want more low end in your first slider, you can do so by isolating just those frequencies.

One of the coolest new features in Ozone is the Recover Sides option. Previously when you’d remove stereo width from a band, you would lose stereo information from the sides and only hear what’s in the middle. With the new Recover Sides option, it actually takes that information from the sides and pushes it into the middle.
On my mix, I changed the slider up to about -37 dB to keep it narrow and change the crossover frequency to about 180 hertz. This way it covers the bass guitar. I also widened the high end.
Ozone Dynamic EQ module
The Ozone Dynamic EQ module is cool because it’s an EQ and a compressor in one. What it’s doing is making sure that harsh frequencies in your track aren’t accentuated by the Maximizer/Limiter later on in the mastering signal chain.
You can choose from five filter shapes including high/low shelf, Proportional Q, Band Shelf, and Peak Bell.
Here I’ve soloed where the Master Assistant chose to apply an EQ cut.

These subtle changes make a huge difference in the overall tone of this song.
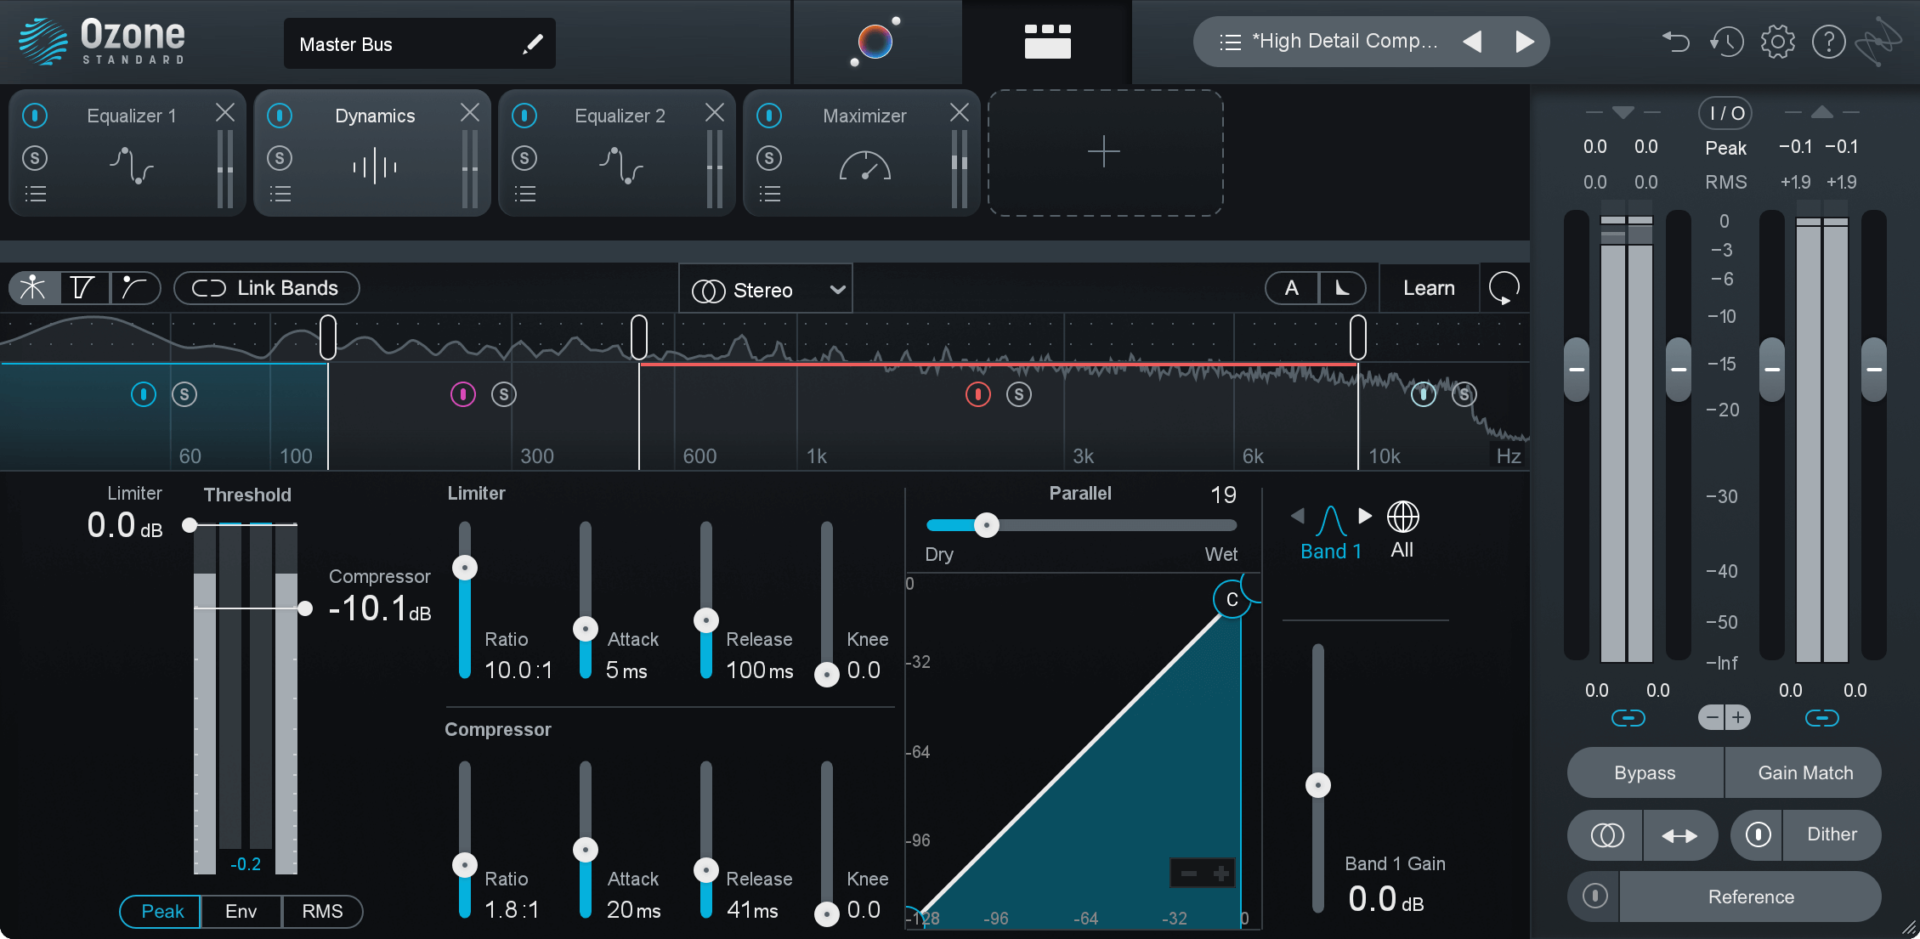
Dynamics module
I also want to add a Dynamics module right after the EQ. This is a multiband compressor and limiter turned into one.
If you don’t know where to start when adding new modules, there’s presets for each module. I’ve selected the Smooth Dynamics preset for my track.
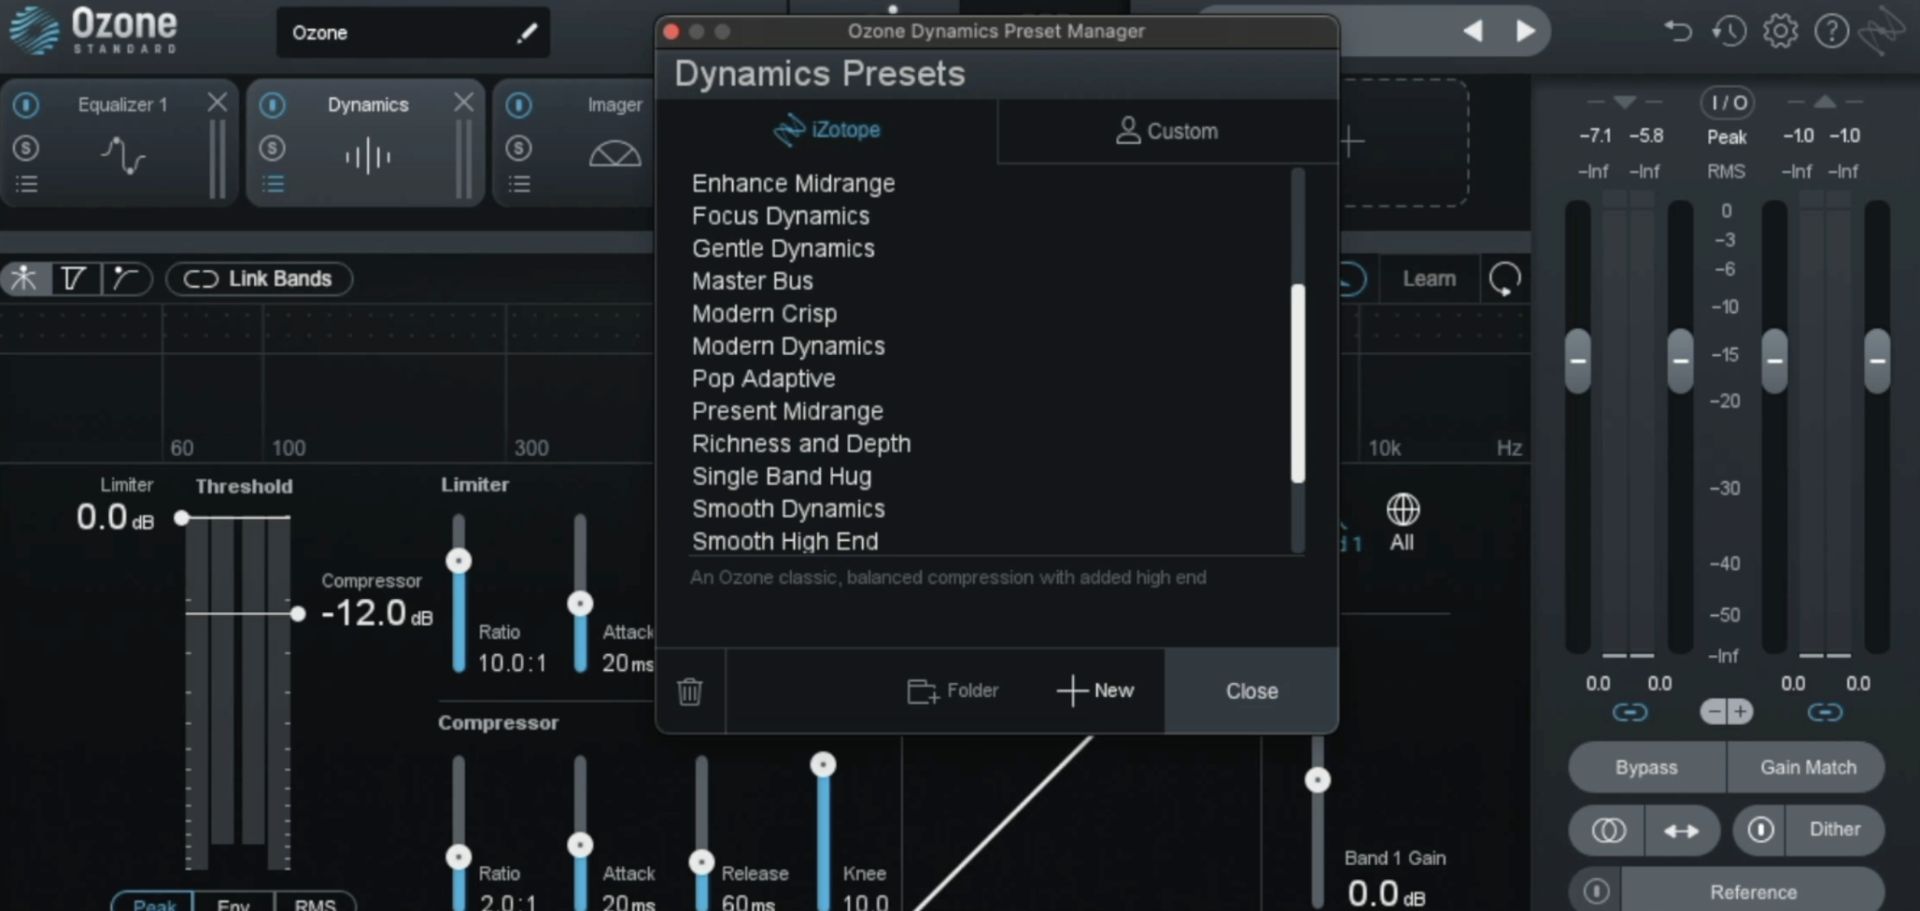
I turned on adaptive release so I don’t even need to think about the release time. I started with the high end and adjusted the thresholds. You can see how much it is compressing based on the colored meter at the top. The goal is to just keep large transients tamed, but not over-compressed.
Ozone Maximizer module
The last module is the Ozone Maximizer. This is the final module in the mastering signal chain. The goal of the Maximizer is to make your track louder while maintaining dynamics and not squishing it too much.
Since I’ve optimized my track for streaming, the ceiling is set to -1 dB and True Peak is turned on so nothing is clipped after the export. The Maximizer is really important because you want to find a balance between loud yet still dynamic and not distorted.
One of the new features in the Maximizer is the Magnify Soft Clip. This allows you to add a high fidelity loudness boost by controlling the wet/dry of the Soft Clip processing.
Start mastering your music
Now that you’ve seen the whole process, start your free trial of NI 360 that includes Ozone 12 and start mastering your own music from start to finish. For even more resources on mastering, check out iZotope’s mastering tips and tutorials as well as the Are You Listening? audio mastering video series.
Related articles
-

Behind the synth: A. G. Cook on stacked sawtooths and the creation of Super*Saw
Explore the extremes of stacked sawtooth waves with Super*Saw, a new synthesizer co-created with A. G. Cook. Learn how to…
-

Inside the evolution of orchestral sampling: an interview with ProjectSAM
Discover how ProjectSAM’s Lineage Series uses NKS and smart features to change orchestral sampling. Plus, save on instruments in our…
-

How New Constellations turn emotion into sound with Massive X
Go inside the studio with New Constellations. Learn how they use Native Instruments gear, happy accidents, and lifelong friendship to…
-

Citizen Kain on building emotion and space with Replika
Citizen Kain explains how Replika helped shape the rhythm, tension, and emotion behind his debut Eversun Records single “Moments.”…
-

The organic precision behind Calcou’s Anjuna release featuring Reaktor
Calcou shares how Reaktor, Monark, and Super 8 shaped the creative balance and live energy behind their new duo EP,…
-

14 NKS instruments that will change the way you create music
Discover 14 NKS instruments to freshen up your workflow. From lo-fi tape synths to cinematic strings, shop the Native Instruments…
-

Parallelle on crafting living basslines with Reaktor and TRK-01
Parallelle share how Reaktor and TRK-01 shape the bass and warmth in 11th Avenue, balancing analog depth with modern control.
-

Where will your sound lead you? Explore the Native Instruments Summer Sale
Save 30% on instruments, effects, and sounds in our Summer Sale. Find the tools to keep your tracks moving and…