


A unique instrument that combines chords, samples and effects into a single tool, Playbox is the perfect antidote to beatmaker’s block. Compatible with both Kontakt and the free Kontakt Player, Playbox includes over 320 presets that utilise 200 chord sets and 900 samples. This makes it easy to come up with inspirational musical ideas in a flash.
If you’re interested in fully exploring the creative potential of Playbox, you can load up to 450 of your own samples, use 15 FX to process them, and randomize parameters to create unexpected combinations of sounds.
In this guide to using Playbox in your own music productions, we’ll look at how rhythmic patterns, melodic patterns, chord patterns and sample layering work in the instrument, giving you new ways to generate musical ideas and produce unique sonic results.
Access Playbox for free by starting a free trial of the NI 360 subscription – a comprehensive suite of NI’s most powerful software, always up-to-date.
Jump to these sections on layering sounds with Playbox:
1. The Chord page
So, how does Playbox handle chords? Let’s begin by loading up a preset, and using it to understand Playbox’s unique design. Create a MIDI track in your DAW, and load up Kontakt. In Kontakt’s Library page, click the Playbox icon to select it, and in the list of presets to the right of the interface double-click the default Playbox instrument.

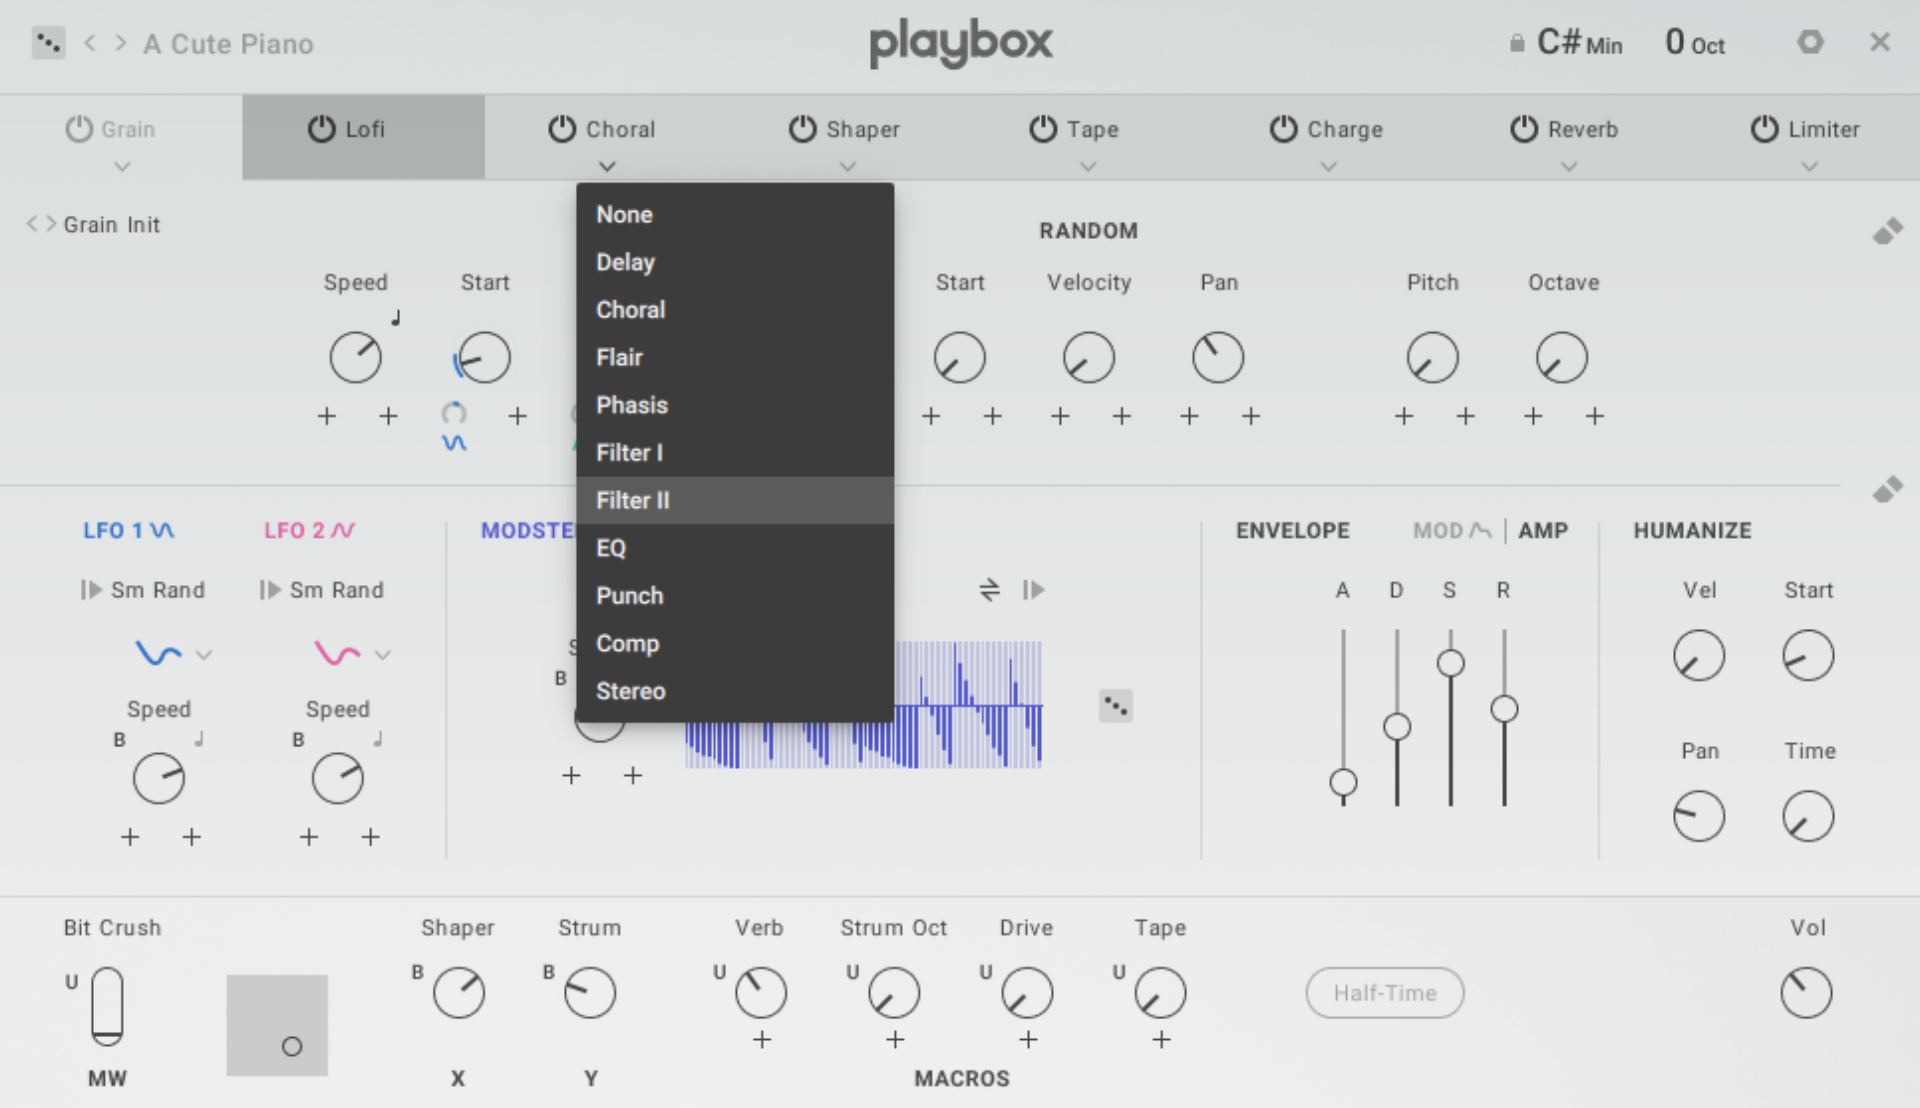
Playbox will load the first preset, A Cute Piano, by default, so let’s use this to see and hear how the instrument works. If you have Kontakt’s Keyboard panel active, you’ll see that the instrument can be played only using the white notes C3-C4.
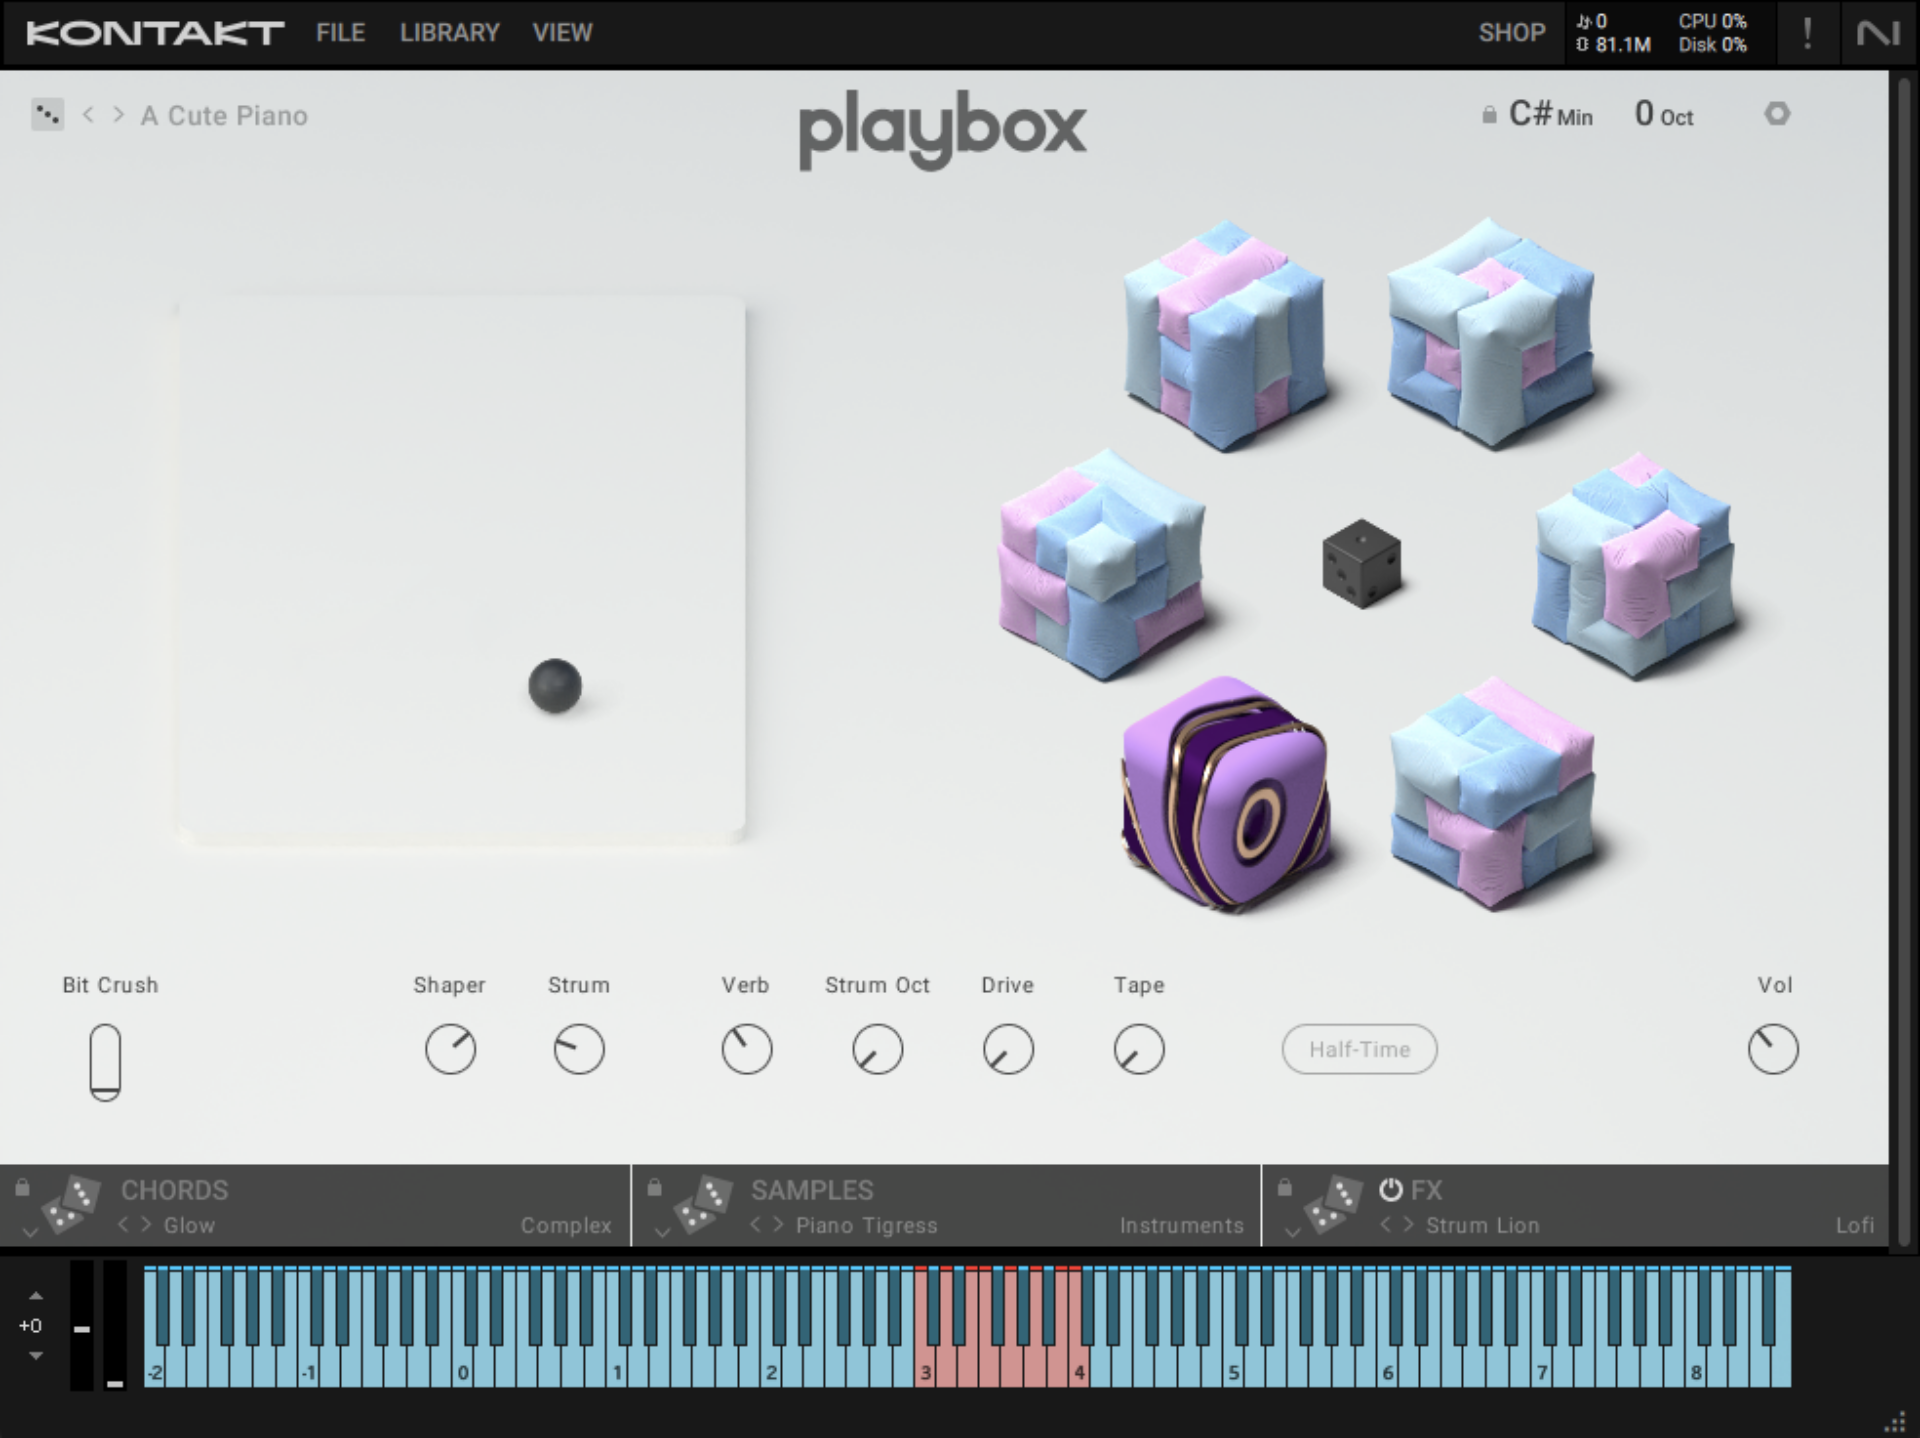
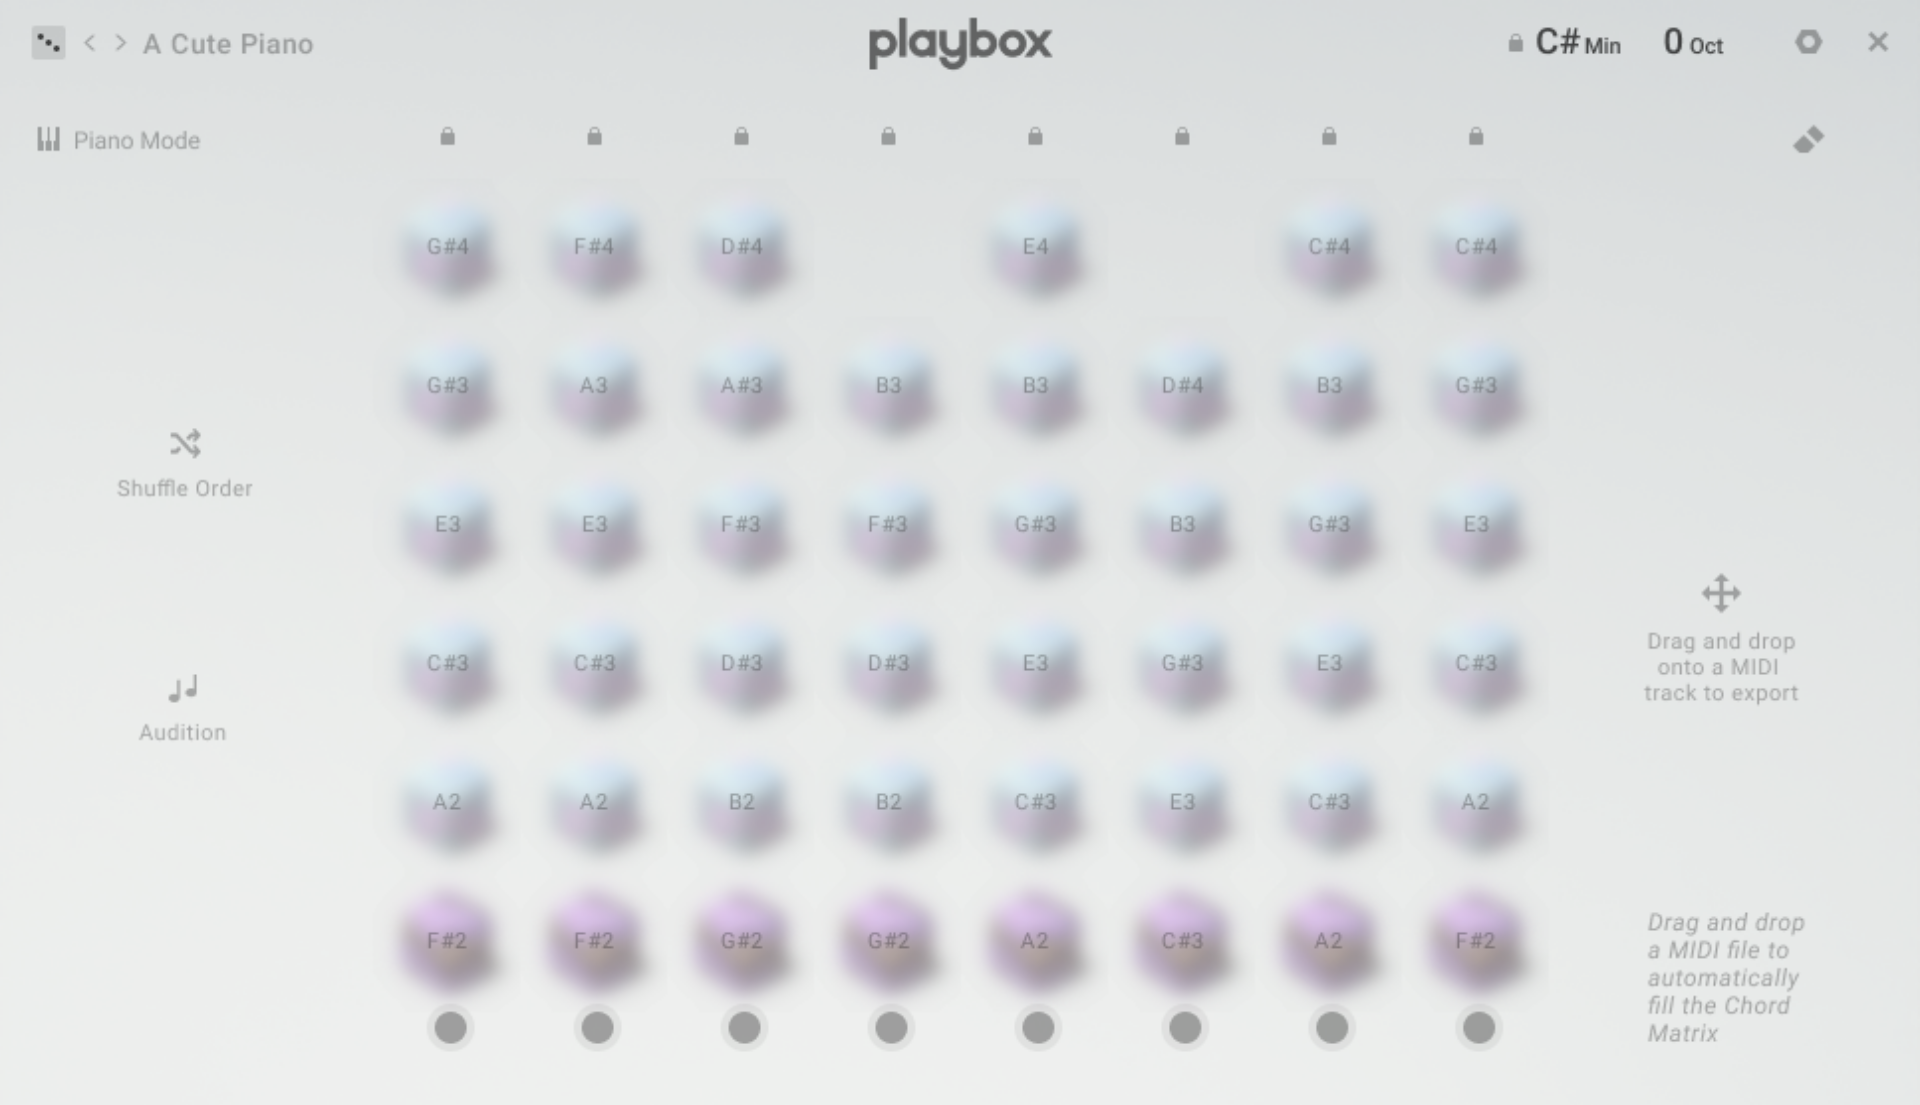
In this range we have eight white notes, each of which triggers a chord, and we can see these chords if we click the Chords page button at the bottom left-hand corner of the interface.

In the Chords page we can see eight columns, one for each key. These columns feature up to six notes that are used to create the chord played on that key. So for example, the furthest column on the left, triggered by C3, plays a chord made up of F#2, A2, C#3, E3, G#3 and G#4.
Let’s play C3, and hear how it sounds.
You’ll hear that rather than playing a single chord, we get an arpeggio like effect with each note being discrete. This is because the way the chords are played back is determined on the FX page. Let’s check that out now.
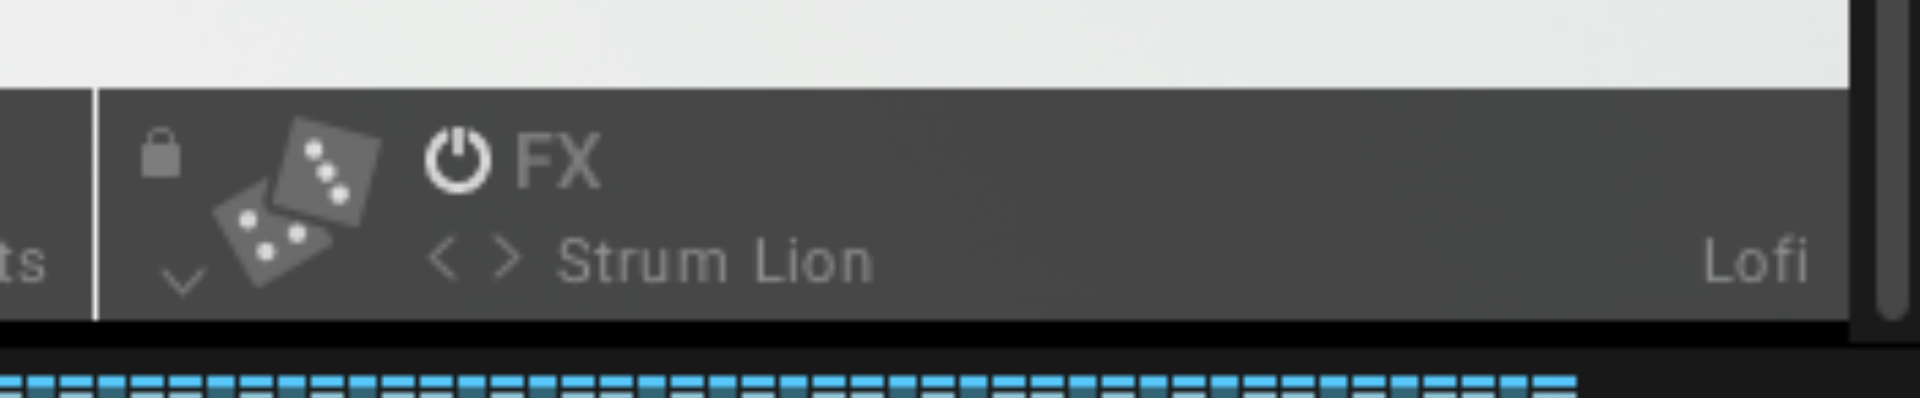
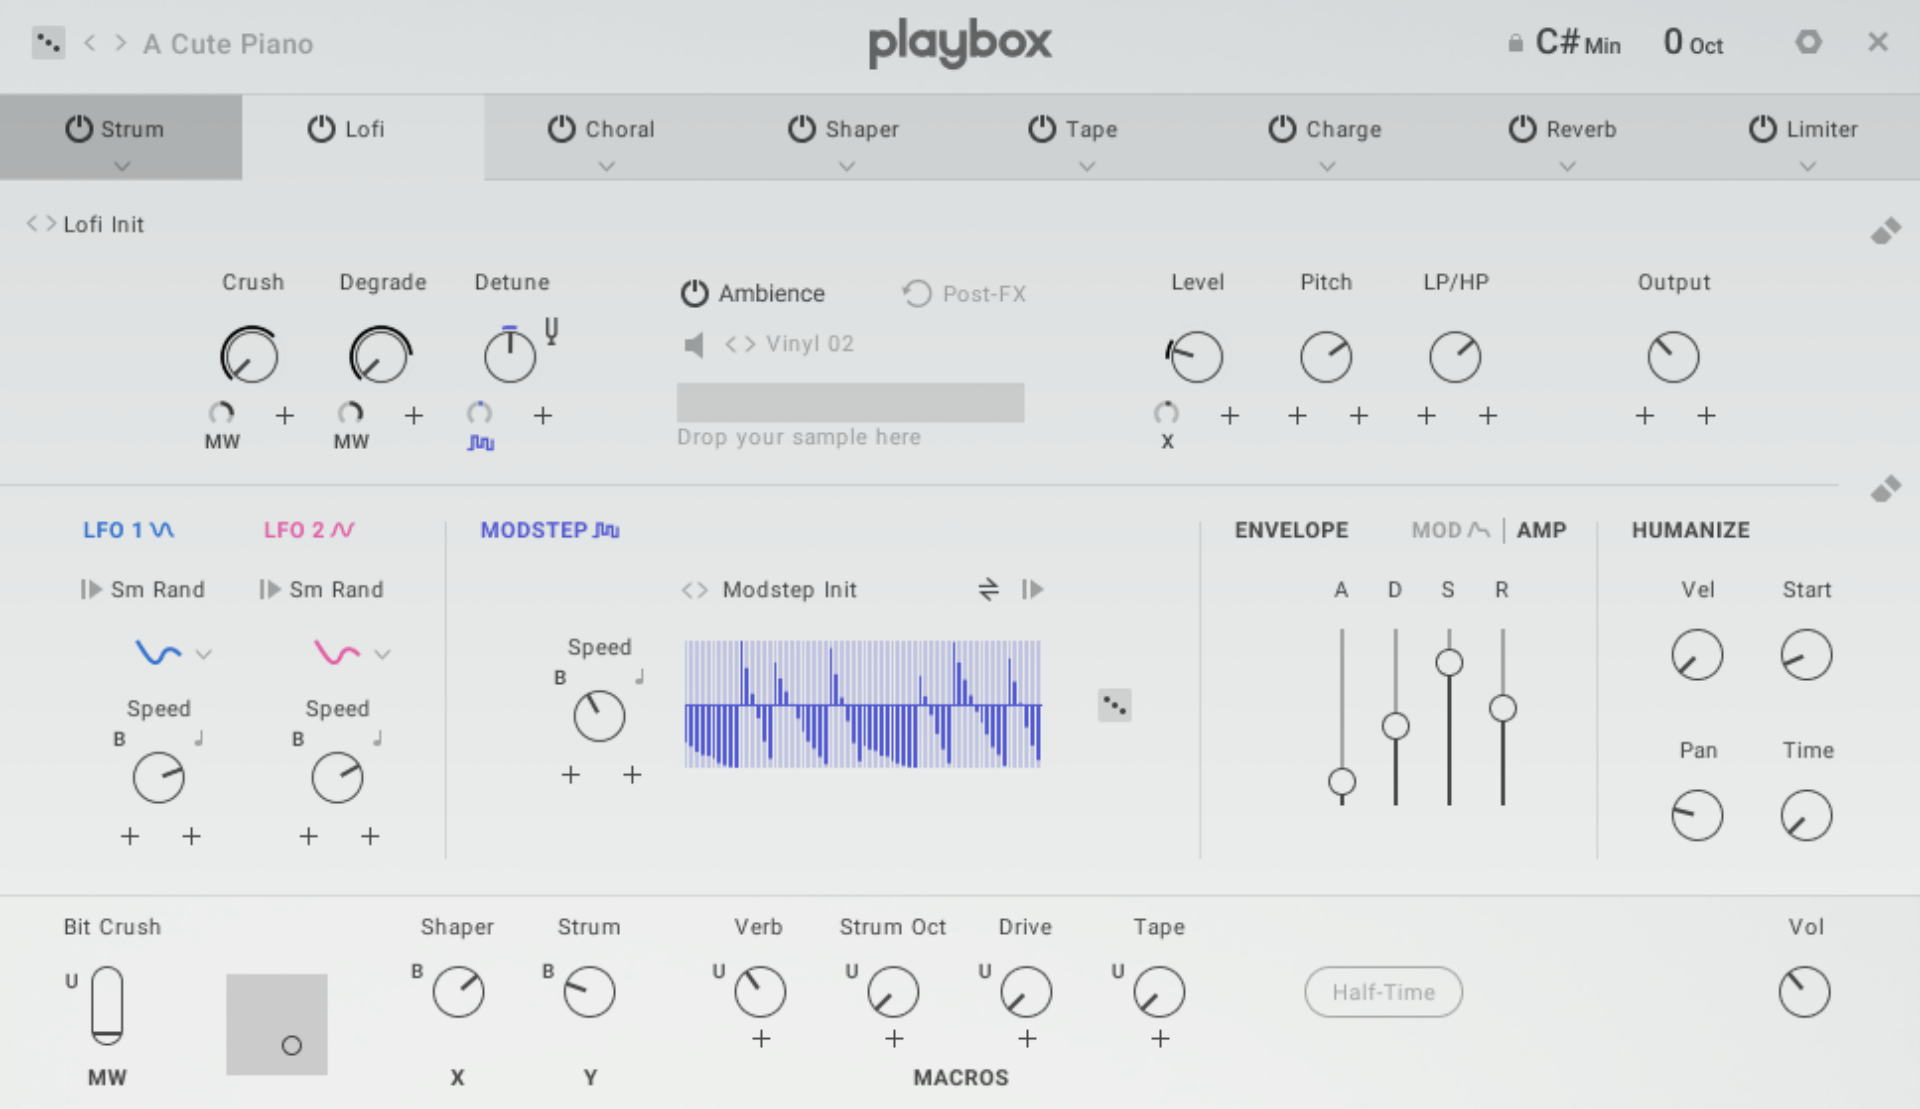
2. The FX page
Click the FX page at the bottom right-hand corner of the interface.
At the top left-hand corner of this page you can see the Motion Effects tab, which currently shows that the Strum play mode is active as it’s not greyed out.
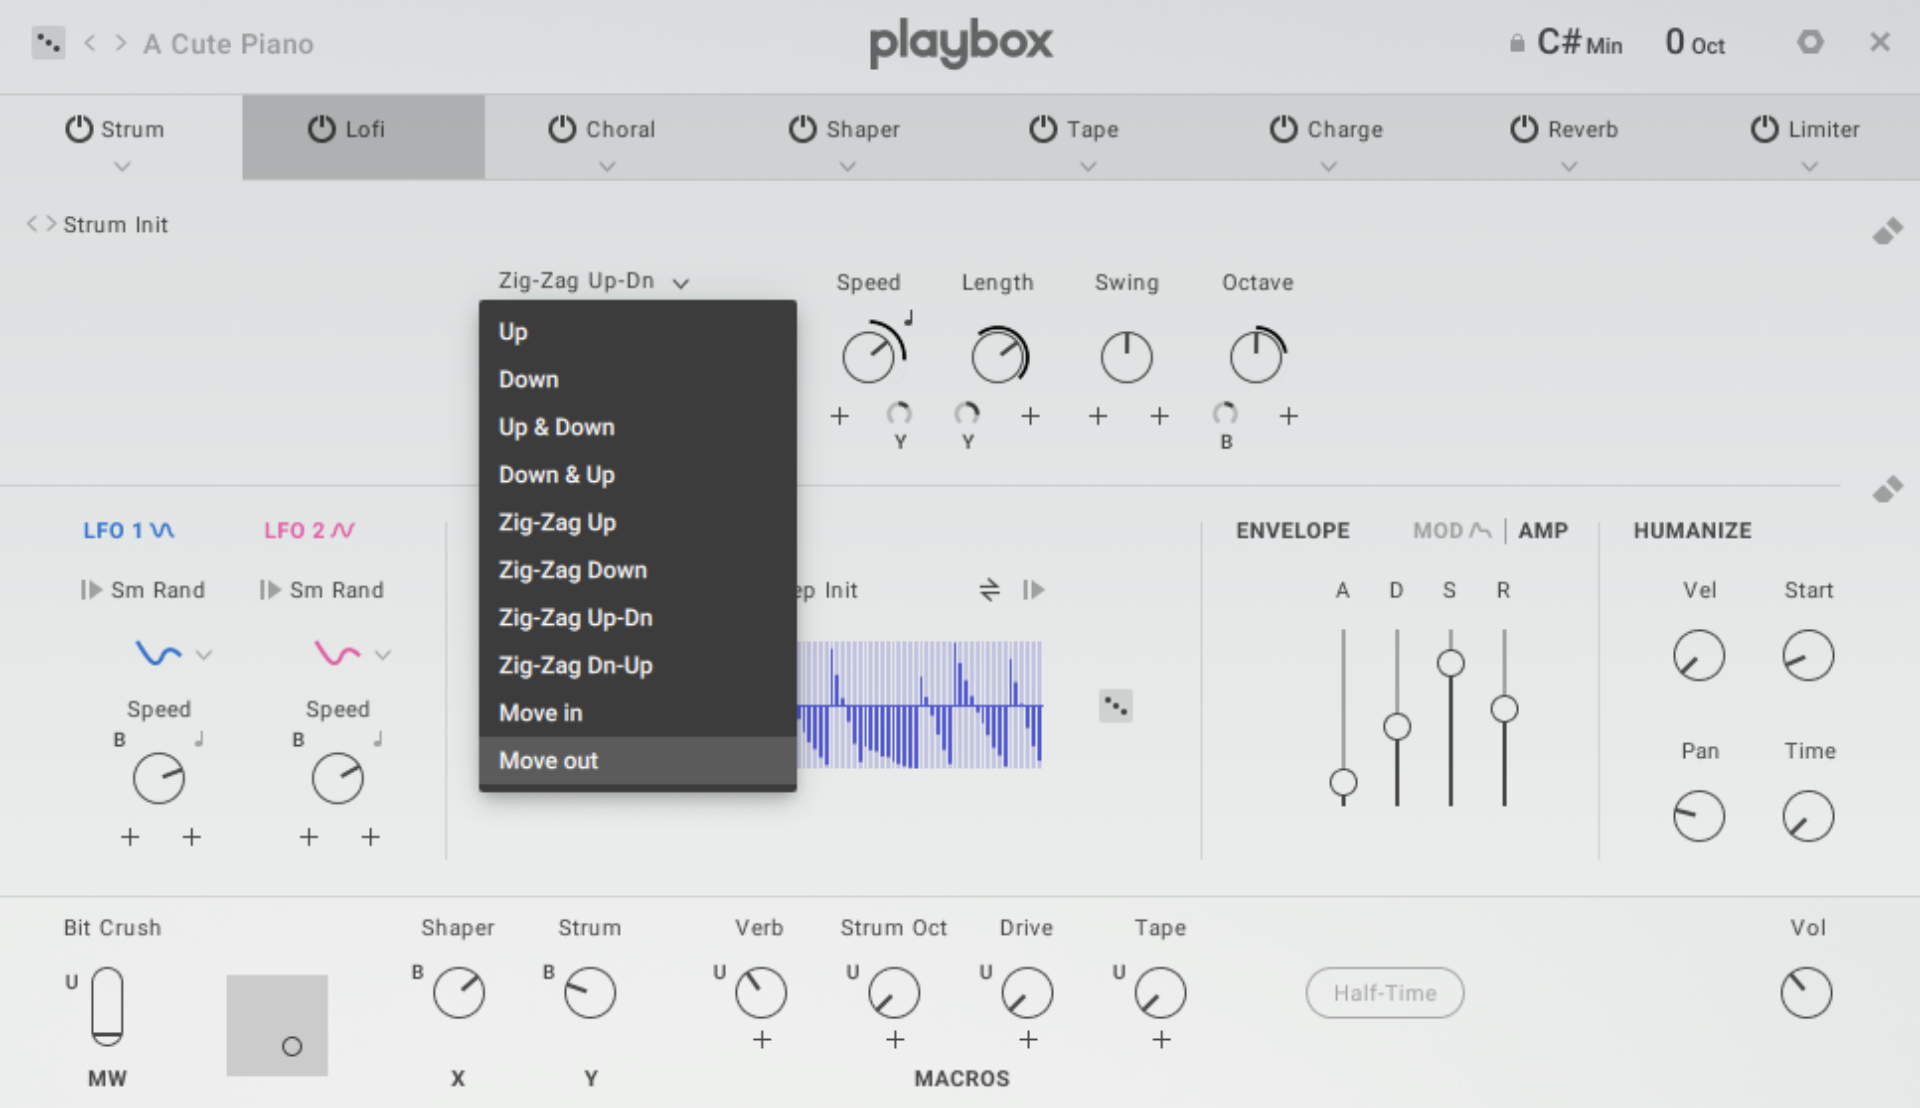
Click the tab, and you’ll be presented with the Strum controls. Strum is a special type of arpeggiator, and we can change the pattern it plays using the Pattern Selector. Click this, and change it from Zig-Zag Up-Dn to Move Out. This changes how it plays back the notes of the chord.
Now click the downward arrow on the Motion Effects tab header, and change its mode to Arp.
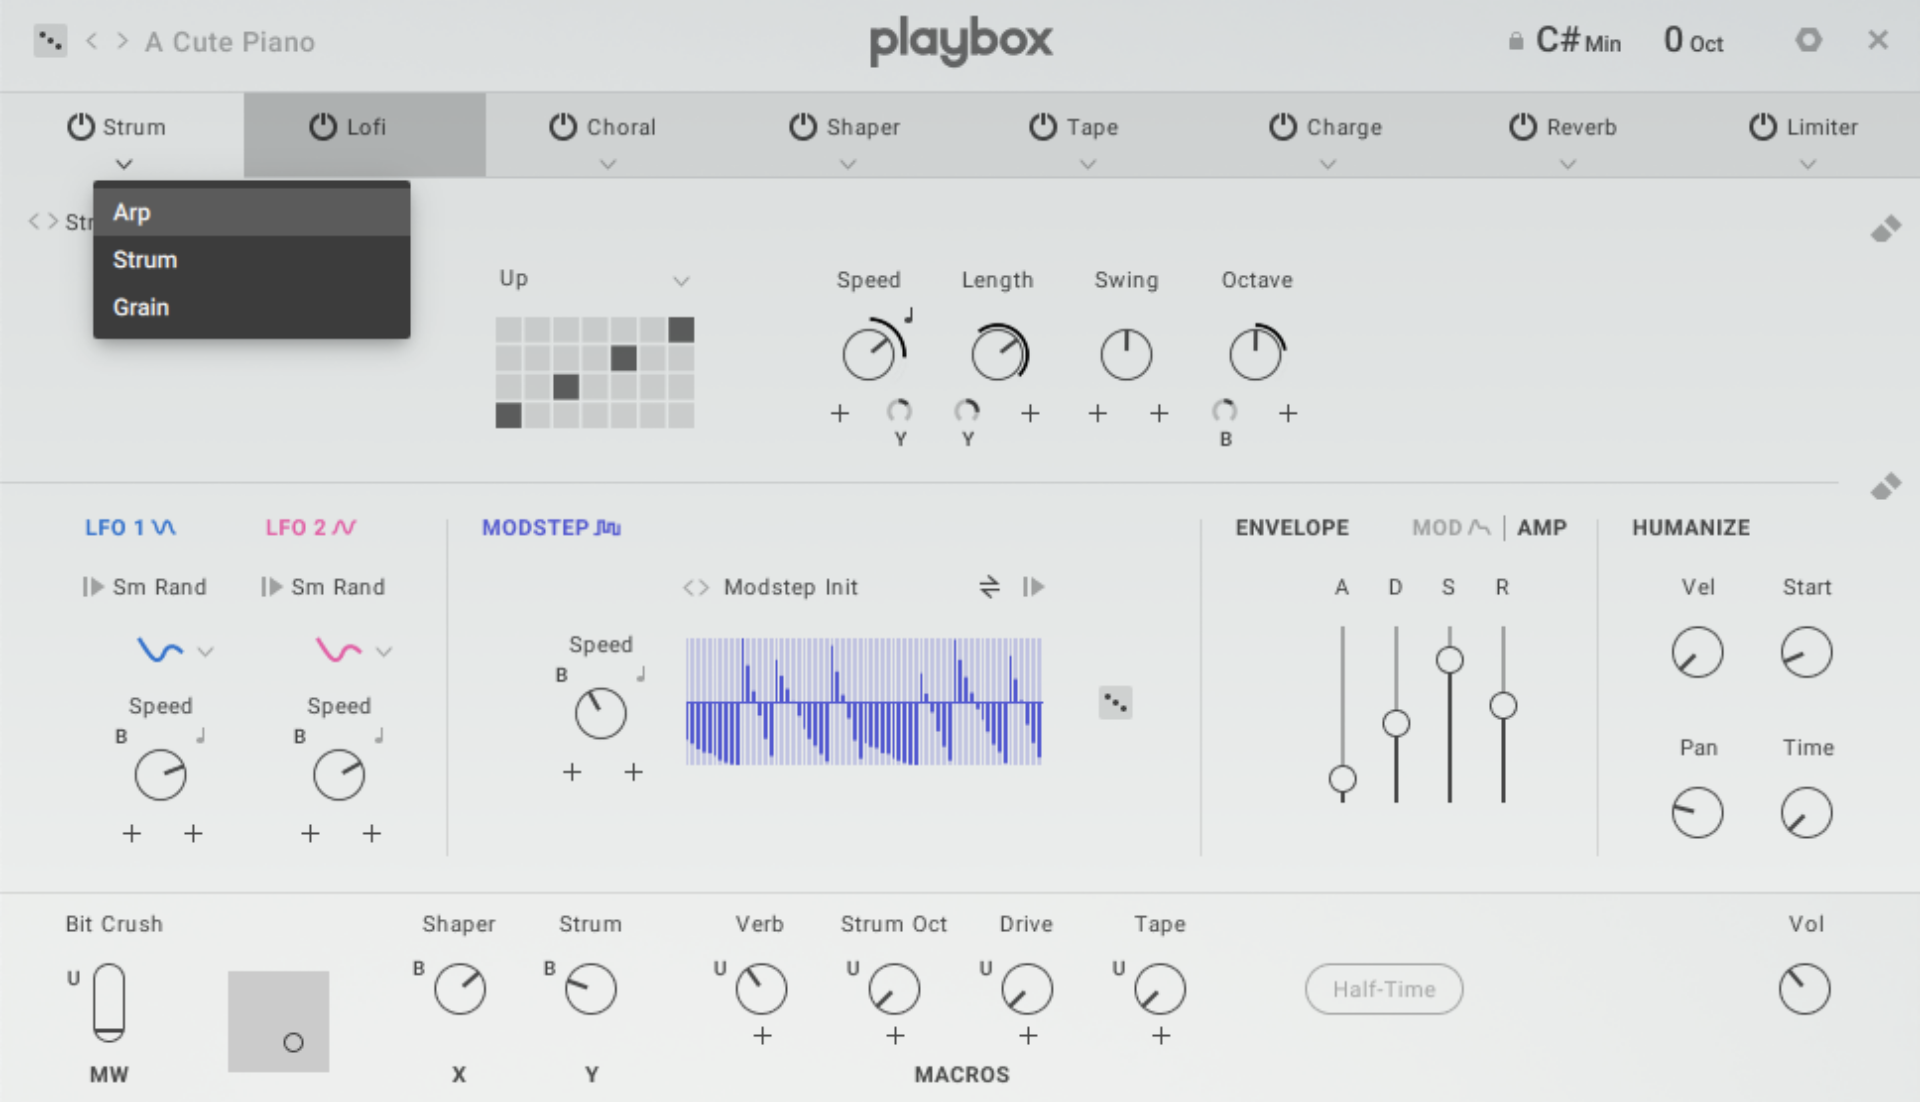
The arp mode is a regular arpeggiator, and unlike Strum it will play indefinitely if you hold down a note.
Now let’s check out the final Motion Effect, Grain.
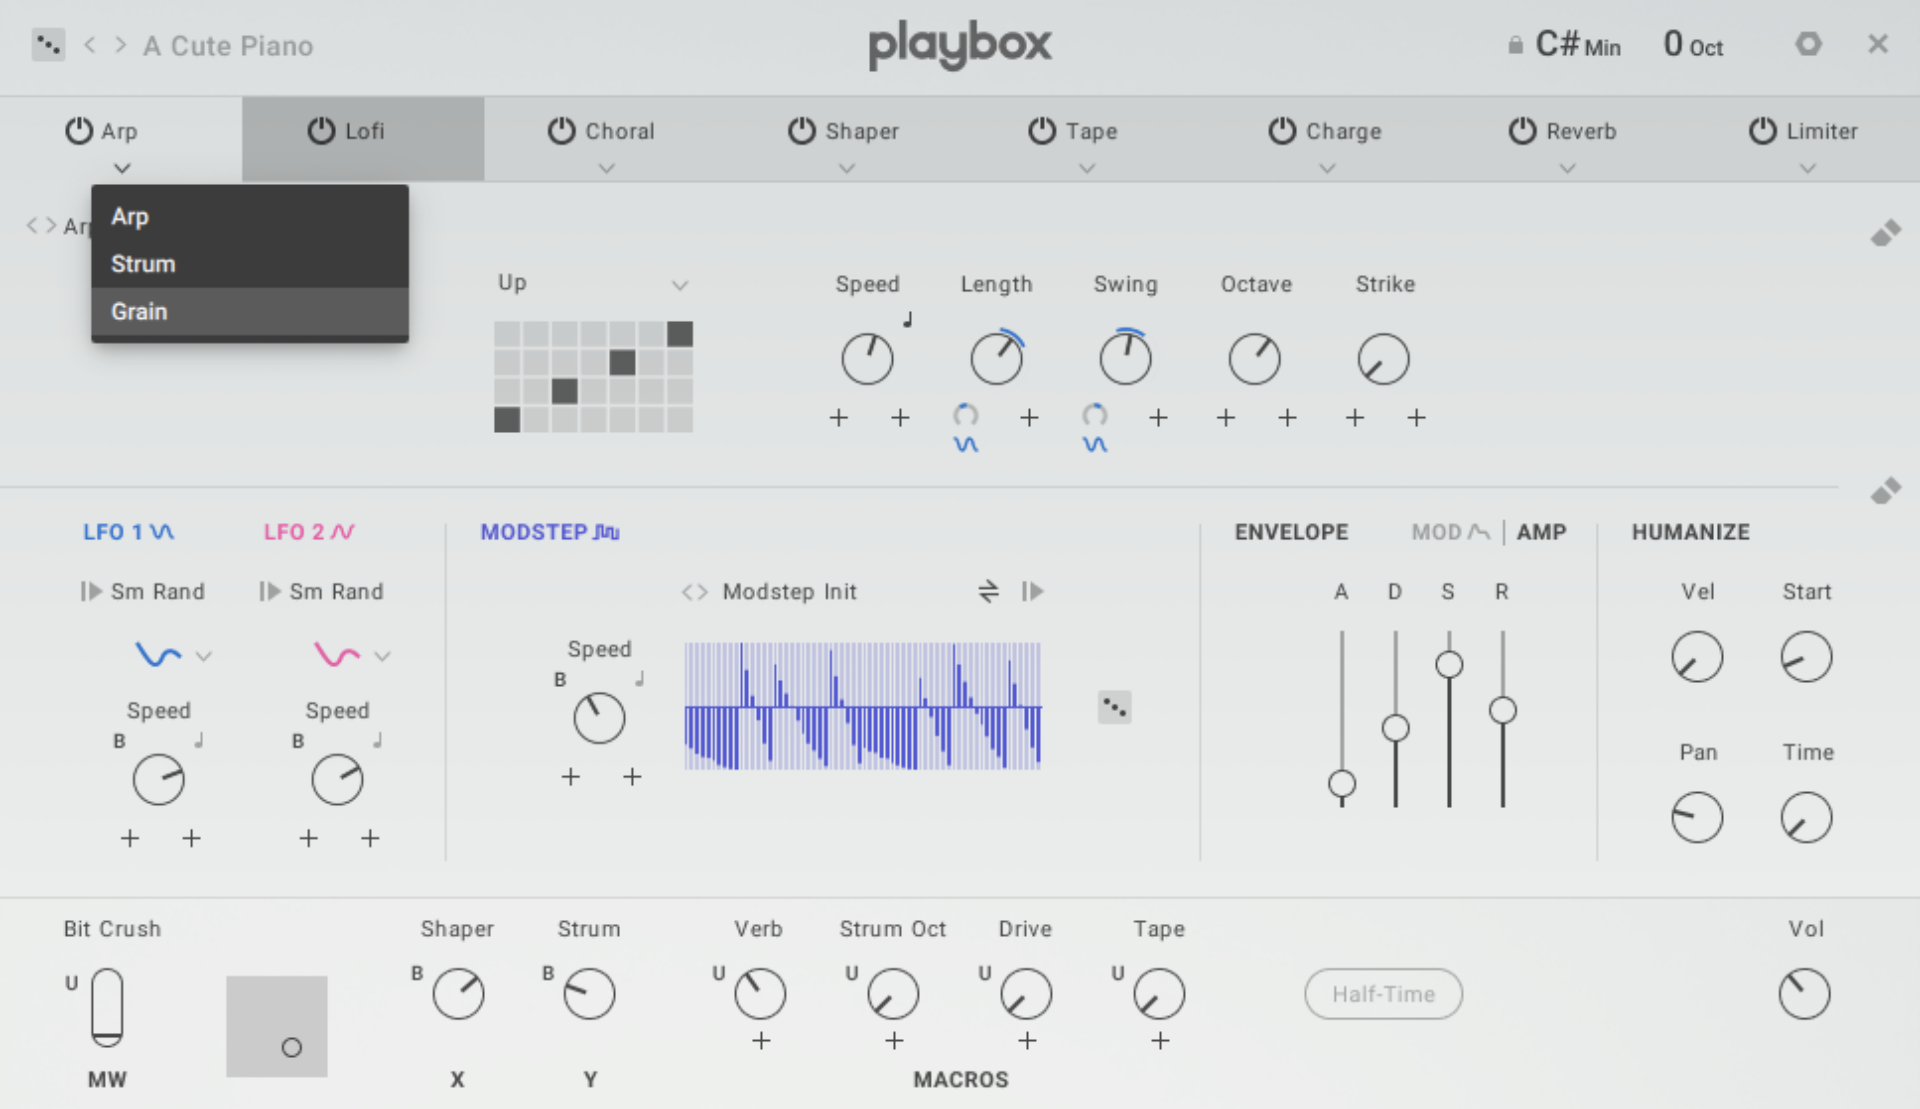
Grain is a granular-style MIDI effect that changes how the chords are played, and can be used to create anything from uneasy stutters to dreamy swirls of sound.
If we turn the Motion Effect off, Playbox will just play a chord.

There are plenty more effect categories on the Effects page, and all of the effect slots (aside from the Lofi Effect) have a variety of effects that can be selected with their down arrows, just like the Motion Effect slot.
Note that each type of effect has its own preset. So for example, let’s set the third slot’s effect to Filter II.
Now let’s select the Filter 2 Formant 1 preset from the menu at the top-left of the Filter II panel.

This doesn’t sound like too much without any modulation, so click the + button to the bottom-left of the Talk parameter, and set the modulation source to LFO A.

The + button will turn into a modulation amount control. Turn this up to 100%.

This will modulate the sound of the filter as you play, creating an animated sound.
3. The Samples page
Before we continue, let’s reset the A Cute Piano preset. We can do this by clicking the preset name at the top left-hand corner of the interface to bring up the browser.

Double-click the A Cute Piano preset in the list on the right to reload it.

Now click the Samples page button at the bottom-centre of the interface.

You’ll notice that this looks a lot like the Chords page, and that’s because it works on the same principle, and each sample corresponds to a note on the Chords page. To make it clearer which sample corresponds to each note, you can click the eye icon at the top left-hand corner of the interface.
Hover over the bottom-most sample slot in the first column, and click the spyglass icon.
This brings up the Samples browser. Currently this slot is set to Piano Toy 4. Click Strings Cello Col Legno Battuto 1 to change it to that sample.

Now when you play a note, all the A2 notes that would have played Piano Toy 4 will play Strings Cello Col Legno Battuto 1 instead.
Click the cross icon at the top right-hand corner of this page to exit it.

You can also use your own samples with Playbox. Let’s try that next.
4. Using your own samples
If you’re wondering how to use your own samples in Playbox, it’s easy: you can simply drag them onto a cube on the Samples page. To adjust the pitch of an imported sample, click the spyglass icon on a sample, and click the User button in the Samples browser.

Here you can see the samples you’ve imported in a list on the right. Click a sample, and you can edit its Pitch manually, or click Scan from sample to have Playbox analyze the sample’s pitch.

5. Using Sets and Randomization
In addition Playbox’s main presets, The Chords, Samples and FX pages have their own presets known as Sets. This makes it easy to mix and match elements to create your perfect sound.
To cycle through the available sets for each page, you can use the arrow icons next to the Set name.
For a more involved look at the available sets, you can click on the Set name to the right of the arrows, which will bring up the Set Browser for that page. Here you can filter Sets using the category icons on the left side of the interface, and save your own Sets with the floppy disc icon at the top right-hand corner of the interface.

What’s more, you can randomize the parameters on each page, or the instrument as a whole using the dice icons. You can find the dice icons for each page next to their Set name, and for the whole preset at the top left-hand corner of the interface. The Samples page also features a randomization button for each column and the page as a whole.

If you particularly like a particular element on a page, or indeed a whole page itself, you can use lock icons to prevent those particular parts from being randomized.
Start making unique, rhythmic sounds with Playbox
In this tutorial we’ve shown you how to get started with Playbox, use the Chords, Samples and FX pages, import your own samples, and use the instrument’s randomization features.
If you’d like to learn more about music production and beat making check out Music production 101: How to start producing music and Beat-making 101: How to make a beat.
Related articles
-
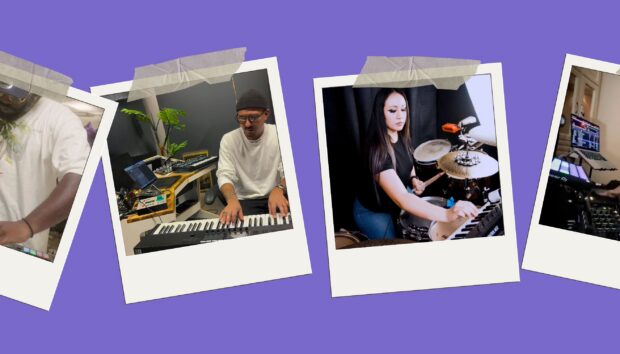
2026 NI community roundup: from the studio to the stage
See how the community is using Maschine, Traktor, and Kontrol keyboards to find their flow in 2026. Get inspired by…
-
An update from Nick Williams, CEO of Native Instruments
I want to share a direct update on the restructuring process underway here at Native Instruments. Business continues as usual…
-

NI producer spotlight: Women’s History Month 2026
Discover more than 30 women and nonbinary producers – including WondaGurl, Arca, and Tems – who are defining the modern…
-
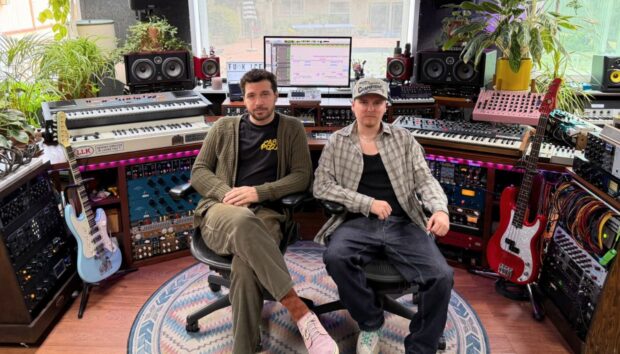
Learn how Andre Samuel and Daylight kept Mon Rovîa’s Bloodline sounding natural and clean
Learn how production duo Daylight and Andre Samuel used iZotope RX and Native Instruments tools to capture the organic soul…
-

5 of the best vocal plugins for modern music production
Unlock the power of the human voice. Explore five distinct vocal plugins designed to bring emotion and character to every…
-
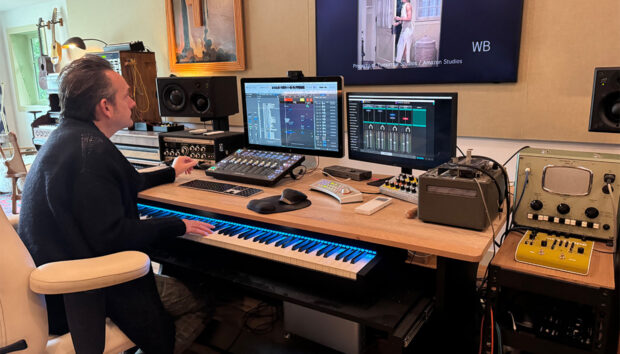
Speed, melody, and instinct: Will Bates on composing for streaming with Kontakt
Will Bates explains how Noire and Kontakt helped him score 'The Better Sister' with speed, emotion, and precision for Prime…
-
Best drum synths for electronic music
Discover the best drum synth VST plugins for electronic music. From professional sound design in Massive X to creative layering…
-
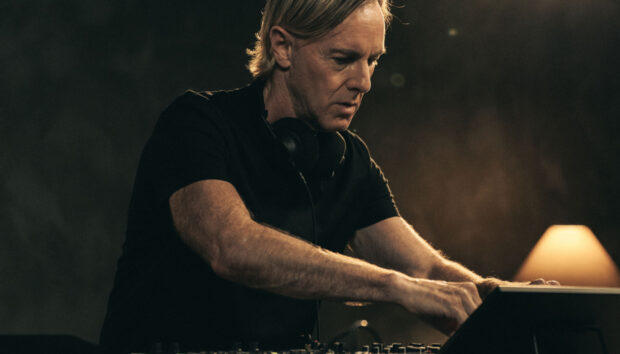
Richie Hawtin: deconstructing the dancefloor with Traktor
Go behind the scenes with Richie Hawtin to see how he uses Traktor, analog mixing, and live sequencing to create…