


Producing high quality music has never been easier. With an abundance of free educational resources and music production software at your fingertips, building a studio is more accessible and affordable than ever before. In this guide, we’ll cover the beat making basics – from acquiring the tools you need to expanding a musical idea into a fully produced song. Our goal is to present you with enough information to create a workflow that works for you. So let’s get started! Here’s what you’ll be learning.

Tools you need to start making beats
The first step in making beats is to have an understanding of the essential tools needed to record and edit your musical ideas. You’ll need a DAW, MIDI controller, audio interface, and audio plug-ins.
DAW
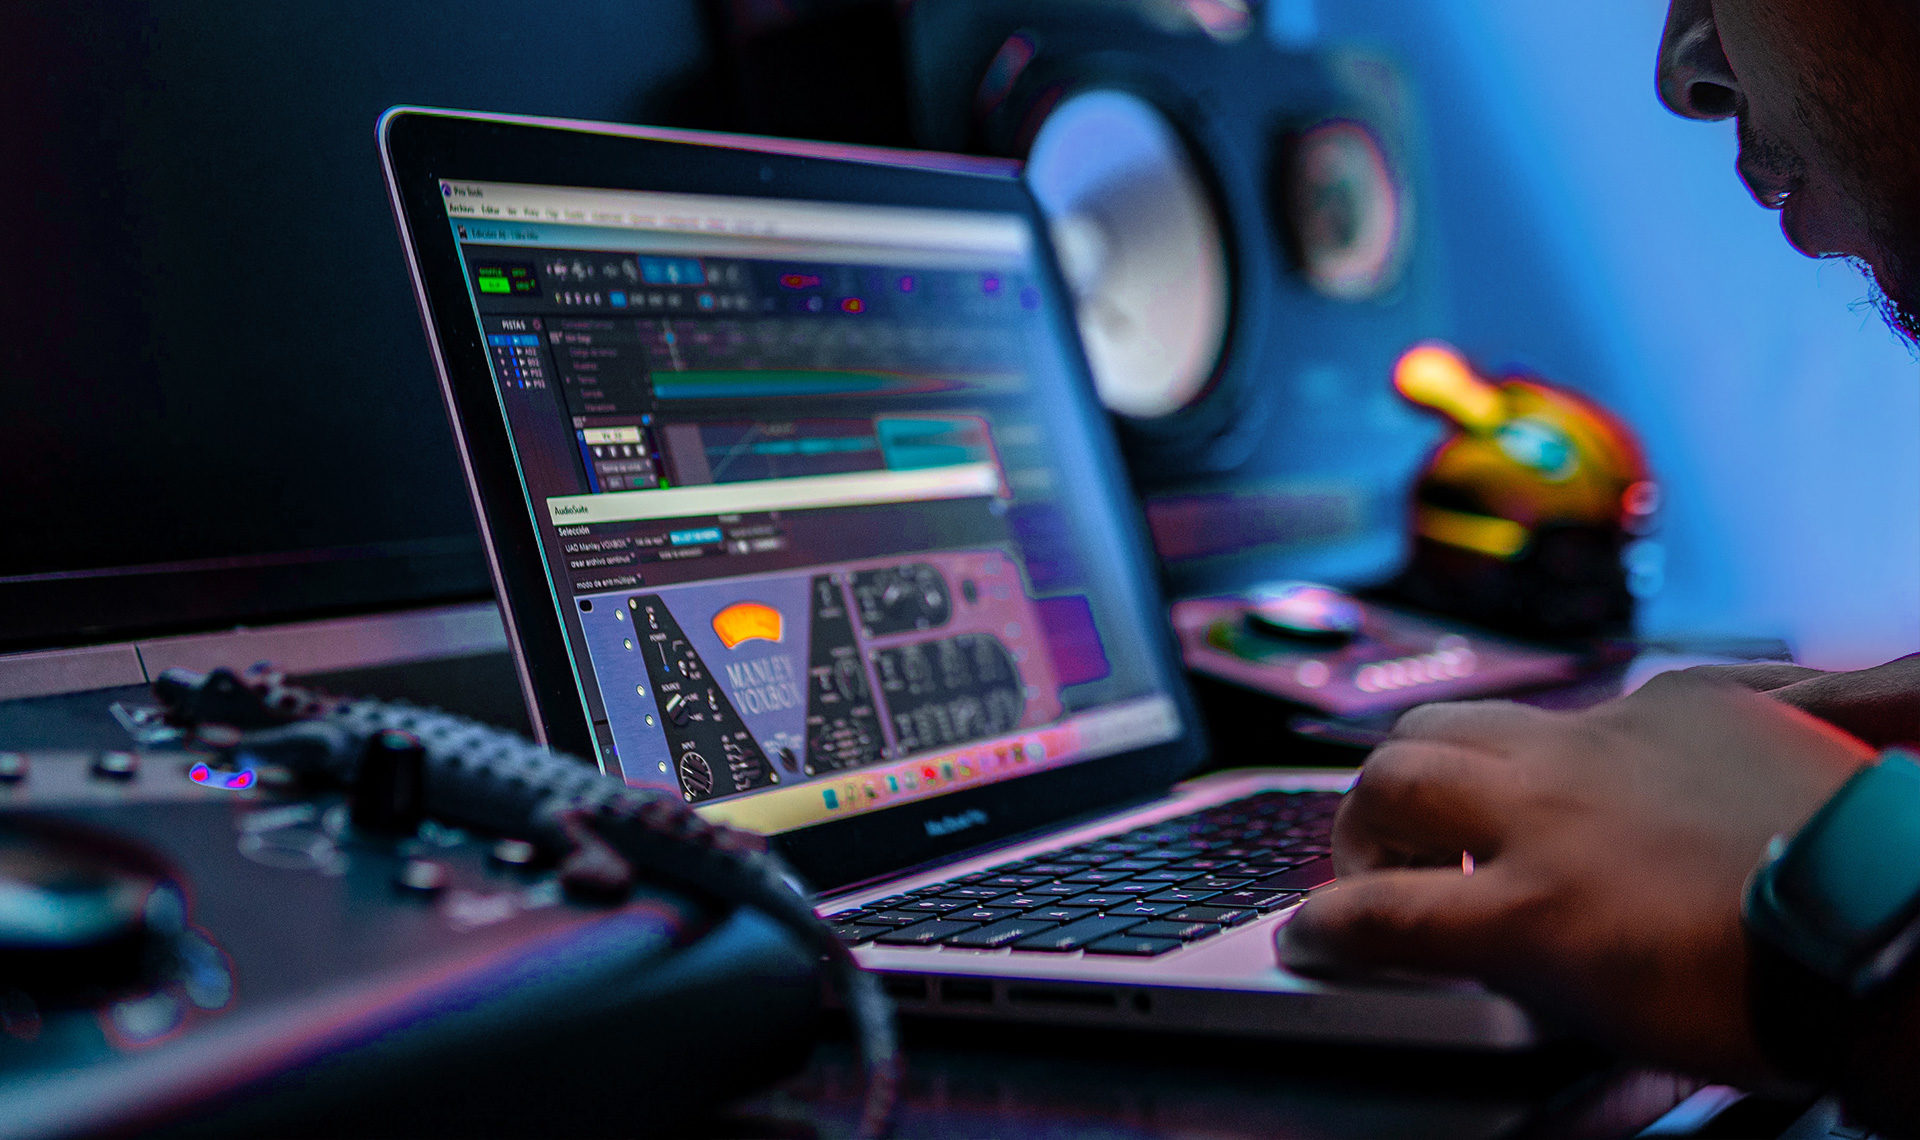
A DAW (digital audio workstation) is an audio recording and editing software that acts as your environment for producing music. DAWs are, quite literally, digital representations of physical music recording studios. They contain digital instruments, mixing boards, multitrack recording capabilities, and other features you need to compose and record high quality music. So if you want to start making beats, DAWs are an essential tool for doing so.
MIDI controller
A MIDI controller is hardware used to play virtual instruments and compose music on your computer. A MIDI controller can take the form of a keyboard or beat pad. They don’t have any sounds built into them but you can use them to control virtual instrument plug-ins in your DAW.
Audio interface
Audio interfaces are the link between the digital and analog worlds of sound, bridging the gap between your computer and other audio equipment such as speakers, headphones, mixers, instruments, synths, samplers, and much more. An audio interface takes audio signals and converts them into data a computer can process, allowing you to record and edit audio in software based environments like a DAW. If you want to record music, an audio interface is a must. Once you have a DAW, audio interface, and midi controller, make sure you learn how to set up your home studio so you can start recording your ideas. It’s super easy!
Audio Plug-ins
Audio plug-ins are software tools used to add or enhance audio-related functionality. There are three main categories of audio plug-ins you’ll be working with in your music production journey.
- Audio processors
- Audio meters (useful, but not essential to start with)
Virtual instrument plug-ins generate sounds you can use to compose music. The main types of virtual instruments you’ll be using are samplers and synthesizers.
Samplers are virtual instruments that use audio recorded from real world instruments as their source for sound. Some examples of sampled instruments include digital pianos, drums, guitars, bass, strings, etc.
Synthesizers are electronic instruments that allow you to modulate different parameters of an audio signal. Unlike samplers, which use pre-recorded instruments as their source of sound, synthesizers allow you to choose audio waveforms and shape their pitch, frequency, resonance, amplitude, and much more, making them a perfect tool for sound design. While you can browse through your synthesizer’s presets to compose electronic music, the real power of the synthesizer comes when you learn sound design for yourself. Once you learn how to use a synthesizer, you gain the ability to design unique sounds from scratch which goes a long way in helping you define your own creative identity.
Download KOMPLETE START for free
Komplete Start has over 2,000 studio-quality sounds you can download for free. It comes with everything you need to make a beat: 16 pro-grade synths and sampled instruments, plus effects, loops, and samples.
Audio Processors
Now that you have virtual instruments to compose music, you’ll need audio processors to enhance the tonal qualities of your sounds. Audio processors are used to fix and enhance your audio so your song can sound as clear and professional as possible. After you record, you’ll likely have instruments that clash in a similar frequency range and some sounds that get too loud or too quiet. These dynamic and spectral problems can make your instruments sound out of place or make the entire song sound muddy or harsh. Some sounds may even sound boring on their own, but come to life after you add an echo effect, chorus, and some reverb. These are some of the most common types of audio processors you’ll be working with during the mixing and mastering stages of making beats:
- Spectral effects: EQ, panning
- Dynamic effects: compression, distortion
- Time-based effects: delay, reverb, echo
- Modulation effects: chorus, flanger, phaser, tremolo
How to Make a Beat
Now that you have an understanding of the tools used in music production, let’s dive into the music production workflow, and how you can use these tools to create music you’re proud of sharing. These are the steps for making a beat we’ll be covering:
- Plan your beat in pre-production
- Prep your DAW session for recording
- Recording a chord progression, drum beat, bass line, and melody
- Mixing and mastering
1. Plan your beat in pre-production
Pre-production is one of the most important stages in music production because it’s where you brainstorm the creative direction of your beat. What vibe are you trying to create? What emotions do you want to evoke and what chords, rhythms, and sounds will help accomplish that? This process establishes goals which give your decisions a sense of direction. When it comes to music production, some common steps in pre-production include:
- Defining the vibe
- Collecting references
- Sound selection and instrumentation
Defining the vibe
Understanding the story or vibe of a project will help you decide on instrumentation, tempo, chords, rhythm, and song structure. So try to develop an understanding and intuition of how different elements of music affect emotion so you can replicate them in your own production.
Collect your reference tracks
One thing you can do to help inspire the vibe of your beats is to collect a list of reference tracks that best embody the mood you’re trying to create. Reference tracks are professionally produced songs representative of how you want your own music to sound. If you’re going for “mellow euphoric,” for example, try creating a playlist of songs that capture that vibe. What tempo, rhythms, chord progressions, sounds, and structure are those songs using? As you identify patterns and ideas you like, you can begin curating them and including them in your own songs. Think of reference playlists as mood boards that inspire your creative process.
Need some inspiration? Check out a list of recommended reference tracks in various genres from our golden-eared friends at iZotope.
Sound selection
Sound selection is a major part of defining your sound as a producer. If a finished beat were a painting, think of each sound you choose as a different color on the canvas. Make sure you take the time in pre-production to find virtual instruments and sounds that align with the aesthetic you want to create for a project.
If you’ve already downloaded the free Komplete Start plug-ins and want to dive deeper into exploring the best in synthesizers, sampled instruments, and loops, check out Komplete 14—the world’s leading music production toolkit. With the included KOMPLETE KONTROL software, you can even browse your whole collection with handy tags and instant audio previews—no matter which MIDI controller you have.
2. Prep your DAW session for recording
Once you have the tools and creative direction of your project defined, you’re ready to open up your DAW. Which one you use is largely a matter of preference. MASCHINE is, of course, designed with beatmaking in-mind, but if you want a fully fledged DAW, you’ll get good results from any of the big players (and MASCHINE will still work seamlessly inside whichever one you choose!).
Some popular DAWs among beatmakers include FL Studio, Ableton Live, Logic Pro, Reason, Cubase, Pro Tools, and Studio One.
Setting up your session
The first thing you’ll want to do is prepare your session for recording. Begin by making sure your MIDI controller and audio interface is connected to your computer (usually via USB).
Next, look at the ‘preferences’ section of your DAW and make sure you’ve selected your audio interface as the audio device in your DAW and your MIDI controller as the MIDI device. Once you do that, you’re ready to use your MIDI controller to control virtual instrument plug-ins and your computer should be outputting audio to your headphones or studio monitors.
Finally, you’ll want to organize your session in a way that makes everything easily accessible to minimize interrupting your creative workflow. These interruptions can get in the way of in-the-moment ideas. So load in the essential sounds and instruments you decided on using for your beat so they’re all ready to go.
You also want to make sure you do the following:
- Select your audio interface as the audio device in your DAW
- Set your session’s BPM to the tempo of your idea or sample. If you don’t have the exact number in mind, you can tap in the tempo.
- Turn your metronome ON any time you record
- Make sure you have a one to two bar count-in set up in your recording settings so recording doesn’t start immediately after you press record. A count-in will give you one to two bars of click before recording starts to help you internalize the tempo.
- Next, set the locators so that they cover 4 or 8 bars and activate the loop function.

3. Record a chord progression, drum beat, bass, and melody
With your DAW ready for recording, you’re ready to begin tracking. Tracking is the process of recording the instruments and sounds used to perform a piece of music. Every time you record a new instrument, the ones you’ve recorded continue playing. Generally, the way beatmakers begin writing a piece of music is by composing a 4 or 8 bar loop of music and expanding upon it later.
Parts of a track
The main components of a beat you’ll focus on creating are:
- Beat: A repeated pattern of sound that sets the rhythm for your track. This is your kick, snare, and other percussive elements like toms and hi hats. A beat doesn’t have to be the drums however. You can try experimenting with other transient sounds that serve the same function, like noise, mechanical sounds, etc.
- Bass line: a sequence of low frequency notes that fills the low end and gives power to your track.
- Melody: a musically satisfying series of notes that play in the mid to high pitch registers.
- Chords: a set of notes/pitches played simultaneously. Chords set the mood of your song while the melody plays notes within the chord progression and “sing” over it.
Should you start with drums, chords, or melody?
You’ll find every producer has their own way of starting a beat, but generally, it often depends on the style of music you’re creating. Some producers like to establish the emotional foundation of a song with chords first, while others like to begin by establishing a groove with drums. Here are some different ways you can begin your beat:
- Start with the instrument you’re most comfortable with.
- Spark inspiration with a loop from a sample pack you can build off of. Exploring sounds from hip hop VSTs can also help you get inspired.
- Start with a sound or instrument that will define the vibe you want to build around. This is usually dictated by the genre you’re writing. Some genres, like house music and hip hop, have common drum patterns you can use to get you started on other parts of your music.
Either way, the important thing is that you make the first move. Each decision you make will inspire the next. So once you decide on the sound that will kick off your track, the next step is to explore musical ideas with that sound.
Finding a musical idea: improvisation and experimentation
In this stage, you’re simply playing an instrument or editing a sound to find a musical idea you can build upon.
Obviously, you’re not doing this blindly. You’re playing within the boundaries you’ve set for yourself in pre-production; you’ve identified the emotions you’re trying to evoke and you’ve absorbed the references you’re inspired by. While the term “boundaries” sounds constricting, boundaries can actually help your creative process by narrowing down infinite possibilities.
As you play, allow yourself to access a state of flow. Keep playing until you find something that truly moves you. It’s important to note that not every session is going to result in something worth recording. And that’s okay. While some sessions don’t result in a recorded track, you’ll walk away with greater mastery of your instrument which plays a major role in your ability to create in the long-run.
Write a chord progression
A chord progression is a good place to start because they can make a beat feel like a completed song faster; they cover a wide frequency range, establish a melodic foundation, and add rhythm. In other words, they cover a lot of musical ground.
If you want to write your own chord progressions, it helps to learn music theory and have an understanding of chord progression emotions. Alternatively, you can browse through a library of loops from sample packs that match the genre or vibe you’re after and drop it into your timeline to spark inspiration. If you’re using loops, make sure every sample is tuned to the key you intend to write the beat in.
Make the drum beat
The main elements of a drum beat are the kick drum, snare drum, hi-hats, and toms/percussion. Once you have a drum track set up and linked to a drum plug-in, there are a few different ways of recording drum beats.
One option is to pull out the piano roll and use your DAW’s pencil tool to draw where you want each drum hit to go on the grid. This method is great and quick if you know the pattern you want.
Another method is to create a drum beat with a pattern sequencer. The advantage of using a pattern sequencer is that they speed up the process of creating drum patterns because they usually come with tools that make repeating things, like hi hat patterns, super easy.
Alternatively, you can perform the drum beat on a MIDI beat machine. This method is ideal when you want your performance to have the human element of subtle imperfection. When using the pattern sequencer or pencil tool methods, the outcome is usually too perfectly quantized which can make your beat sound lifeless and will require you to go back and add subtle timing imperfections and velocity variations.
Write a bass line
Once you have your chords and drum beat down, the other parts of your beat will fall into place more easily. If you have your chords down, for instance, the bass line will usually play the root note of your chords on the lower register. And if you have your drum beat down, the bass line will usually play with the kick drum or against it. These aren’t hard rules to follow, but the main idea is that the chords and beat of a track will usually dictate the trajectory of the other elements.
Write a melody
Similar to the bassline, the melody is influenced by the chords and beat. A safe bet is to stick with playing notes that work within the chord you’re playing.

4. Arranging: turning a loop into a full song
Now that you have a four bar loop you’re happy with, it’s time to arrange the parts you recorded into a full beat. The first thing you’ll want to do is duplicate your loop until your song is about 4 minutes long (or whatever length you want your song to be). From there, it’s just a matter of doing the following:
- Label your song structure.
- Add and remove parts of your song to find the balance between variation and repetition.
- Polish the transitions between sections of your song.
Song Structure
Before you start arranging your beat, use your DAW’s arrangement markers to label the different sections of your beat. This will help you navigate your session and make it easier to decide how to go about editing every section of your song. Generally, each section of a beat serves a purpose, and that purpose will dictate how you go about arranging your instruments. You want the chorus to feel impactful and huge? Then the parts around it should be stripped down to create the contrast you want. You want the singer or rapper to shine on the verses? Then keep instrumentation minimal and filter out the frequencies that mask the vocals to create room.
One thing you can do to get better at arrangement is to study the structure and arrangement of your reference tracks. Song structures vary by genre and personal taste, but here’s an example of a common song structure:
- Intro
- Verse I
- Pre-chorus
- Chorus
- Verse II
- Pre-chorus
- Chorus II
- Instrumental
- Bridge
- Chorus III
- Outro
Adding and subtracting parts: variation and repetition
The secret to creating a catchy beat that keeps listeners engaged is to find the perfect balance between variation and repetition in music. Repetition in music is simply the repetition of sounds, notes, and themes throughout a song which helps the listener expect what’s going to happen and remember it once it’s over. While repetition in music can help hook your listeners, too much of it can also bore them. A good rule of thumb to avoid boring your listeners is to add or subtract something from your beat every eight bars to keep the listener engaged.
At this point, you have your drums, bass, chords, and melody. You can experiment with removing one or two elements from your loop for a certain section. Or, adding a new sound or harmony that’ll keep listeners interested.
Here are the seven elements of music you can consider repeating, adding, and varying throughout your song:
- Sound (overtone, timbre, pitch, amplitude, duration, stereo image)
- Melody.
- Harmony.
- Rhythm.
- Texture.
- Structure/form.
- Expression (dynamics, tempo, articulation)
Polish the transitions between sections of the beat
A transition is a musical element used to link different sections of a song together. Every time you end a section of your song, you want to have an element that emphasizes a transition. Try experimenting with drum fills, risers, silence, and other transition techniques that help build anticipation and excitement as your beat progresses from section to section. Once again, listening to your references is a great way to learn ideas.
5. Mixing and Mastering
Once you finish arranging your beat, it’s time to polish it up for distribution in the mixing and mastering stages of audio production.
The mixing stage is the step after recording, where you focus on blending the individual elements of your beat into one cohesive piece. You’ll use tools like EQ to create clarity and space for each track, compression to control dynamics, and other effects to glue things together. One of the most intuitive and smartest ways to mix is by using a mixing plug-in like Neutron from iZotope. It comes with everything you need to professionally mix your tracks along with an AI Assistant that makes mixing easier and faster than ever.
After you’re done mixing, you’ll bounce your mix down to one stereo file.
Audio mastering is the final stage of audio production where you make subtle corrections and enhancements to the entire mix, as opposed to individual tracks. At this stage you’re making sure your mix meets loudness requirements for your intended medium of distribution and that your beat sounds great in different listening environments. Check out Ozone, an award winning mastering plug-in used by countless award winning producers. It’s also powered by iZotope’s AI and machine learning and will help you produce a master ready for distribution.
If you want to learn how to mix and master your own music, check out iZotope’s free educational resources on mixing and mastering.
Start Making Your Own Beats
Like anything, creating beats is a habit with a learning curve. The more you do it, the better you’ll be at it and the faster you’ll get at creating pieces of music you like. We hope this guide will help you get started in creating a music production workflow that works for you. And as always, never stop learning and getting inspired. If you manage to do that, it’s only a matter of time before you get to the level you aspire to be at.
Related articles
-

The organic precision behind Calcou’s Anjuna release featuring Reaktor
Calcou shares how Reaktor, Monark, and Super 8 shaped the creative balance and live energy behind their new duo EP,…
-

14 NKS instruments that will change the way you create music
Discover 14 NKS instruments to freshen up your workflow. From lo-fi tape synths to cinematic strings, shop the Native Instruments…
-

Parallelle on crafting living basslines with Reaktor and TRK-01
Parallelle share how Reaktor and TRK-01 shape the bass and warmth in 11th Avenue, balancing analog depth with modern control.
-

Where will your sound lead you? Explore the Native Instruments Summer Sale
Save 30% on instruments, effects, and sounds in our Summer Sale. Find the tools to keep your tracks moving and…
-

How Mr. Bill builds sonic worlds in Massive X
Mr. Bill explains how Massive X and instinctive sound design shaped the storytelling process behind his new downtempo album, Mr.
-

How Father Funk builds low-end energy with Kontakt instruments
Father Funk breaks down how bass instruments in Kontakt power the low-end muscle and live feel behind his new record,…
-
Nick Hook and Sascha Bühren on the art of the professional workflow
Discover how industry veterans Nick Hook and Sascha Bühren master the art of organized chaos using Komplete 26.
-

St. Mary on translating emotion into production with Kontakt and Guitar Rig
St. Mary breaks down the production of her debut EP Amen, using Kontakt and Guitar Rig to balance chaos, emotion,…