Leap is a Kontakt 8 feature for jamming with samples live, and in Creating beats with Leap, modern loop engine we looked at getting started using the Leap kits included with Kontakt 8.
This time, we’re going to walk through the process of importing your own samples to create custom kits, and make unique new musical ideas.
As part of this process, we’re also going to take a closer look at Leap’s sample processing and playback capabilities, giving you a more thorough idea of what Leap is capable of.
Jump to these sections:
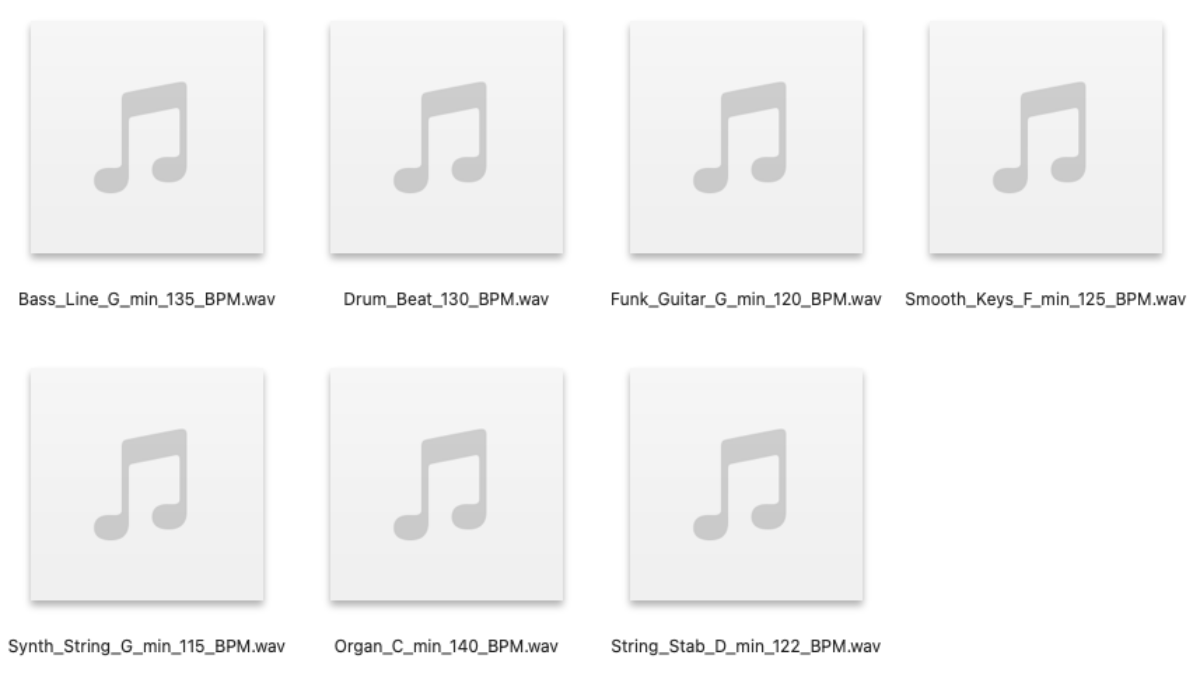
To follow along with this tutorial, you’ll need Kontakt 8, and this free sample pack.
You can use Kontakt 8 standalone or in your DAW. In this guide, we’re going to use it in a DAW to make a beat. Using a MIDI controller is recommended, but you can also use Leap by sequencing notes in your DAW.
1. Start a new Leap kit
Begin by downloading the sample pack. This is provided in the form of a .zip file, and double-clicking this file in your computer’s download folder will automatically extract the files.
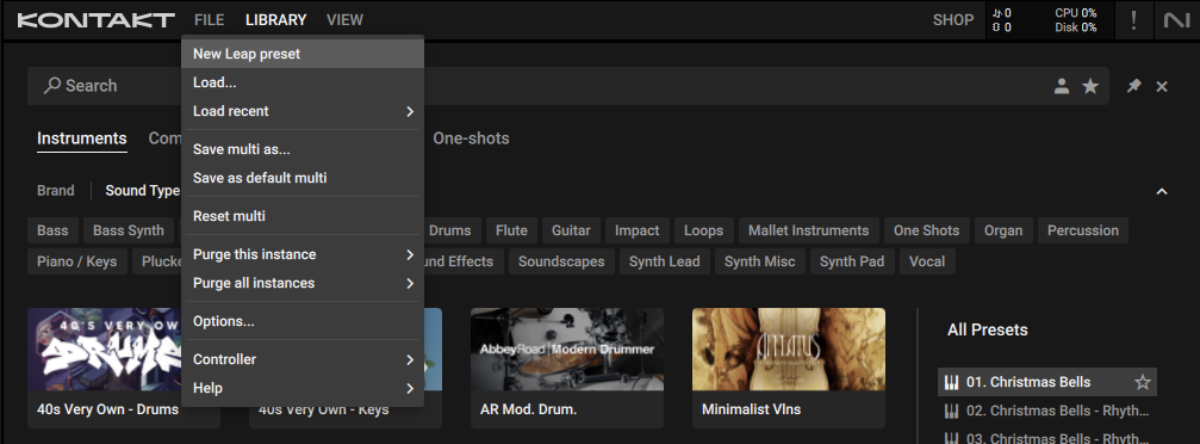
Load up Kontakt 8 in your DAW, then click the File button and select New Leap preset.
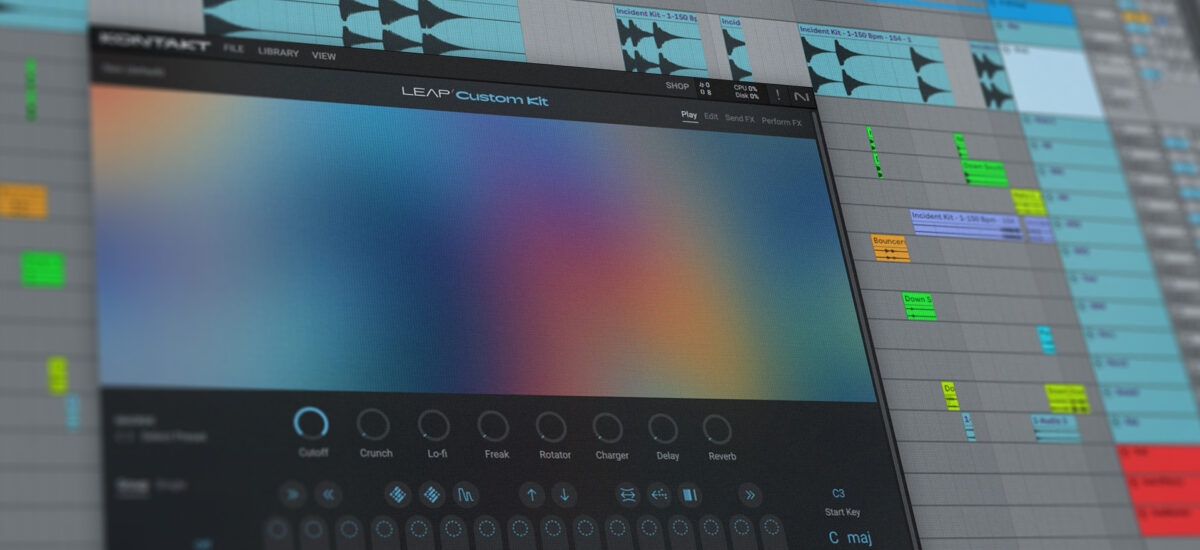
Kontakt will now display an initialized Leap custom kit.

Leap has sixteen sample slots, represented by the “keys” at the bottom of the interface, which means we can load and play back up to sixteen samples.

We can add samples to Leap by dragging them onto keys. Drag Drum_Beat_130_BPM.wav from the sample pack folder onto the first key.

Leap uses the white notes from C3 to D5 to trigger samples. We’ve just added a sample to the first key, so C3 will play it back. Press C3 on your MIDI controller, and you’ll hear the drum loop play back.
Leap will automatically warp your loop to play at the project tempo, so you’ll hear it play back at the default 120 BPM tempo. Let’s increase the project tempo to 130 BPM to hear the loop at its original tempo.

Now, when you play the loop back, it’ll play back at 130 BPM.
If you turn on your DAW’s metronome temporarily, press play on your DAW and then play the loop back, you’ll notice that the sample starts as soon as the key is pressed. This means it’s unlikely to sound perfectly in time with the metronome.
We can remedy this by setting the Quantize parameter to Bar, and now samples will start playing at the start of the next bar, perfectly in sync with the project.
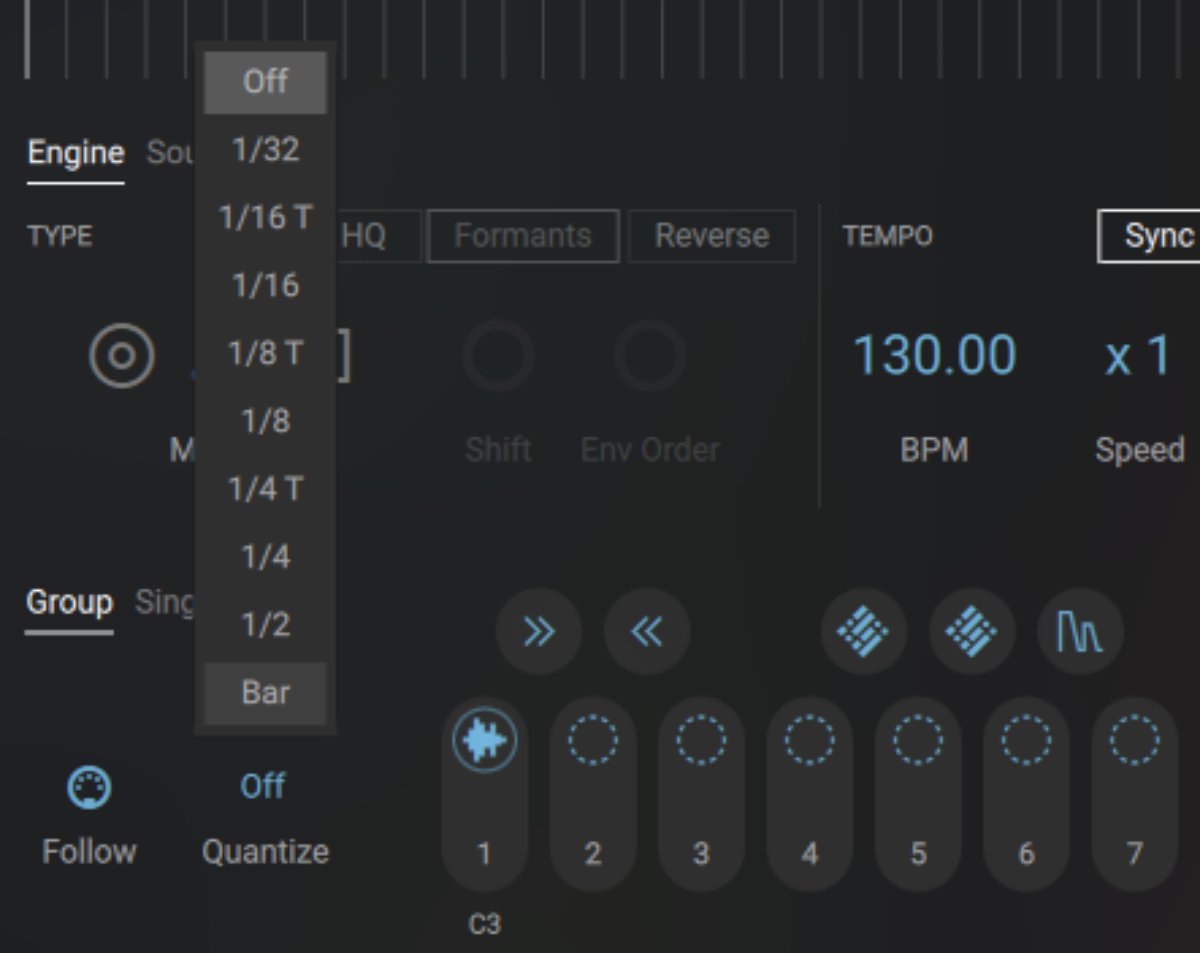
This is helpful as it means when we come to play multiple loops back, they’ll all start playing at the same time and sound tight. It also means that loops will start perfectly in sync with any existing elements you have in your DAW project.
2. Add musical loops
Let’s add some more loops to our Leap preset. Drag Smooth_Keys_F_min_125_BPM.wav onto the second key.

Because Leap automatically warps samples to the project tempo, we can now play both samples back in time. Press play on your DAW, then hold C3 and D3 down. At the start of the next bar, both samples will start playing in time, synced to the project tempo.
You’ll notice that the samples will only play once. Let’s set them up to loop so we can play them back indefinitely. Each key has a Loop toggle, turn this on for both keys. To see the parameters of a different key, simply trigger it via MIDI, or click on its key at the bottom of the interface.
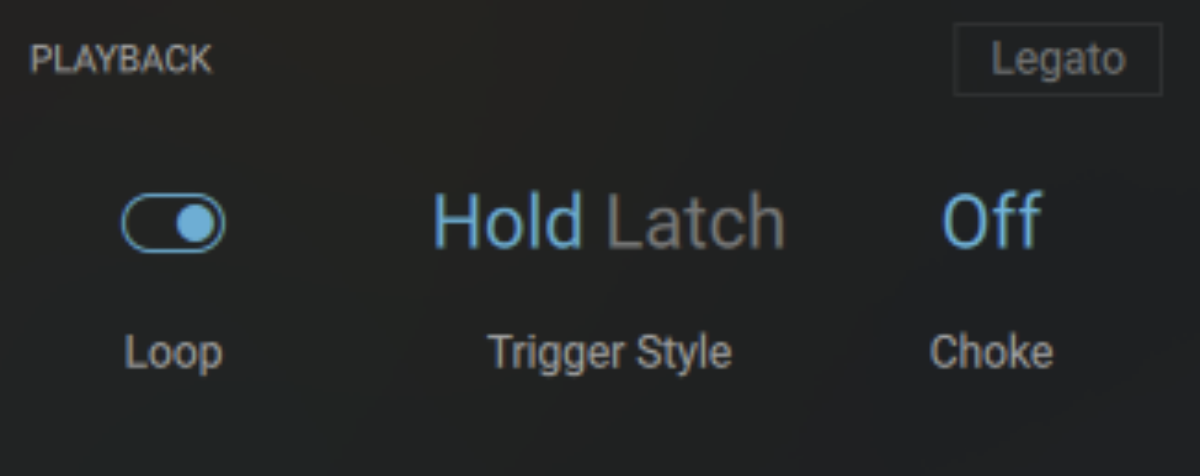
As the Trigger Style is set to Hold by default, the loops will play for as long as you hold their keys down for. When you release the key, the loop stops playing.
Let’s add a third loop. Drag Bass_Line_G_min_135_BPM.wav onto the third key. Again, activate its Loop mode.

We can now play all three loops at the same time by holding C3, D3 and E3.
Kontakt automatically transposes the loops so that they play in the same key. At the bottom right-hand corner of the interface, you’ll see that the Tonality parameter is set to C major.
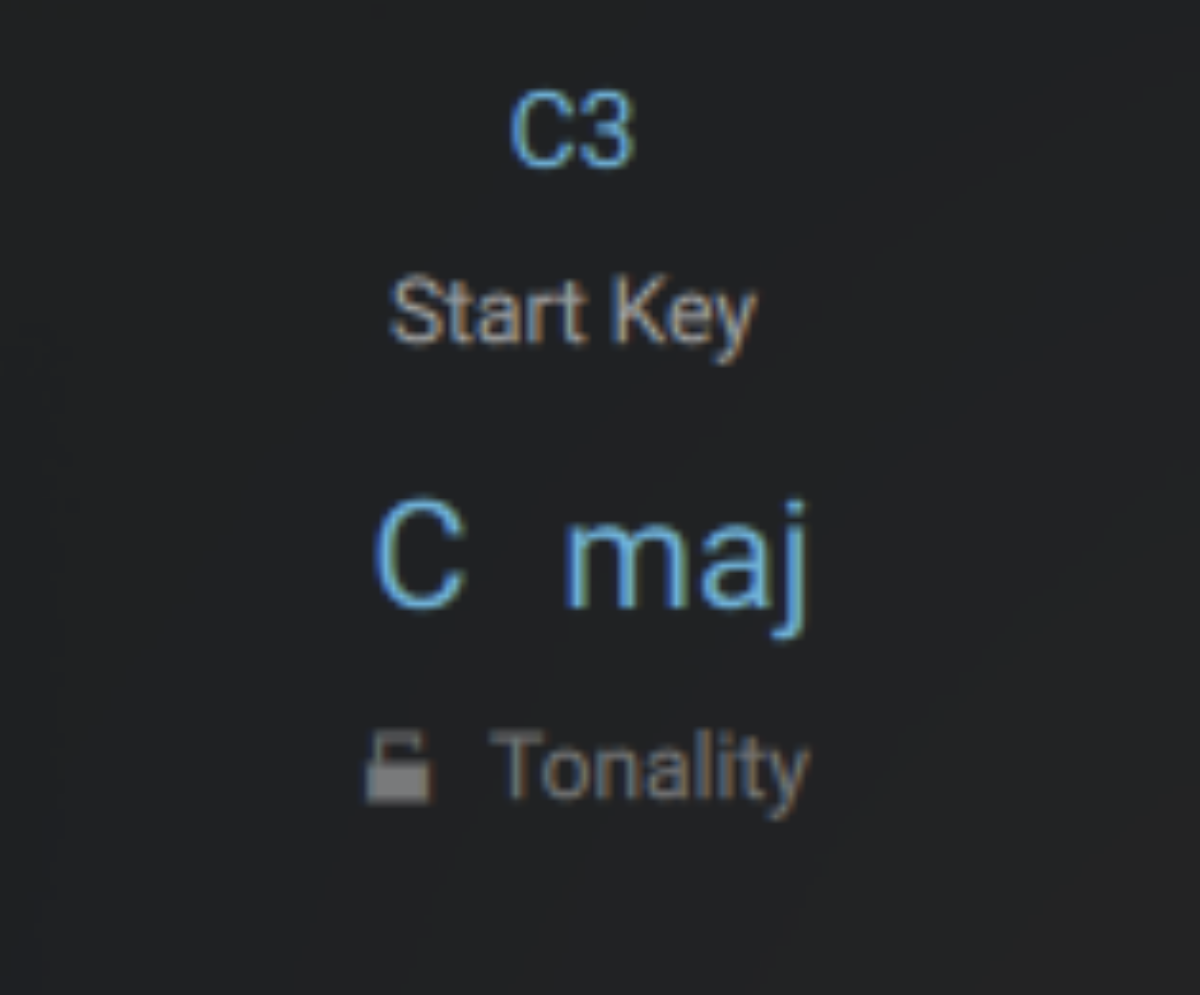
If you click their keys, you can see that Kontakt has identified the key loop as being in F minor, and the bass loop as being in G with no specified mode.
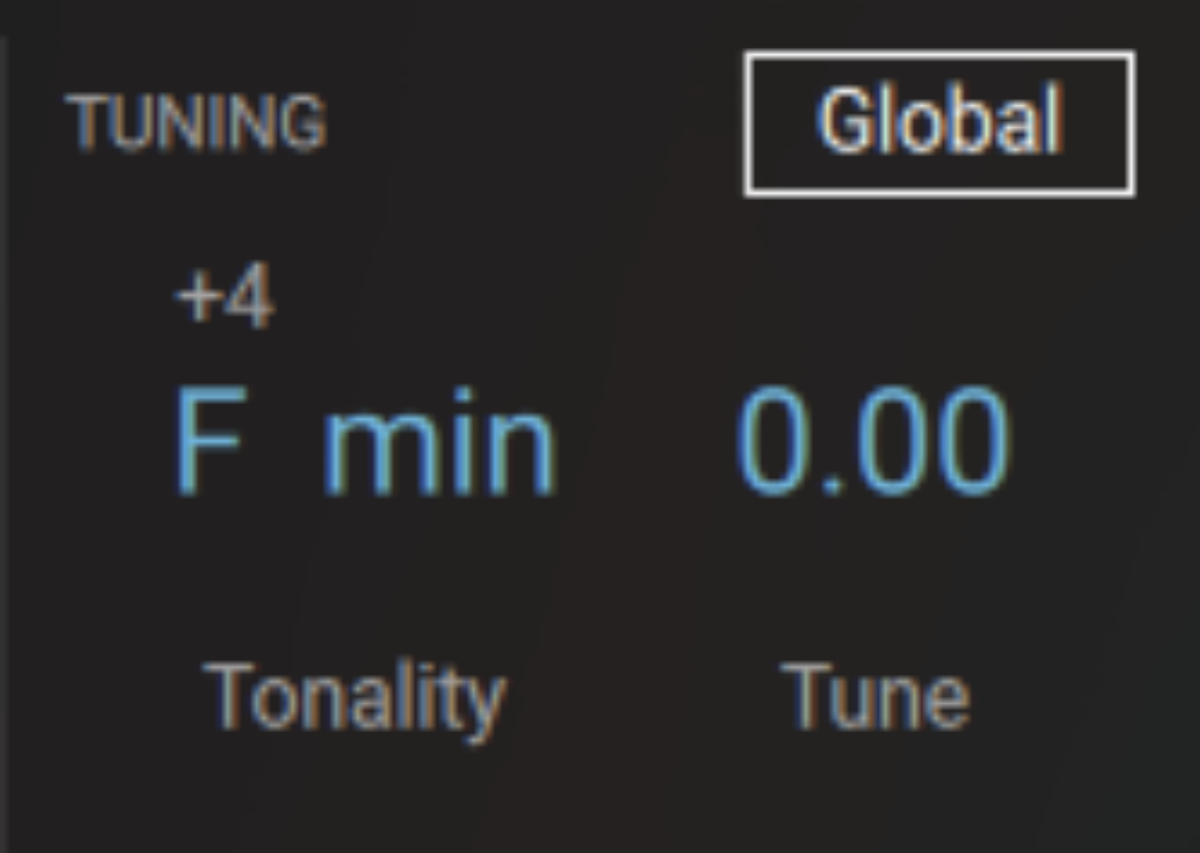
Let’s change the Tonality parameter at the bottom right-hand corner of the interface to F minor, so that we’re closer to the smooth key loop’s original pitch.
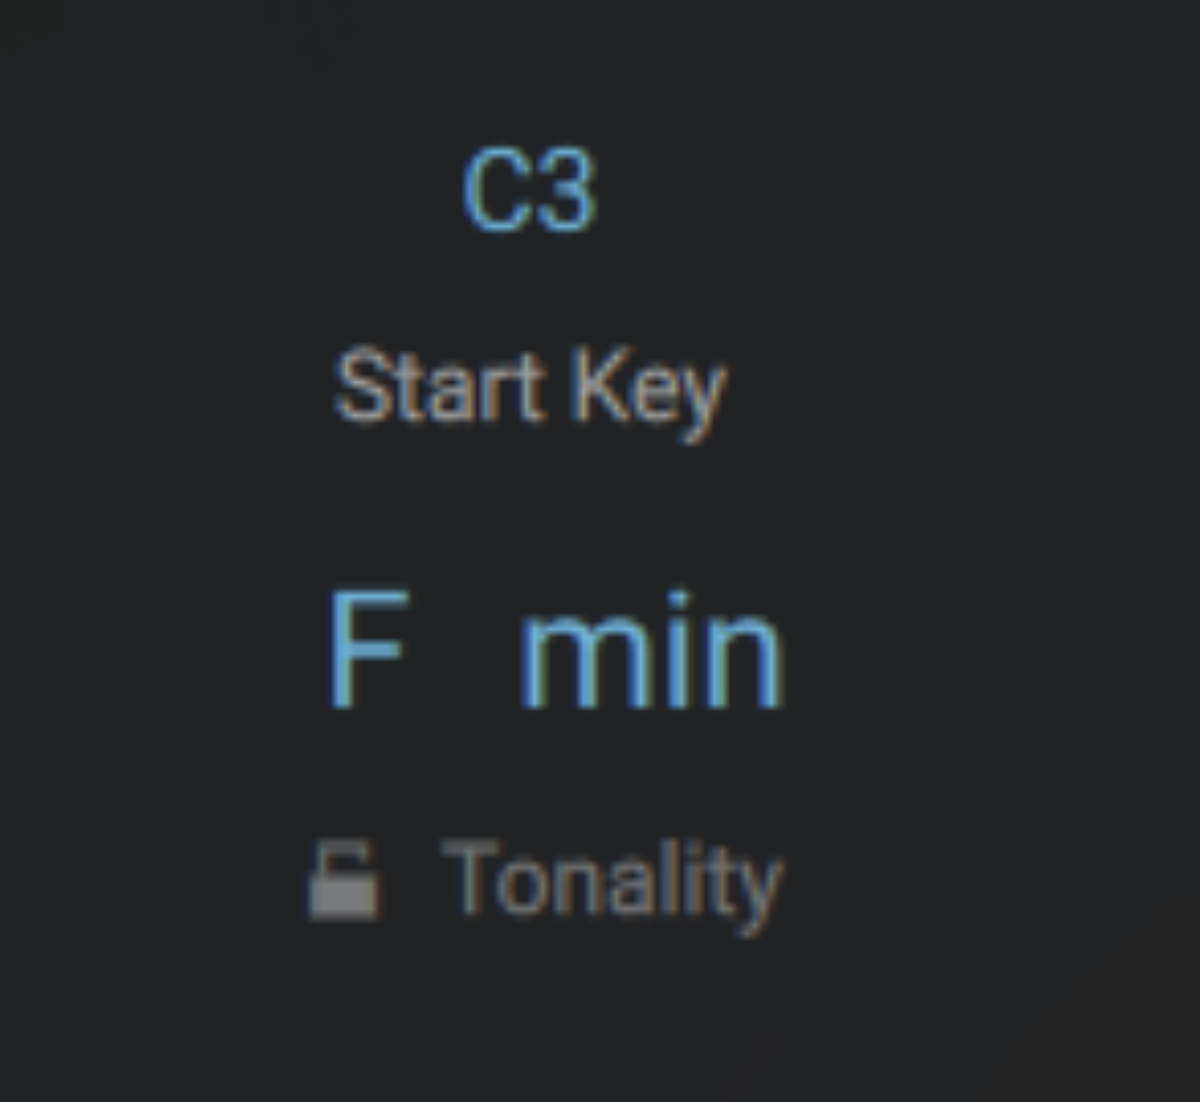
Now, the smooth key loop and bass line will play back in F minor.
3. Adjust individual keys
Drag Funk_Guitar_G_min_120_BPM.wav onto the fourth key on the Leap interface, and activate Loop mode.

This funky guitar loop is heavy on the wah pedal, and doesn’t have as clearly identifiable a pitch as the smooth key and bass loops. If you examine the key’s tonality settings, you’ll see it’s been identified as F#, but the sample is labeled as being in G minor.
Here’s how the funky guitar loop sounds in context with the F# Tonality setting.
Now, let’s change the key’s Tonality setting to G, and hear how that compares
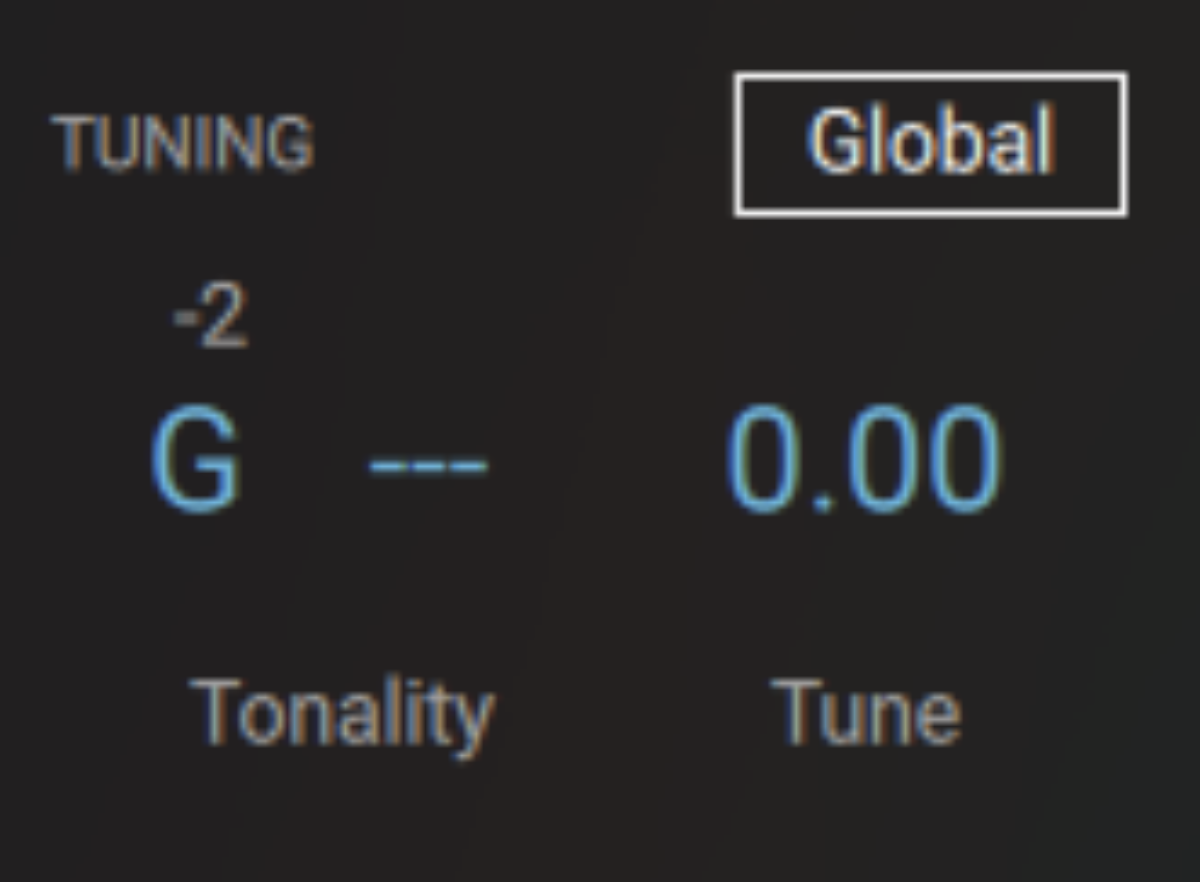
That sounds improved, so let’s stick with the G tonality setting.
Before we jam, let’s add some more samples. Drag Synth_String_G_min_115_BPM.wav onto the fifth key, and activate Loop mode.
You can see that this sample has been identified as being in G, so we don’t need to adjust its Tonality settings.
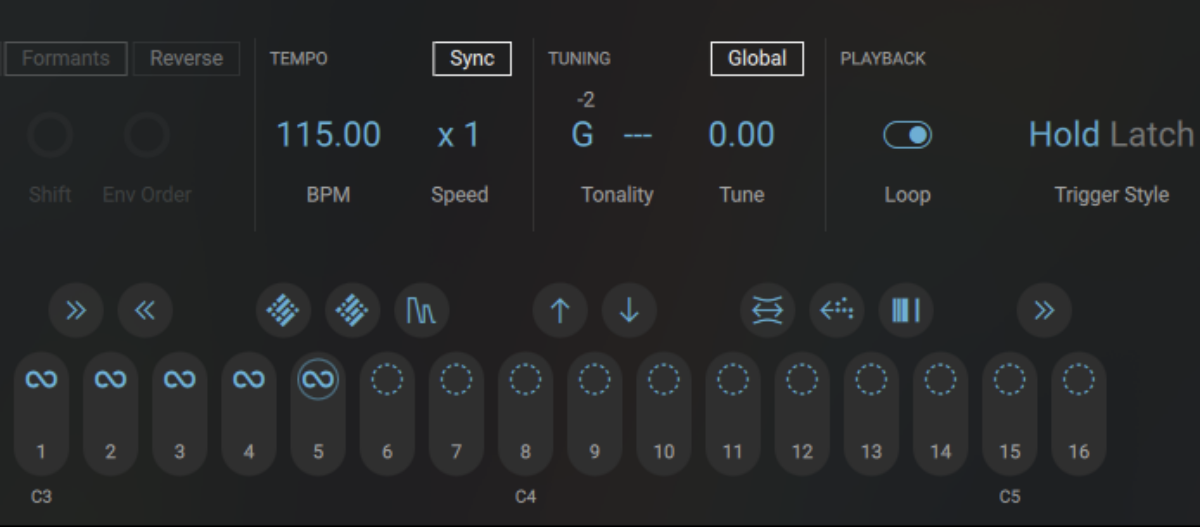
Now, drag String_Stab_D_min_122_BPM.wav onto the sixth key and activate its Loop mode.

Now, add Organ_C_min_140_BPM.wav onto the seventh key, and activate Loop mode.

Let’s hear how all these loops sound together. Play back the project and hold C3 – B3.
All the loops are in the correct key, and playing at the correct pitch, so it’s time to jam.
4. Record a jam
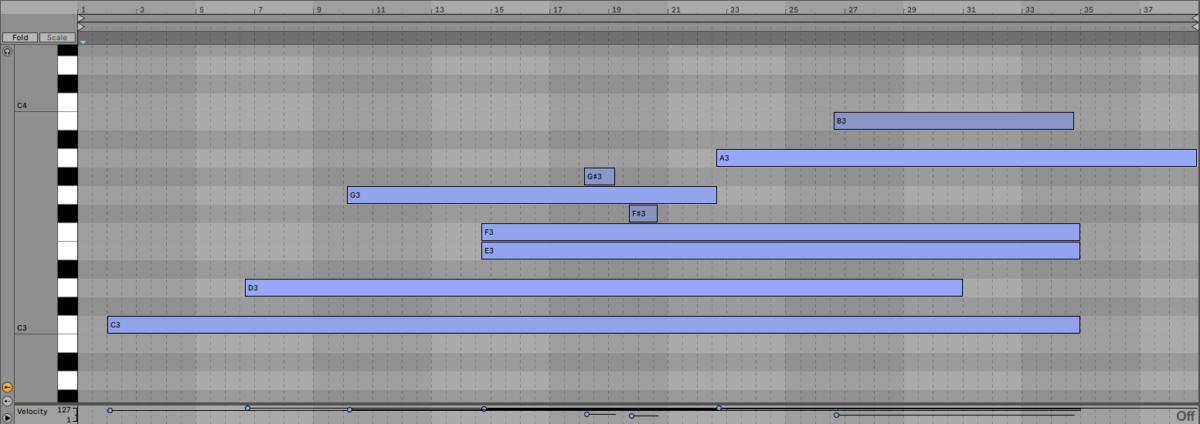
Now, we’ve created our kit, recording a jam is a straightforward process. Press record in your DAW, and hold down the C3-B3 keys as you see fit to create an arrangement in real time. You can also hold down black keys to add real-time effects to your sounds as well.
Here’s an example of a quick arrangement to give you an idea of what’s possible.
If you make a mistake, want to tighten things up, or wish to try out variations on what you’ve created, you can simply edit the MIDI as you would any other instrument.
Start making and jamming with your own Leap kits
Here we’ve seen how you can make your own Leap kit, and use it to quickly jam out an arrangement. Leap is one of many new features in Kontakt 8. Get Kontakt 8 to discover new ways of creating sounds and improve your production workflow.


