


Kontakt 8’s new feature, Leap, helps you capture musical ideas as they happen, giving you a way to embrace the unpredictable and turn impromptu ideas into something extraordinary, instantly.
Combining the power of a looper VST with an intuitive way to jam and make samples in seconds, Leap gives you creative new ways to experiment with a wide array of sounds and processing tools in real-time.
In this guide, learn how to use Leap to quickly create new beats.
Jump to these sections:
- Selecting a Leap kit
- Loop playback
- Jamming it out
- Combining musical styles
- Adding Perform FX
- Adding and processing vocals
To follow along with this tutorial you’ll need Kontakt 8, which includes twelve expertly-curated Leap Expansions for specific musical styles.
You can use Kontakt 8 standalone or in your DAW. In this guide, we’re going to use it in a DAW to make a beat. Using a MIDI controller is recommended, but you can also use Leap by sequencing notes in your DAW.
What is sample manipulation?
Sample manipulation involves altering digitally recorded audio (samples) to create new sounds. Techniques include time-stretching, pitch-shifting, reversing, chopping, looping, filtering, and layering. Producers often use these methods to fit samples into new tempos, keys, or styles, transforming them creatively for unique compositions.
How do you loop a sample?
There are various ways to loop a sample depending on the software that you use. Most samplers and audio editors feature one or more loop modes that allow you to repeat a sample indefinitely.
In terms of jamming with live sample loops, many musicians use dedicated “looper” hardware or software, and Kontakt 8’s Leap feature is a dedicated looper feature that makes looping samples easy whether you’re a beginner or seasoned pro.
Creating a beat with Leap
1. Selecting a Leap kit
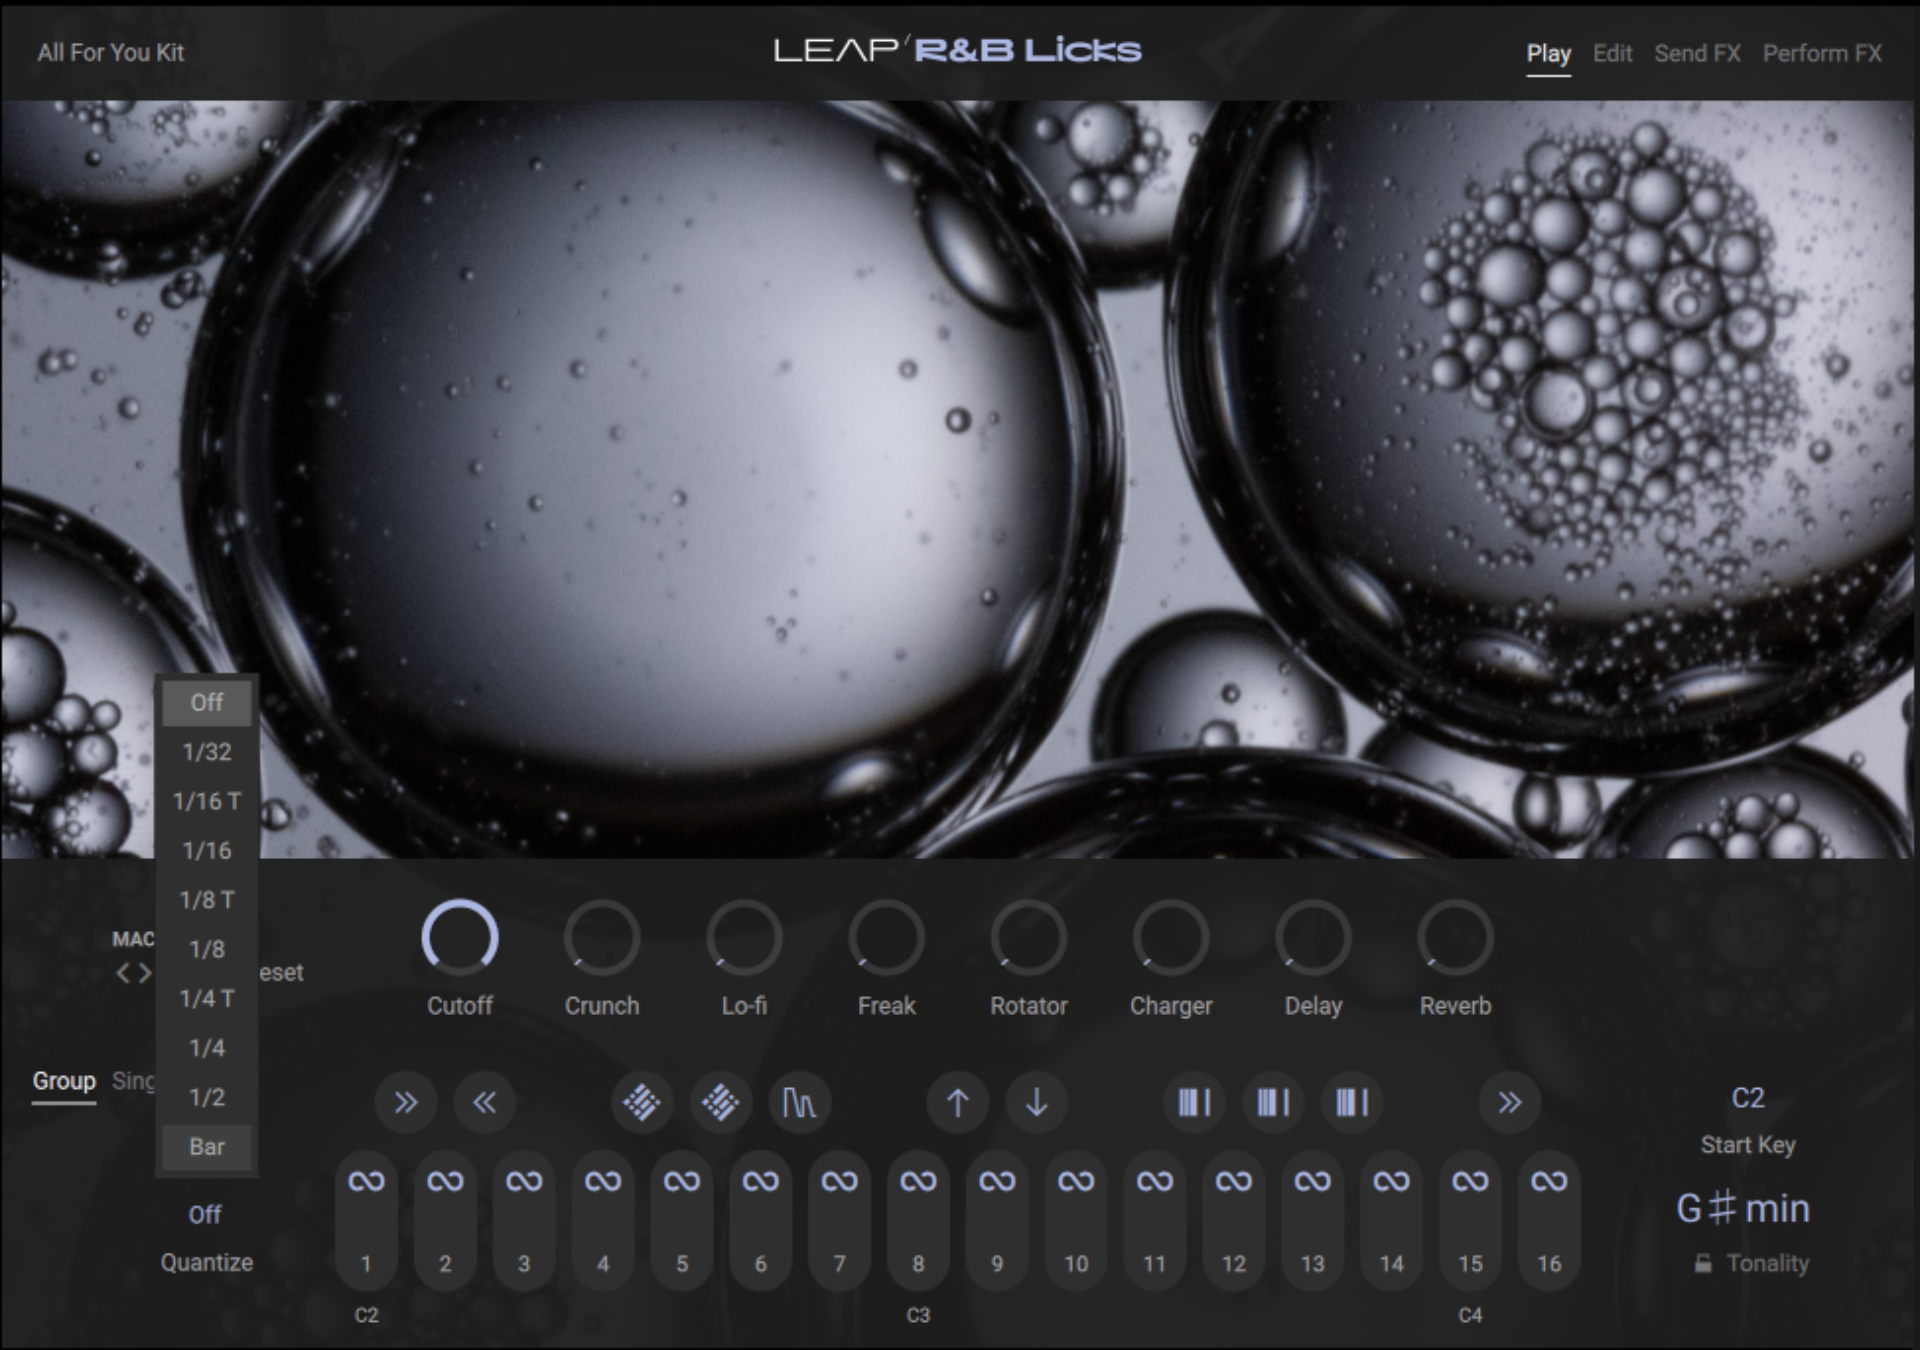
Load up Kontakt 8 on a MIDI track in your DAW. To see the Leap Expansions that are available to you, click the Leap button below the search bar.

You’ll see twelve Leap Expansions in the browser, with all the included kit presets listed in the list on the right hand side of Kontakt 8’s interface. Clicking on one of Leap Expansions will filter the list of presets to show just the kits included in that Expansion. Click the R&B Licks Expansion to show its included kits.

Double-click All For You Kit to load it up.

2. Loop playback
You’ll now be able to play the included loops using C2 to D4 on your MIDI controller, and the range that the loops are played on is displayed on the virtual keyboard at the bottom of Kontakt 8’s interface

Above this you’ll see the loop buttons, with the Perform FX buttons above them. Leap assigns loops to white keys, and Perform FX to black keys. So, you can hit any of the white keys in the C2 – D4 range to play a loop, and any of the black keys in the range to apply an effect. All the loops in a kit will be in the same key, so you don’t have to worry about them clashing.

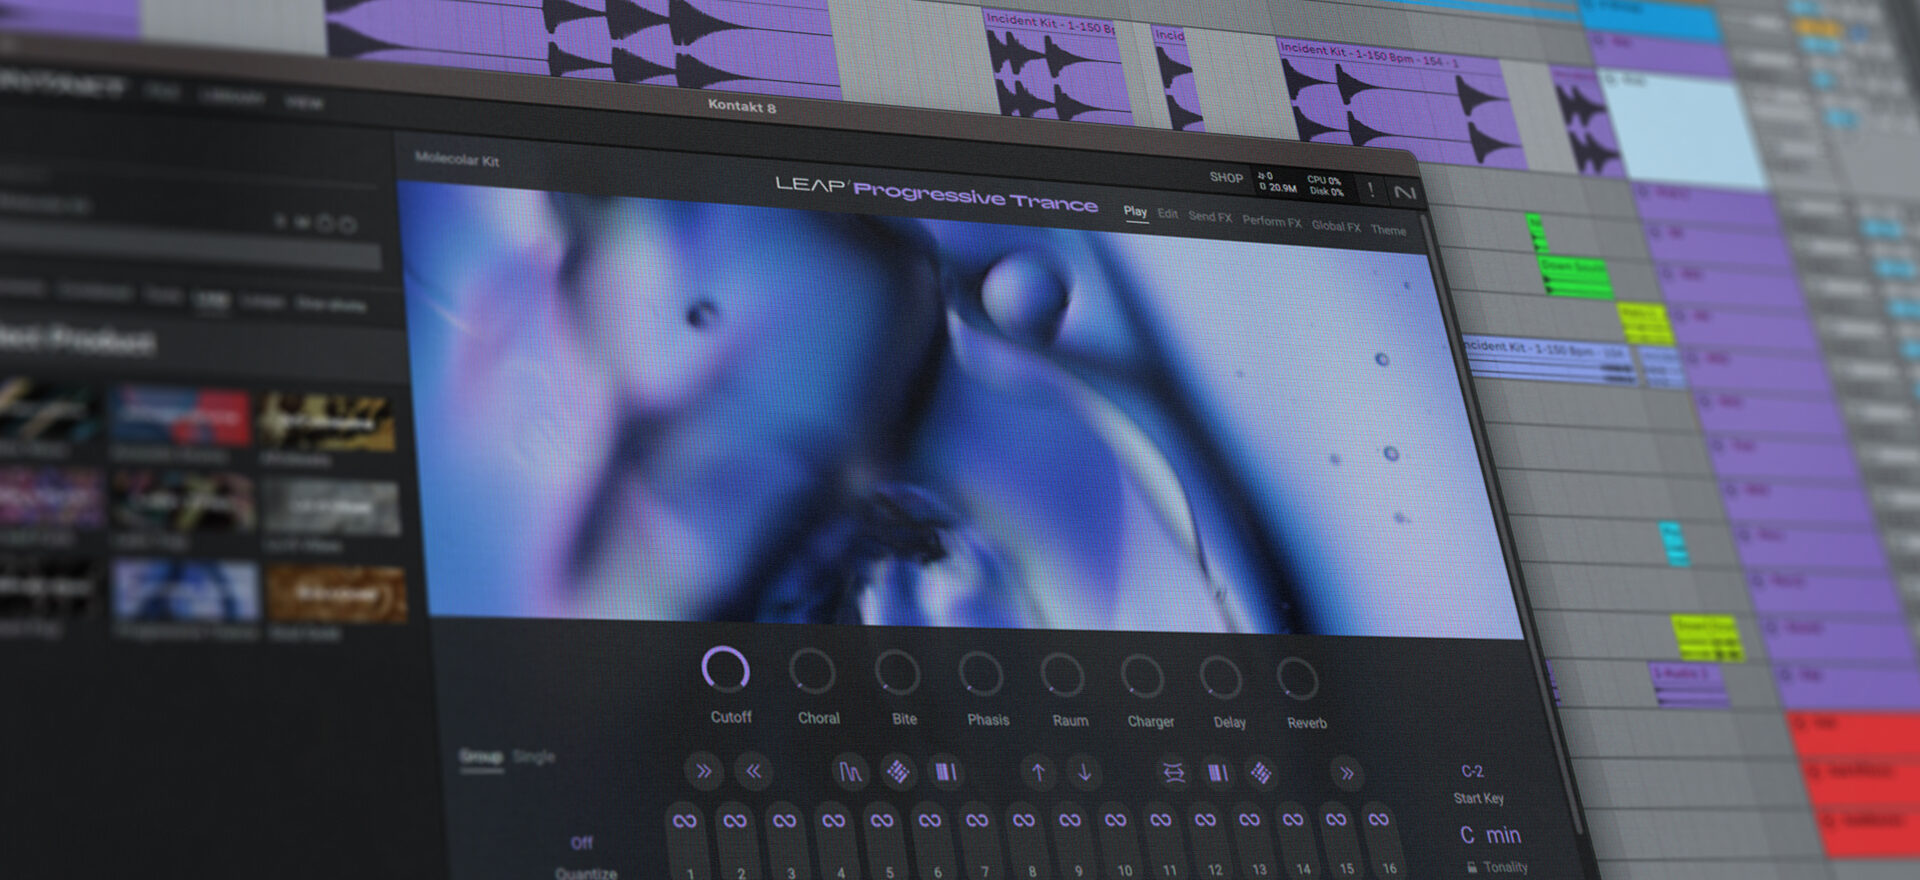
You can audition a loop by clicking the bottom of a loop button, and bring up the Edit page by clicking the Loop icon at the top. You can also bring up the Edit page by clicking the Edit button at the top right-hand corner of the interface.

On the Edit page you’ll see that the Tempo Sync button is active. By default this is active for all loops, and means that they’ll automatically play in time with your DAW project tempo.
Here we can also see the loop’s original BPM, which in this case is 71 BPM. As the loops are set to Sync, we can use any tempo we want. Let’s set the DAW project tempo to a brisk 115 BPM.

3. Jamming it out
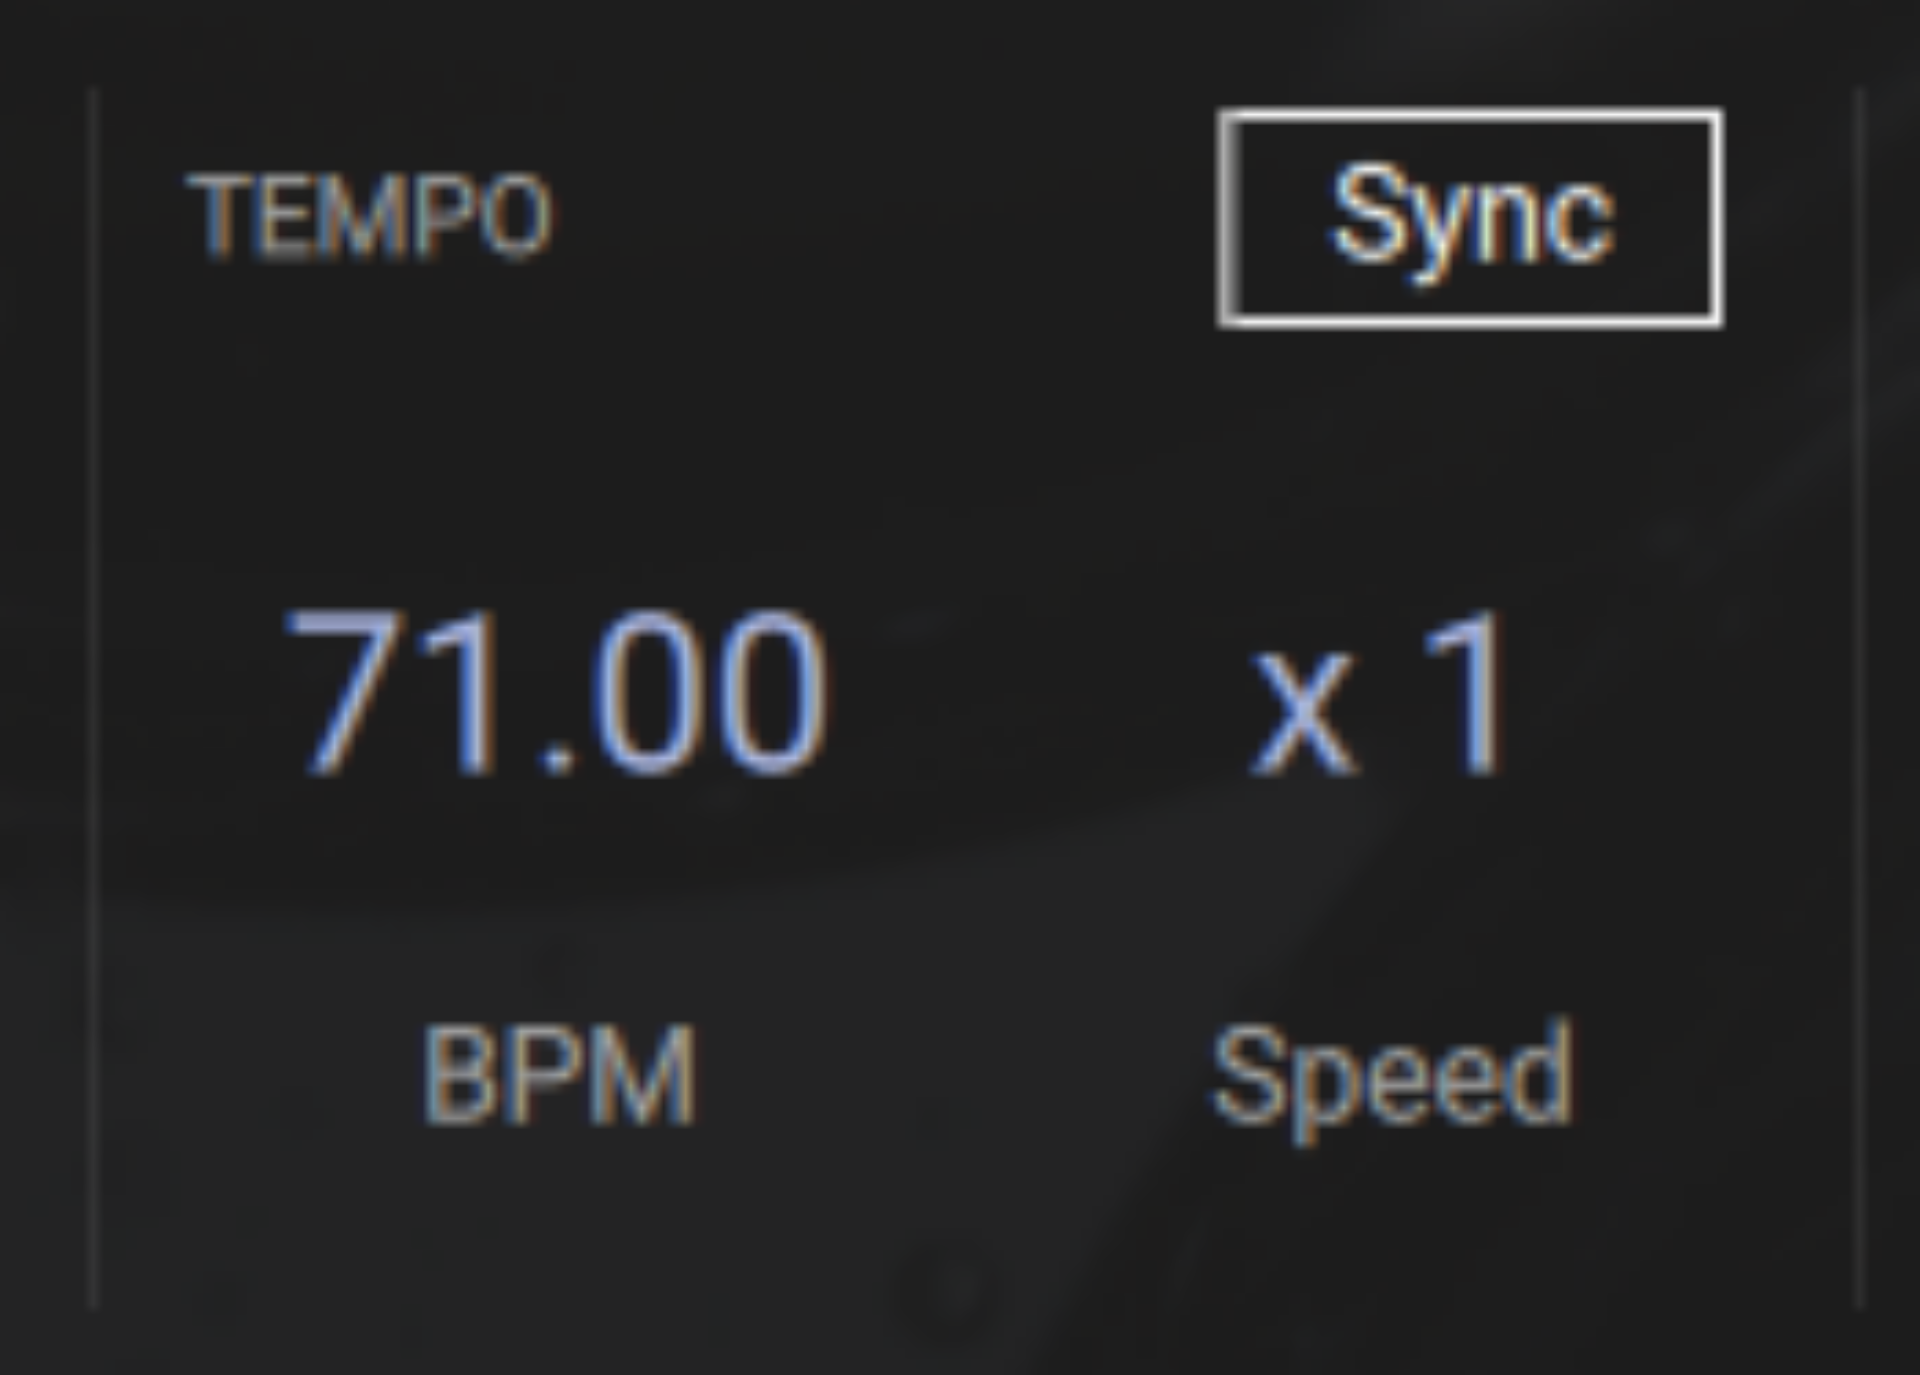
The easiest way to jam out a musical ideal with Leap is to use the Quantize mode. Set the Quantize to Bar, which tells Kontakt we want any loops triggered to play in sync at the start of the next bar.
Press play on your DAW, and play any combination of notes between C2 and D4. It’s important to remember, because we’ve set Quantize to Bar, these loops will only start playing at the start of the next bar, so you won’t hear anything right away. However, if you keep the notes held you’ll soon hear the triggered sounds play perfectly in time with each other.
It’s time to record something. Click the record button in your DAW, and once recording has begun hold C3 and D3. When they start playing, keep them held down, and add a B2 as well before the fourth bar ends.
The C3 gives us a synth string, with D3 providing a guitar lick. Adding the B2 gives us a bass line that comes in on the fifth bar as well.

As you can see, it’s possible to quickly come up with sound combinations and arrangement ideas using this method.
4. Combining musical styles
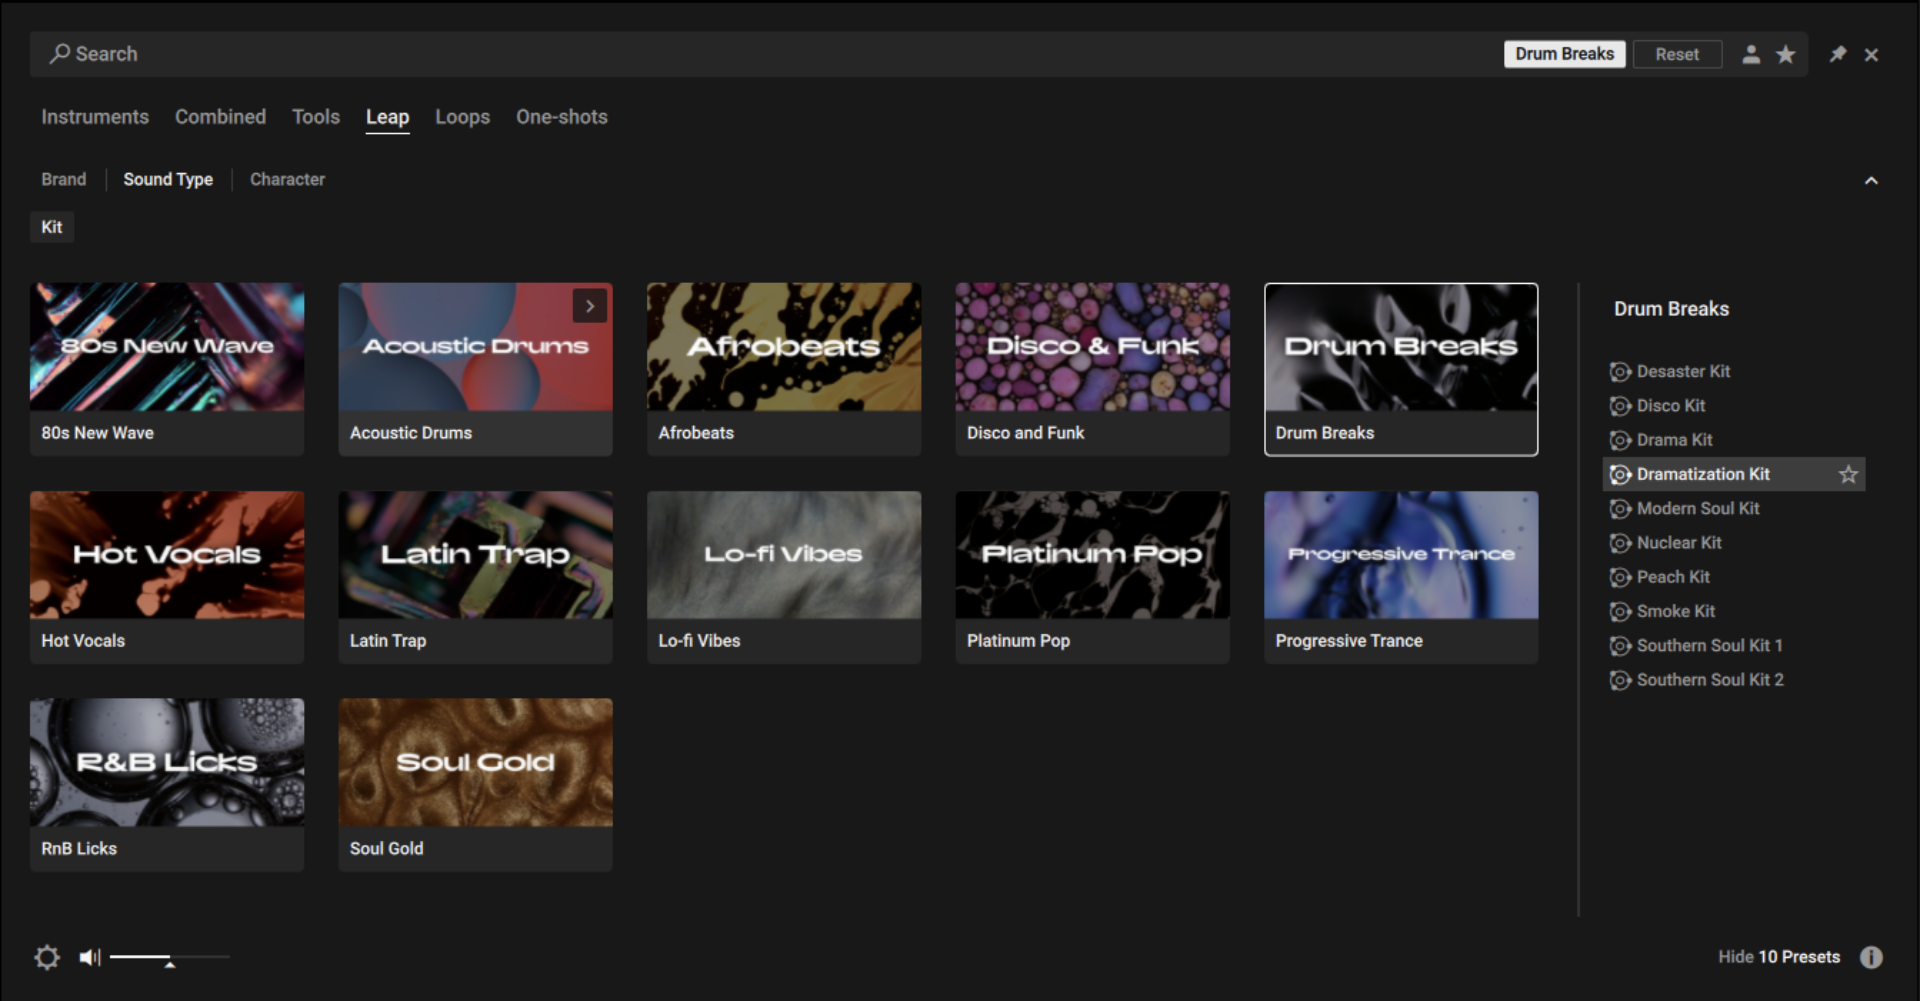
Let’s add another Leap kit to add a different flavor to our beat. Add a new MIDI track in your DAW, load up Kontakt 8, and this time in the Leap menu select the Drum Breaks Expansion and load the Dramatization Kit.
Again, set Quantization to Bar.

This kit features a variation on the same drum beat on each key. We want something funky, so again click record on your DAW, and this time hold down E2 until the other elements stop playing.

That’s sounding cool, and we can add more interest with real-time FX processing.
5. Adding Perform FX
We can add real-time FX with Leap’s Perform FX. These are customizable FX that can be activated by pressing the black keys between C2 and D4 on your MIDI controller.
Let’s use G#2 to apply a Beat Masher effect. Click record again, and this time hold down G#2 at the end of each four bar section.

As you can hear, the Beat Masher repeats the drum beat audio, allowing us to create fills in real-time.
We can edit the parameters of the Beat Masher effect by clicking the ‘Perform FX’ button at the top right-hand corner of the interface.
You’ll see that one of the Beat Masher effects is set to a Length of 1/8. Set this to 1/16 instead.

Let’s add another sound to our beat with a different Expansion.
6. Adding and processing vocals
Add another MIDI track and this time select the Secret Kit from Soul Gold.

This time we’re going to leave the kit’s Quantize set to Off, which means that we can trigger the vocals at any time we like. The Secret Kit’s Tonality is set to G# minor, which is the same as the All For You Kit, so we don’t need to change it. If you do need to change the key of a kit, you can do it by adjusting the Tonality setting.

Again, click the record button in your DAW, and this time add the vocals on C2 and F2 where you see fit.

That sounds cool, and we can make it sound even better with the addition of some FX processing. Turn up the Delay and Reverb Macros to add a touch of delay and reverb.

Start making beats with Leap
Here we’ve seen how you can make a beat quickly using Kontakt 8’s Leap, sparking inspiration from just a few samples, easily adding effects, and building out a loop.
Want to see what else is new in Kontakt 8?
Related articles
-

Behind the synth: A. G. Cook on stacked sawtooths and the creation of Super*Saw
Explore the extremes of stacked sawtooth waves with Super*Saw, a new synthesizer co-created with A. G. Cook. Learn how to…
-

Inside the evolution of orchestral sampling: an interview with ProjectSAM
Discover how ProjectSAM’s Lineage Series uses NKS and smart features to change orchestral sampling. Plus, save on instruments in our…
-

How New Constellations turn emotion into sound with Massive X
Go inside the studio with New Constellations. Learn how they use Native Instruments gear, happy accidents, and lifelong friendship to…
-

Citizen Kain on building emotion and space with Replika
Citizen Kain explains how Replika helped shape the rhythm, tension, and emotion behind his debut Eversun Records single “Moments.”…
-

The organic precision behind Calcou’s Anjuna release featuring Reaktor
Calcou shares how Reaktor, Monark, and Super 8 shaped the creative balance and live energy behind their new duo EP,…
-

14 NKS instruments that will change the way you create music
Discover 14 NKS instruments to freshen up your workflow. From lo-fi tape synths to cinematic strings, shop the Native Instruments…
-

Parallelle on crafting living basslines with Reaktor and TRK-01
Parallelle share how Reaktor and TRK-01 shape the bass and warmth in 11th Avenue, balancing analog depth with modern control.
-

Where will your sound lead you? Explore the Native Instruments Summer Sale
Save 30% on instruments, effects, and sounds in our Summer Sale. Find the tools to keep your tracks moving and…