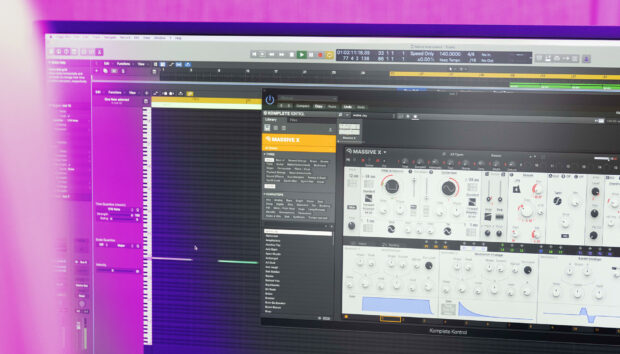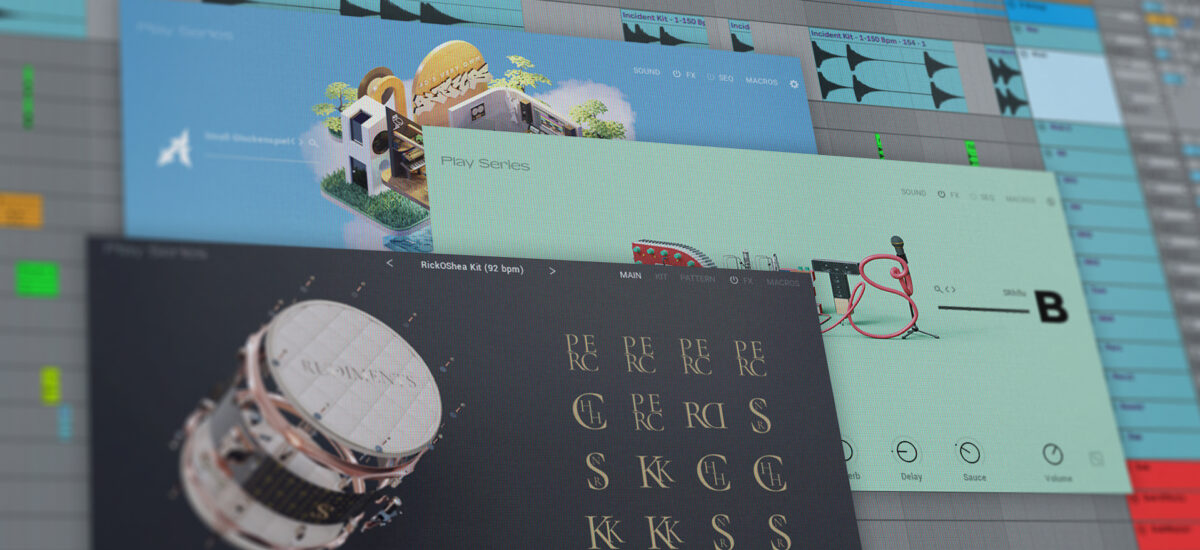
Making a beat doesn’t need to be painful. With the right tools, you can glide from initial sketch to final result without getting lost in the weeds. In this article, we’ll show you how to make a beat the fun way. We’ll be using Play Series instruments, a collection of smart tools from Native Instruments that offer pro-sounding drums, bass, keys, and much more in an easy-to-play package. Once this tutorial is through, you’ll know how to create a great sounding beat with just a few handy plugins that can sound like this:
What is a Play Series instrument?
Play Series instruments let you quickly throw down ideas and refine them to perfection. These sample instruments pack professional sounds into a streamlined interface, meaning you can access the best audio without breaking your flow. From hip hop drums to dreamy synths and vocals, there’s a Play Series instrument for every situation. And each has the same basic design, meaning you can draw on a world of sound without needing to learn a new interface or trawl through a manual.
Carefully designed presets and handy macros make Play Series instruments quick to use. And when you need to, you can dive under the hood and tweak effects chains, macro assignments, and much more. Whether you’re new to production or a seasoned pro, Play Series instruments will liven up your workflow.
How to make a beat with Play Series instruments
Making a beat can seem like a daunting task when you’re facing an empty DAW screen. But the process can be broken down into a series of manageable steps, each of which requires a little dose of inspiration and some technical know-how. Having the right Play Series instrument on hand will help, too. Let’s go through the steps.
1. Create a drum pattern
Every beat starts with the drums. We’re going to use Rudiments to create our rhythm. This Play Series instrument offers a library of organic and synthesized drum sounds processed through outboard gear for a juicy, authentic sound. No need to scroll through endless sample packs or spend time spicing up boring kits: with Rudiments, making good beats is quick and easy.
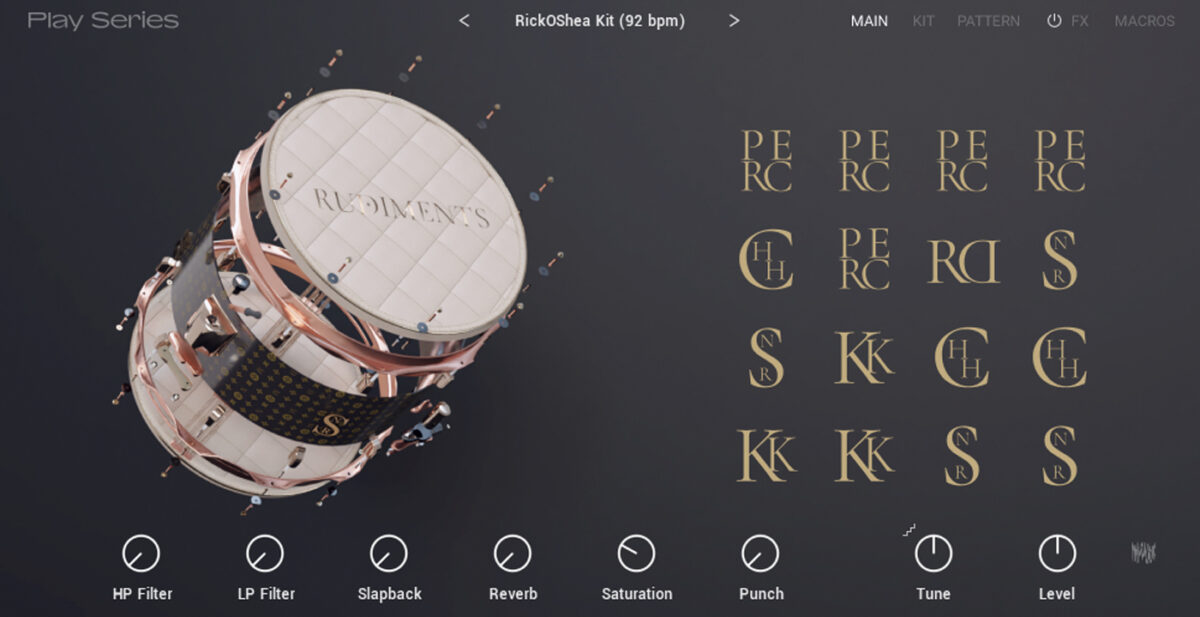
First we need to pick some sounds we like. The drum kits in Rudiments ooze character; we chose the Rick OShea kit. Rudiments offers a series of pre-existing drum patterns that are great starting points for beat-making. If you want more control, you can also build your own beat using the sounds supplied – that’s what we’ve done here. (Bonus tip: for a human feel, try playing in your beat by hand using a MIDI keyboard or Maschine).
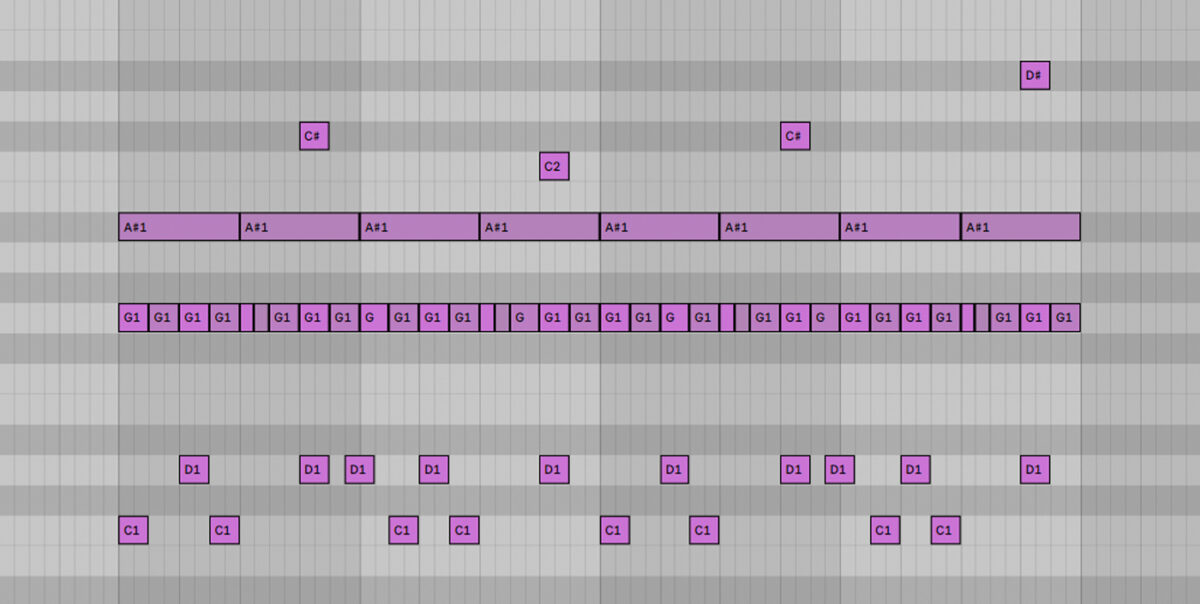
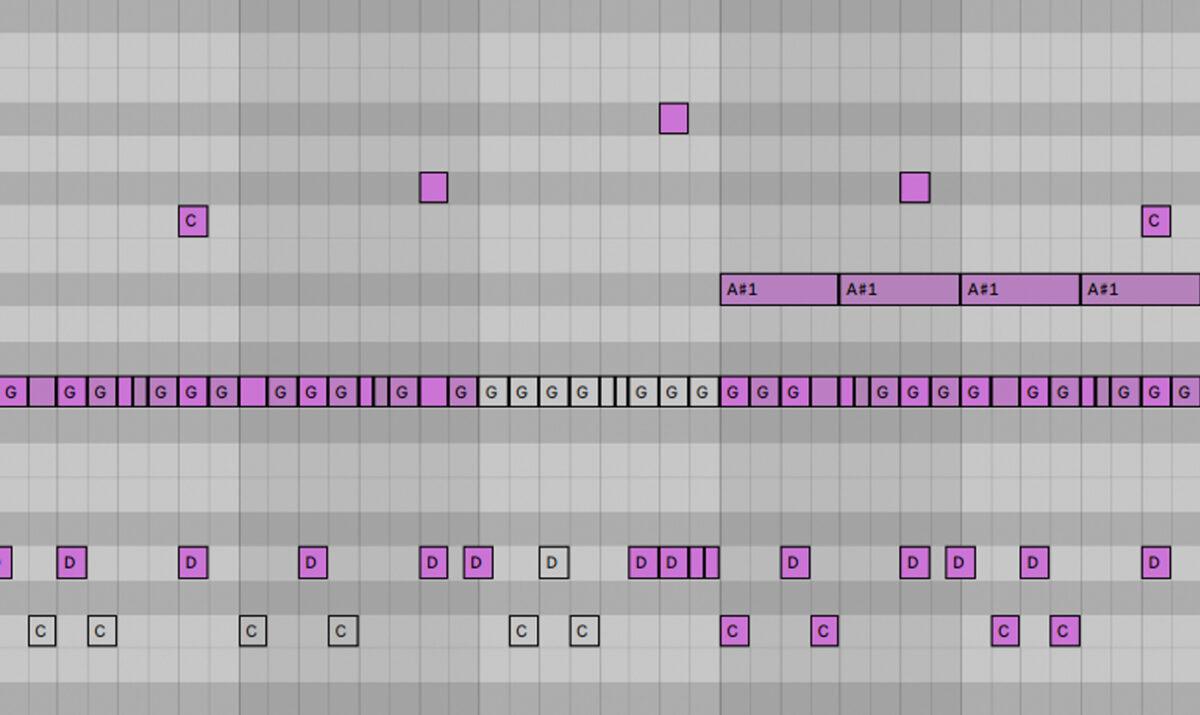
We’re making a laid-back hip hop beat at 93 BPM. To start, we placed a snare on the second and fourth beats of each bar, and kick drums on the “1” and “2.5” to create a syncopated groove.
We added a closed hi-hat on every 8th note to drive things forward. To add interest, we included an extra 16th note accent every now and then, and used the velocity controls in our DAW to vary the force of each hit. The sophisticated sample engine in Rudiments responds to these different velocity inputs to create a varied drum sound with a human feel. An additional perc hit on the 4th beat of each bar adds emphasis.
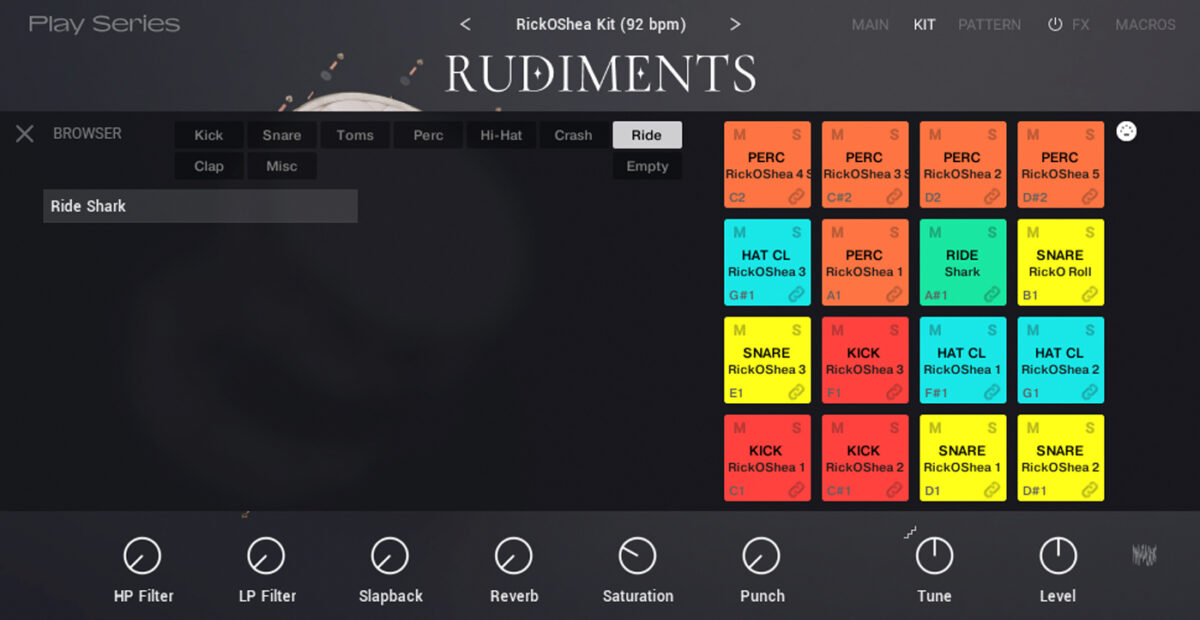
We want a nice splashy ride cymbal to cap off our drums, but the kit we chose doesn’t have one. Fortunately, it’s easy to swap in another sound from the Rudiments library. We opened the Kit tab, clicked on one of the drum pads, and clicked the name of the sample to swap it out.
Here’s how our beat sounds.
2. Write a chord progression
Now it’s time to enrich our beat with some harmony. Most beats will feature chords, a bass line, and a lead or melody line. There’s no rule as to which of these should be made first. But it helps to start with the chord progression, as these set a key and mood for the other parts to follow.

We’re using 40’s Very Own Keys for our chords. Created by legendary producer Noah “40” Shebib, this Play Series instrument offers dozens of lush piano and synth patches recorded in 40’s studio. Like many Play Series instruments, each preset layers two sounds to create rich, characterful timbres without needing fiddly sound design. It’s a goldmine for vibey chords and leads.
The Moving Backwards preset has the quirky vibe we’re looking for. It layers creamy keys with a hint of glockenspiel for a characterful but soft sound. The Play Series macros make it easy to tweak the sound right from the main interface. We adjusted the “40” parameter on the main page to get more high frequencies, for a sound that cuts through without being shrill.
Now we need to choose the notes for our chord progression. If you’re new to writing chords, it’s worth getting to know some classic chord progressions in major and minor keys, and maybe even brushing up on the basics of music theory.
But there are no firm rules for chord writing. Don’t be afraid to try out random combinations of notes – either on the piano roll in your DAW or using a MIDI controller – and arrange the ones you like into a progression. You might be surprised by what you come up with.
Komplete Kontrol keyboards offer powerful features for writing chords, from the handy Chord Mode to a light guide that helps you play in key.
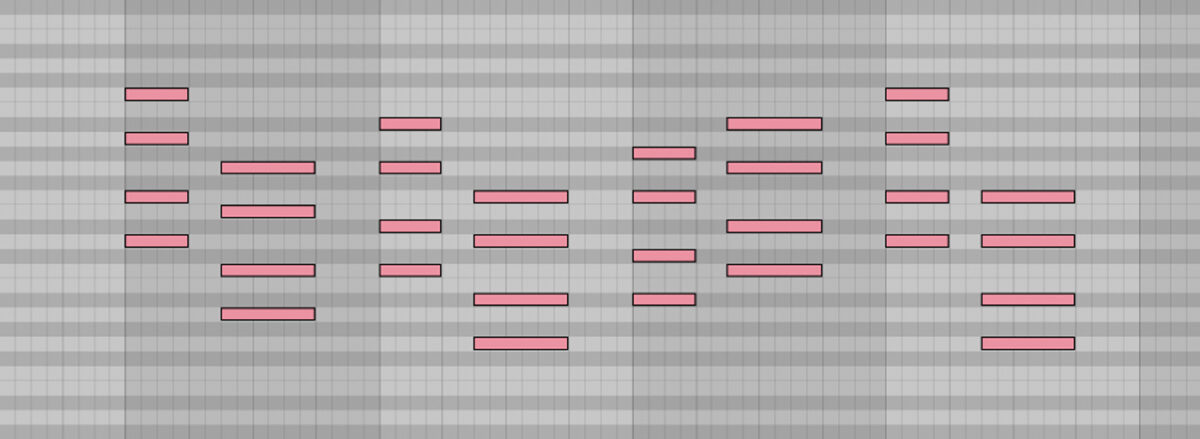
is, a D minor chord including the 1st (D), 3rd (F), 5th (A), and 7th (C) notes of the scale. We then simply copy-pasted this chord in our piano roll, and pitched it up and down a few semitones to create a progression.
We also added some rhythmic variation to keep things interesting. The second of each set of chords lands on the and between beats. Here’s how it sounds.
3. Create a bass line
Now it’s time to strengthen our chords with a bass line. Duets is great for bass and lead sounds. This hybrid Play Series instrument combines multi-sampled vocals with synths and keys to create rich sounds perfect for modern productions.
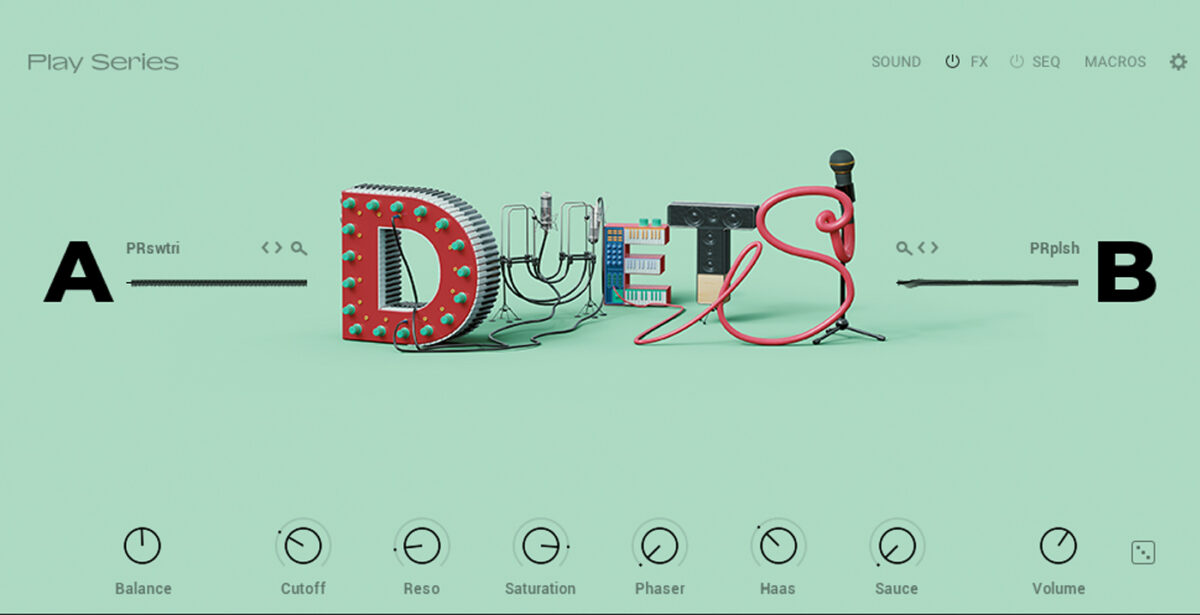
We started with the preset Mob Bass 1 – a juicy, analog-style sound that suits the style of our beat. We then tweaked the macros to adapt the sound to our other parts. We turned down Reso for a smoother timbre, and boosted Cutoff for more treble frequencies. We also turned up the Haas macro to give the sound width. After these adjustments, our bass sound is ready to go.
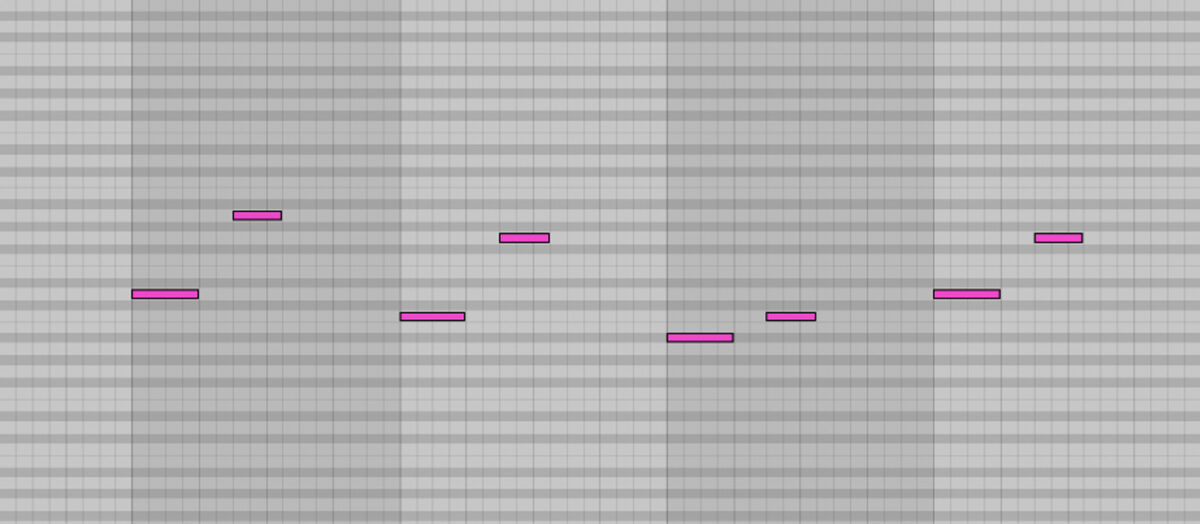
Now we need to choose the notes for our bass line. If you’re not sure where to start with this, check out our tutorial. A simple approach is to have the bass play the root note of each chord in your progression. This will create a functional, effective bass line that reinforces what the chords are doing. Here’s how it sounds in our case:
We can take things a little further by adding other notes that are in the key of the beat (D minor). We can also make our bass line bounce up and down an octave, and even add melodic flourishes to make it more memorable. Here’s how the bass line sounds with these additions.
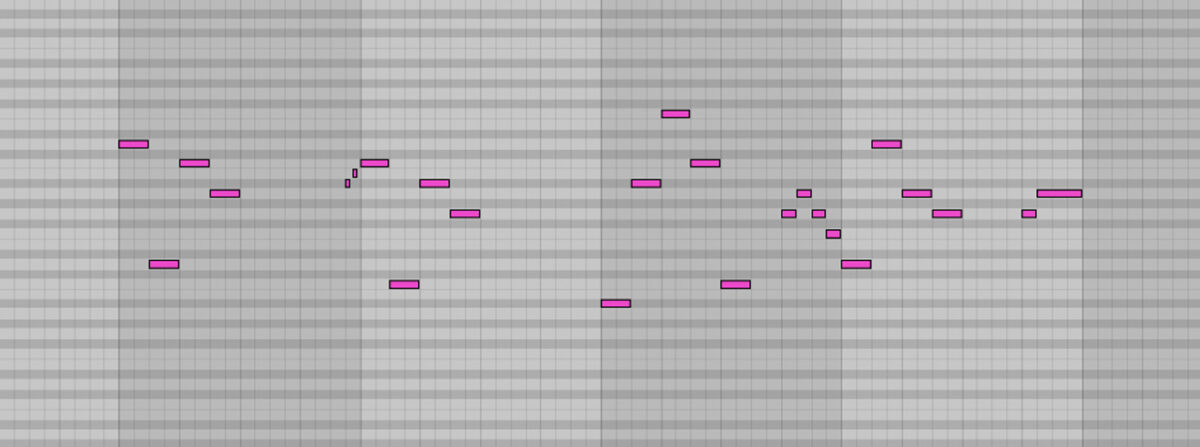
4. Add a melody
The melody is the icing on top. A catchy melody can make the difference between a forgettable beat and one that you hum all day. Fortunately, a Play Series instrument like Duets makes it quick and easy to write characterful leads.
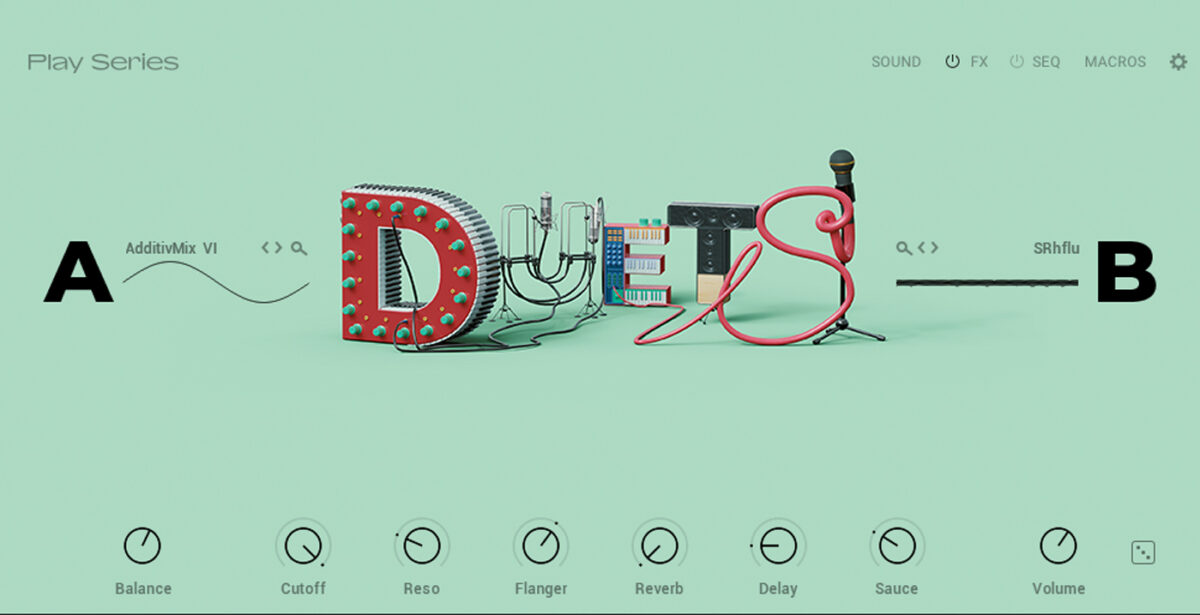
We’re using the preset James World, which suits the laid-back mood of our beat. This layers a smooth sound with a more nasal one to help the part cut through the mix. Adjusting the Balance macro lets us change the relative loudness of the two sounds, controlling how bright our lead is. We tweaked this, and also turned up the Sauce macro to add characterful pitch wobble to the sound.
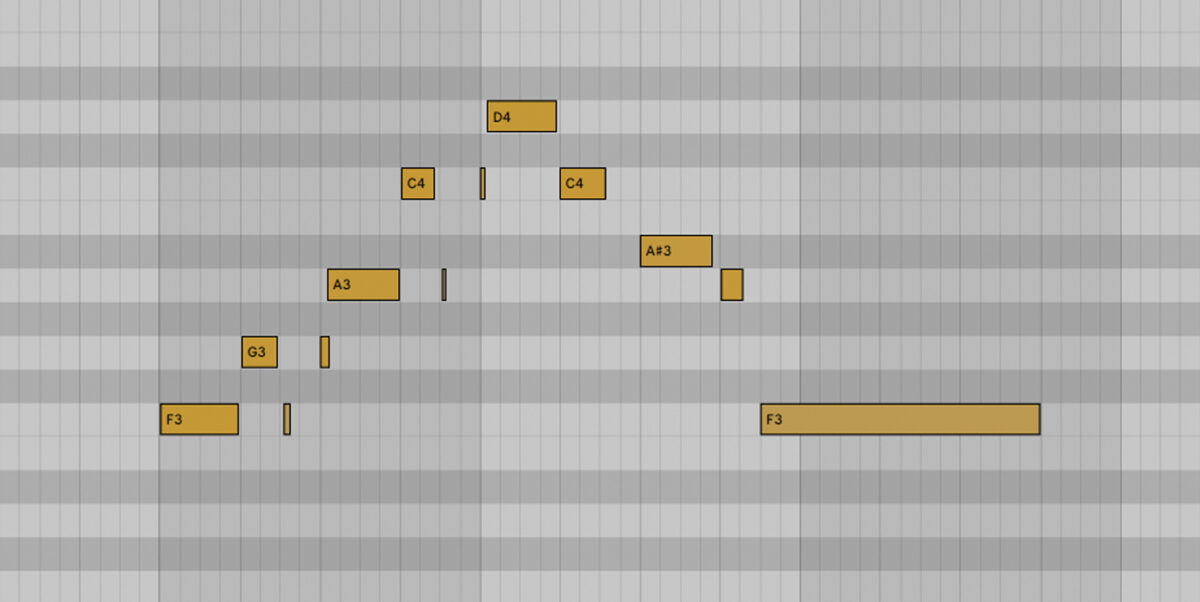
Now it’s time to write our notes. There are no fast rules, though. The only goal is to come up with something that sticks in your head. If you find yourself humming your melody hours after the session is over, you know you’ve got a good one.
Don’t be afraid to experiment when coming up with ideas. Try looping your beat and hitting random notes on a MIDI keyboard or Maschine, then recording and editing the results. It’s usually best to try to stay in the key of your beat. Here’s what we came up with.
5. Arrange your beat
We now have all the main components of our beat. Here’s how the drums, chords, bass, and melody sound together.
So far, our beat is only 4 bars long. We need to expand this into an arrangement: that is, a longer piece of music with distinct sections.
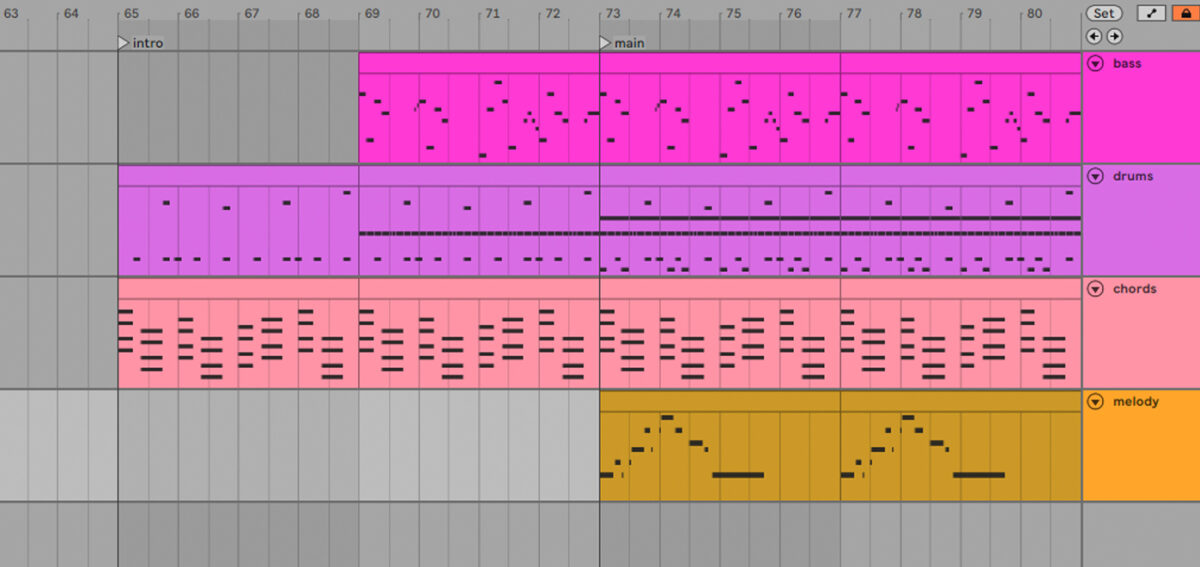
There are many different ways to arrange a beat. Most beats have an intro, a couple of main sections, and an outro. There might also be a breakdown in the middle, where some of the main elements are removed to create suspense. Beats with a vocal might be arranged into “verse” and “chorus” sections.
For now, we’ve arranged our beat into two sections: a more stripped-back intro, followed by a “main” section that showcases all of our parts together.
To do this, we first duplicated our 4 bar loop a few times to create two sections of 8 bars each. Then, in the first of the two sections, we muted some key elements to create an introduction.
At first, only the chords and a couple of the drum layers can be heard. Halfway through the introduction, the bass line enters along with the hi-hat. In the second eight bars, the kick drum and melody enter to complete the beat. Gradually bringing in elements like this gives our beat variation and a sense of narrative.
6. Add the final touches
Finally, we can add a few finishing touches to give our beat extra personality.
Transitions will help smooth the journey from one section to the next in our arrangement. This means making edits when important changes happen in the track. For example, a little pause just before the main section will help heighten the impact when the full beat enters. We achieved this by muting the drums and bass for a few beats before the section change. We also added a snare fill right before the new section.
We can also use effects to add detail to our beat. We manipulated the effects macros inside our Play Series instruments to make some parts sound more muffled when the beat starts. For the chords, we automated the Reverb and 40 macros so that the sound is more distant, then gradually comes into focus. We did the same thing with the drums using the LP Filter macro.
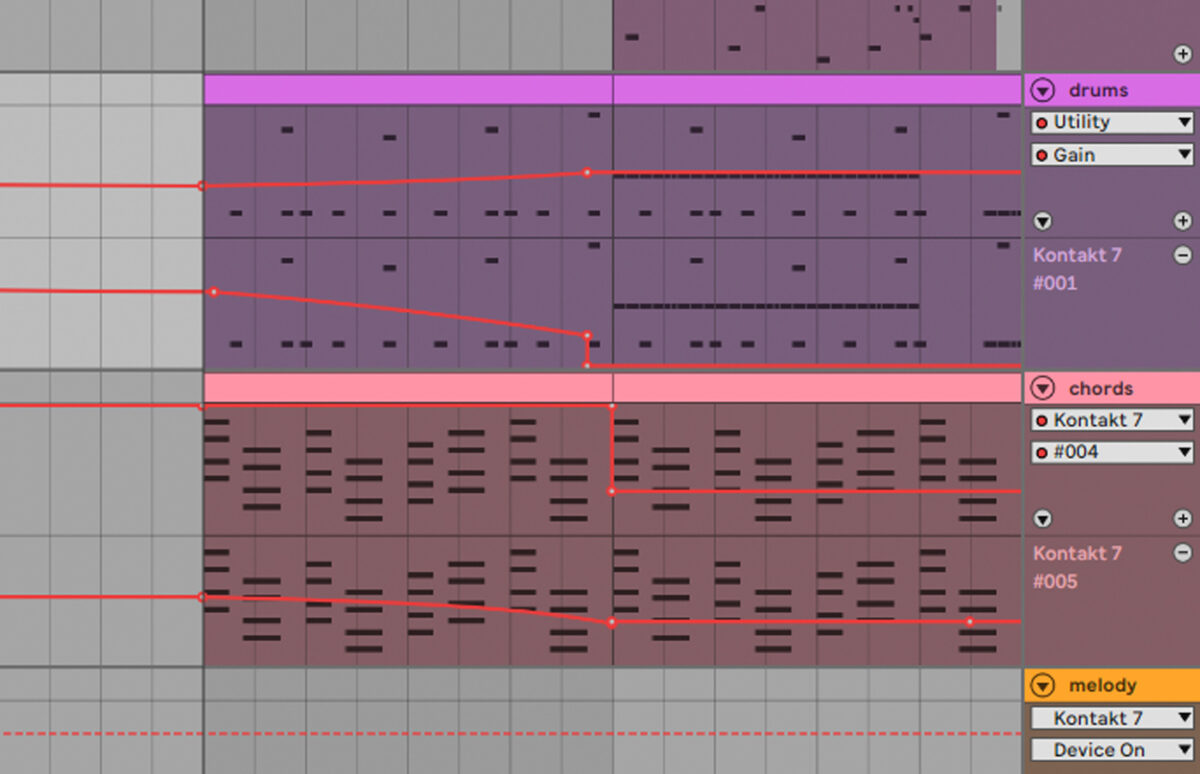
Here’s how our beat sounds with those final touches added.
Start using Play Series instruments to make pro-sounding beats
In this article we’ve shown you how to make beats the fun way. We broke down the process into manageable steps, and demonstrated how Play Series instruments can offer pro-grade sounds every step of the way.


