


A flanger is a type of audio effect that creates a distinctive “swooshing” or “jet plane” sound. It is created by combining a source audio signal with a slightly delayed, modulated version of itself.
The flanger might not appear in every production, but when it does you’ll know it. Flanging can give an eerie, metallic sheen to a voice, or hype up an instrument with a dramatic whoosh. The flanger effect is rarely subtle, but when used right it can be a powerful creative tool.
So what does a flanger do, exactly? And how can you use a flanger plug-in to give your own productions a distinctive twist—without creating a swirling mess? In this article, we’ll look at the ins and outs of the flanger, exploring the science behind this effect and its characteristics and parameters. We’ll then show you how to use a flanger effectively in your own productions, covering key instruments and techniques.
Jump to these sections:
Follow along with this tutorial using FLAIR.
EXPLORE FLAIR
What is a flanger?
A flanger works by combining two copies of the same audio signal. One of these copies is delayed by a tiny amount (usually less than 20 milliseconds), putting it out of phase with the other copy. This slight phase difference causes interference in the signal: the frequency spectrum is altered, creating peaks and notches that resemble the teeth of a comb.
To make things extra interesting, the amount by which the altered signal is delayed changes gradually over time, causing this “comb filter” effect to shift up and down the frequency spectrum. This produces the flanger’s familiar swirling effect.
Here’s a brief example of a dry vocal followed by a flanger applied to the vocals:
How does a flanger work?
To understand a little better how this works, let’s dive deeper into the science of waveforms.
First, we need to answer the question: What is phase exactly?
All waveforms are cyclical. They start at zero, follow a path that moves between positive and negative amplitudes, and then return to zero. It’s the repetition of this path that allows us to hear the waveform as having a certain frequency or pitch. (For example, if the waveform repeats its path 440 times in a second, it has a frequency of 440Hz: an A).
Phase refers to the position of a waveform in this cycle. If two identical waveforms are said to be out of phase, this means that, although they share the same path from zero back to zero, their respective positions on this path are different. One of the two waveforms is ahead of the other.
When you combine two identical signals, their waveforms will interact based on their phase relationship, changing the sound we hear. If the two signals are in phase—meaning they are perfectly aligned in time—then they will combine to create a louder signal. If the two signals are perfectly out of phase, that means one will be at the highest point in its cycle (positive amplitude) while the other is at its lowest (negative amplitude). This causes the waveforms to cancel each other out—leaving you with silence.
Things get more complicated when you combine signals whose phase relationships are between these two extremes. And they get even more complicated when you shift the phase relationship between the signals over time. This is exactly what happens in a flanger. The comb filtering effect we hear is the result of the complex, changing phase relationship between the two signals, which causes some parts of the frequency spectrum to be boosted and others to be canceled out.
Flanger vs. chorus vs. phaser
This information helps us clear up a common confusion: What is the difference between a flanger, a chorus, and a phaser? Many producers mix up these three effects—and that’s understandable, since they all work using phase shifting. But there are some important differences between them.
Chorus does just what its name suggests: it creates a thick, creamy sound which imitates the effect of a whole chorus of instruments playing the same part. It does this using the same basic technique as the flanger: combining two (or more) copies of a signal, one of which is slightly delayed. But there are two key differences.
Firstly, the delay times involved are longer than in a flanger—usually around 15-35ms. Secondly, the delayed signal gradually changes pitch as well as delay amount. Since this delayed signal is less similar to the original signal than it would be in a flanger, less interference is caused, leading to a mellower effect. This makes the chorus effect perfect for giving your sound a pleasing thickness, whereas a flanger sounds spikier.
A phaser, meanwhile, achieves the same “phase shifting” effect as a flanger or chorus, but through different means. Instead of delaying the copied signal to shift its phase, all pass filters are used to alter the copied signal’s phase without changing its timing. The result is a subtler, more ethereal effect, with a blurry quality. When a flanger seems too brash, try using a phaser instead.
Flanger parameters
Different flanger plug-ins offer different features, but they center on a few core parameters. Once you’ve mastered these, you’ll be able to do all sorts with your flanger, from subtle effects through to extreme sound design tricks.
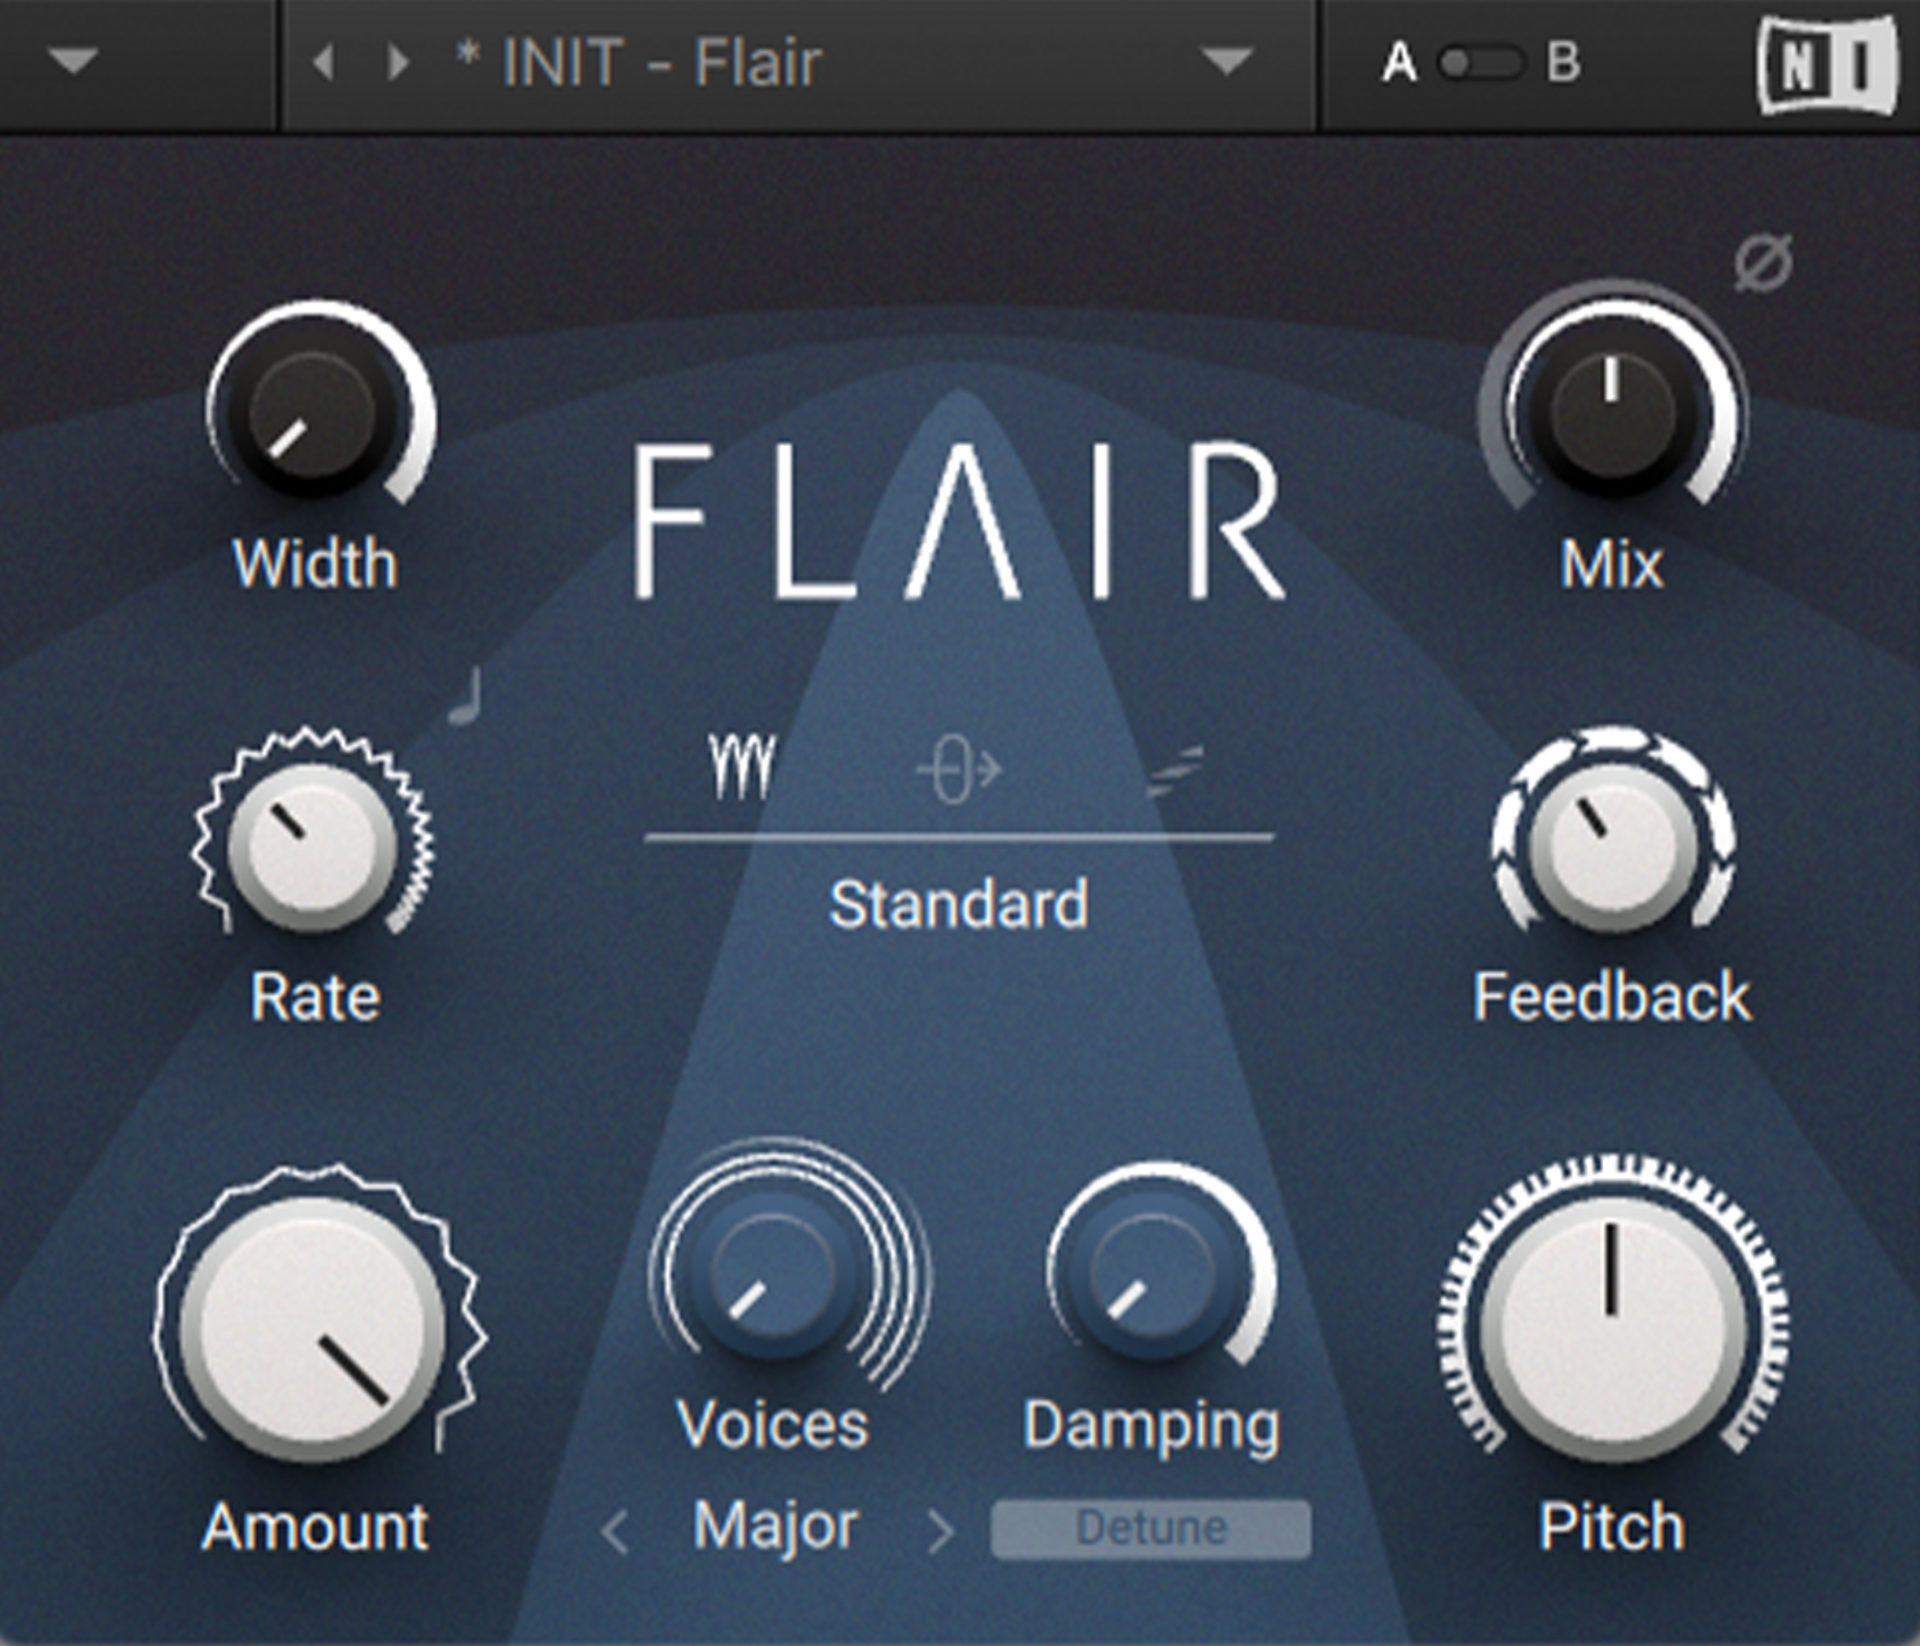
Let’s take a look at these parameters using Native Instruments’ FLAIR. This powerful plug-in offers dependable, classic flanging effects while keeping a bunch of modern tricks up its sleeve.
We’ll demonstrate the plug-in’s various parameters on a drum loop. To make their effect clear, the settings in the examples are quite extreme. In most real-world applications we’d dial them back to be less fatiguing.
Rate
Rate controls the speed at which the flanger’s delayed signal changes delay amount. This might sound a little complicated, so let’s break it down. The amount by which the copied signal in a flanger is delayed is typically controlled by an LFO (Low Frequency Oscillator). This causes it to oscillate steadily between shorter and longer delay times. The speed of this LFO—in other words, the rate at which the delay time changes—is controlled by the Rate knob.
Lower rates create subtle, slow-shifting effects; faster rates produce a rapid warble that’s more noticeable.
In the clip you’ll hear a slower rate first, followed by a faster warble effect.
Amount
Amount sets the depth of the LFO controlling delay time. This dictates how far the flanger roams in its journey between shorter and longer delay times. We hear this as the width of the flanger’s “sweep.” At lower values, the flanging sound moves around a narrow frequency range. With the control turned up, it sweeps more dramatically up and down the frequency spectrum.
This control is sometimes called Depth or Intensity; in FLAIR, it’s called Amount.
In the example you’ll hear a lower Amount setting first, followed by a higher setting (leading to a broader high-to-low sweep).
Feedback
Feedback controls how much of the processed signal is fed back into the signal chain, to be affected by the flanger again. This trick is crucial to many flange effects. When the Feedback is set high, the flanging effect is accentuated, leading to long, striking decays and an unmistakable “squeaky” sound.
In the example you’ll hear a low Feedback setting first, followed by increasingly high Feedback.
Mix
Mix controls how much of the flanger effect is heard relative to the dry (unprocessed) signal. A Mix (or Dry/Wet) control is crucial to dialing in the intensity of your flanger. A low mix setting (combining a small amount of the processed signal with a lot of the original signal) will give a subtle flanging flavor without turning too many heads. At 100 percent wet, you’ll only hear the flanger—perfect for extreme, ear-catching effects.
In this example the flanger is mixed low at first, before gradually rising to 100% wet.
Going deeper with flanging
You can do a lot with these four basic controls. But most flangers will offer more options to explore. Many feature a stereo width control, making the flanger handy as a widening tool for mono signals. On the more adventurous side, FLAIR features an unusual Voices mode, which allows for multiple delay lines at complementary pitches. Once you’re comfortable with the basics, it’s worth exploring what else your flanger can do.
How to use a flanger plug-in
When using a flanger, try to exercise caution. It’s easier to create bold, extreme flanging effects than it is to make them blend with your mix. The resonances created by comb filtering can quickly become fatiguing to the ear, so be careful not to overdo it.
Stick to low feedback amounts and a very low mix setting if you want to add a little movement to a lifeless part. When working with higher settings, the flanger’s behavior can become so extreme that it’s like introducing a whole new signal to your composition. Treat it accordingly in your mix.
Where should it go in the signal chain?
There are no fixed rules as to where your flanger plug-in should be positioned—especially in more experimental sound design contexts. But in general, it makes sense to put your flanger towards the end of your signal chain. It works well after EQ and saturation effects, as the final polish on a signal. You should generally place it before spatial effects such as delay and reverb. But you can also get interesting effects by flanging long reverb or delay tails—so just follow your ears!
Common uses of flanger
Now you know your flanger inside and out, let’s look at some common uses of it. Follow these tips and you’ll soon be integrating flanging into your productions like a pro.
Flanger on vocals
Flanging can give vocals subtle movement and an ethereal sheen. This works especially well when placing a voice in an electronic context.
A low rate (around 0.085Hz in FLAIR) with the Amount at maximum will create a slow, luxurious sweeping effect. Keep the feedback on the low side (around 37% should do it)—but not too low—so that the effect is noticeable without being overwhelming. Finally, set the mix knob at 50% to get an equal blend of dry and flanged signal.
In the example, you’ll hear the dry vocal in the first half of the phrase, before the flanger enters in the second half.
Flanger on guitar

The flanger has been a staple on guitar pedalboards for decades, meaning the sound of flanged guitar often evokes retro associations. We can play up to this by giving our guitar a warbly, old-time feel.
First turn the rate up high for a rapid warble effect: around 6Hz should do it. This sounds pretty intense. Tame it by turning the amount down to about 50%. Keep the feedback in the middle, and the mix at around 50% wet (or less) so that the clean guitar tone still shines through.
In this clip, the flanger kicks in halfway through the guitar phrase.
Flanger on drums
Flanging can be a powerful sound design tool in electronic production. When pushed to extremes, a flanger can almost become an instrument in itself. We can demonstrate this by using a classic trick to spice up a techno drum loop.
By putting a high-feedback flanger on a syncopated clap, we can introduce a whole new voice to the percussion, giving our track a ton of personality in the process.
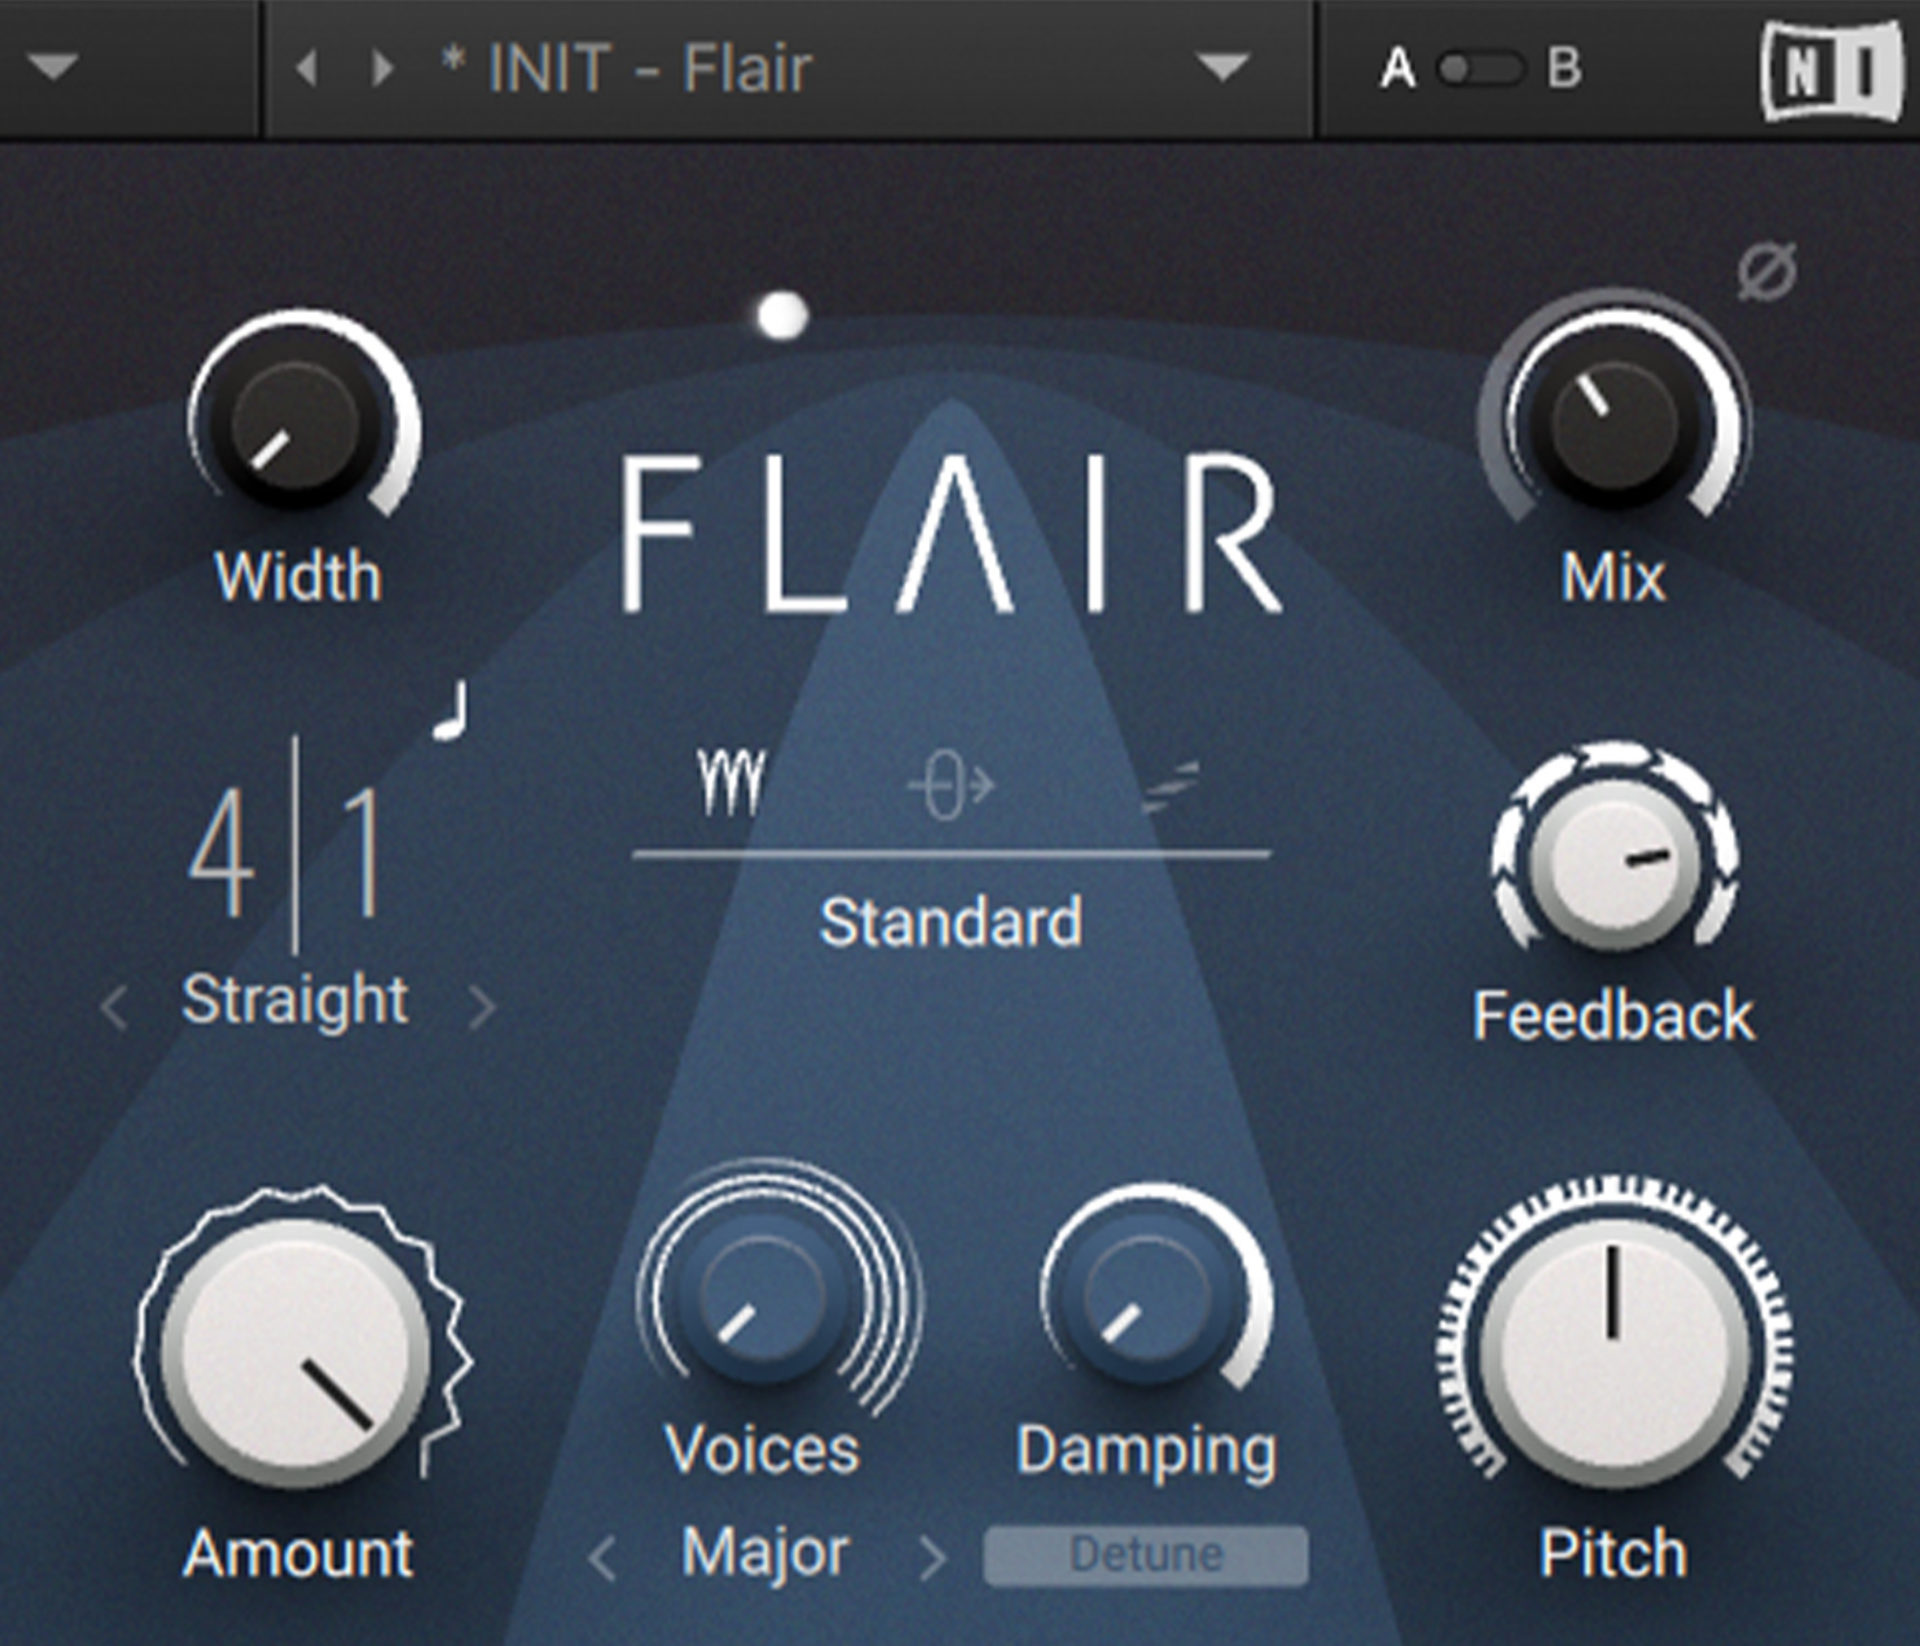
To do this, apply FLAIR to the clap and start by turning the feedback way up—to around 80%—so that it really rings out.
Next, get the flanger’s sweeping motion in time with the beat. Keeping the amount at 100%, click the note symbol above the Rate knob to sync FLAIR’s motion to the track’s tempo. Then pick a nice slow rate—perhaps 4 / 1—so that the flange makes broad sweeps up and down over a few bars.
Finally, set the Mix below 50% to retain the clap’s bite.
Here’s how it sounds. The flanger comes in after 4 bars.
Flanger on synths

Synths are another instance where more extreme flanger settings can work wonders. Bold lead sounds can be hyped up even further by adding some of that jet engine “whoosh.”
To do this, keep the Rate low and the Amount at maximum for a broad, steady sweep.
Keep feedback low—around 30% should work—but accentuate the flange effect by pushing up the Mix. At around 70%, the flanging should be very present, giving the synth a whooshing intensity, without becoming too tiring on the ears.
Using FLAIR, we can further heighten the effect by turning up the Voice knob to maximum. Now we have four separate flanger signals spaced apart, for an extra-large sound.
In the example below, the flanger enters halfway through the phrase.
Start using flanging in your music
In this article we’ve taken a close look at the flanger: what this plug-in does, how it works, and how to use flanging effectively in your own productions. Now you know how a flanger ticks, it’s time to start using one in your own productions.
Download FLAIR to start using flanging in your music.
Related articles
-

Inside the evolution of orchestral sampling: an interview with ProjectSAM
Discover how ProjectSAM’s Lineage Series uses NKS and smart features to change orchestral sampling. Plus, save on instruments in our…
-

How New Constellations turn emotion into sound with Massive X
Go inside the studio with New Constellations. Learn how they use Native Instruments gear, happy accidents, and lifelong friendship to…
-

Citizen Kain on building emotion and space with Replika
Citizen Kain explains how Replika helped shape the rhythm, tension, and emotion behind his debut Eversun Records single “Moments.”…
-

The organic precision behind Calcou’s Anjuna release featuring Reaktor
Calcou shares how Reaktor, Monark, and Super 8 shaped the creative balance and live energy behind their new duo EP,…
-

14 NKS instruments that will change the way you create music
Discover 14 NKS instruments to freshen up your workflow. From lo-fi tape synths to cinematic strings, shop the Native Instruments…
-

Parallelle on crafting living basslines with Reaktor and TRK-01
Parallelle share how Reaktor and TRK-01 shape the bass and warmth in 11th Avenue, balancing analog depth with modern control.
-

Where will your sound lead you? Explore the Native Instruments Summer Sale
Save 30% on instruments, effects, and sounds in our Summer Sale. Find the tools to keep your tracks moving and…
-

How Mr. Bill builds sonic worlds in Massive X
Mr. Bill explains how Massive X and instinctive sound design shaped the storytelling process behind his new downtempo album, Mr.