Patterns are an essential part of music, be they rhythmic, melodic, or harmonic. Without patterns, music is just noise! When different rhythms, melodies and harmonies are combined they give us different textures, and it’s this variety of texture that helps make music so evocative and captivating.
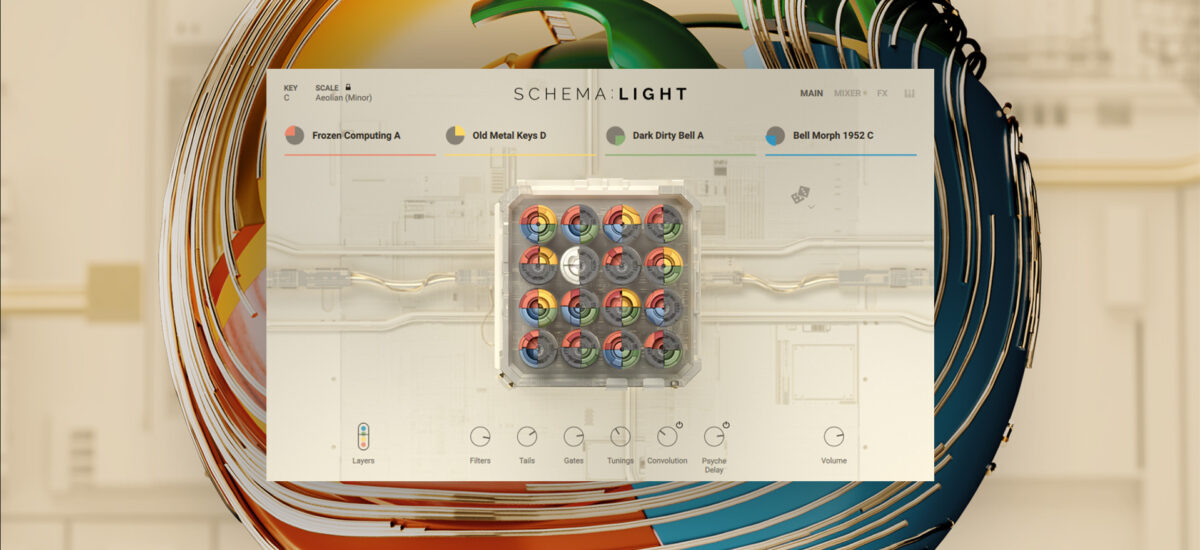
In this tutorial we’ll use the new Schema: Light sequencer plugin to create enticing patterns and textures that will enhance a relatively simplistic piece of ambient music and imbue it with emotion, atmosphere, and depth to sound like this:
Jump to these sections:
- What is depth in music?
- What is texture in music?
- Why are patterns in music important?
- How to add depth to your music:
Follow along with Schema: Light, an intuitive step sequencer plugin with a collection of soft, layerable upper-range loops.
What is depth in music?
Depth in music refers to the multidimensional quality that gives a piece of music substance, complexity, and richness. One of the ways that depth in music can be conveyed is through layers of instrumentation and textures that add richness and complexity to the sonic landscape. Utilizing different instruments, sounds, and production techniques can create depth by filling out sonic space and providing multiple points of interest for the listener.
What is texture in music?
A piece of music’s texture is defined by how its rhythmic, melodic, and harmonic components combine to determine the overall character of the piece.
Why are patterns in music important?
Human brains are wired to recognise and appreciate patterns. Predictable patterns in music create a sense of familiarity, and this predictability can enhance the emotional impact of the music. Patterns provide a framework and structure to compositions, creating a coherent piece of music.
How to add depth to your music
1. Create a chord progression
We’re going to start with a slow, ambient chord progression, so set your audio editing software’s project tempo to 90 BPM.

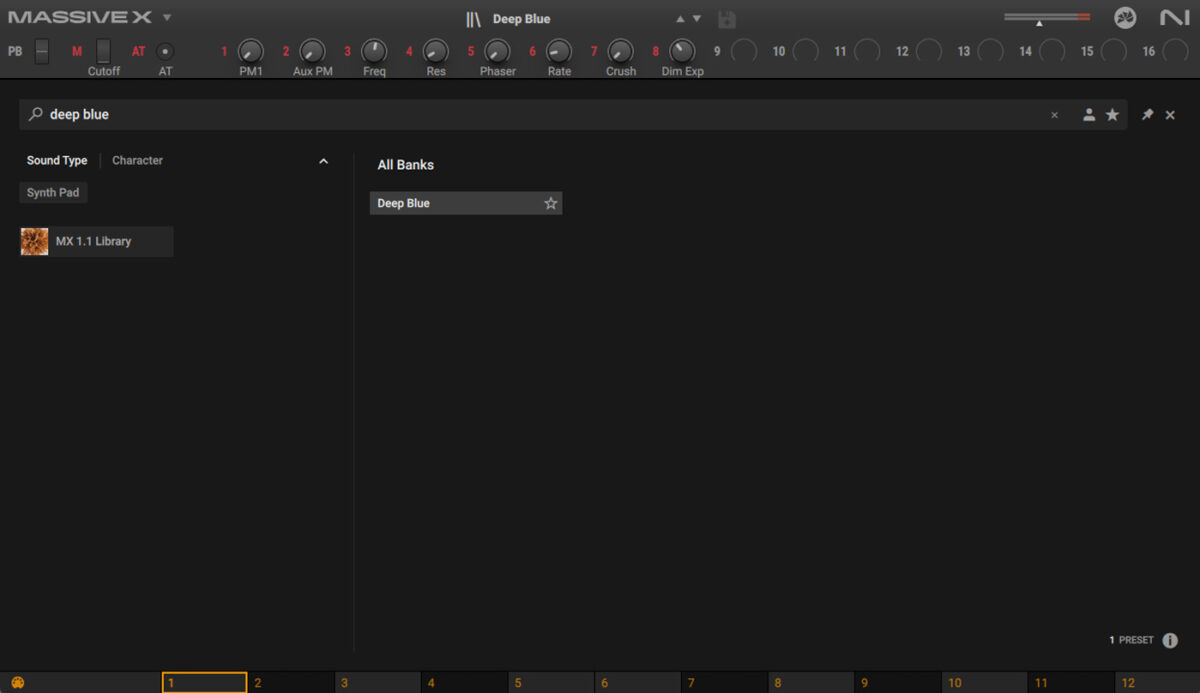
Now load up Massive X on a MIDI track, and in the browser load up the Deep Blue preset.
Copy the four-bar chord progression we’ve used here. Though this progression uses some extended chords, it’s actually relatively simple, playing C min11, F 9(sus4) / A#, the same chord again with a different voicing, and F 9(sus4) / G. We’ll use velocity values of 100 for everything in this tutorial.
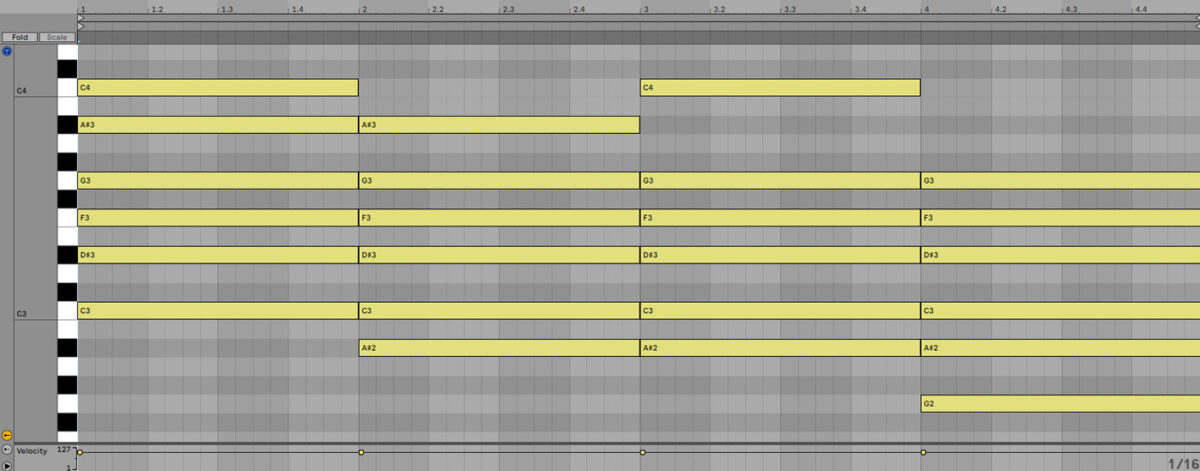
This progression sounds quite pleasing, but so it doesn’t have much variety, rhythm or emotion. Set this track to -3 dB to give us some headroom to add other elements.

2. Craft a bass line
For our bass we’re going to use some layered, low pad sounds. First, add another instance of Massive X on a new MIDI track, and this time load the Twisted Simple preset.
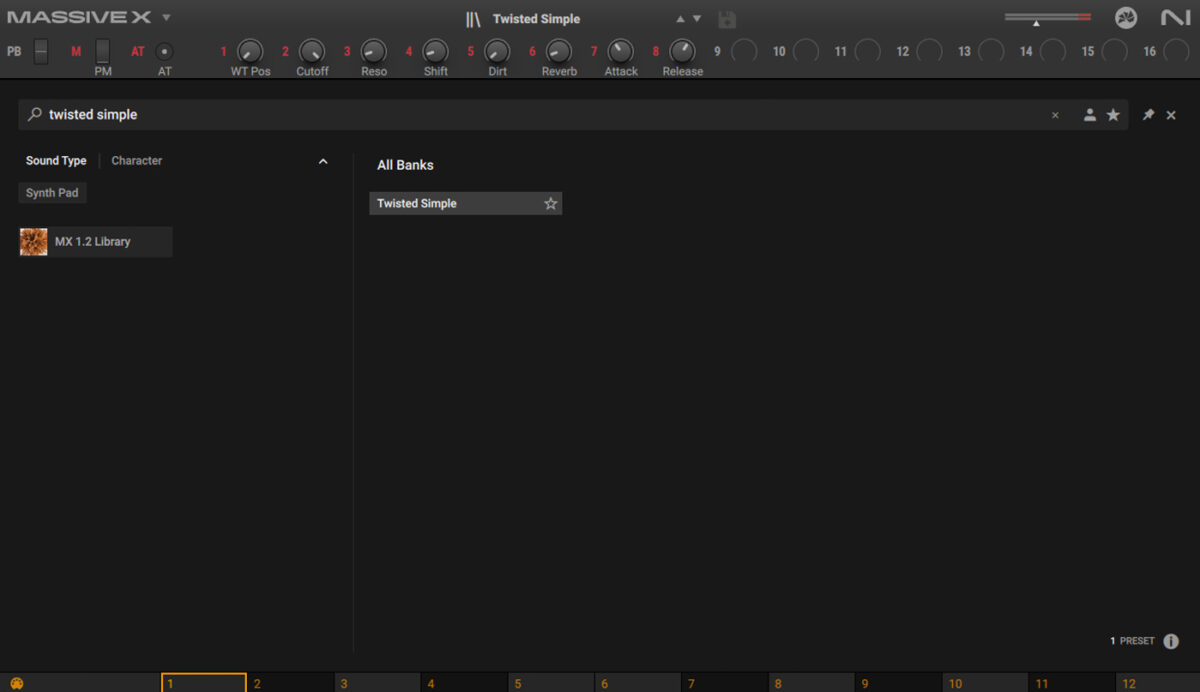
Set this track to -3 dB.
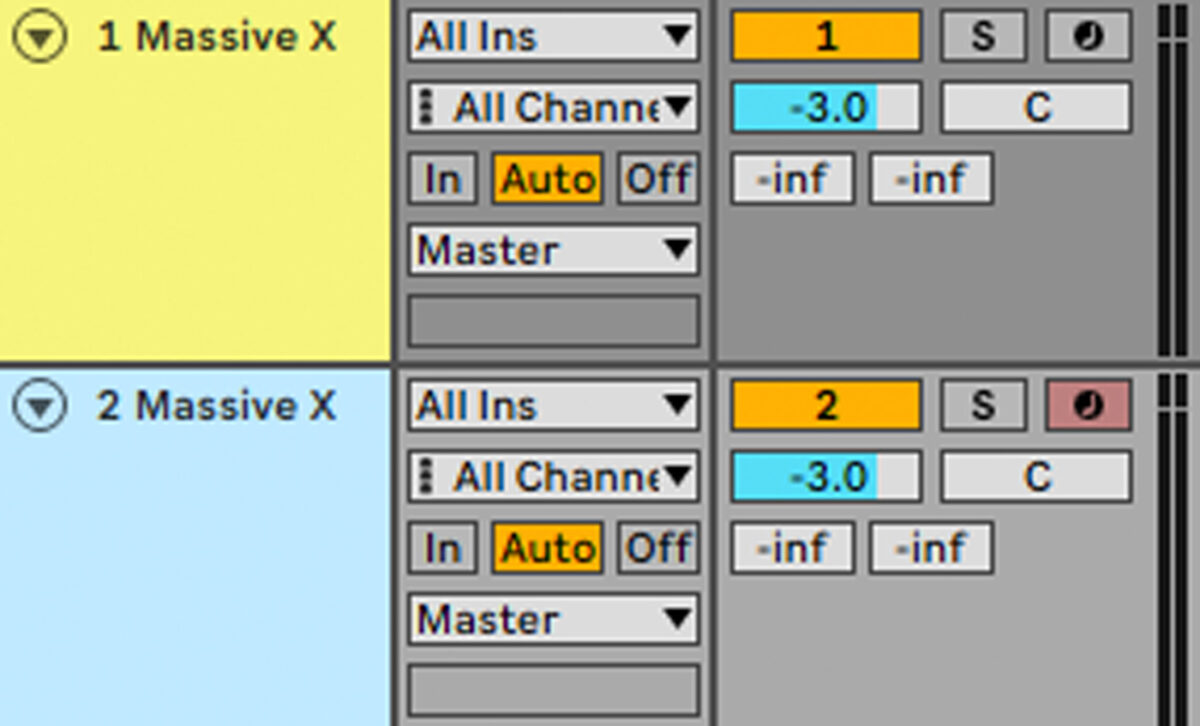
Copy the bass line we’re used here, which plays C2, F2, A#1 and C2.

To smooth this sound out and make it sound more bass-like, turn the Freq knob in the filter panel down to 50 Hz.
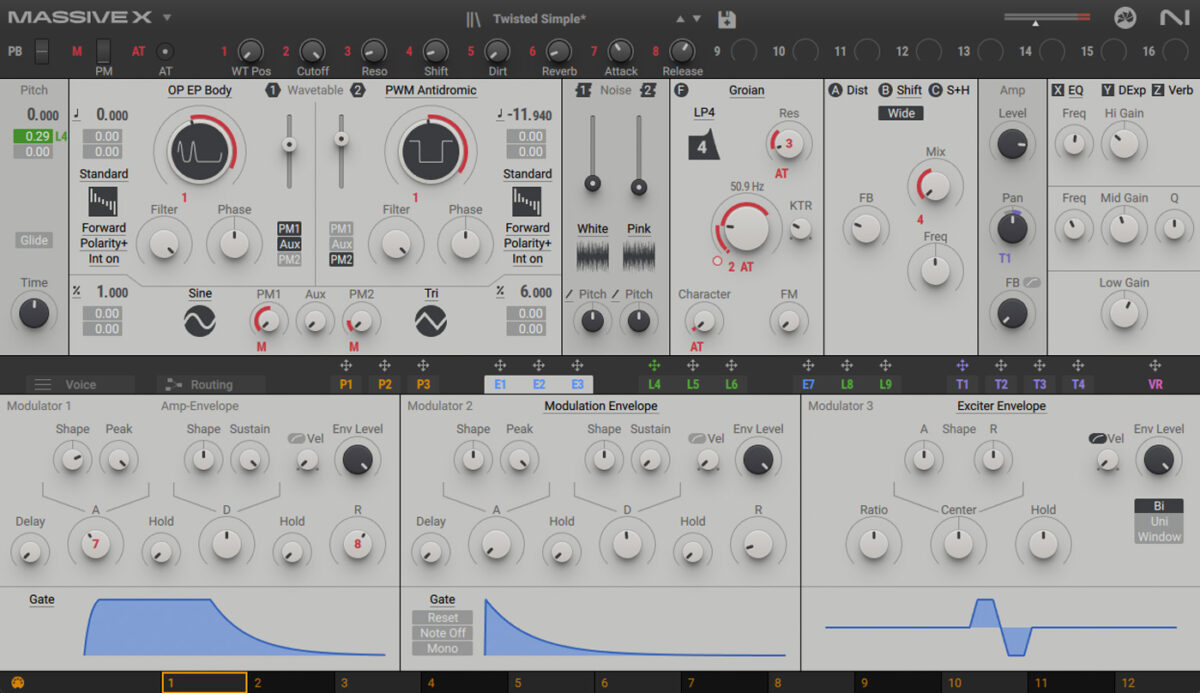
Let’s layer up our bass line with another preset to fill it out a touch. Duplicate the Twisted Simple track, and this time load up the Warm Float preset.

This beefs up our bass, giving us a big, warm low-end.
Now we have a bit of music that’s got a solid mids and lows, but it’s not particularly rhythmic and there’s not much going on in the high-end. Let’s remedy that with Schema: Light.
3. Add a rhythmic texture
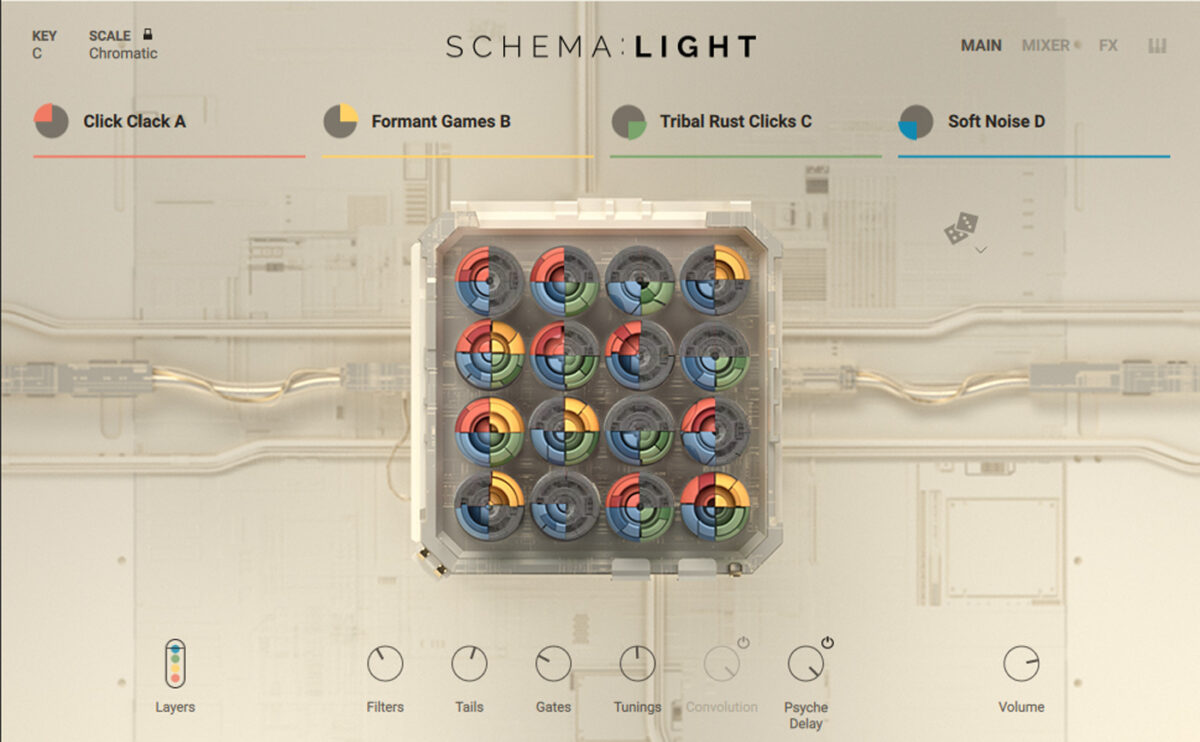
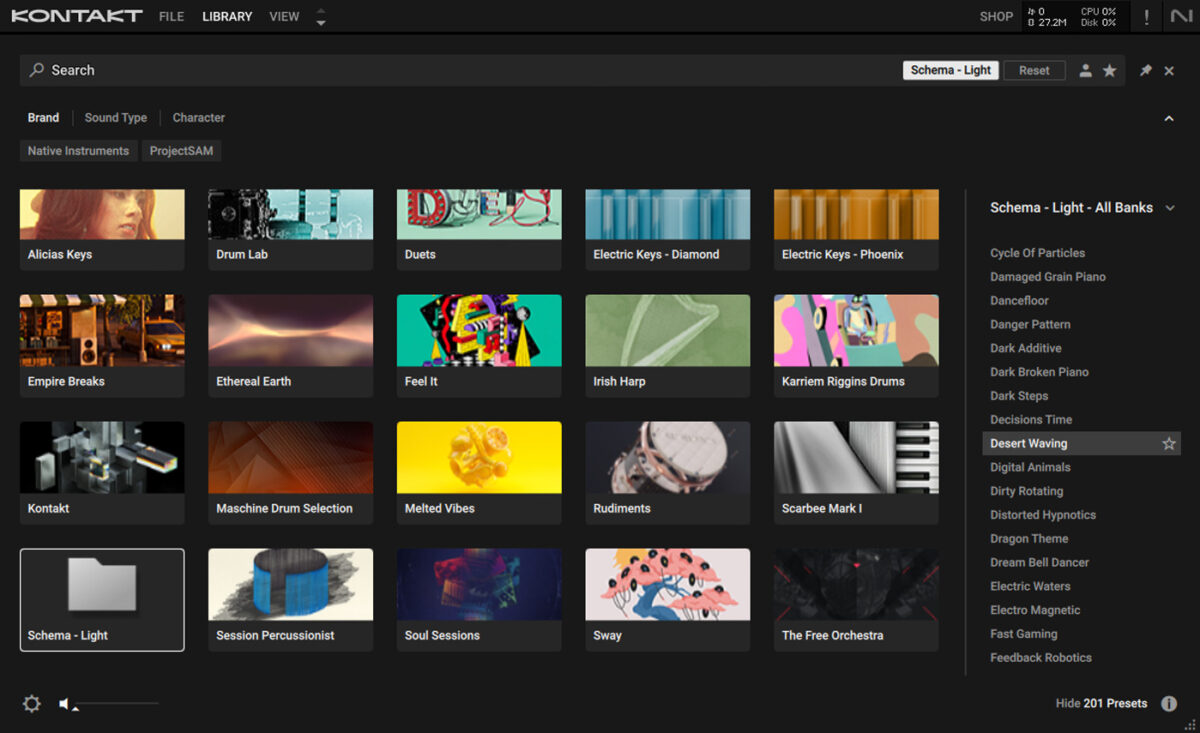
Add a new MIDI track, and this time load up Kontakt 7, and select Schema: Light in the library. Double-click the Radar Noise preset to load it up.
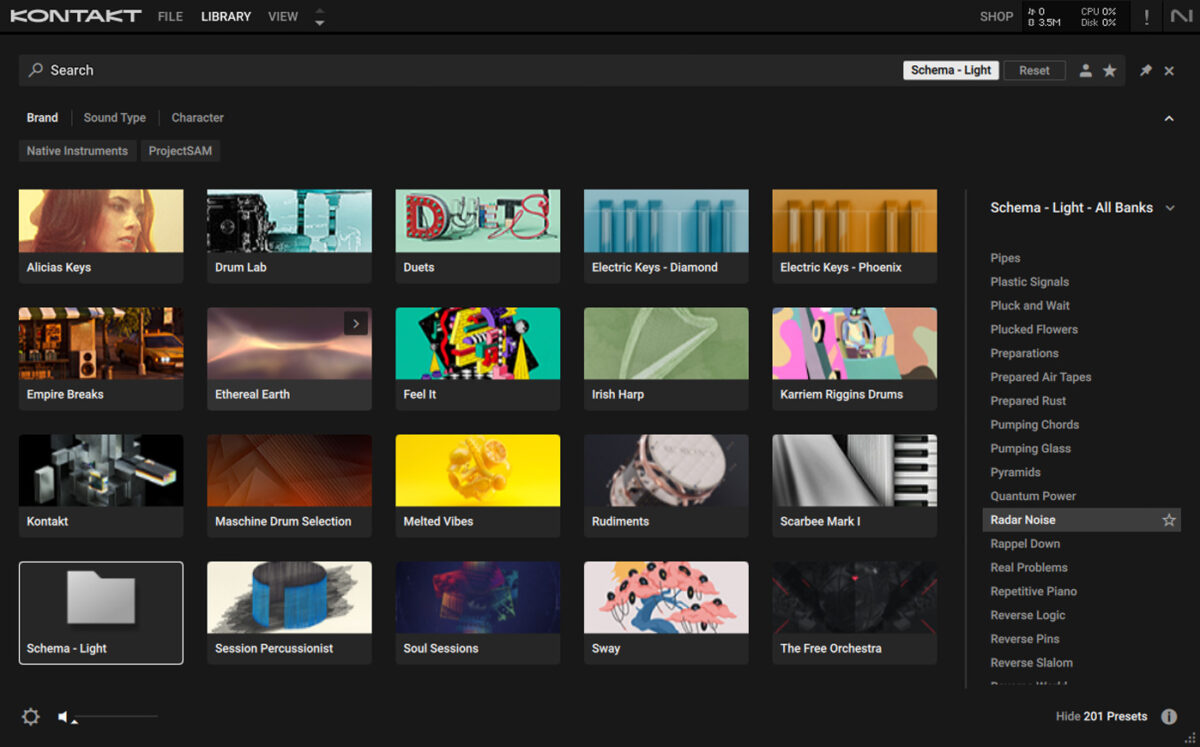
This preset gives us rhythmic vocal and percussive timbres that give us an enticing rhythmic texture by playing just one note. Sequence a C4 note that plays for the whole four-bar sequence.

This instantly gives us some much needed rhythm and texture. Let’s give this patch a bigger feel by combining it with a dedicated reverb effect. Turn off the Convolution effect so we can add a different reverb.
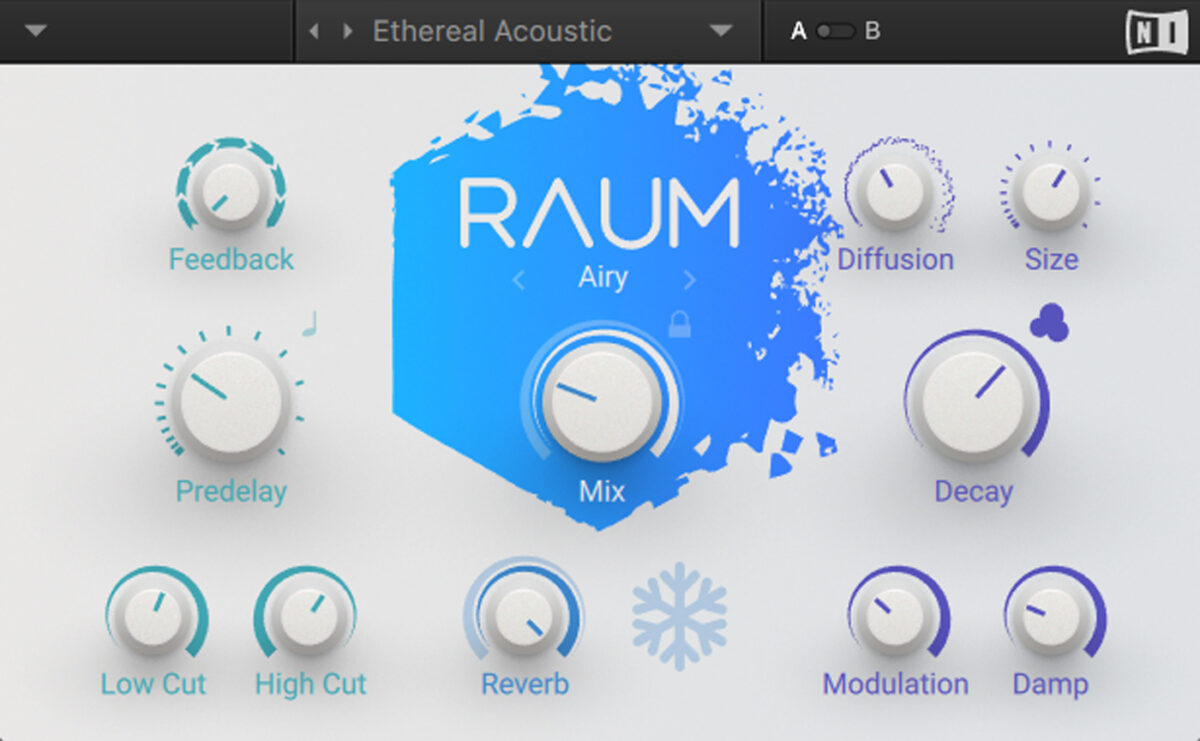
Now add Raum to the Radar Noise track, and set it to the Large > Ethereal Acoustic preset.

This reverb really complements the ambient vibe, but there’s plenty of room left in our mix left for a melody.
4. Write a melody
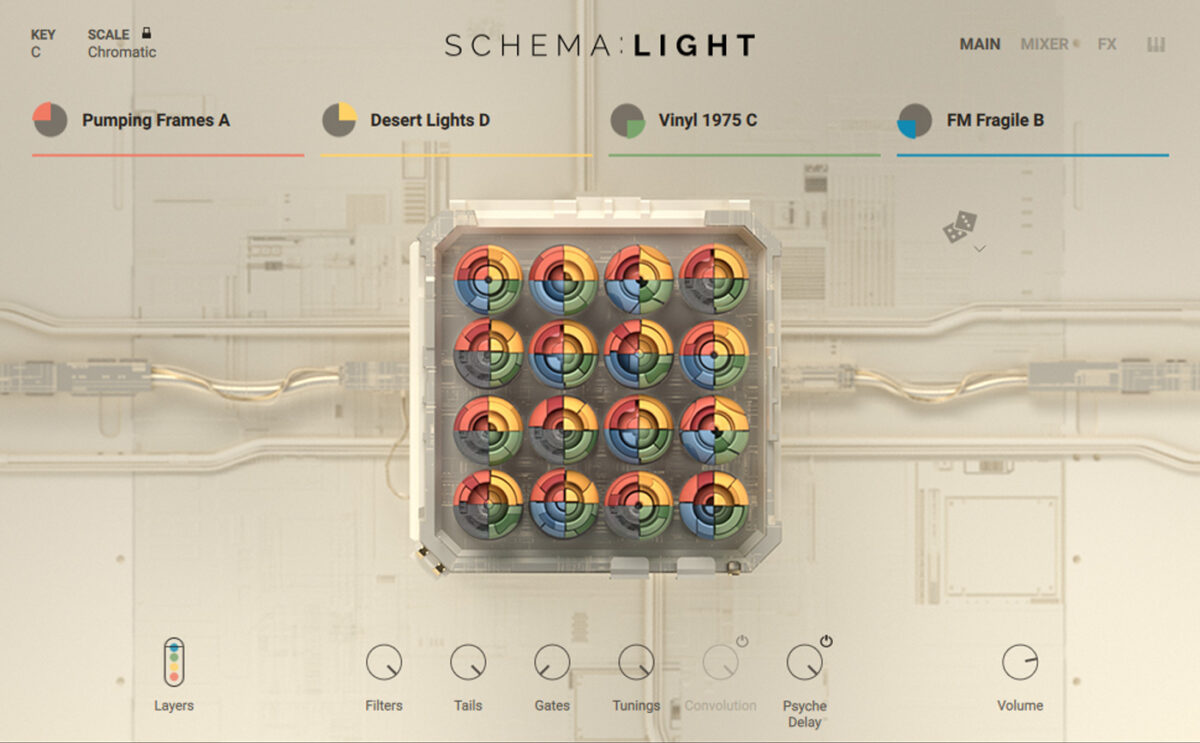
Add another MIDI track, again load up Kontakt 7, and this time load up Schema: Light’s Desert Waving preset.
This preset combines synthetic and organic elements to create a flowing, pitched rhythmic texture that we can use to create a melody line that starts out simple, but gradually evolves with our track.
Start by sequencing it to play C3 for two bars, then A#1 for one bar, then C3 for the final bar.

Again, let’s use Raum to give us a different reverb sound. Turn off the instrument’s Convolution effect.
Now, add Raum, again selecting the Ethereal Acoustic preset.
Now we have all the elements we need to make our track, and we can use Schema: Light’s powerful modulation capabilities to make our track evolve over time.
5. Create an arrangement with modulation
Before we create any modulation, we’re going to create a basic arrangement. Copy the arrangement we’ve used here.

Next, consolidate the Schema: Light MIDI clips so that rather than individual four-bar sections, they’re one long clip each.

Now let’s add the modulation. We can use the modwheel to add and remove layers of sound from the mix. Copy the modwheel modulation we’ve used here for the Radar Noise track, which fades the layers in between bar 1 and 9, and fades them out between bars 33 and 41.

Now copy the modwheel modulation we’ve used on the Desert Waving track. Here the modwheel fades in layers over eight bars, then fades them out again over another eight bars.

We can also change how Schema: Light instruments sound by adjusting how their patterns play. Copy the Desert Waving keyswitch MIDI notes we’ve used here. The F-1 note tells Schema: Light we want to affect the direction of the red layer. The D#0 note tells the layer to play its pattern forwards for the first eight bars, then the C#0 note tells the layer to play its pattern back for the final eight bars. This gives us a variation in the sound that keeps it interesting.
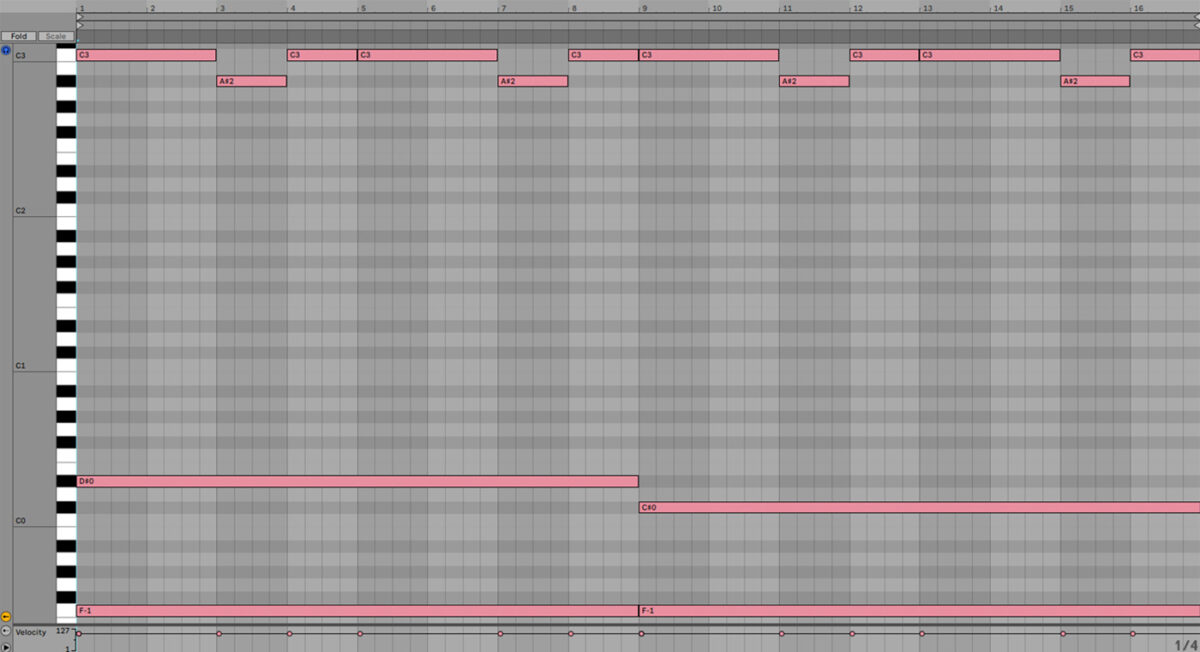
To make the Desert Waving part stand out in the mix, modulate the Deep Blue track’s filter down and back up during the final sixteen bars.

Here is what the arrangement with modulation sounds like.
6. Master your track
Add iZotope Ozone 11 to the master track, and click the Assistant View button.
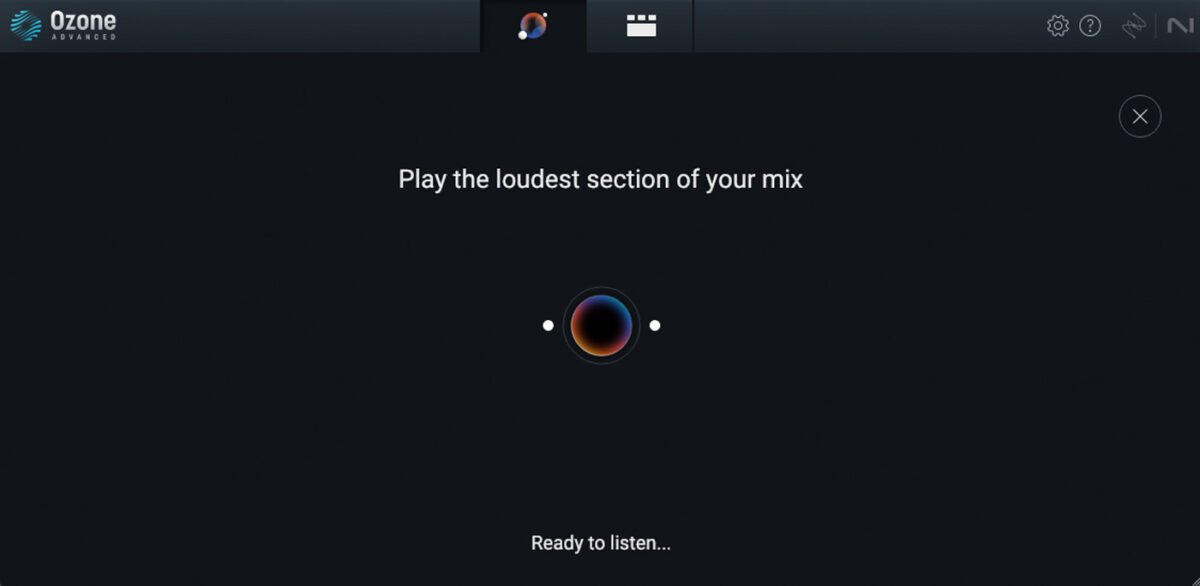
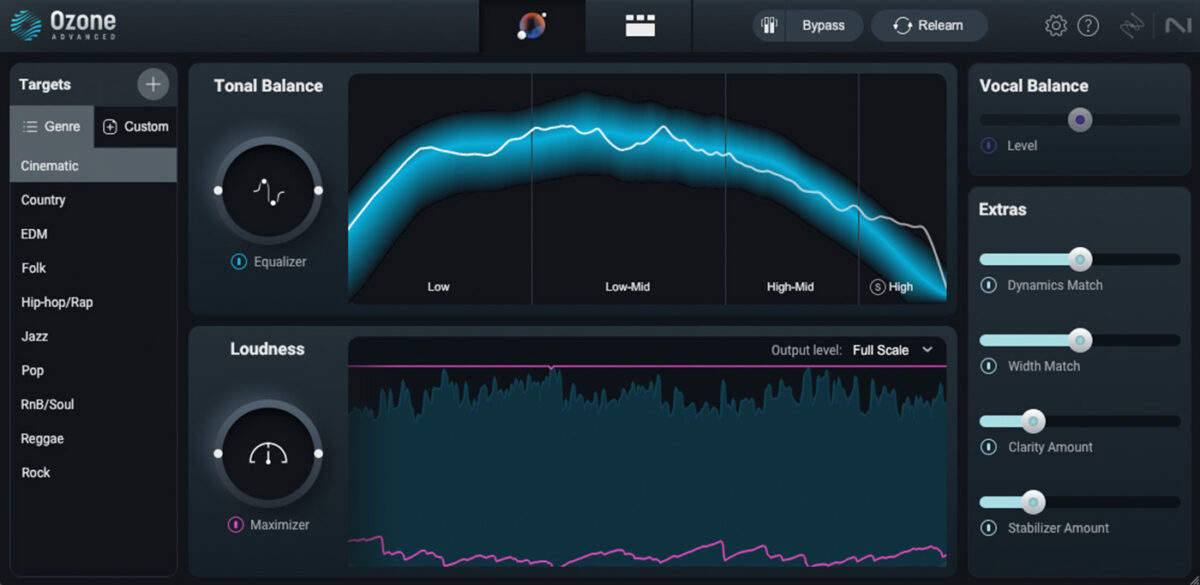
Ozone 11 will ask you to play back the loudest part of the track. Play back from bar 25, and the plugin will create a custom mastering chain for your project. Change the Target to Cinematic for a smoother sound that works well in this context.
Start adding depth to your music
Exploring the array of textures and patterns available within Schema: Light offers a unique opportunity to infuse depth and complexity into your music. If you’d like to read more check out our guides on music production, sequencers in music, and sound design.


