House music is a style of electronic dance music that originated in Chicago during the early 1980s. Drawing influences from disco, funk, soul, and synth-pop, house is known for its strong rhythmic elements, featuring grooving percussion woven around a steady 4/4 kick drum foundation. Initially emerging from Chicago’s underground party scene, house has gained global popularity and has given rise to numerous subgenres, such as acid house, progressive house, deep house, slap house, and others.
In this guide on how to make house music for beginners, we’ll produce a piece of music from the ground up. We’ll begin by developing the beats and bass line, and then incorporate additional musical layers, samples, and sound effects to form a complete house music composition that sounds like this:
Jump to these sections:
Follow along with the new FEEL IT Play Series instrument that contains sublime keys, chords, bass, and strings, direct from the dancefloor.
Watch Boris make an uplifting house track in the video below.
What is house music?
House music is a style of electronic music primarily focused around sequenced, electronic disco-style beats, bass lines, and soulful musical elements. House was one of the first types of music that producers could create without requiring other musicians to perform with them, thanks to the increased availability of relatively affordable electronic equipment in the 1980s.
House music usually has a 4/4 time signature, with house music bpm usually falling around 120–130 bpm.
Early house music features strong disco and synth-pop influences, and often included live vocals.
As the popularity of the genre grew, it became known outside the US, and various sub genres began to appear, such as acid house, progressive house, ghetto house, breakbeat house, and more.
While house music is constantly evolving into new styles, it is still heavily influenced by the classic sounds of 80s and 90s house.
Why is it called house music?
House music gets its name from the Warehouse, a nightclub in Chicago where house legend DJ Frankie Knuckles was a resident. Knuckles would mix disco, soul, funk, and other styles of music, and eventually began to incorporate electronic elements like drum machines and synthesizers. This new style was referred to as the “Warehouse sound” or “House” music, a reference to the club’s name.
How do you make your own house music?
The easiest way to begin producing house music is to use a DAW (digital audio workstation) such as Apple GarageBand or Ableton Live. Using sounds and instruments tailored to a specific genre can be helpful especially for newcomers to music production, so be sure to check out Native Instruments FEEL IT House Play Series instrument as well as a complete list of EDM software and VSTs that can help you get the sound you’re looking for.
House sub genres
There are many sub genres of house music, including:
- Deep house: Deep house is characterized by its use of complex melodies, soulful vocals, and intricate rhythms, often featuring the use of instruments such as pianos, organs, and saxophones. It’s usually slower than other types of house music, with a bpm around 120.
- Slap house: Slap house has gained popularity in recent years and is known for its use of hard-hitting bass lines, pitched-up vocals, and high-energy drops.
- 90s house: 90s house music usually has an upbeat tempo, soulful vocals, and prominent use of synthesizers and drum machines.
- Microhouse: Microhouse emerged in the early 2000s and has a stripped-down, minimal approach to the sound that has a limited number of instruments and mix elements.
- Lo-fi house: Lo-fi house features vintage qualities like analog synthesizers, vintage drum machines, and distorted tape sounds to create a relaxed, laid-back feel.
- Bass house: The sound of bass house is all in the name: its characterized by its heavy use of bass lines and high-energy sound.
- Electro house: Electro house is all about creating a high-energy and upbeat atmosphere, typically played at clubs and festivals.
- Future house: Future house makes use of soulful vocals, warm synthesizers, and heavy bass lines.
- Acid house: With a fast tempo, hypnotic rhythms, and a psychedelic sound, acid house originated in the 1980s from the sound of the Roland TB-303 synthesizer making a “squelching” sound.
- French house: French house has a fun, light vibe to it with filtered disco samples and funky bass lines. The style of music is heavily influenced by disco, funk, and R&B.
- Big room house: Big room house is known for its huge drops and bold, anthem-like sounds. It’s usually played at large festivals with high energy and uplifting melodies.
- Chicago house: Chicago house originated in the 1980s and is known for blending disco, funk, and soul. It’s one of the sub genres of house music that heavily influenced future electronic music productions.
How to make house music
In this house music walkthrough we’re going to use Native Instruments KONTAKT 7, BATTERY 4, KOMPLETE KONTROL, plus FEEL IT and TIMELESS GLOW expansions along with iZotope Neutron 4 and Ozone 10 to make a house track from the foundation up.
1. Make a drum beat
We’ll start by setting our audio editing software’s tempo to 125 BPM.

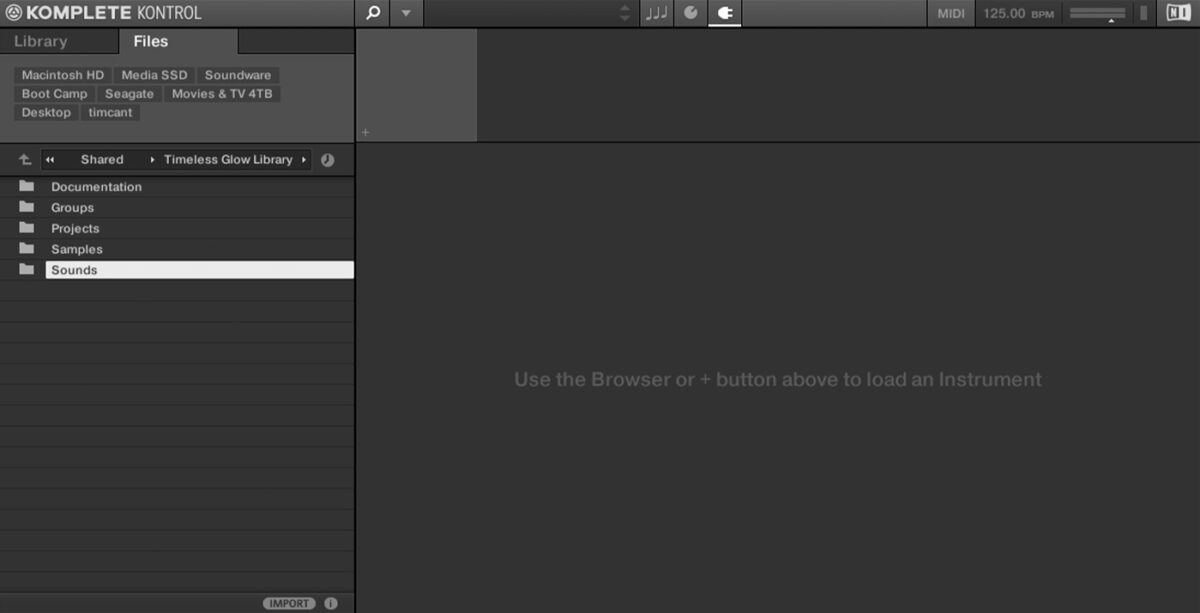
Add KOMPLETE KONTROL to a MIDI track, and in the file browser navigate your way to where the TIMELESS GLOW expansion is located.
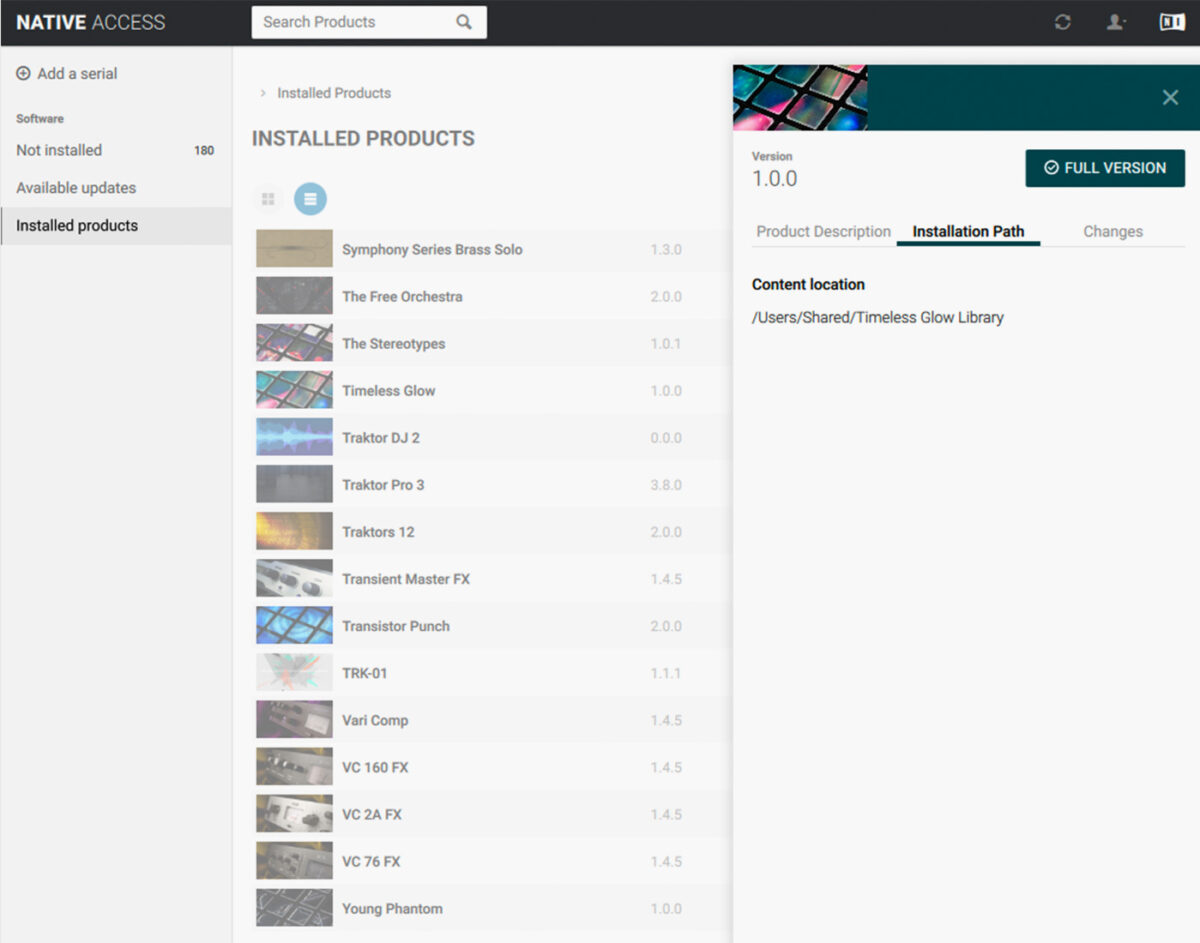
If you’re not sure where TIMELESS GLOW is installed, you can open Native Access, select it in the list of installed products, then click the Installation Path tab on the right. This will display the location of the expansion on your system.
House music typically utilizes a 4/4 beat structure with a heavy kick drum and a clap on the two and the four beat. It’s the kick/clap drum pattern that gives house music its unique rhythm; indeed, kick, snares and claps define the rhythmic core of most drum tracks. On top of these, you can incorporate additional percussive sounds such as hi-hats, snares, toms and rides.
That’s what we’ll be using here. Open the Sounds > Battery Kits folder, then double click the Discoguy Kit to load it up.
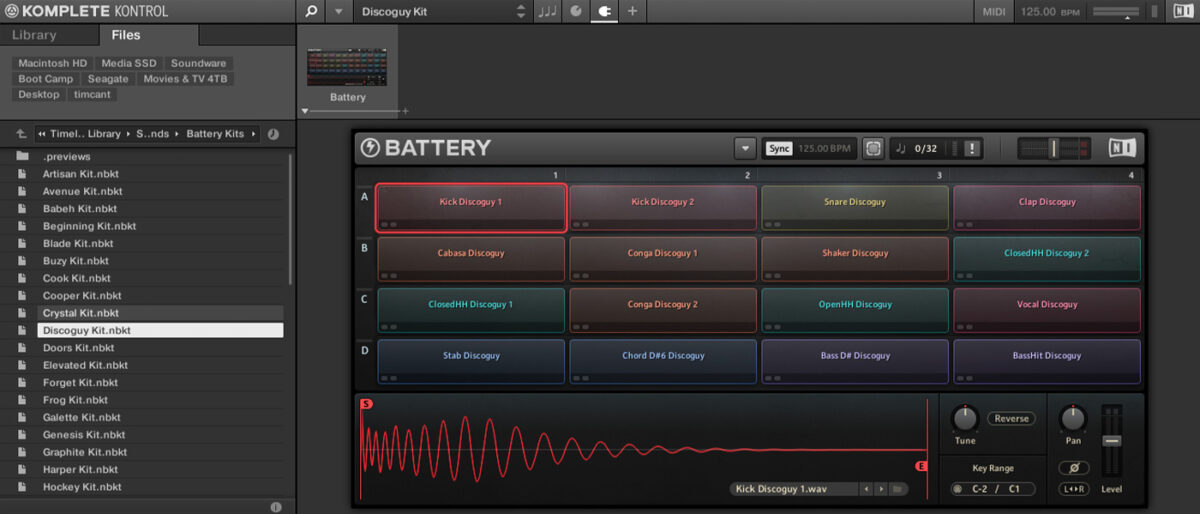
Start by adding C1 kicks on every beat of the bar. We’re going to use velocity values of 100 for everything in this guide.

Now add D#1 claps on the second and fourth beats of the bar.

Now add F#1 shakers between each beat.

Now supplement those shakers with A#1 open hats.

Set this track to -3 dB so that we have more headroom to add other elements.

Now let’s add some percussion layers. In KOMPLETE KONTROL, navigate your way to the Samples > Loops > Percussion folder. Drag Shakers[125] Avenue onto an audio track.

Set this track to -18 dB to balance it with the Discoguy Kit.
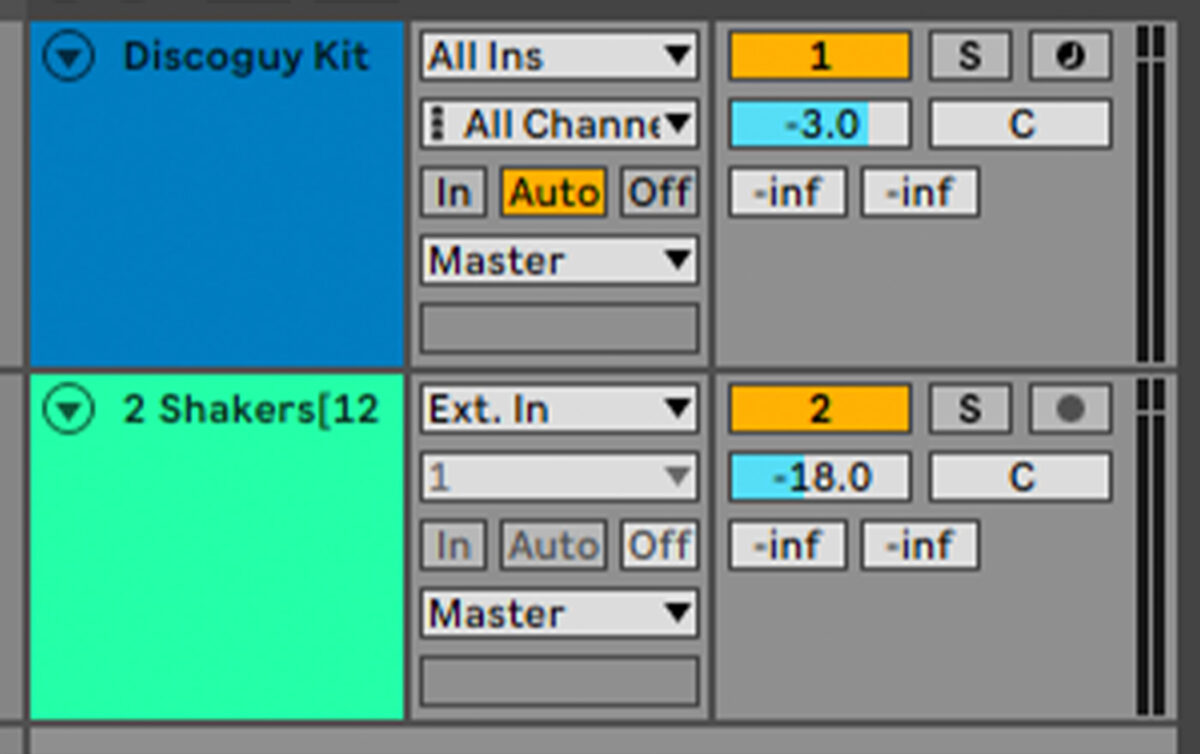
Loop the Discoguy Kit part out to play for four bars.

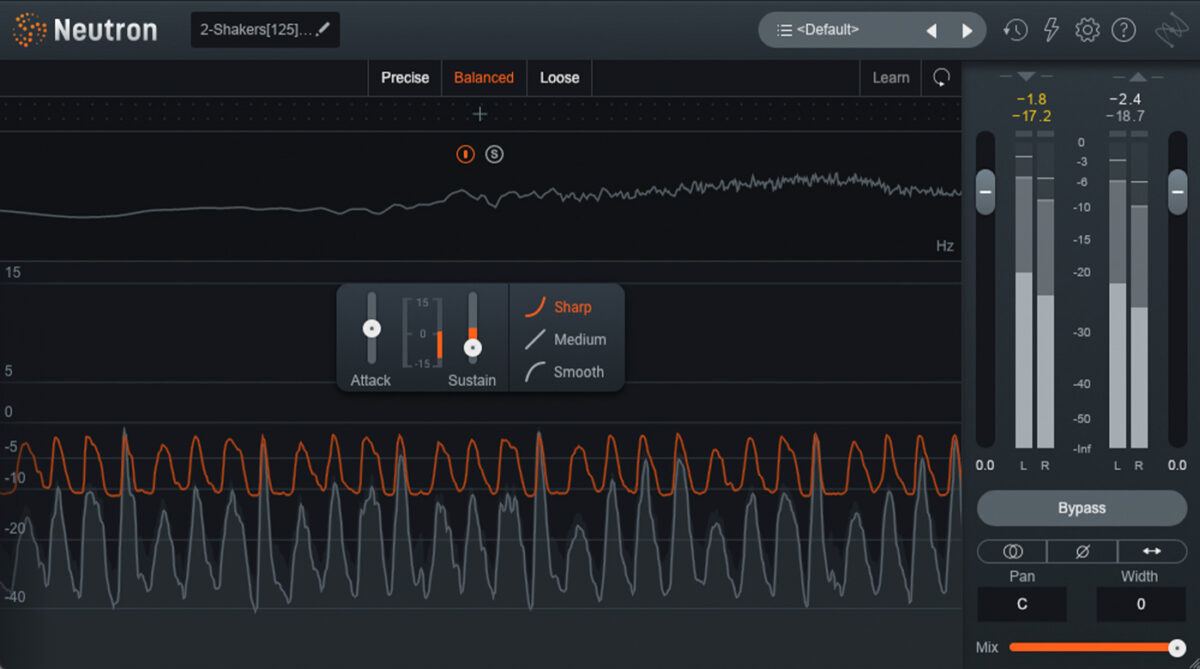
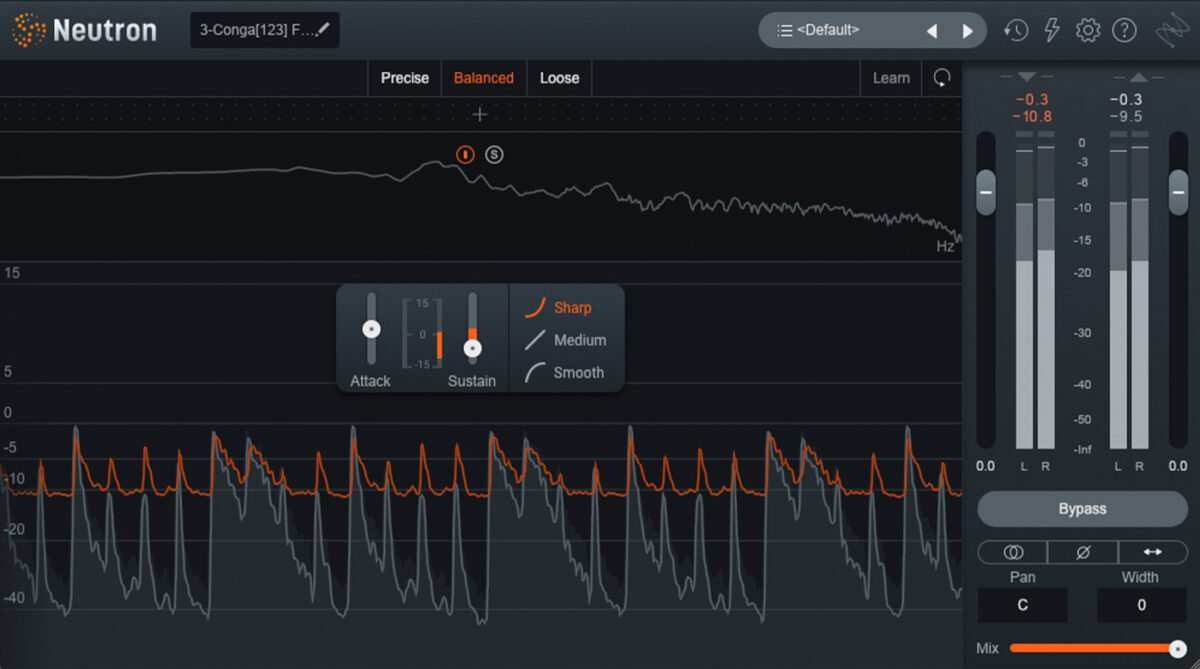
Let’s tighten the shaker loop up a touch. Add an instance of iZotope Neutron 4 Transient Shaper, turning the Sustain down to -11.
Let’s add another percussion loop. This time drag Conga[123] Forget onto an audio track. Use your software’s warp or time stretching capabilities to stretch it from its original tempo of 123 BPM up to our project’s tempo, 125 BPM.
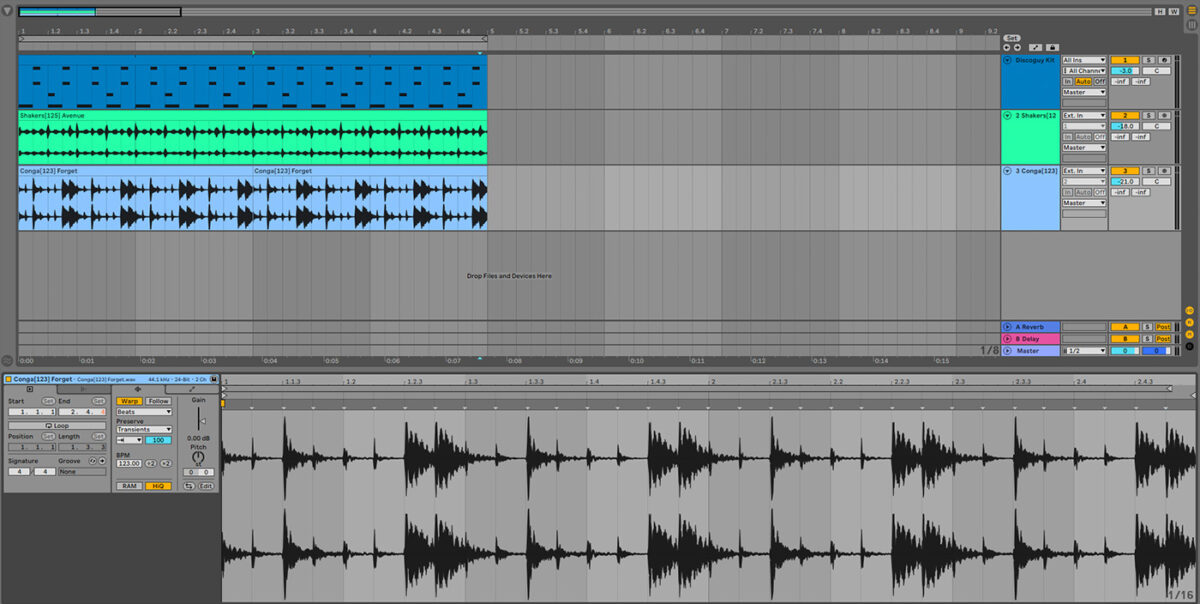
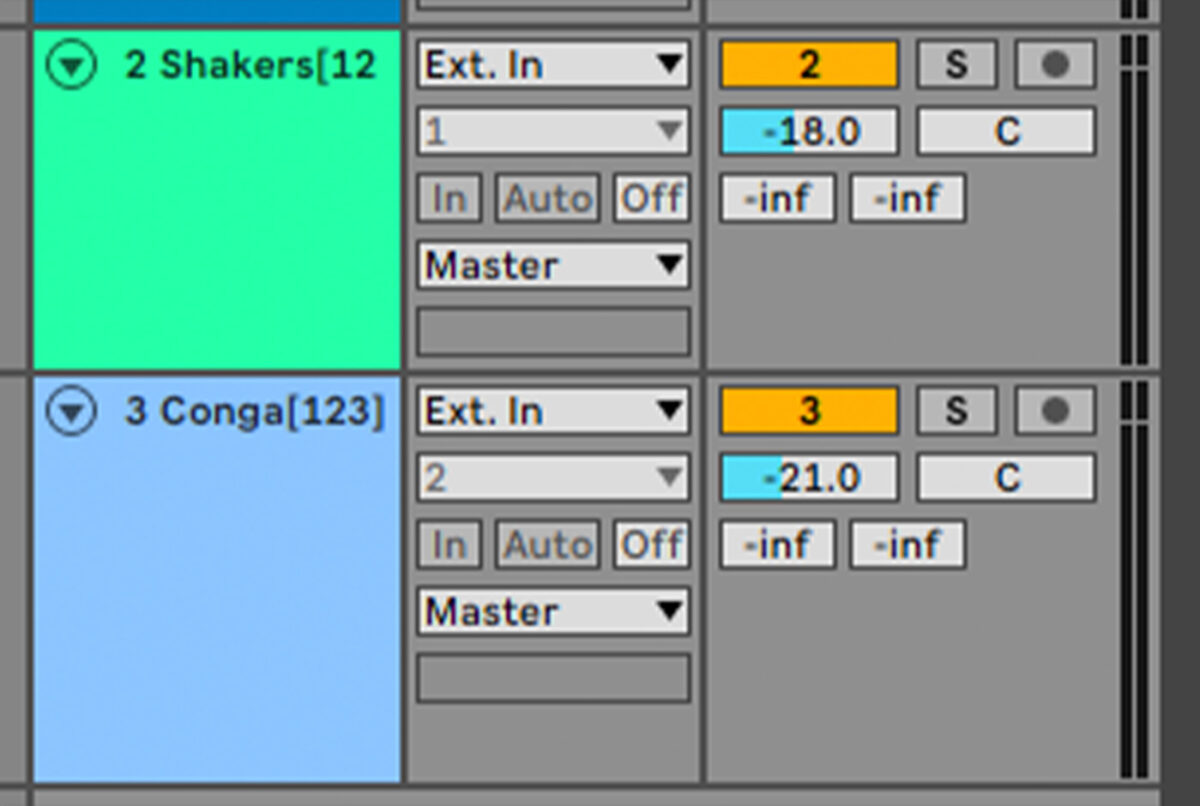
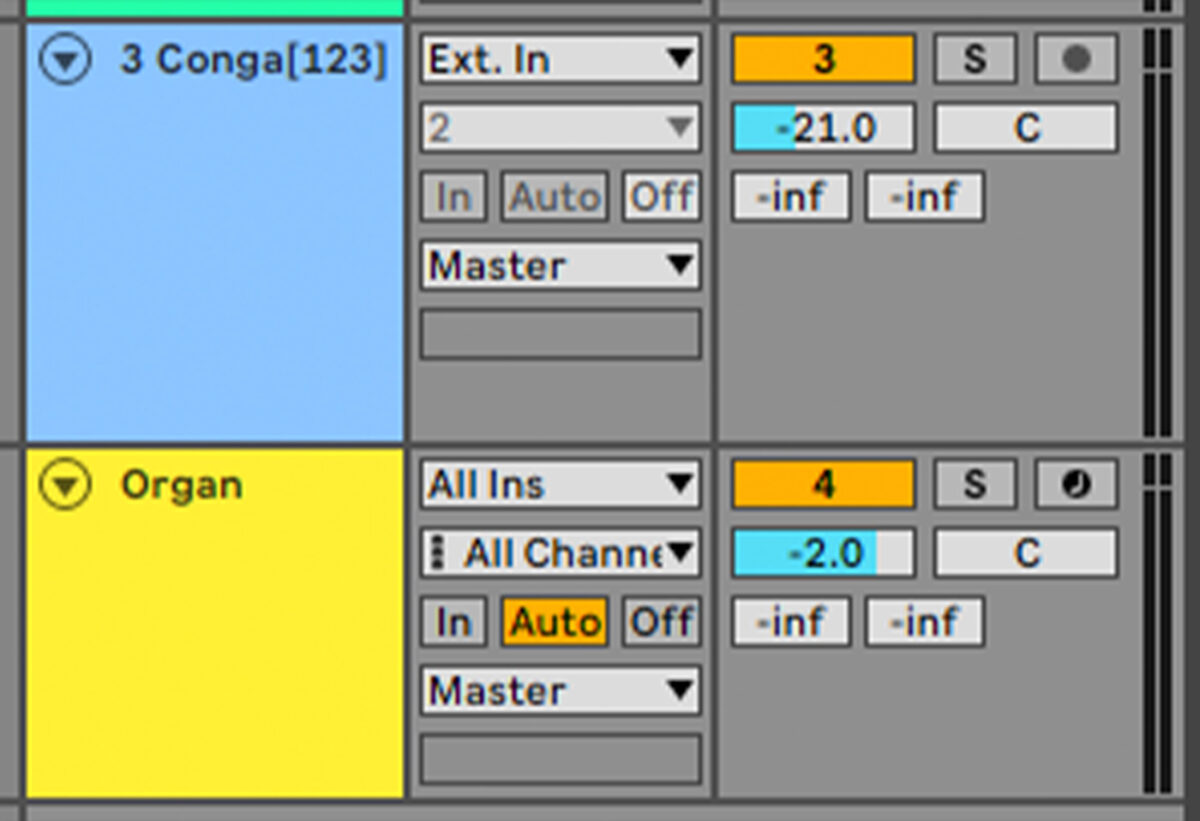
Loop it out for four bars, and set the track to -21 dB to balance it with the other elements.
Again, add a Neutron 4 Transient Shaper, setting the Sustain to -11.
2. Compose a lead line
Our lead line for this track is going to be very simple, and is going to focus more on accentuating the track’s syncopated rhythm rather than involved melody.
Add a new MIDI track, and load Kontakt 7 up on it. In Kontakt 7’s browser, load up the FEEL IT instrument.
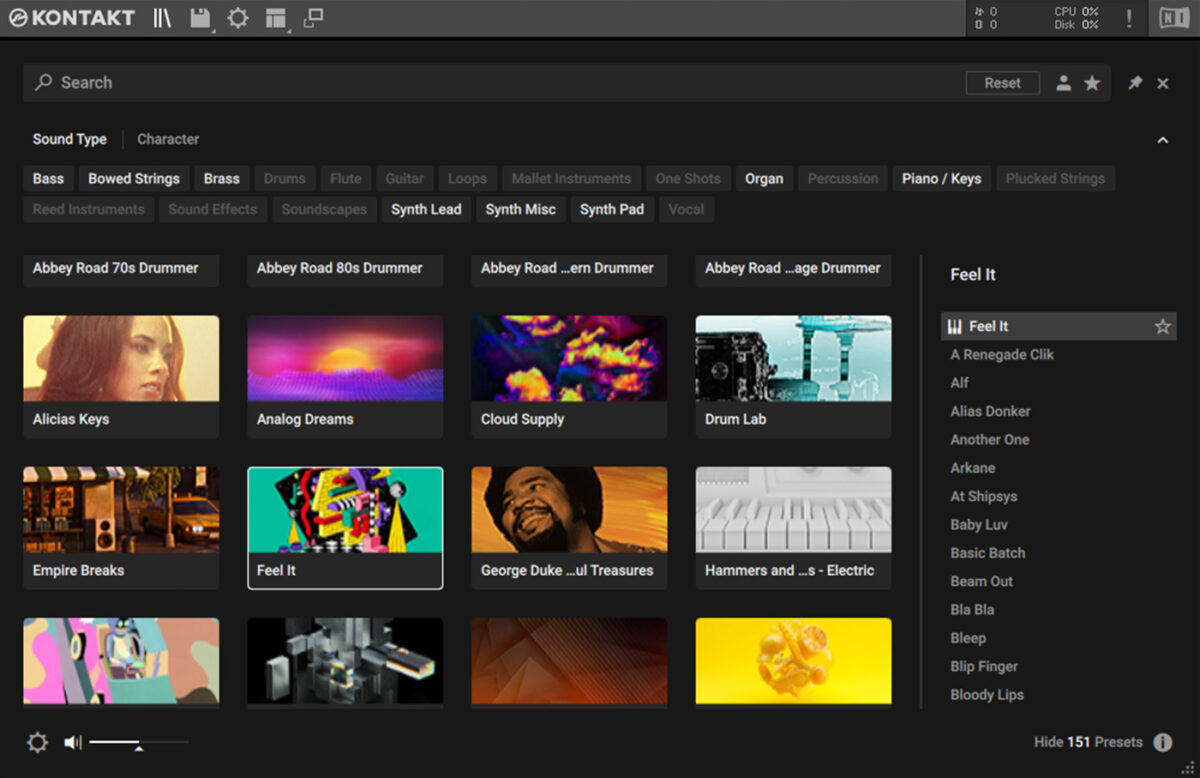
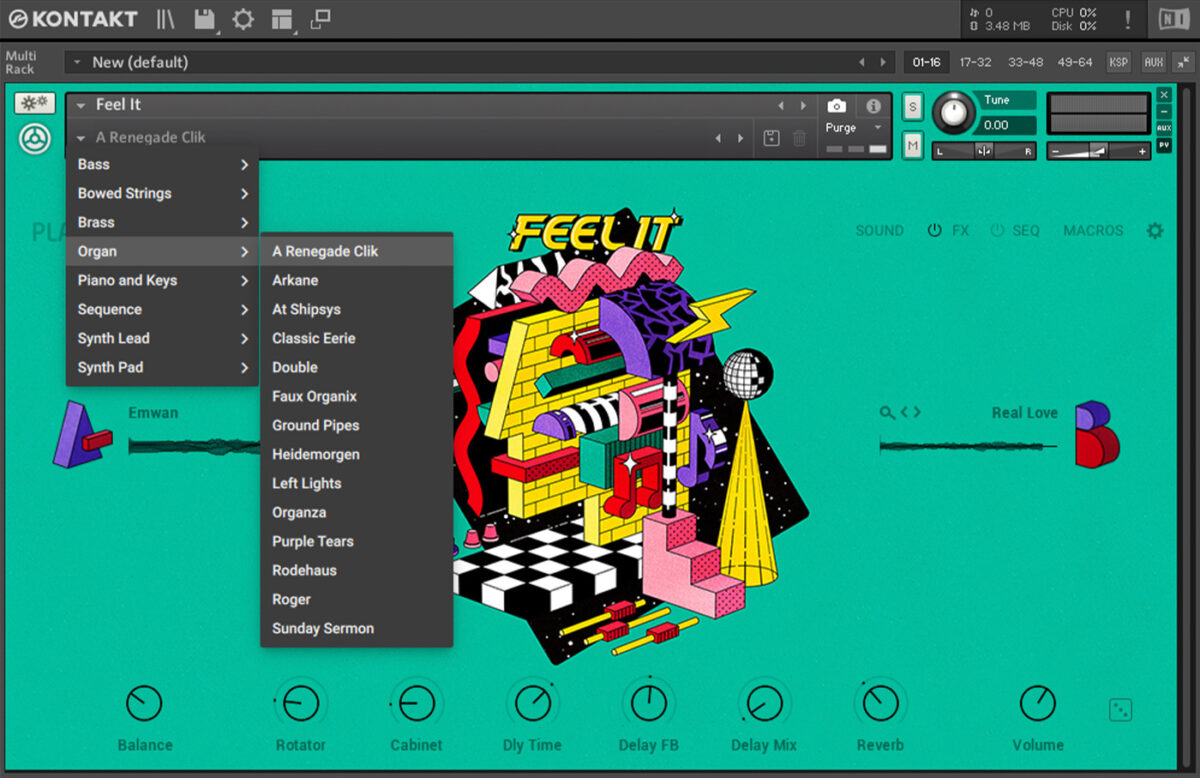
Click the down arrow next to the patch name to bring up the list of included instrument presets. Select the Organ > A Renegade Clik preset.
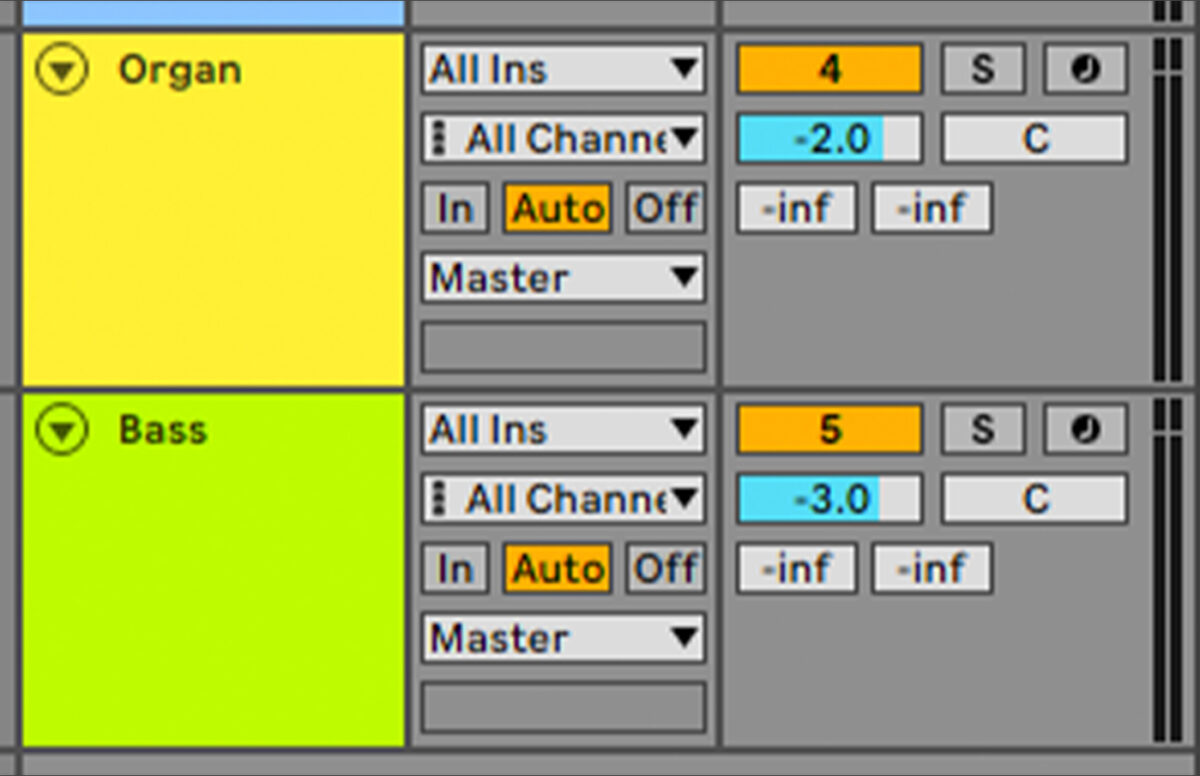
Set this track to -2 dB.
Sequence a four-bar part that plays F2 between each beat, with a C2, D#2, F2 turnaround at the end of the four bars.

To beef this part up, duplicate the pattern down an octave.
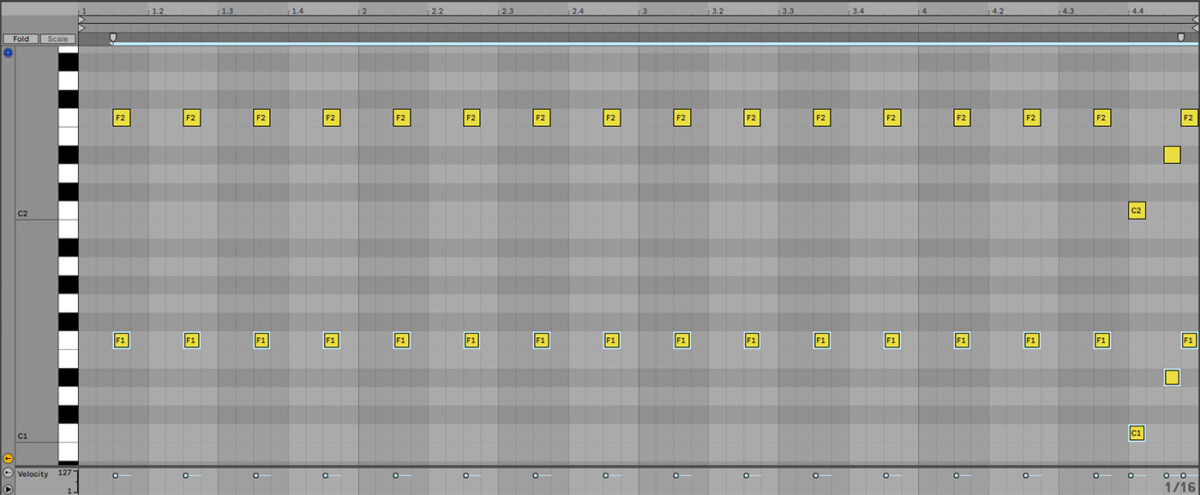
Now duplicate everything in the project out to give us an eight-bar sequence.

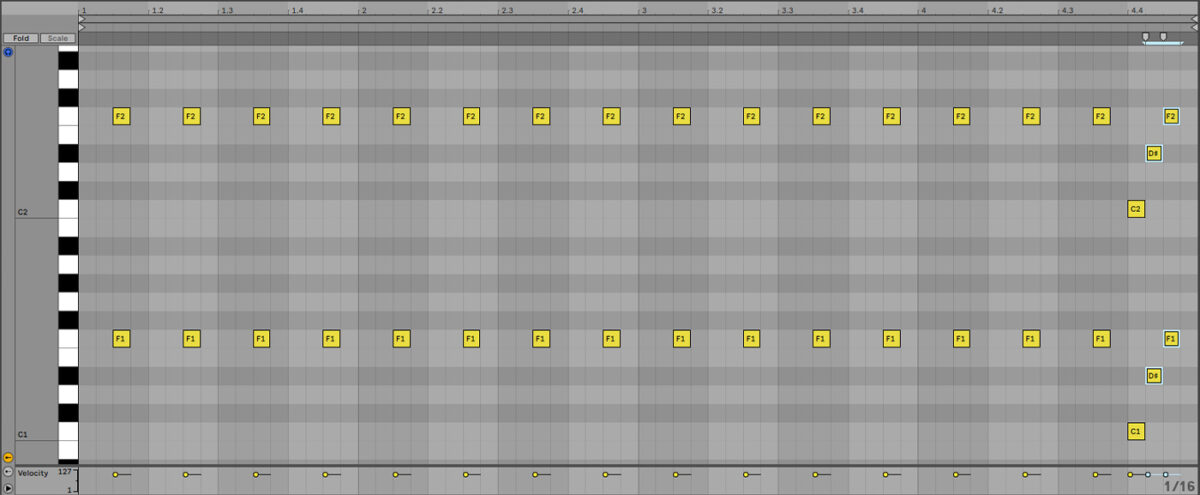
At the end of the second version of the organ sequence, move the D# and F at the end to the left one 16th note. This creates a little variation that helps keep the part sounding fresh.
3. Add a bass line
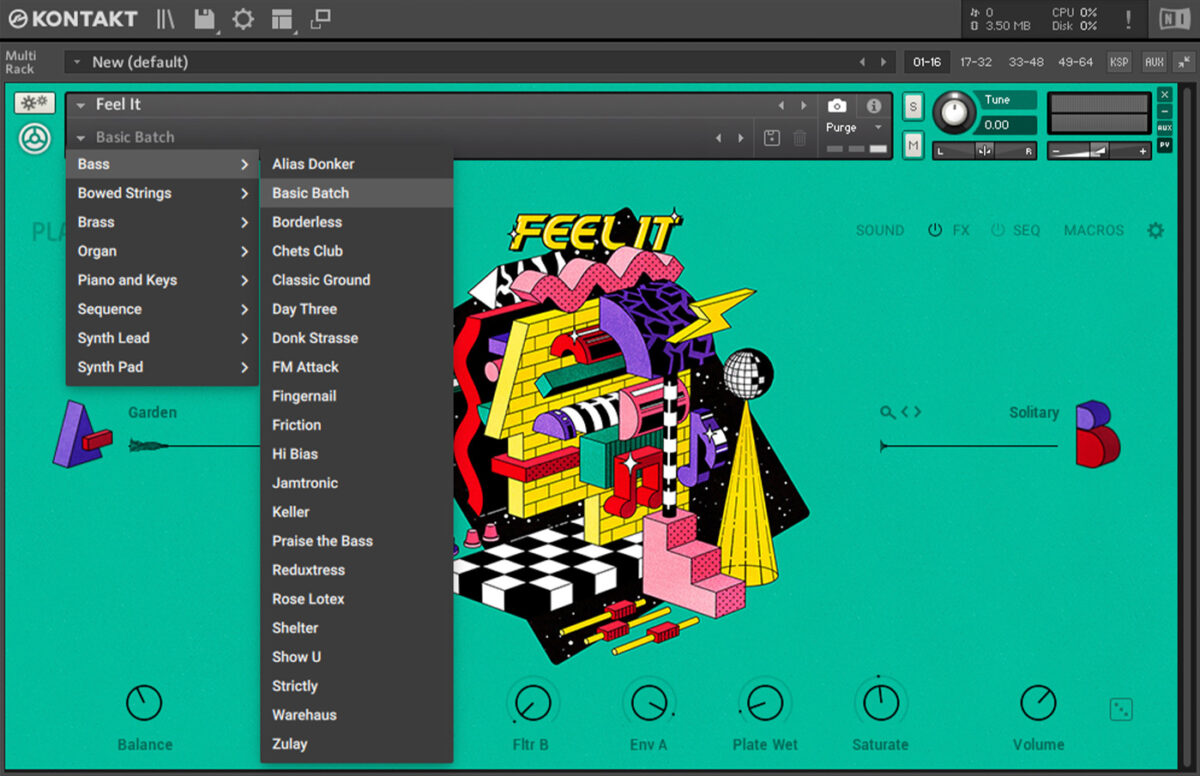
On a new MIDI track, add another Kontakt 7. Again load up the FEEL IT instrument, and this time select the Bass > Basic Batch preset.
Set this track to -3 dB.
Sequence a part that plays F1 between each beat for eight bars.

Yes, it’s simple, but in the context of the track it’ll keep the groove rolling while other elements provide audio interest.
4. Create chords
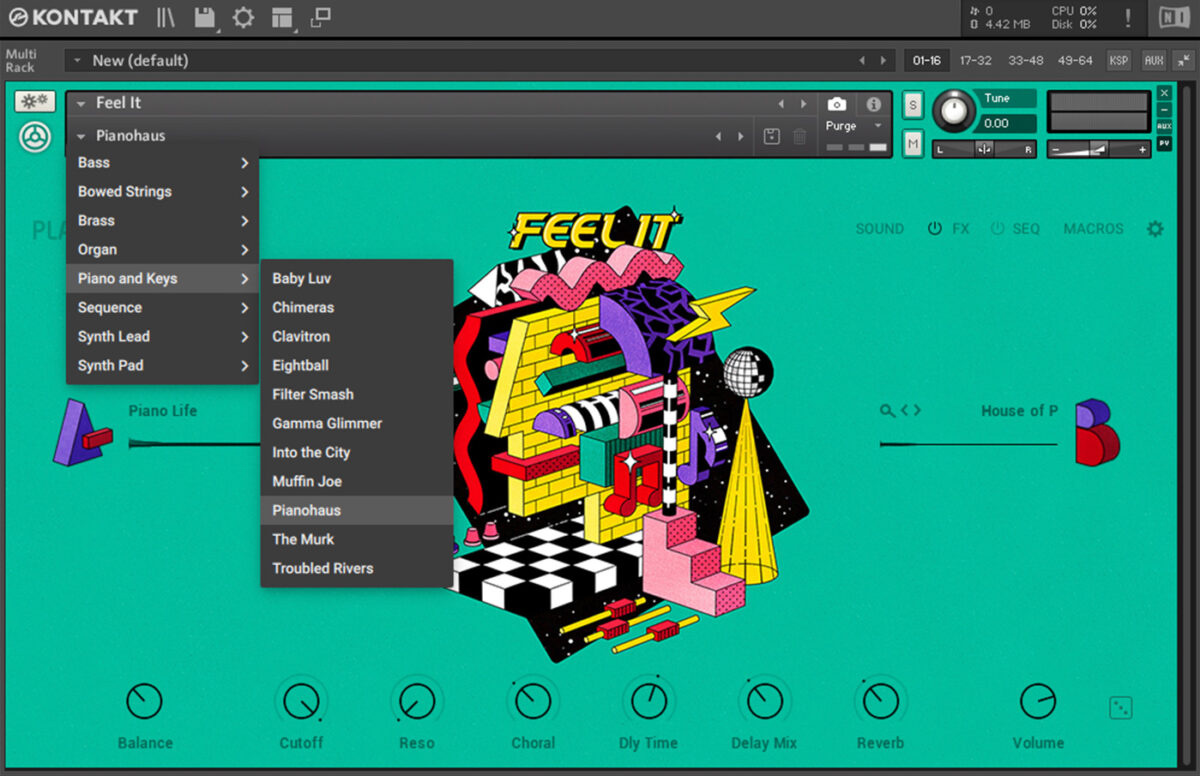
Let’s flesh out this track’s musicality. Add another KONTAKT 7 track, this time loading FEEL IT’s Piano and Keys > Pianohaus preset.
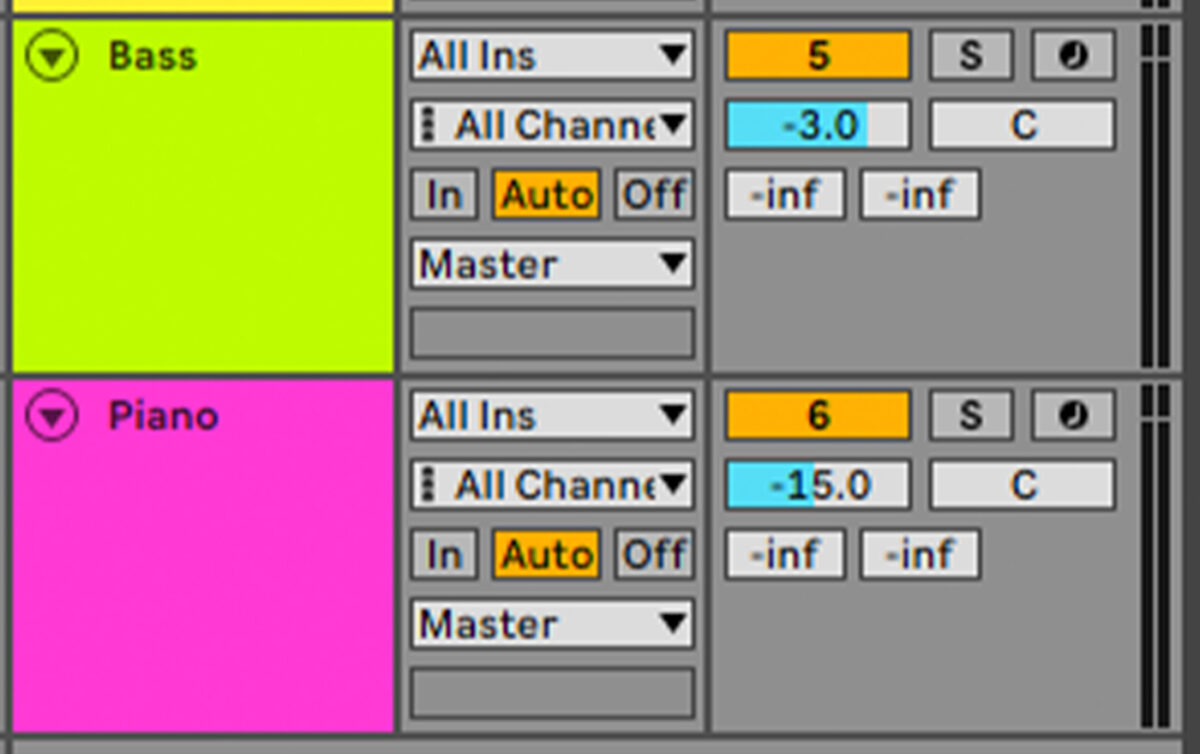
Set this track to -15 dB.
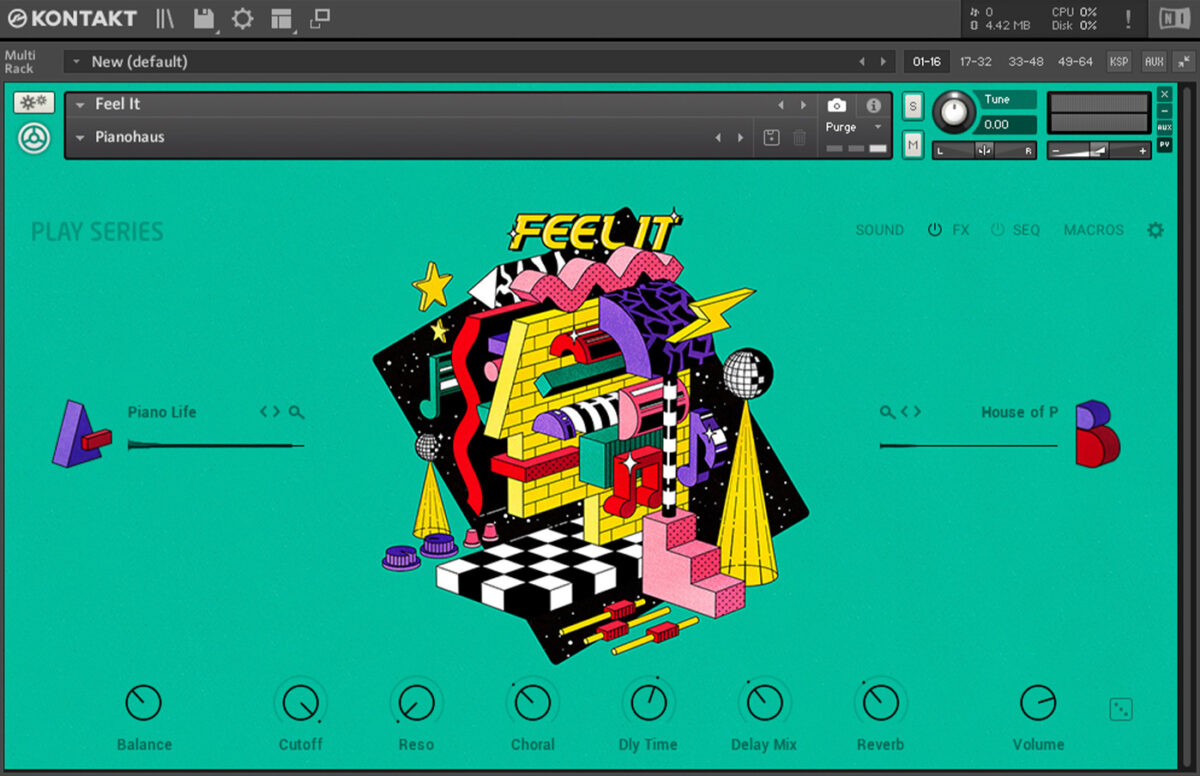
We’re going to adjust the reset’s macros before we compose this part. Set the Reso to 0%, the Delay Mix to 36%, and the Reverb to 35%.
Sequence a part that plays F minor on the first, fourth, eighth and twelfth 16th notes, with a G# minor on the penultimate 16th note.

Loop this to play for the whole eight-bar sequence.

5. Add extra instruments
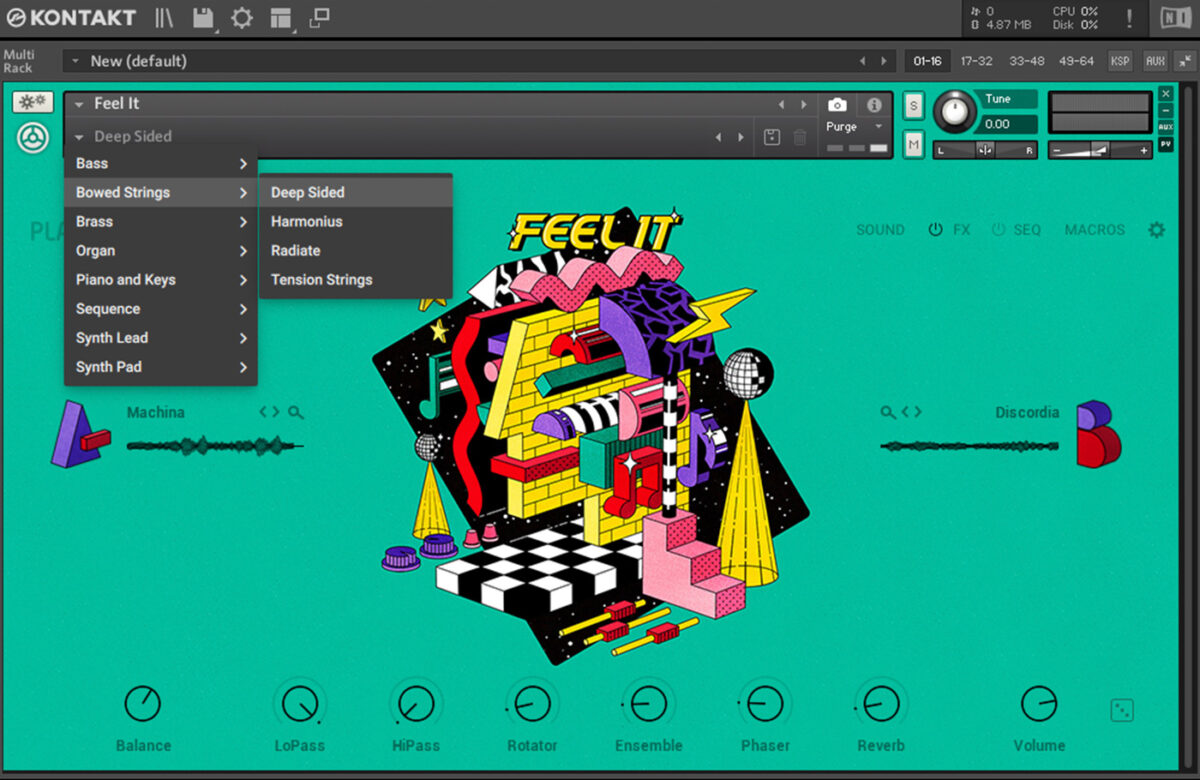
Let’s add some further instrumentation that will help us create a satisfying arrangement. Add a new MIDI instrument track, again load up KONTAKT 7’s FEEL IT instrument, and this time select the Bowed Strings > Deep Sided preset.
Set this track to -23 dB.
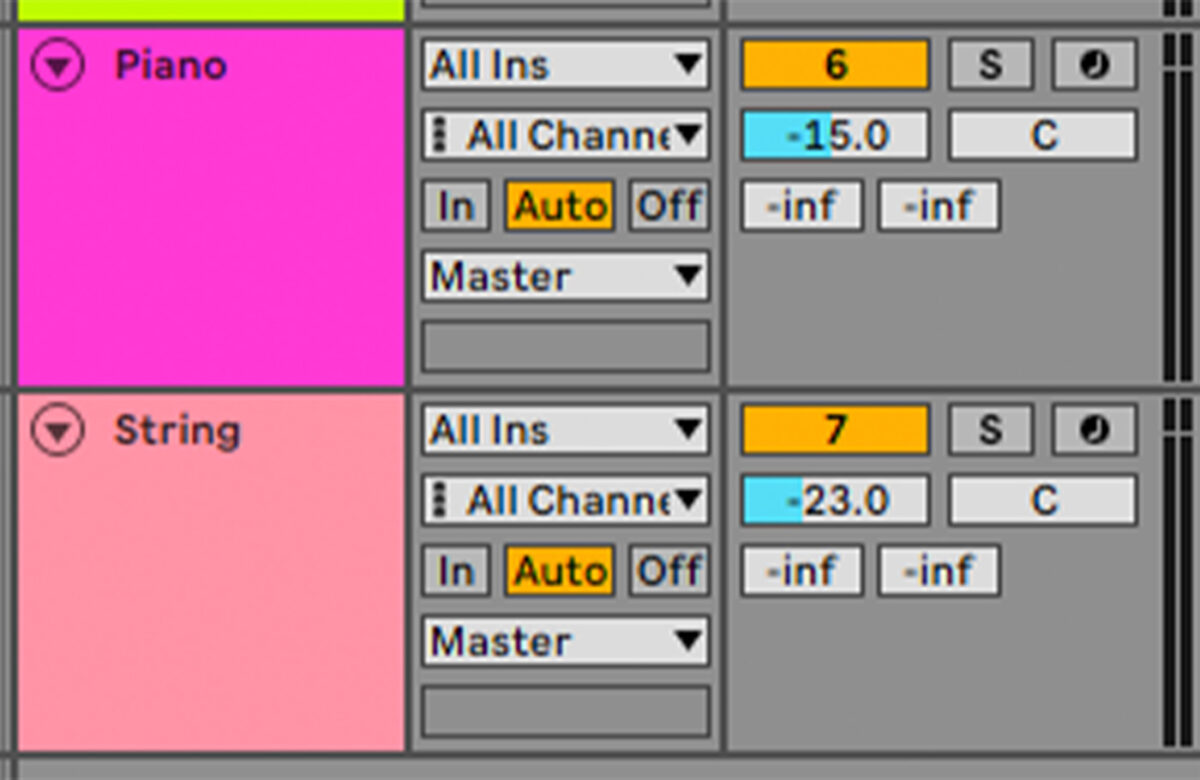
Sequence this preset to play F6 for the whole six bars.

Add another KONTAK 7, and this time load FEEL IT’s Sequence > Wurm preset.
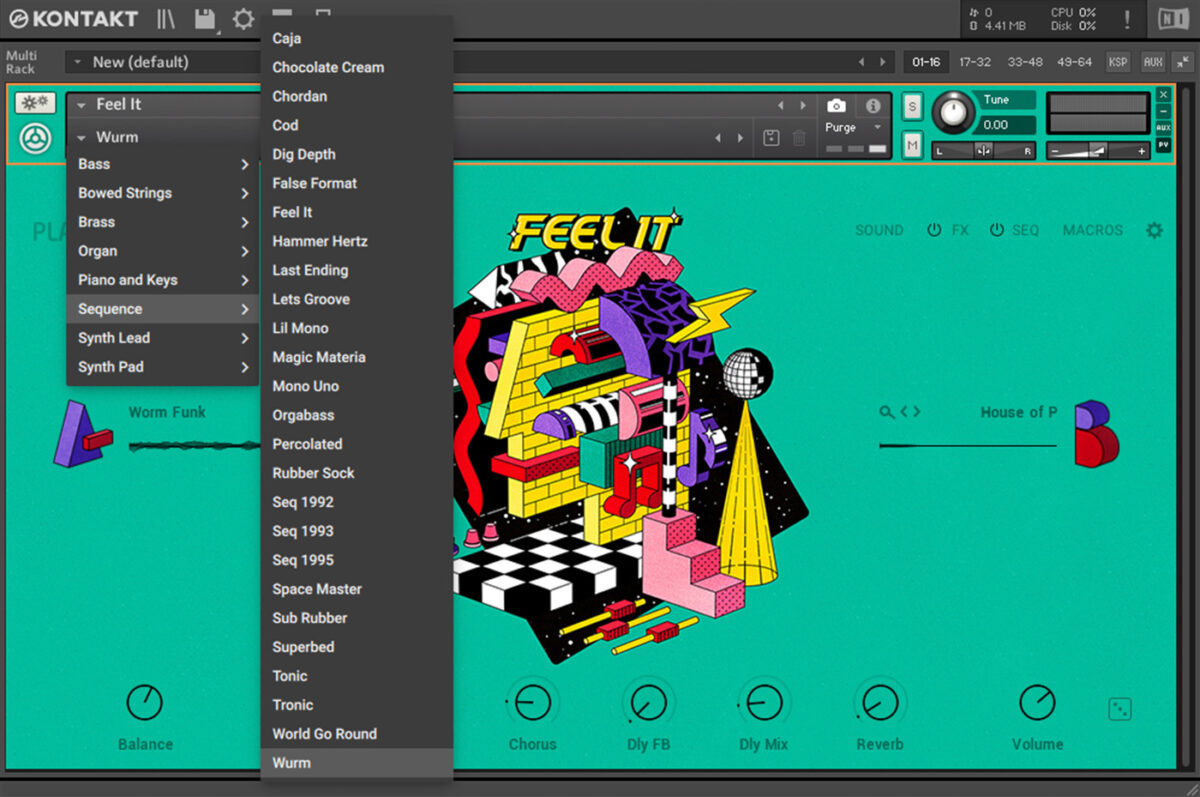
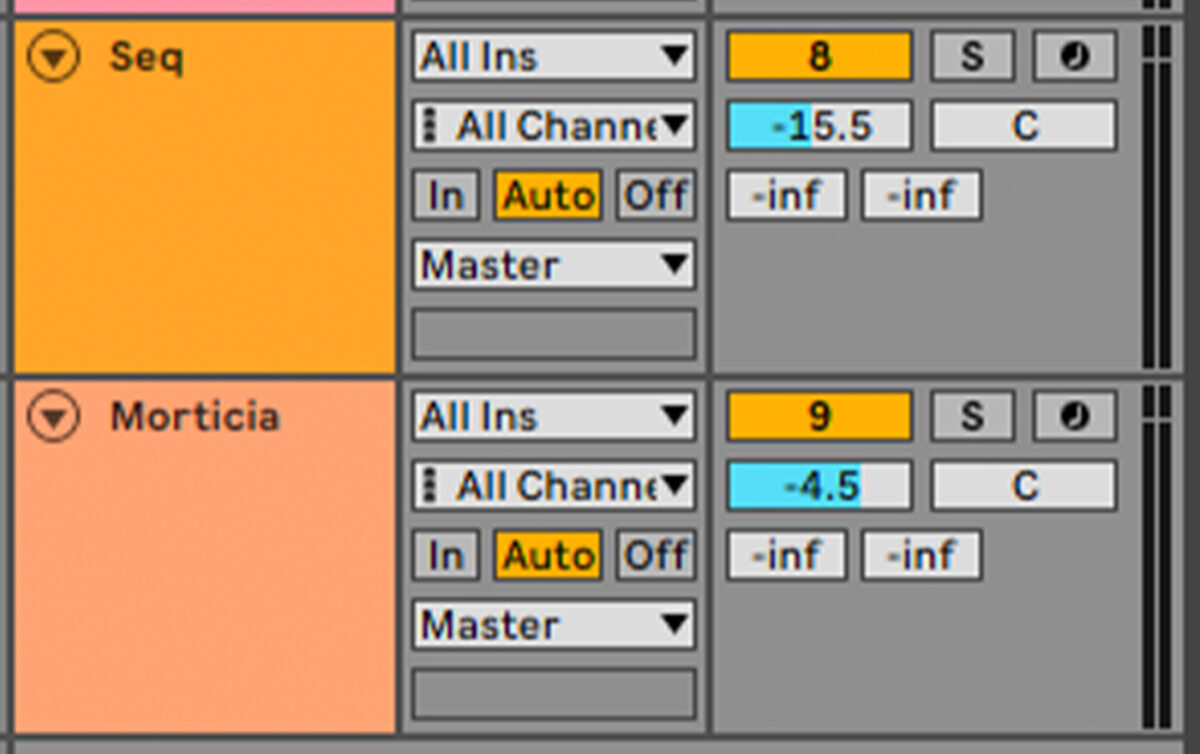
Set this track to -15.5 dB.
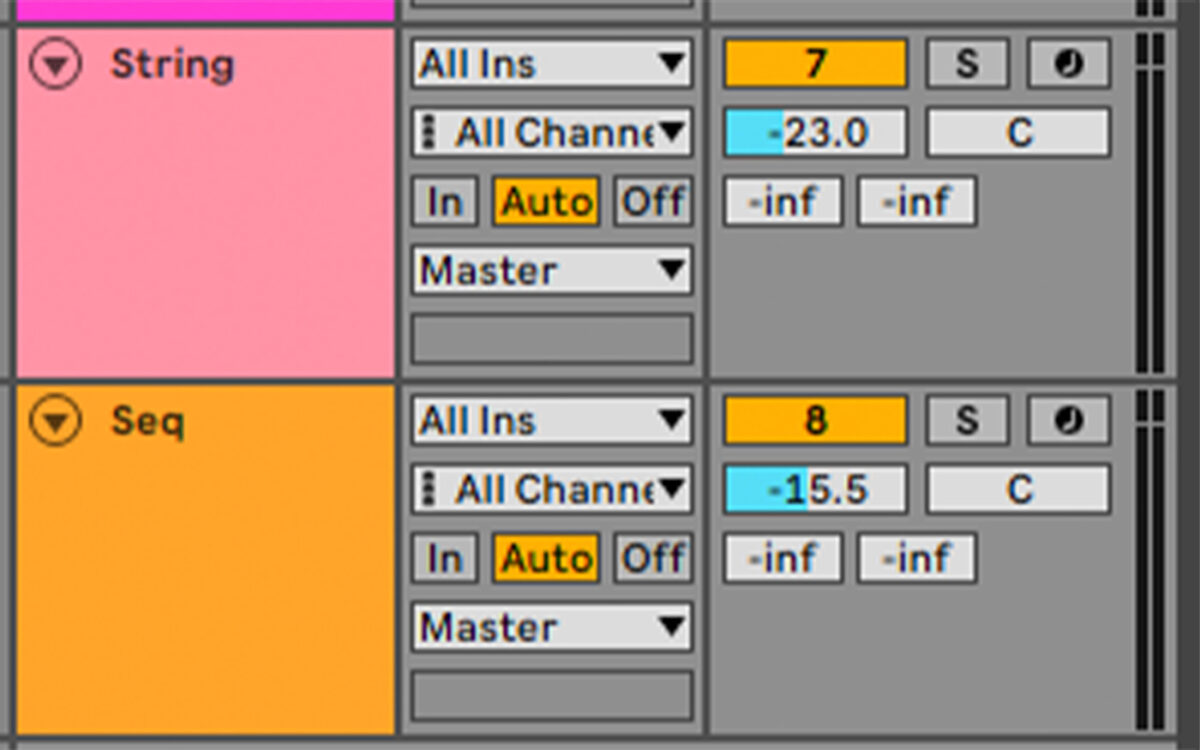
Sequence this to play an F minor chord that lasts for the whole eight bars.

Let’s add another instrument that we can use for some variation in the track. Again load up FEEL IT in KONTAKT 7, and select the Synth Pad > Morticia preset.
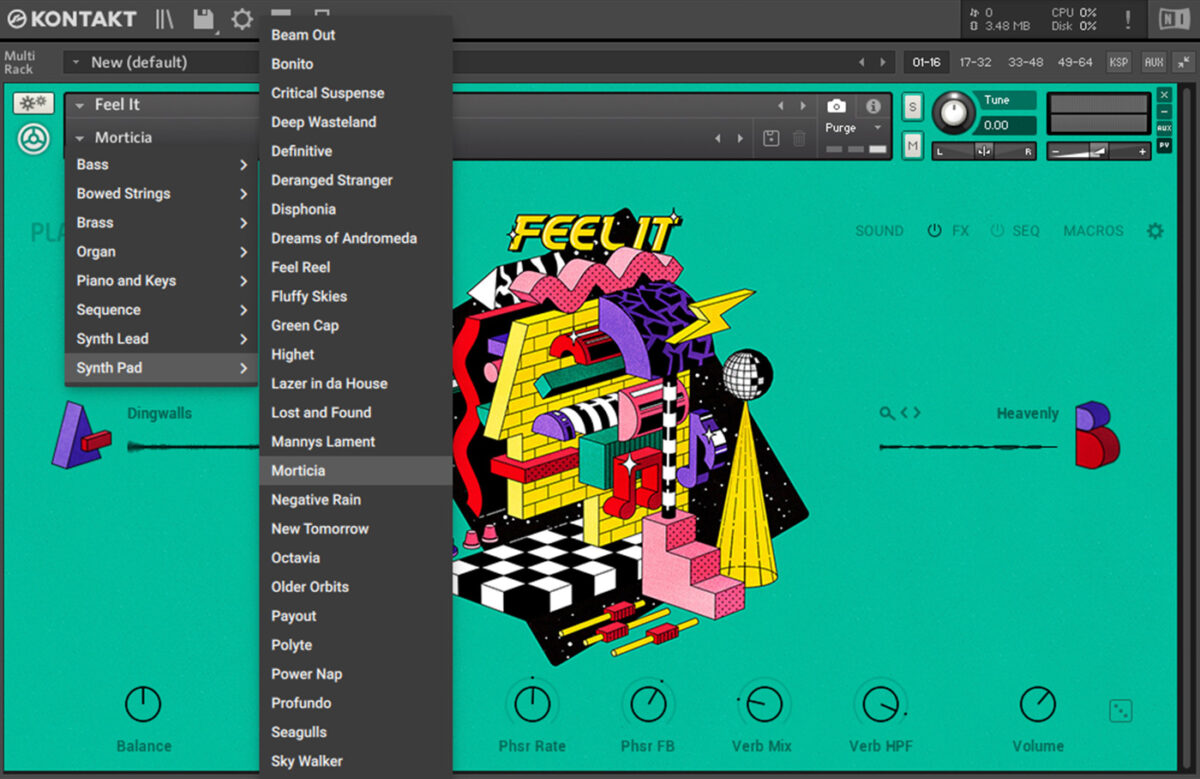
Set this track to -4.5 dB.
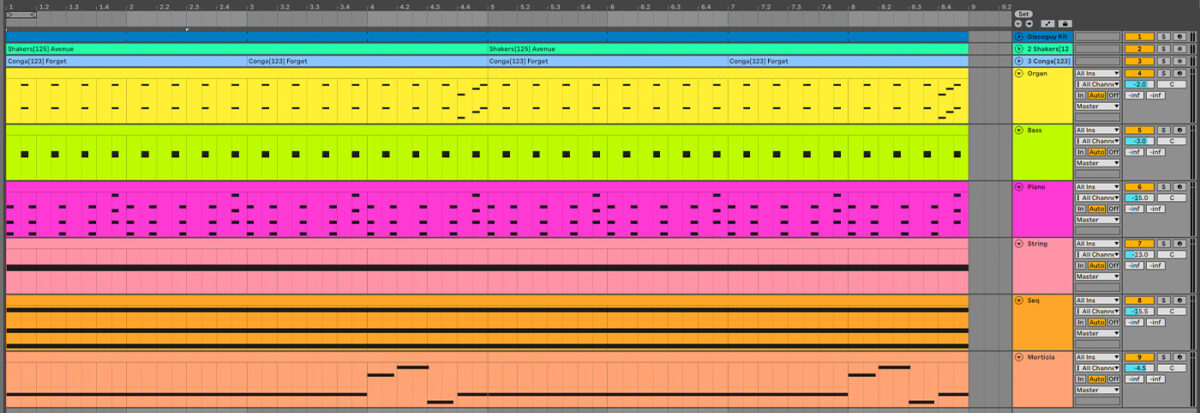
Copy this four-bar sequence.

Loop the four-bar sequence out so that it plays for eight bars.
6. Add samples and FX
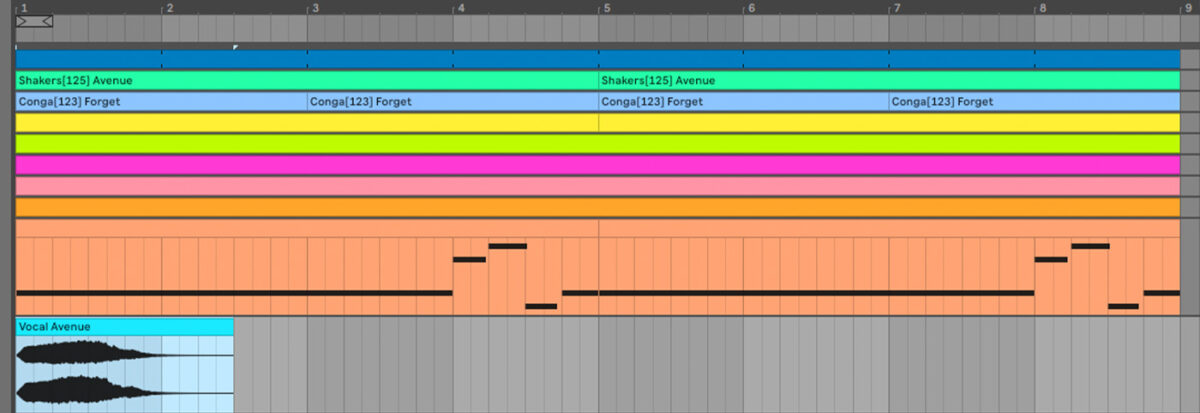
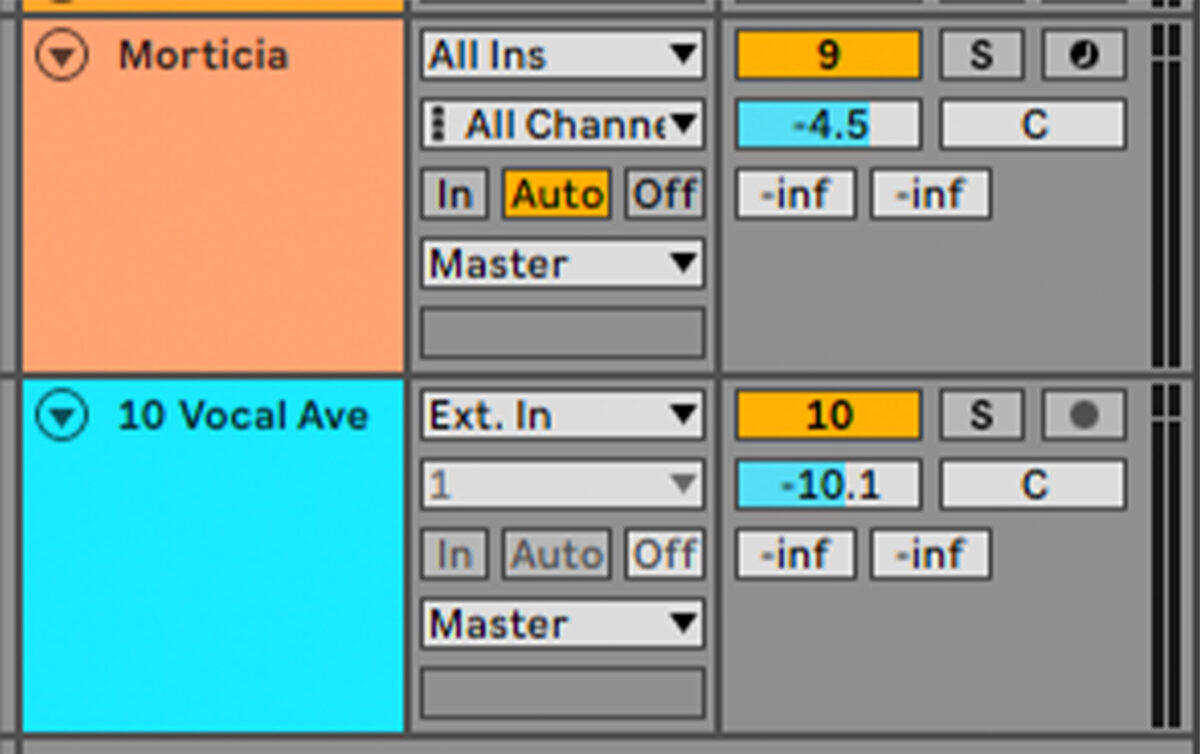
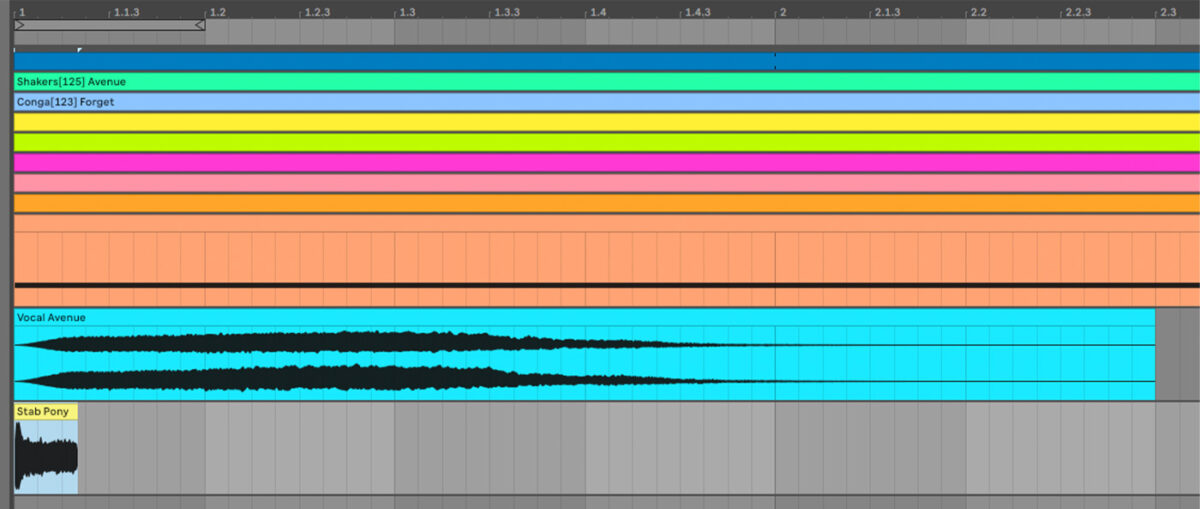
Let’s add some samples, fills and FX that will help keep the track’s arrangement rolling. In KOMPLETE KONTROL open Samples > One Shots > Vocal, and drag Vocal Avenue.wav onto an audio track.
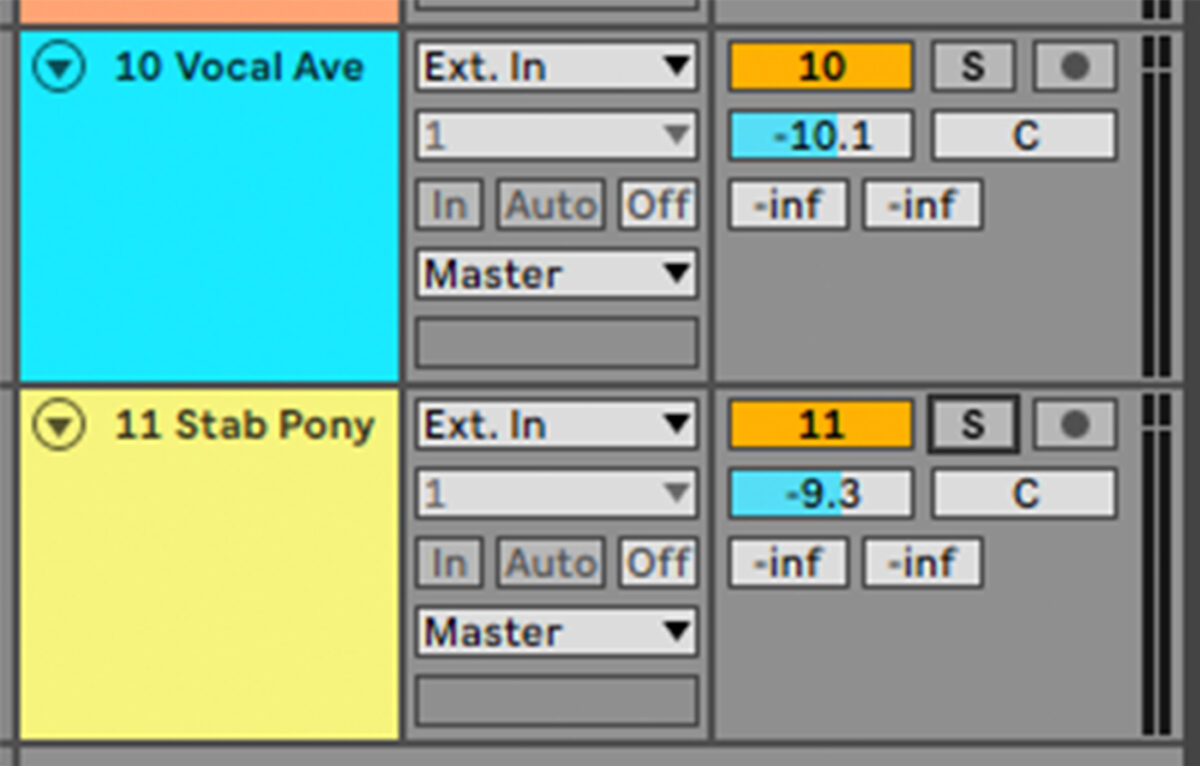
Set this track to -10.1 dB.
Pitch the sample up 3 semitones to tune it to the rest of the elements. Here we’ve used Ableton Live’s Complex Pro warp mode which preserves the sample’s formants. This prevents the vocal from sounding unnatural.

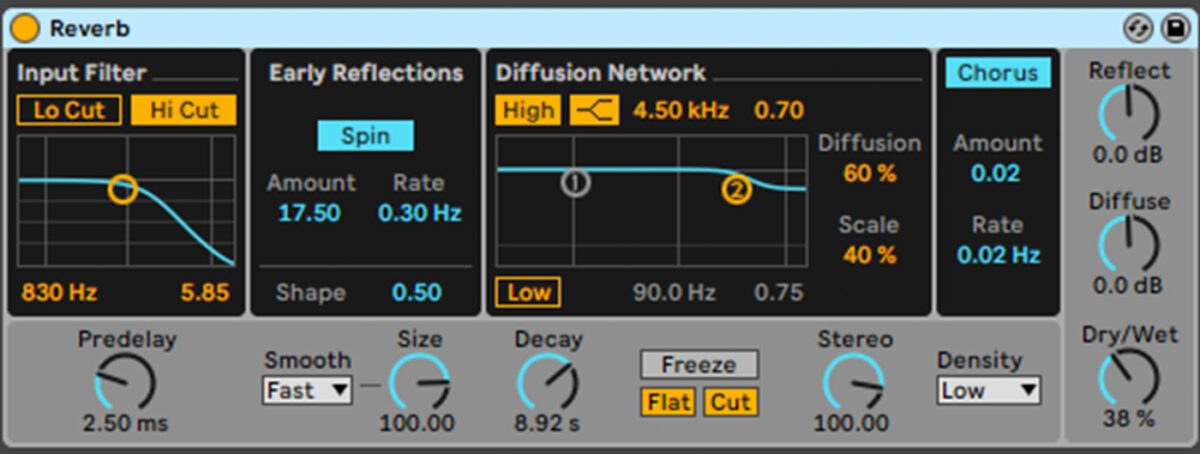
Now add a reverb effect with a long decay time.
In KOMPLETE KONTROL open the Samples > One Shots > Stab & Hit folder, and drag Stab Pony.wav onto an audio track.
Set this track to -9.3 dB.
Tune this sample down 3 semitones.

Add another long reverb, this time preceded by a feedback delay synced to quarter notes.

Let’s make a snare fill. Add another instance of KOMPLETE KONTROL on a new track, and this time navigate your way to the Samples > Drums > Snare folder. Double-click Snare Graphite to load the sample up.
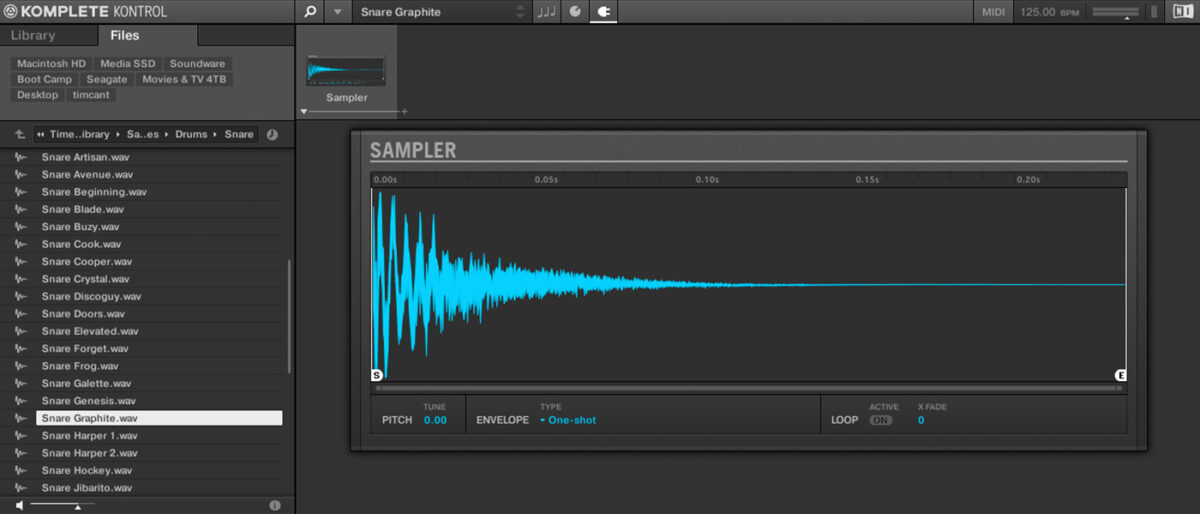
Set this track to -12 dB.
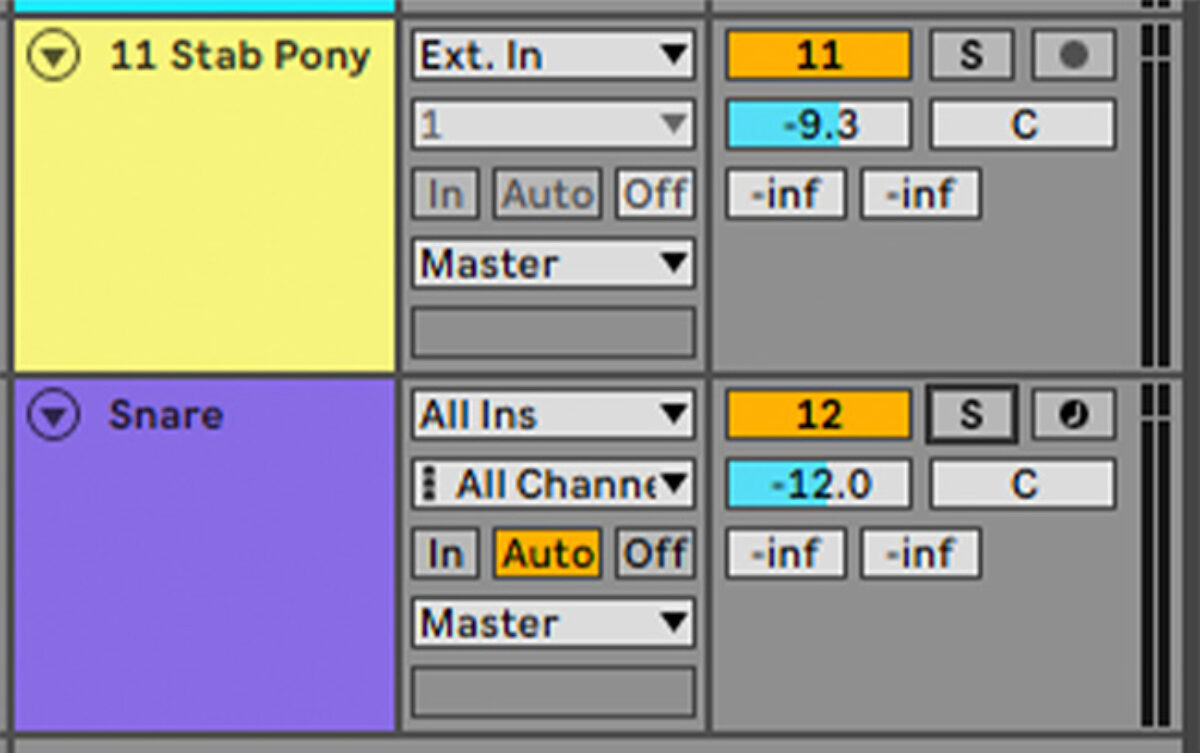
Sequence a one-bar clip at the end of the sequence, with snares on 16th notes. To give this fill a swung feel, turn off your DAW’s snap-to-grid functionality and move the notes on every other beat to the right slightly. This makes the rhythm sound funkier and less robotic.

Now in KOMPLETE KONTROL open the Samples > One Shots > Analog FX folder, and drag FX Jibarito.wav onto a new audio track, positioning on the final beat of the sequence.
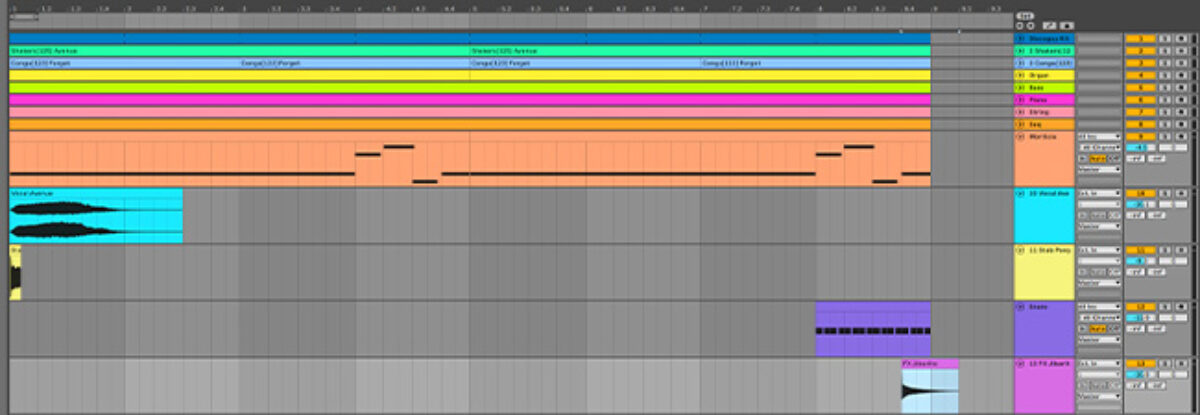
Set this track to -10 dB.
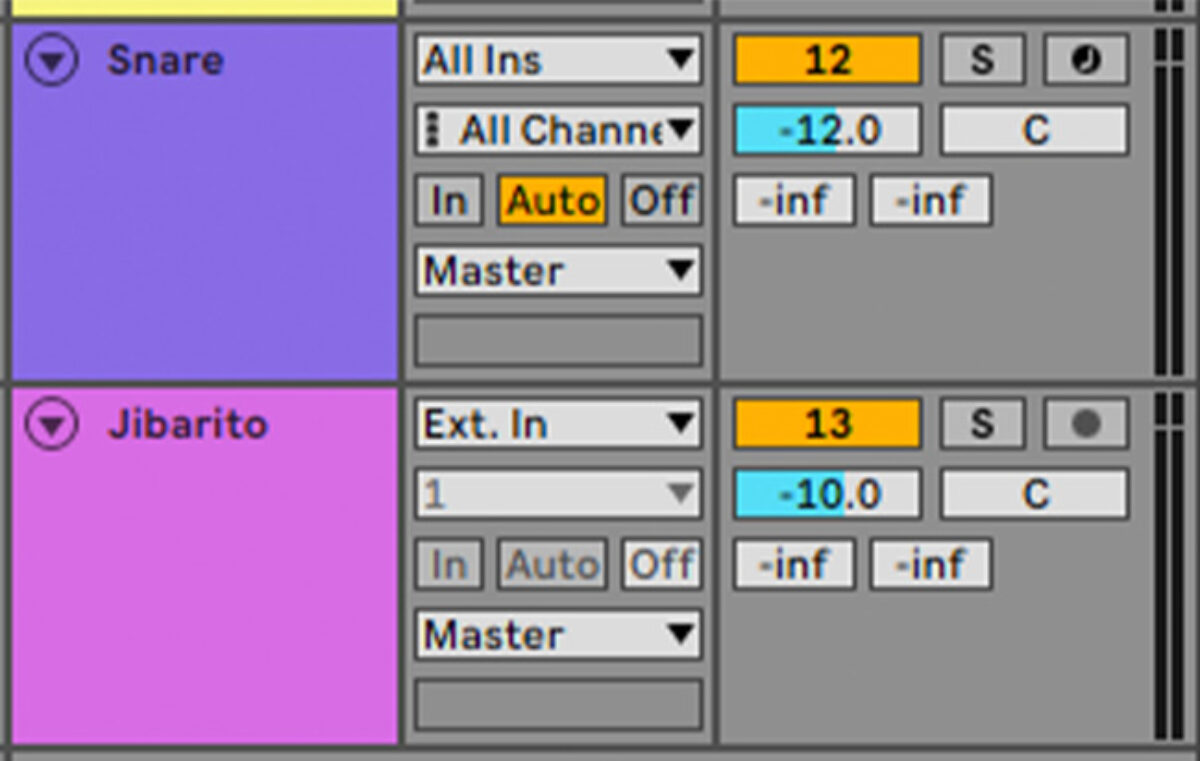
Now add another quarter-note synced delay and a reverb with a long decay time.

7. Create an arrangement
When it comes to house strong structure, the basic song flow for a house track can look something like this: intro – verse 1 – build 1 – drop 1 – break – verse 2 – build 2 – drop 2 – outro. In terms of track length, you can opt for the typical three-to-four minute ‘pop song’ structure or be more ambitious and take the listener on a journey more in common with the progressive house genre. This thoughtful style of music is credited for leading house away from the mainstream by combining its typical four-on-the-floor rhythmic patterns with relatively lengthy, repetitive buildups and vocals.
Here’s an example arrangement for your track. It’s based around a simple, DJ-friendly beat-driven intro, which then goes into a breakdown where the tension is ramped-up before the beats and bass drop in.
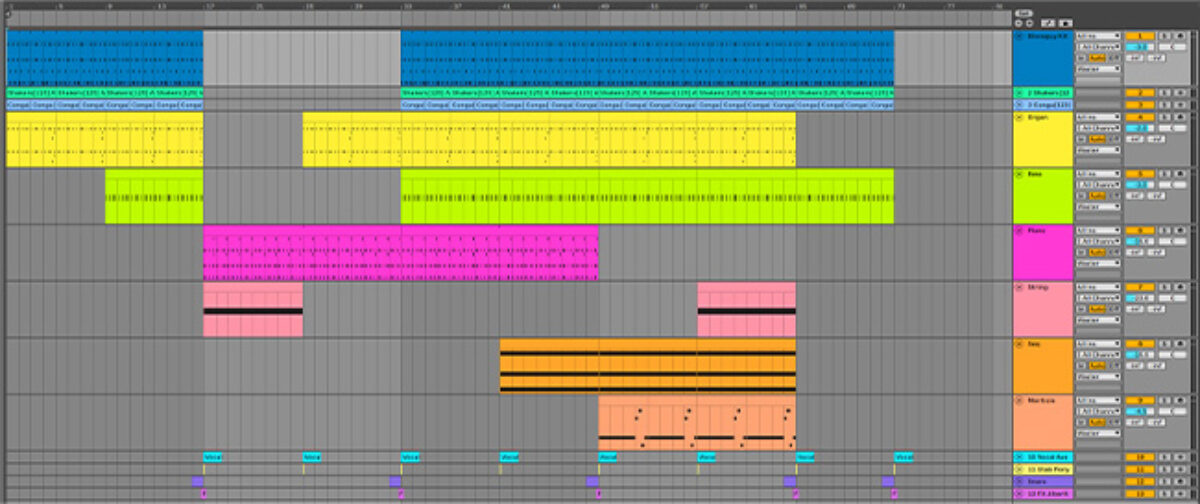
We automate the piano’s Cutoff during the breakdown to bring it in gradually. This automation is repeated before we switch-up to the b-section to help keep things interesting.

8. Master your house track
A great way to get a professional-sounding master is to use iZotope Ozone 10, particularly its Master Assistant feature.
I’ve chosen to add the Ozone Maximizer to the master track, bringing the Threshold down to -7 dB to reduce the signal’s dynamic range to give us a bigger, beefier-sounding track.
Here’s what the final house track sounds like mastered.
That’s all we need to do to make an upfront house track!
Start making house music
Here we’ve seen how you can make your own house track from scratch. If you’d like to learn more check out our guides on how to make electronic music and music production 101.
And if you’re ready to make your own house track, make sure to check out the new FEEL IT Play Series instrument as well as the HIGHER PLACE Expansion, available together for a limited time.


