Mastering is the final polish that takes your song from great to radio-ready, making it punchy, warm, and powerful enough to stand out on big systems – whether in a club or a festival setting. While many producers choose to outsource this critical step, others prefer full creative control, handling everything from sound design to mixing and mastering themselves. Tools like Ozone have made this process more accessible than ever, empowering producers to own every part of their craft.
Nihil Young is a perfect example of an artist who does it all.
With releases on labels like Enhanced Progressive, Where the Heart Is Records, and his own imprint, Frequenza Recordings, he not only produces and mixes his music but also masters it, contributing to a catalog with millions of streams. We invited him to share his insights on mastering – what works, common pitfalls newer engineers face, and how tools like Ozone 11 help streamline the process.
Jump to these sections:
- Main focus for mastering dance music
- Ozone in the mastering workflow
- Maintaining punch without over-compressing
- Using presets in mastering
- Handling dynamic shifts like breakdowns and drops
- Common mistakes in mastering dance music
Whether you’re a seasoned producer or new to mastering, Nihil’s approach offers valuable insights into creating tracks that not only sound great in the studio but also hit hard in live settings. Stick around as we dive into his workflow, tips, and techniques, so you can bring that same level of precision and power to your own productions.
What’s the main focus for you when you’re mastering dance music?
The primary goal in mastering dance music is to achieve maximum loudness and optimized LUFS while preserving dynamics and ensuring transients stay crisp and impactful. It’s about delivering that loud, punchy sound that works perfectly on the dancefloor – without introducing distortion or sacrificing clarity.
A well-mastered track should translate seamlessly across different playback systems, from club PAs and studio monitors to headphones and even smaller speakers. Low-end definition and mono compatibility are particularly critical, as many club systems rely on mono subwoofers. At the same time, it’s essential to balance the high end for sparkle while avoiding harshness, ensuring a polished and energetic sound everywhere it’s played.

How does Ozone fit into your mastering workflow and does your flow change depending on the genre you’re mastering?
Ozone is an essential part of my mastering workflow. Since Ozone 11 was released, I’ve replaced most other plugins with its modules because of their versatility and consistent quality. Its modular approach allows me to build a chain tailored to the specific needs of each project.
My process always adapts to the genre. For dance music, I focus heavily on low-end tightness, punch, and stereo imaging, while for more acoustic or melodic genres, I prioritize warmth, natural dynamics, and tonal balance. For example, in melodic techno, I emphasize subtle midrange details and aim for around -7 LUFS, whereas in bass-heavy genres like drum and bass, I ensure sub-bass frequencies are controlled, transients remain sharp, and I push the loudness as much as possible (up to -3 LUFS).
Beyond mastering, I often use Ozone 11 modules in the mixing process, whether on individual channels or mix buses. These modules are incredibly versatile, whether for dynamic EQing, handling resonances (Stabilizer/Clarity), tackling specific low end issues (Low End Focus), or shaping transients. In some cases, I use them to experiment with sound design – like transforming sounds entirely using Stabilizer’s Transient Mode. Both the Exciter and Imager are also invaluable tools during mixing, offering excellent tonal shaping and spatial control.
For dance music, I prioritize low-end tightness, punch, and stereo imaging, while for acoustic or melodic genres, I focus on warmth, natural dynamics, and tonal balance. For example:
- Melodic techno: I emphasize subtle midrange details and target a loudness of around -7 LUFS.
- Drum and bass: I ensure the sub bass is controlled, transients remain sharp, and loudness is pushed as far as possible, sometimes reaching -3 LUFS.
Ozone isn’t just for mastering…
I frequently use its modules in mixing, too – whether for taming resonances with Dynamic EQ, addressing low-end issues with Low-End Focus, or adding tonal character with Exciter. Sometimes I even use tools like Stabilizer in transient mode to experiment with sound design.
Modules like Imager and Exciter are particularly useful for shaping spatial and tonal aspects during mixing.
What’s your strategy for maintaining punch without over-compressing in Ozone?
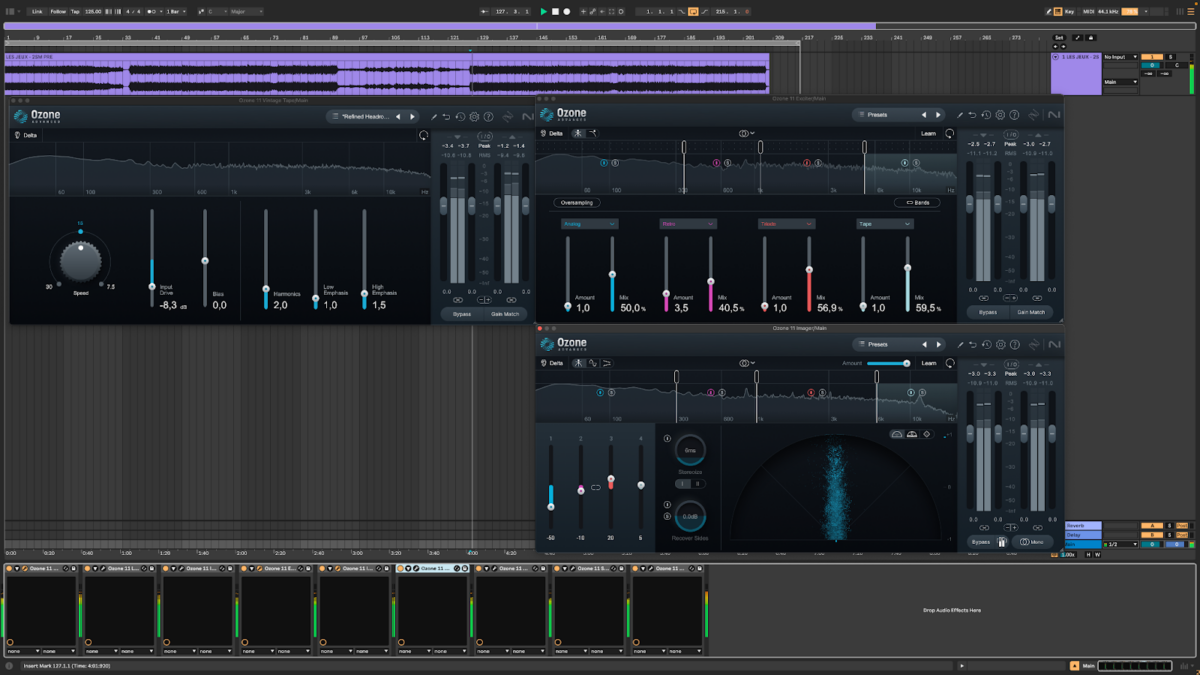
Preserving punch is critical for maintaining the rhythmic energy of dance music. Lately, I’ve been starting the mastering chain with a Vintage Tape module, which helps smooth out harsh transients, control excessive punch, and add warmth with a subtle, bouncy feel.
From there, I avoid heavy compression, focusing instead on tools like transient shaping, Spectral EQ, imaging, clipping, and Dynamic EQ to fine-tune the sound.
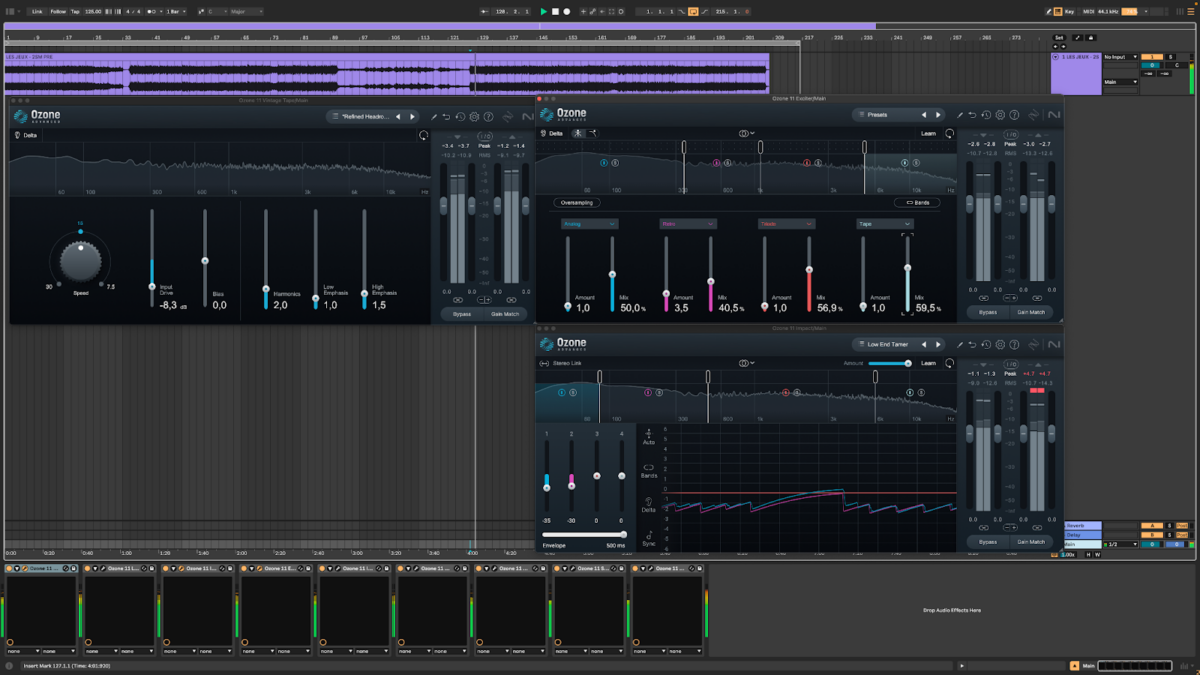
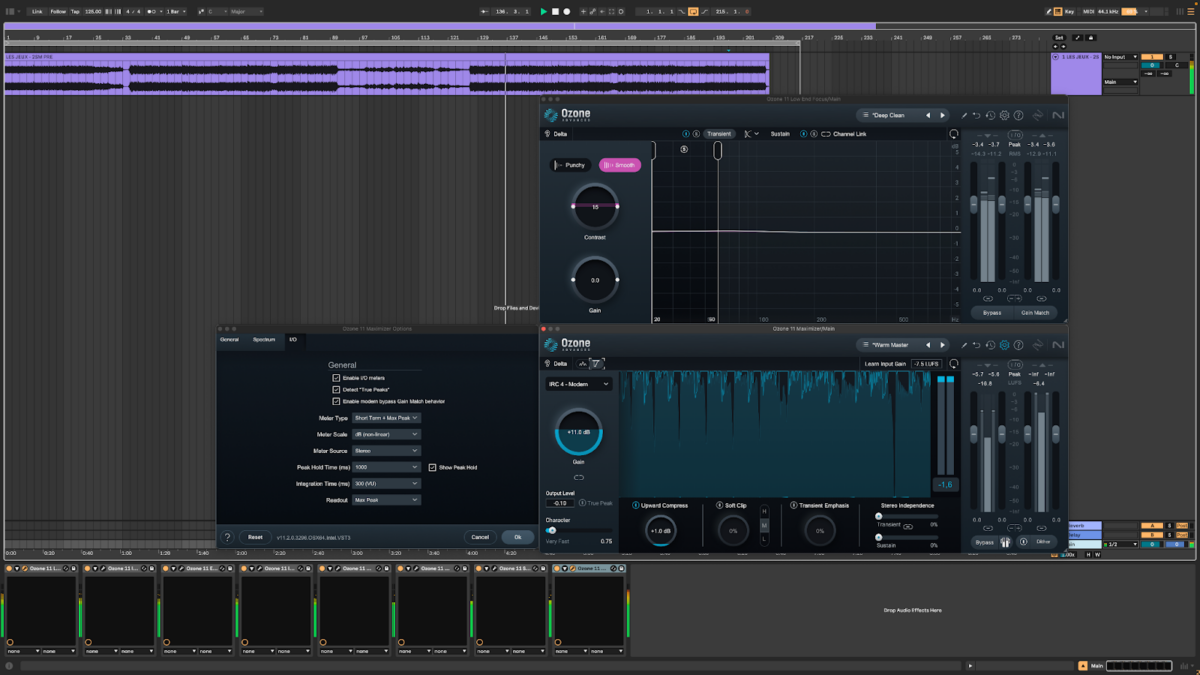
One technique I’ve found invaluable is using a combination of clippers and limiters in stages rather than relying on a single limiter to do all the heavy lifting. For example, I’ll start with a soft clipper to tame peaks transparently while preserving transients, followed by a transparent limiter to shape the overall loudness. This approach allows me to achieve competitive levels without introducing harsh artifacts or compromising the track’s dynamics.
The key is subtlety – each stage should contribute just enough without over-processing.
Entering the mastering stage with a clean, punchy mixdown ensures less need for drastic interventions. When the mix is well-prepared, mastering becomes more about enhancing rather than fixing issues. Proper gain staging and careful placement of modules are also crucial to ensure all elements in the mastering chain work effectively together.
Nihil’s tips: Clipping before limiting
- Use the Maximizer for transparent clipping: Set the Maximizer to Hard mode or IRC III and adjust the threshold and ceiling to clip transient peaks subtly. Aim for no more than 1–2 dB of reduction to preserve dynamics while controlling the loudest peaks.
- Pre-shape peaks with Dynamic EQ: Use the Dynamic EQ module to address aggressive frequency ranges (e.g., harsh highs or boomy lows) before clipping. This ensures a cleaner clipping stage with minimal artifacts.
- Multiband Dynamics as a soft clipper: Apply Multiband Dynamics to transient-heavy bands (e.g., 2–8 kHz) with a fast attack and release. Gentle downward compression helps pre-condition peaks before they hit the clipper.
- Apply limiting after clipping: After clipping, switch the Maximizer to IRC IV Modern mode for transparent limiting. Use the Learn Threshold feature as a starting point and fine-tune for competitive loudness while maintaining dynamics.
- Monitor gain staging: Use Insight or Ozone’s built-in meters to keep track of True Peak levels and ensure proper headroom between processing stages.
- Smooth harshness with Spectral Shaping: If clipping introduces brightness or harshness, use Spectral Shaper to subtly smooth those frequencies without compromising the track’s energy.
Do you have any advice to share when it comes to using presets while mastering?
Presets in Ozone can be a great way to learn and explore the potential of its modules. For beginners, they’re an excellent starting point for reverse-engineering techniques and understanding how different settings affect a track. However, presets should be treated as guides rather than solutions.
Every track has its unique needs, so presets often require adjustments to address specific challenges. My approach is to analyze what a preset does, then tweak it to create a tailored solution that brings out the best in the mix.
That said, some presets in specific modules are spot on and make great starting points – for example, resonance control in Stabilizer, vocal focus, harshness control with Clarity, or deep and clean bass with Low-End Focus.
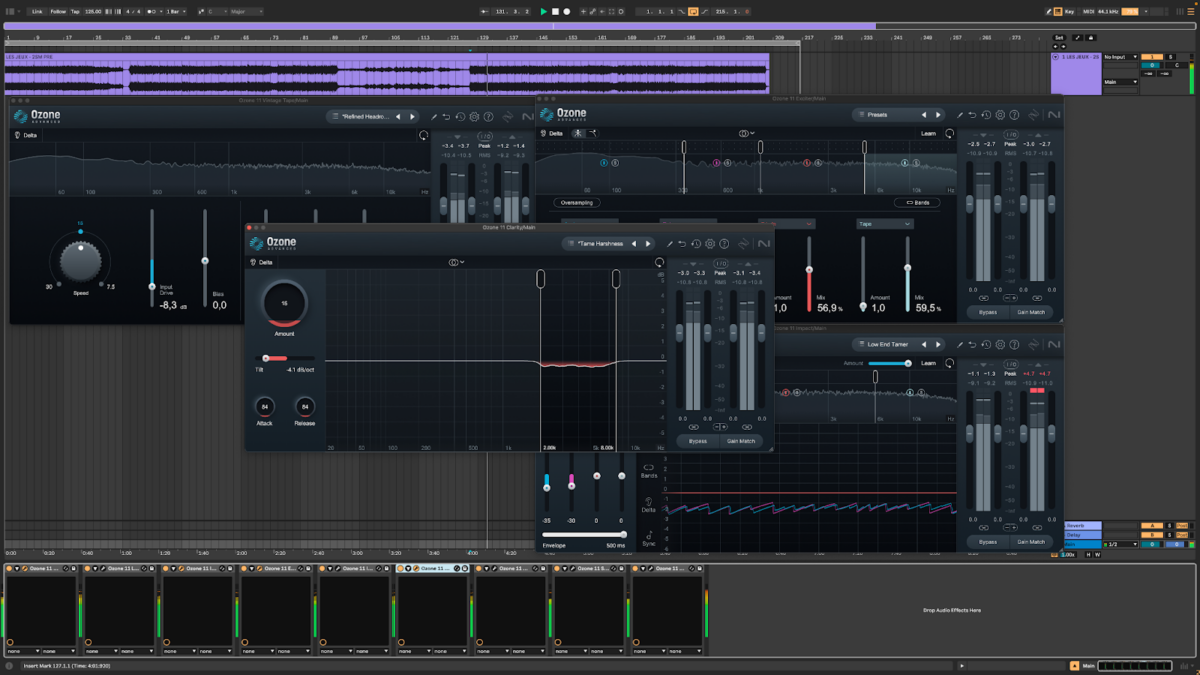
Nihil’s favorite presets for mixing and mastering:
- Stabilizer – “resonance control”: Smooths harsh frequencies without dulling energy. Great for synth-heavy mixes. Reduce the intensity to 30–50% for subtle, transparent results.
- Low-End Focus – “deep and clean”: Tightens sub-bass and enhances kick depth for club tracks Focus on 50–120 Hz to balance punch and power.
- Exciter – “retro warmth”: Adds warmth and presence to mids and highs. Use multiband mode to avoid saturating the low end.
- Clarity – “harshness control”: Tames sharp transients while preserving detail. Tip: Adjust depth to maintain balance in percussive-heavy tracks.
- Vintage Limiter – “analog smooth”: Adds polish and warmth, ideal for melodic genres. Use subtle pre-limiting to control peaks before the final stage.
How do you handle dynamic shifts in dance music, like in breakdowns and drops?
Dynamic shifts are a defining feature of dance music, and handling them properly is crucial for maintaining energy and flow. For breakdowns and buildups, I often automate volume, smooth transients, and use filtering to create tension and anticipation. Adjusting effects like reverb or delay can also enhance contrast between sections.
For drops, the focus shifts to maximizing impact, especially in the low end. Sometimes I use multiband processing to tighten the bass and ensure it hits hard without affecting the highs. Careful control of the limiter’s behavior is key – gentle, transparent limiting during breakdowns versus more aggressive settings during drops ensures maximum punch without compromising clarity.
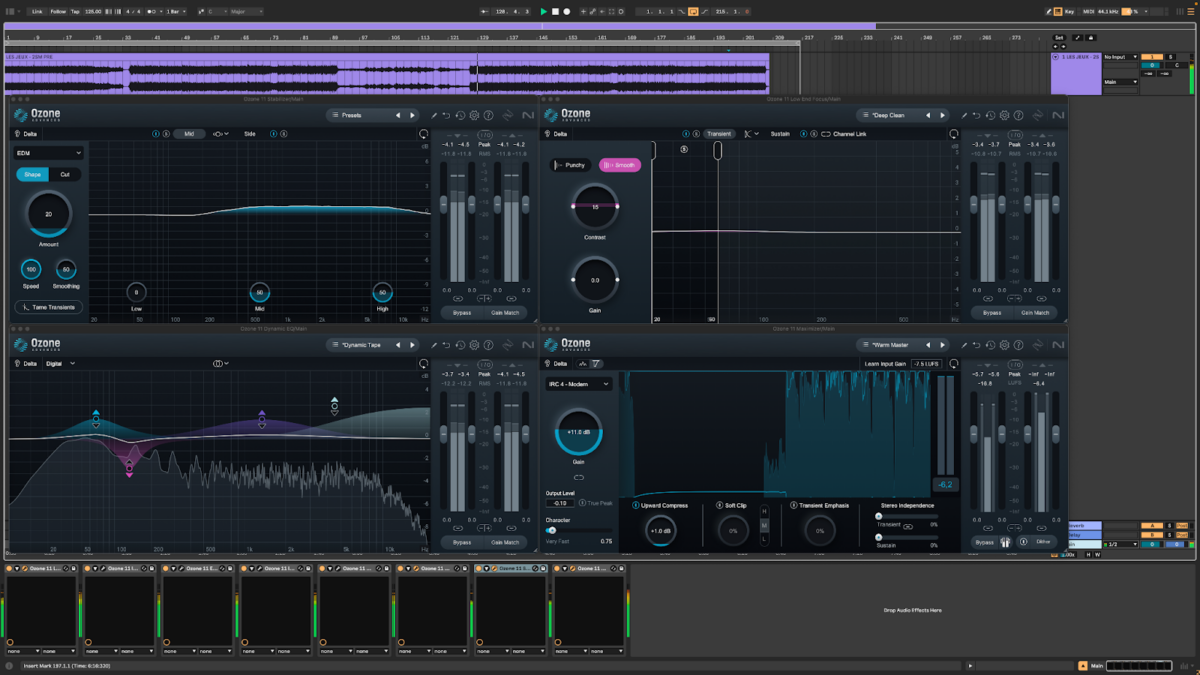
Pro Tip: Stabilizer
- Breakdown Focus: Use Stabilizer to subtly tame resonances for a clean, immersive sound. Pair with reverb tails or high-pass filtering for added depth.
- Build-Up Enhancements: Gradually reduce Stabilizer’s intensity before the drop to reintroduce raw energy, amplifying the impact.
What’s a common mistake you see when mastering dance music, and how can Ozone help avoid it?
One of the most common issues is phase misalignment in the low end (kick/sub/bass). Sometimes fixing this alone can solve or dramatically improve the mix. Recently, I’ve started using Neutron 5’s Phase module, which is perfect for addressing these issues. Once the phase is corrected, Ozone’s tools, such as the Imager and Low-End Focus, help ensure a tight, mono-compatible bass.
Another frequent mistake is over-compression, which can strip a track of its energy and dynamic excitement. Dance music thrives on punchy, dynamic elements, so it’s essential to avoid flattening the mix.
In the mid-to-high range, out-of-phase sounds on the sides can cause problems in mono playback. Using mid/side EQ or stereo imaging tools helps maintain balance and clarity while enhancing stereo width.

Resonances in the frequency spectrum are another common issue. Ozone’s Stabilizer or Dynamic EQ can tame harsh peaks, ensuring a cleaner and more polished sound. Finally, always check the mix in mono to ensure all elements translate well, especially on systems that rely heavily on mono subwoofers.

Wrapping it all up
We want to extend a big thank you to Nihil Young for sharing his expertise on mastering modern dance music entirely in the box using tools like Ozone. What stood out most was the emphasis on subtlety – mastering isn’t about big, flashy moves. It’s about small, precise adjustments that, when combined, create a track that’s warm, punchy, and bright. The kind of track that cuts through on massive sound systems, fits seamlessly into playlists, and earns the support of top DJs and record labels.
The best part?
You don’t need a million-dollar studio or high-end room treatment to get professional results. With a streamlined toolset like Ozone, the process becomes faster, easier, and more accessible, empowering producers at every level to achieve the sound they want. Whether you’re aiming for club impact or playlist perfection, the techniques Nihil shared prove that it’s all about having the right tools and knowing how to use them.


