As you begin to produce more and more music, you’ll find that your mixing needs to improve so that the music delivers the impact you want. Mixing and mastering are skills that are developed over time through trial and error. Though it can be tricky to get a professional sound in a home studio, we have some tips to help your mixes sound more cohesive before entering the mastering phase.
Jump to these sections:
What does it mean to have a cohesive mix?
- Try mixing at a low volume
- Add EQ and compression in mono, then pan your tracks
- Use Density to “glue” the mix together
- Make sure reverbs and delays are working for you, not against you
- Listen for inconsistencies on different monitoring systems
Follow along with this tutorial with a free trial of the NI 360 Essentials subscription, a suite of tools that has everything you need to write, produce, and mix a professional track.
What does it mean to have a cohesive mix?
So, what does it mean to have a cohesive mix and how should a mix sound before mastering? Cohesion means that elements are united and are working together effectively. In mixing music, a cohesive mix should guide the listener’s ear in an intentional way to maximize the emotional impact of the song.
If we’re trying to leave the listener with a sense of peace, you might soften the entrances of instruments so they blend and swell together. If we’re trying to confuse the listener or give them anxiety, we can use volume, panning automation, and distortion as tools to do so.
The first thing to do when you’re approaching a mix is to define your goals. When you have a clear vision of what you’re working toward it becomes much easier to make decisions in a mix. That’s all mixing is really: making decisions about tone, volume, balance, clarity, and more. These decisions should be made with the artistic goal of the mix in mind.
1. Try mixing at a low volume
Keeping your goals in mind, use your faders to get a rough volume balance between tracks. The gut instinct might be to start with the kick drum, then balance the snare to that, then the cymbals, then bass, etc. The issue that presents however, is that although the kick drum is important, it’s probably not more important in the mix than your lead vocals. Determine what the most important element is in the mix (lead vocals or lead guitar in an instrumental, for example), then balance volumes of the other tracks relative to that.
Something that I’ve found really helpful in balancing volume is to mix at a pretty low volume. It’s easier for our ears to tell when something is too loud or quiet in a mix when the mix is quiet. If we are mixing really loudly, the finer details of volume are almost impossible to hear, plus you’ll fatigue your ears quickly. This is also very helpful when listening to compression.
2. Add EQ and compression in mono, then pan your tracks
I’m a big fan of using pan automation to add interest to a mix but when I first started doing so, I noticed that a track would sit well in the mix until the panning automation. Then, as soon as that track was positioned in a different place in the stereo field, it lost all definition.
This is because as soon as the track in question was panned into a space occupied by instruments in my mix other than the ones it had previously shared a space with, there were different frequencies that were overlapping. New areas of sonic competition were being introduced once I started playing with the stereo field. This made some mixes sound a bit disjointed as the tracks being panned around sounded inconsistent in tone.
A fix for this is to add EQ and compression before you pan anything. Keeping everything panned in the center, use EQ to address any masking or phase issues that may be happening. This creates separation between tracks in a cleaner way rather than relying on panning. Then, when you do start panning tracks around, you will have a bigger sounding mix with more definition, with tracks that sound consistent as they move across the stereo field.
As a bonus, this ensures your mix is mono-compatible as well, an ever-growing need as home bluetooth speakers have gotten more popular.
3. Use Density to “glue” the mix together
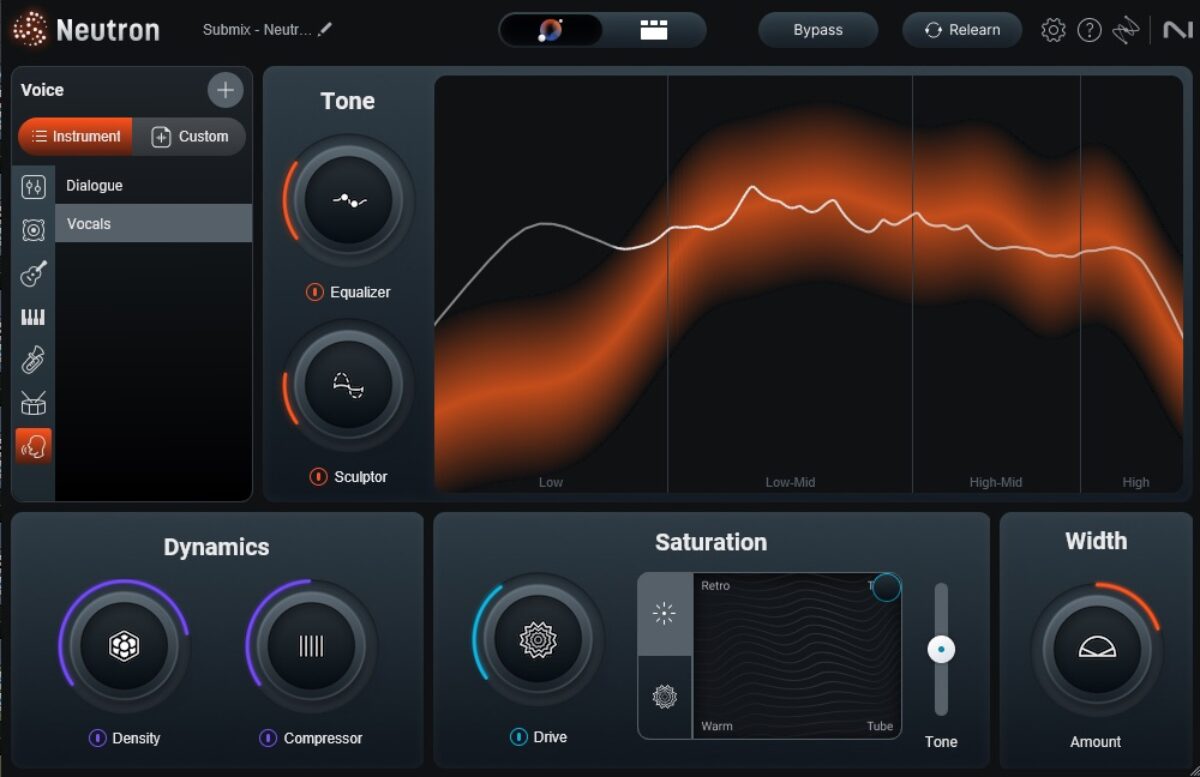
While most traditional compressors attenuate the signal once it reaches a certain loudness or threshold, Density in Neutron Elements uses upward compression instead, meaning that once the level of a signal drops below a certain threshold the volume is brought up to level out the dynamics of the track.
This can bring out nuance or lyrics that might otherwise be lost, especially in a busy mix. In this example, I’ve used Density to target my vocals so they cut through the mix a bit better and to better highlight some synth parts.
4. Make sure reverbs and delays are working for you, not against you
You may have heard people say to use only one reverb and send all your tracks to that reverb to make everything sound like it is in the same room. And while this is certainly true for some genres, generally the more acoustic-based genres such as bluegrass, it’s not necessarily the case for all genres, especially for music that employs a lot of synths and samples.
The more important takeaway is that your reverbs and delays need to sound good together. For these time-based effects, you want to make sure they are working with the tempo and groove of the song. For example, in a high-tempo song, generally we want to avoid really long reverbs on very active instrumentation such as a busy hi-hat part or on a rap vocal.
I usually have multiple reverbs and delays in a mix because some instruments should be focused and up close (in other words, needing less or shorter reverbs and delays) and some elements should be more blurred and in the background to give the mix dimension. How “in-focus” each track is is totally up to you and will change depending on the mood of the song you’re working on.
In this example, I have a lead vocal, a double of the lead, and two to five background vocal layers. In this first file, I have half of the background vocals and the lead vocal going to one reverb and the other half of the background vocals and the lead vocal double going to another reverb. To me, this makes the background vocals sound less balanced in terms of presence.
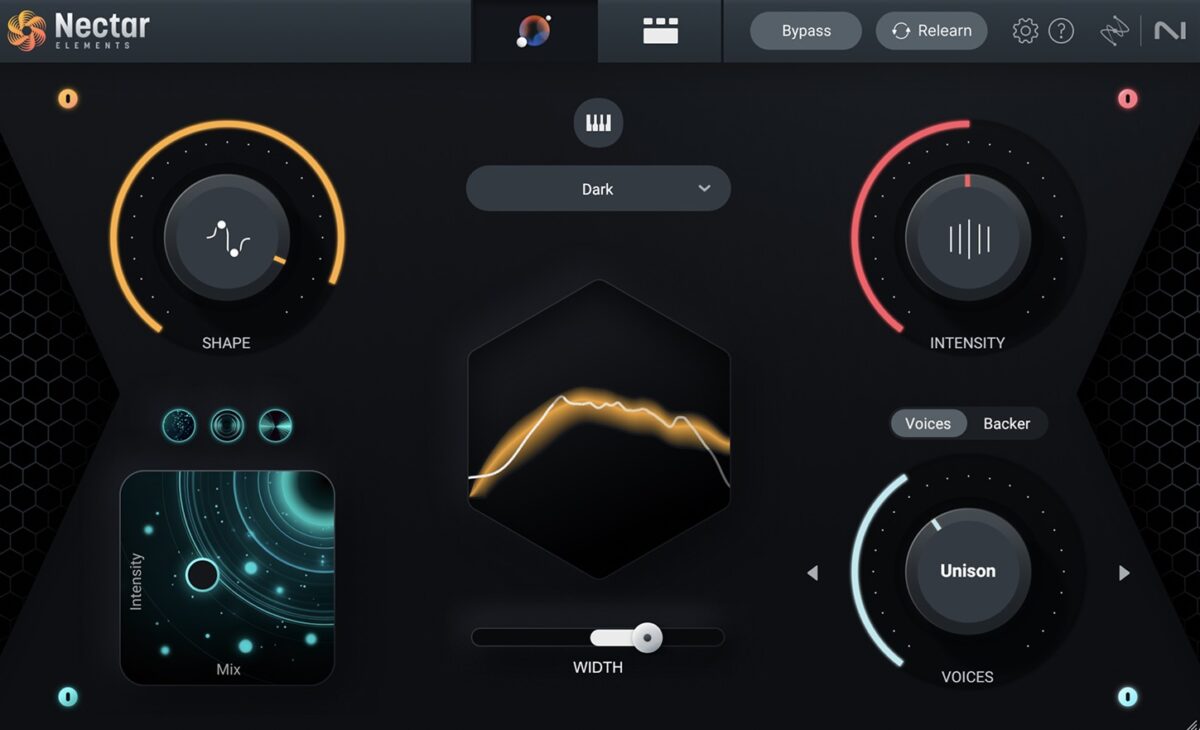
In the next example, I have the lead vocal going to a shorter reverb, and the double and all of the background vocals going to the same medium-length reverb. To me, this sounds less confusing and more cohesive. In both examples, I’m using Nectar as my chosen reverb/s.
The FX pad on the bottom left of Assistant View lets you dial in the Intensity and Mix of any effect. You can add Reverb, Delay, and Dimension which adds chorus, flanger, and phaser effects.
Once you have some reverbs you like in your session, don’t be afraid to experiment with them! Try automating the vocal send to a reverb so that more and more reverb is added toward the end of a vocal phrase. Or, route the reverb track’s output to an audio track, record just the reverb sound, then move that clip to a different point in the song to either foreshadow or echo a moment that happens in the song. You can also reverse this clip and place it right before a vocal phrase to lead into it. The possibilities are endless!
5. Listen for inconsistencies on different monitoring systems
Part of what makes a mix sound cohesive is how it sounds on different monitors. Listening on different systems will give you perspective on mix issues that exist that might have gone unheard before. This starts getting into mastering territory, but if you take this into consideration while mixing, the mastering process is easier.
Here is the full instrumentation of “Coco Oils.” In the “before” version, I had been mixing on my large studio monitors with a subwoofer. As soon as I switched to my smaller monitors, I noticed the bass and kick sounded very weak and needed more definition. I ran the mix through Ozone Elements to clean up some low resonance that was muddying up the mix. Here is the before and after:
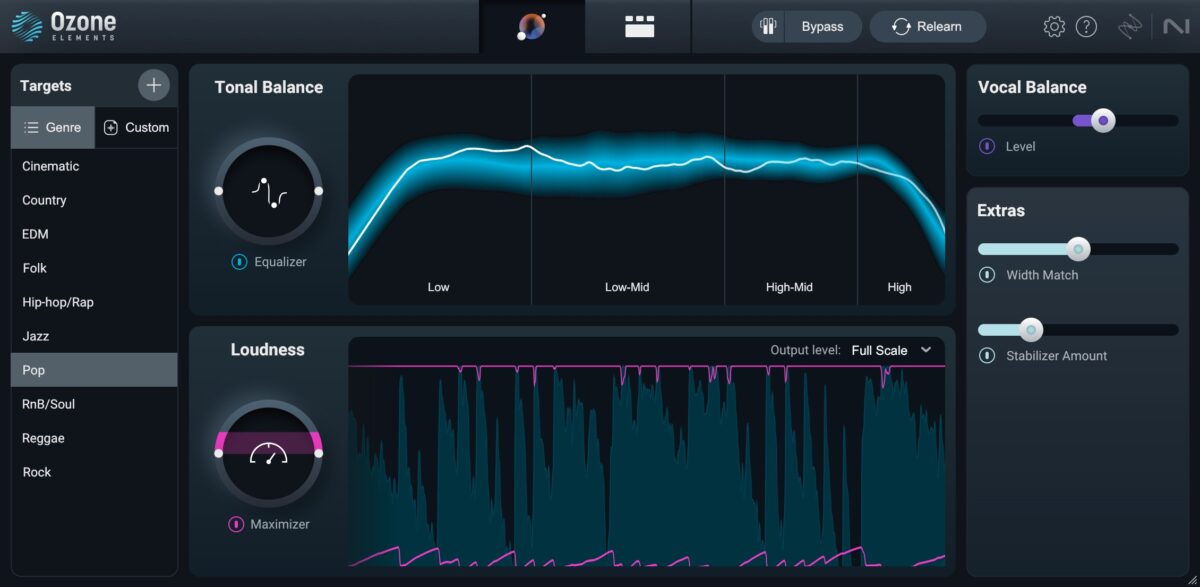
For a step-by-step mastering process, check out our guide on mastering with Ozone.
Start getting a cohesive sound with mixing and mastering
Getting a cohesive mix is really all about balance in volume (probably don’t scare the listener with a suddenly too loud guitar solo), balance in space (use EQ to carve out sonic space for each instrument and use reverbs and delays to put sounds in a different physical space), and delivering emotional impact.
At the end of the day, we’re using science to create art so if it sounds good to you and accomplishes the goals you have set, the mix is a success in my book.


