


Don’t be fooled by its diminutive size; the ukulele wields a deceptively powerful influence in the realm of music production. Session Ukulele is a new instrument for Kontakt and the free Kontakt Player that shows off the huge creative potential of the ukulele.
Like Native Instruments’ other Session guitar instruments, this musical tool allows you to create authentic parts in mere moments thanks to its meticulously recorded audio and huge library of strumming patterns. As well as strummed chords and notes, you can also use Session Ukulele as a melody instrument, and it comes packed with a wealth of settings and effect controls that will help you sculpt its sound to fit your mix perfectly.
In this guide to using Session Ukulele in your songs, we’ll look at five ways you can take your projects to the next level with the ukulele’s surprisingly versatile sound.
How to use ukulele in songwriting:
- Make chord progressions
- Add rhythmic interest
- Carry a melody
- Create face-melting arpeggios
- Make a counter-melody
1. Make quick chord progressions
Session Ukulele can be a fast, effective tool for coming up with the basis of a song. Let’s see how quickly and effortlessly we can use the instrument to create a chord progression that you can begin writing a song around.
First, load up Kontakt 7 or Kontakt 7 Player in your DAW, and click the Session Ukulele folder in the browser. You’ll see that charango, soprano and tenor versions of the instrument are available in regular and melody versions.
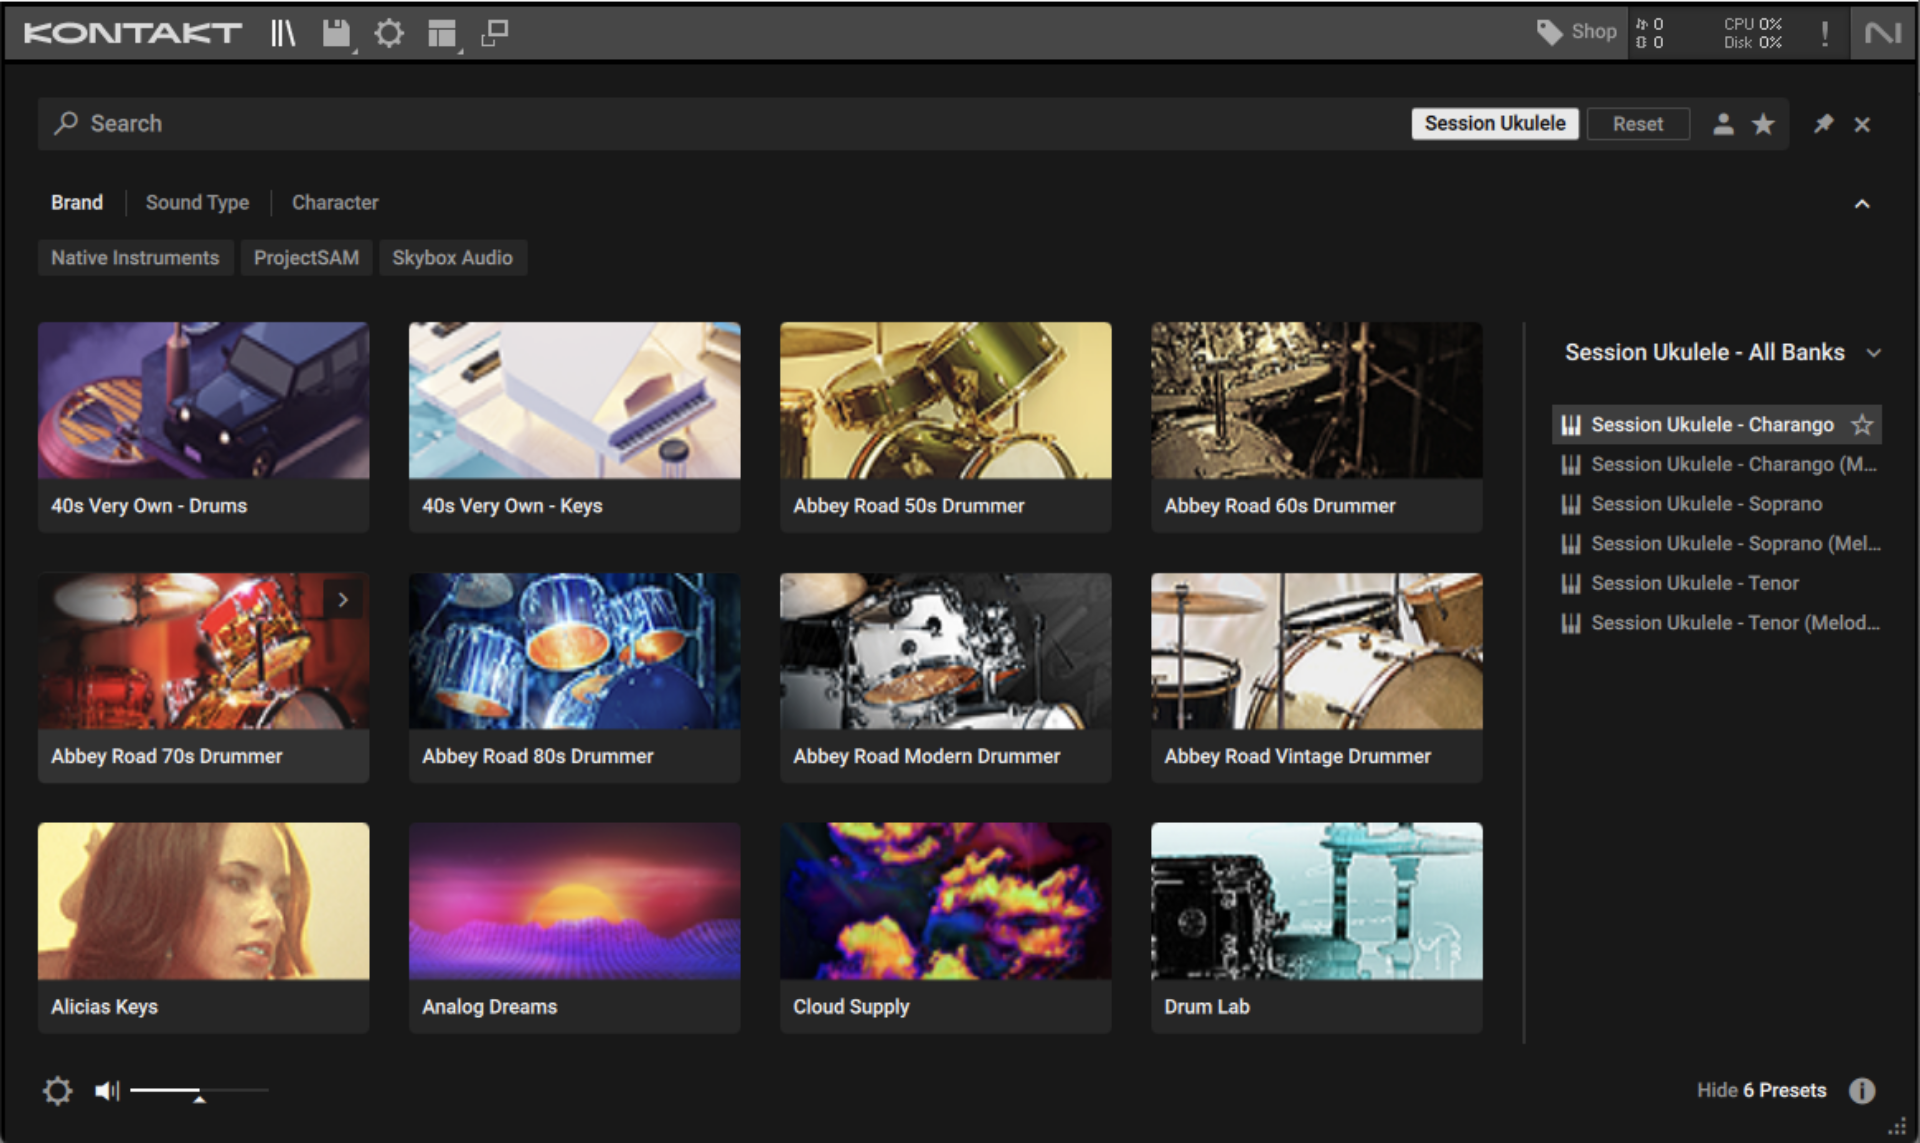
Double-click Session Ukulele – Tenor to load it up. Now when you play a key on your MIDI controller between the notes of C2 and C4 you’ll hear a strummed pattern, played at your project’s tempo.
We can change the strumming pattern using the arrow buttons to the side of the song preset, which is set by default to 1 Easy Going.

You can also bring up a menu of the available song presets by clicking the song preset name. Do this, and select 5 Dotted Dreams, 100 BPM. Click the tick icon at the top right of this menu to apply this change.

Although the song preset has a suggested tempo of 100 BPM, we can use it at whatever tempo we like. Let’s stick with 120 BPM, and get right to composing a chord progression.
Session Ukulele will automatically play the major chord of whichever single key you play, or if you play full chords it will automatically play that chord instead.
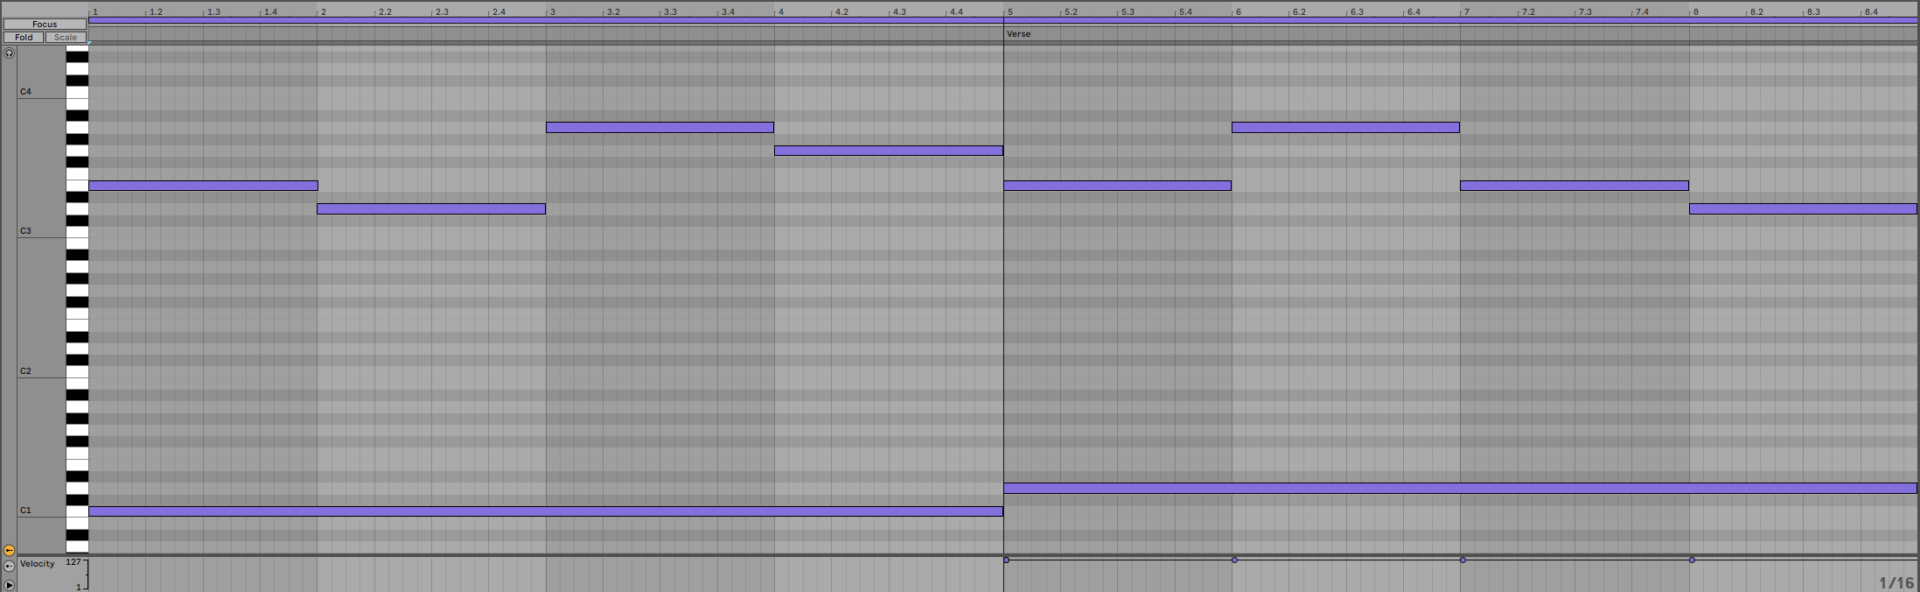
Let’s quickly make a simple major chord progression using single notes. Copy the pattern we’ve used here, which will give us an E major, D major, A major and G major progression.

This is uplifting and energetic. Let’s call this our chorus, and we can quickly make a verse to complement it by re-arranging those chords. Create a new MIDI clip, and copy this sequence which gives us an E major, A major, E major, D major progression.

We can make the chorus and the verse sound more differentiated by giving them different strumming patterns. C1-G1 are “keyswitches” that control the strumming patterns, and we can see from Session Ukulele’s interface that currently C1 – D#1 have strumming patterns assigned to them.
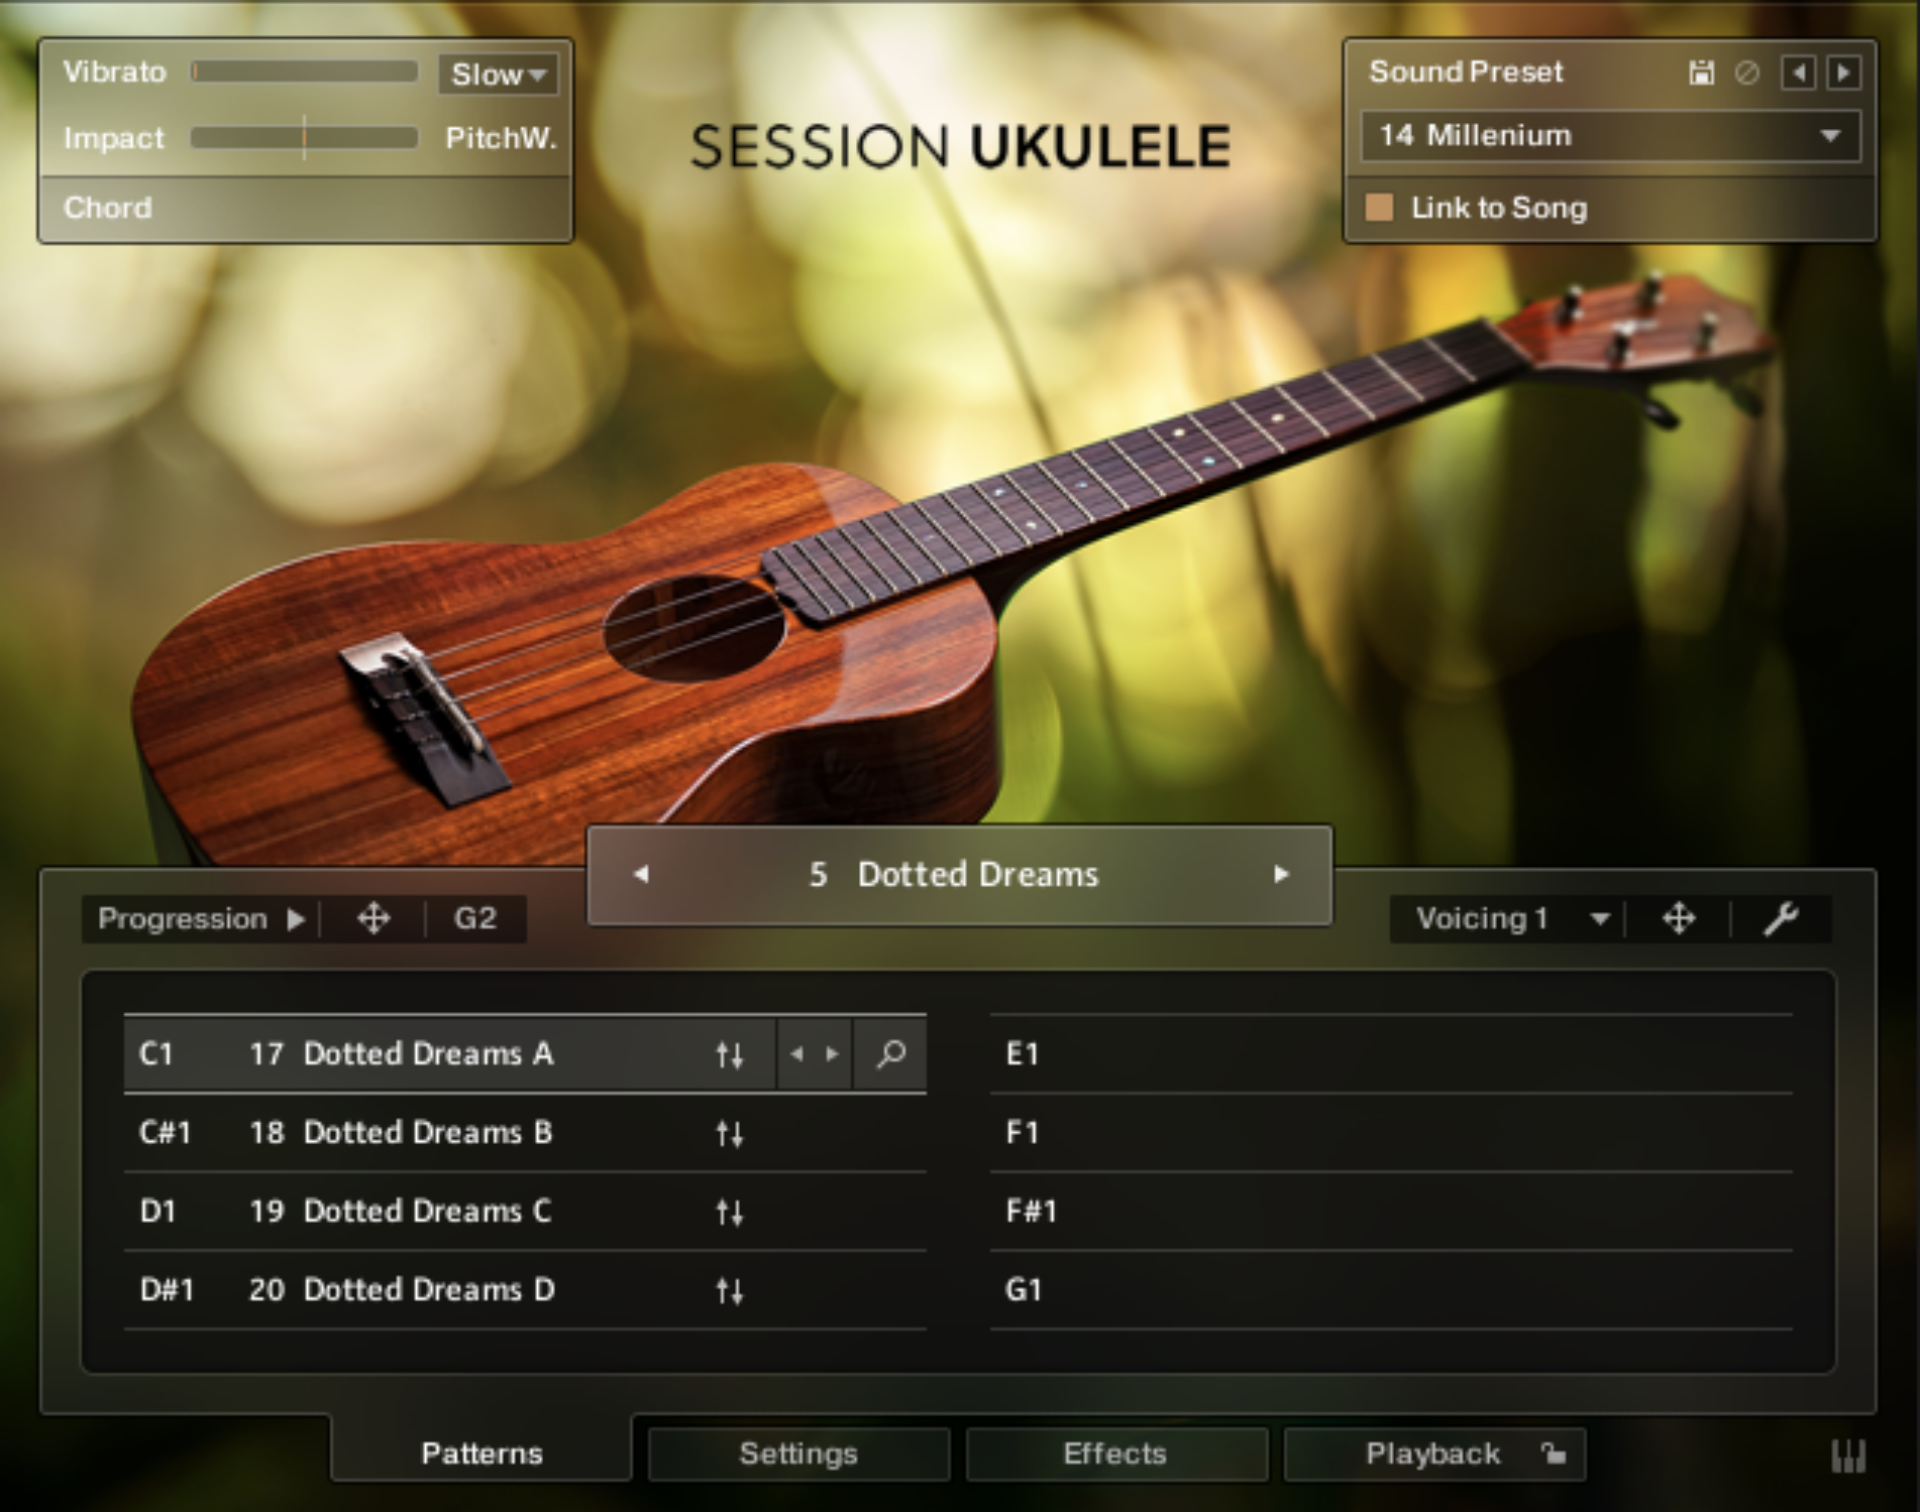
If we sequence a C1 note under the chorus, and a D1 note under the verse, Session Ukulele will use the Dotted Dreams A pattern for the chorus, and the Dotted Dreams C pattern for the verse.
As you can see, it can be very quick and easy to create inspirational, authentic-sounding chord progressions very quickly with Session Ukulele.
2. Add rhythmic interest
Let’s use Session Ukulele to add rhythmic interest to a simple 140 BPM beat and bass loop.

This bass line plays just A and D notes, and without any accompaniment is quite plain-sounding. Let’s make things a bit more interesting with some strummed ukulele notes.
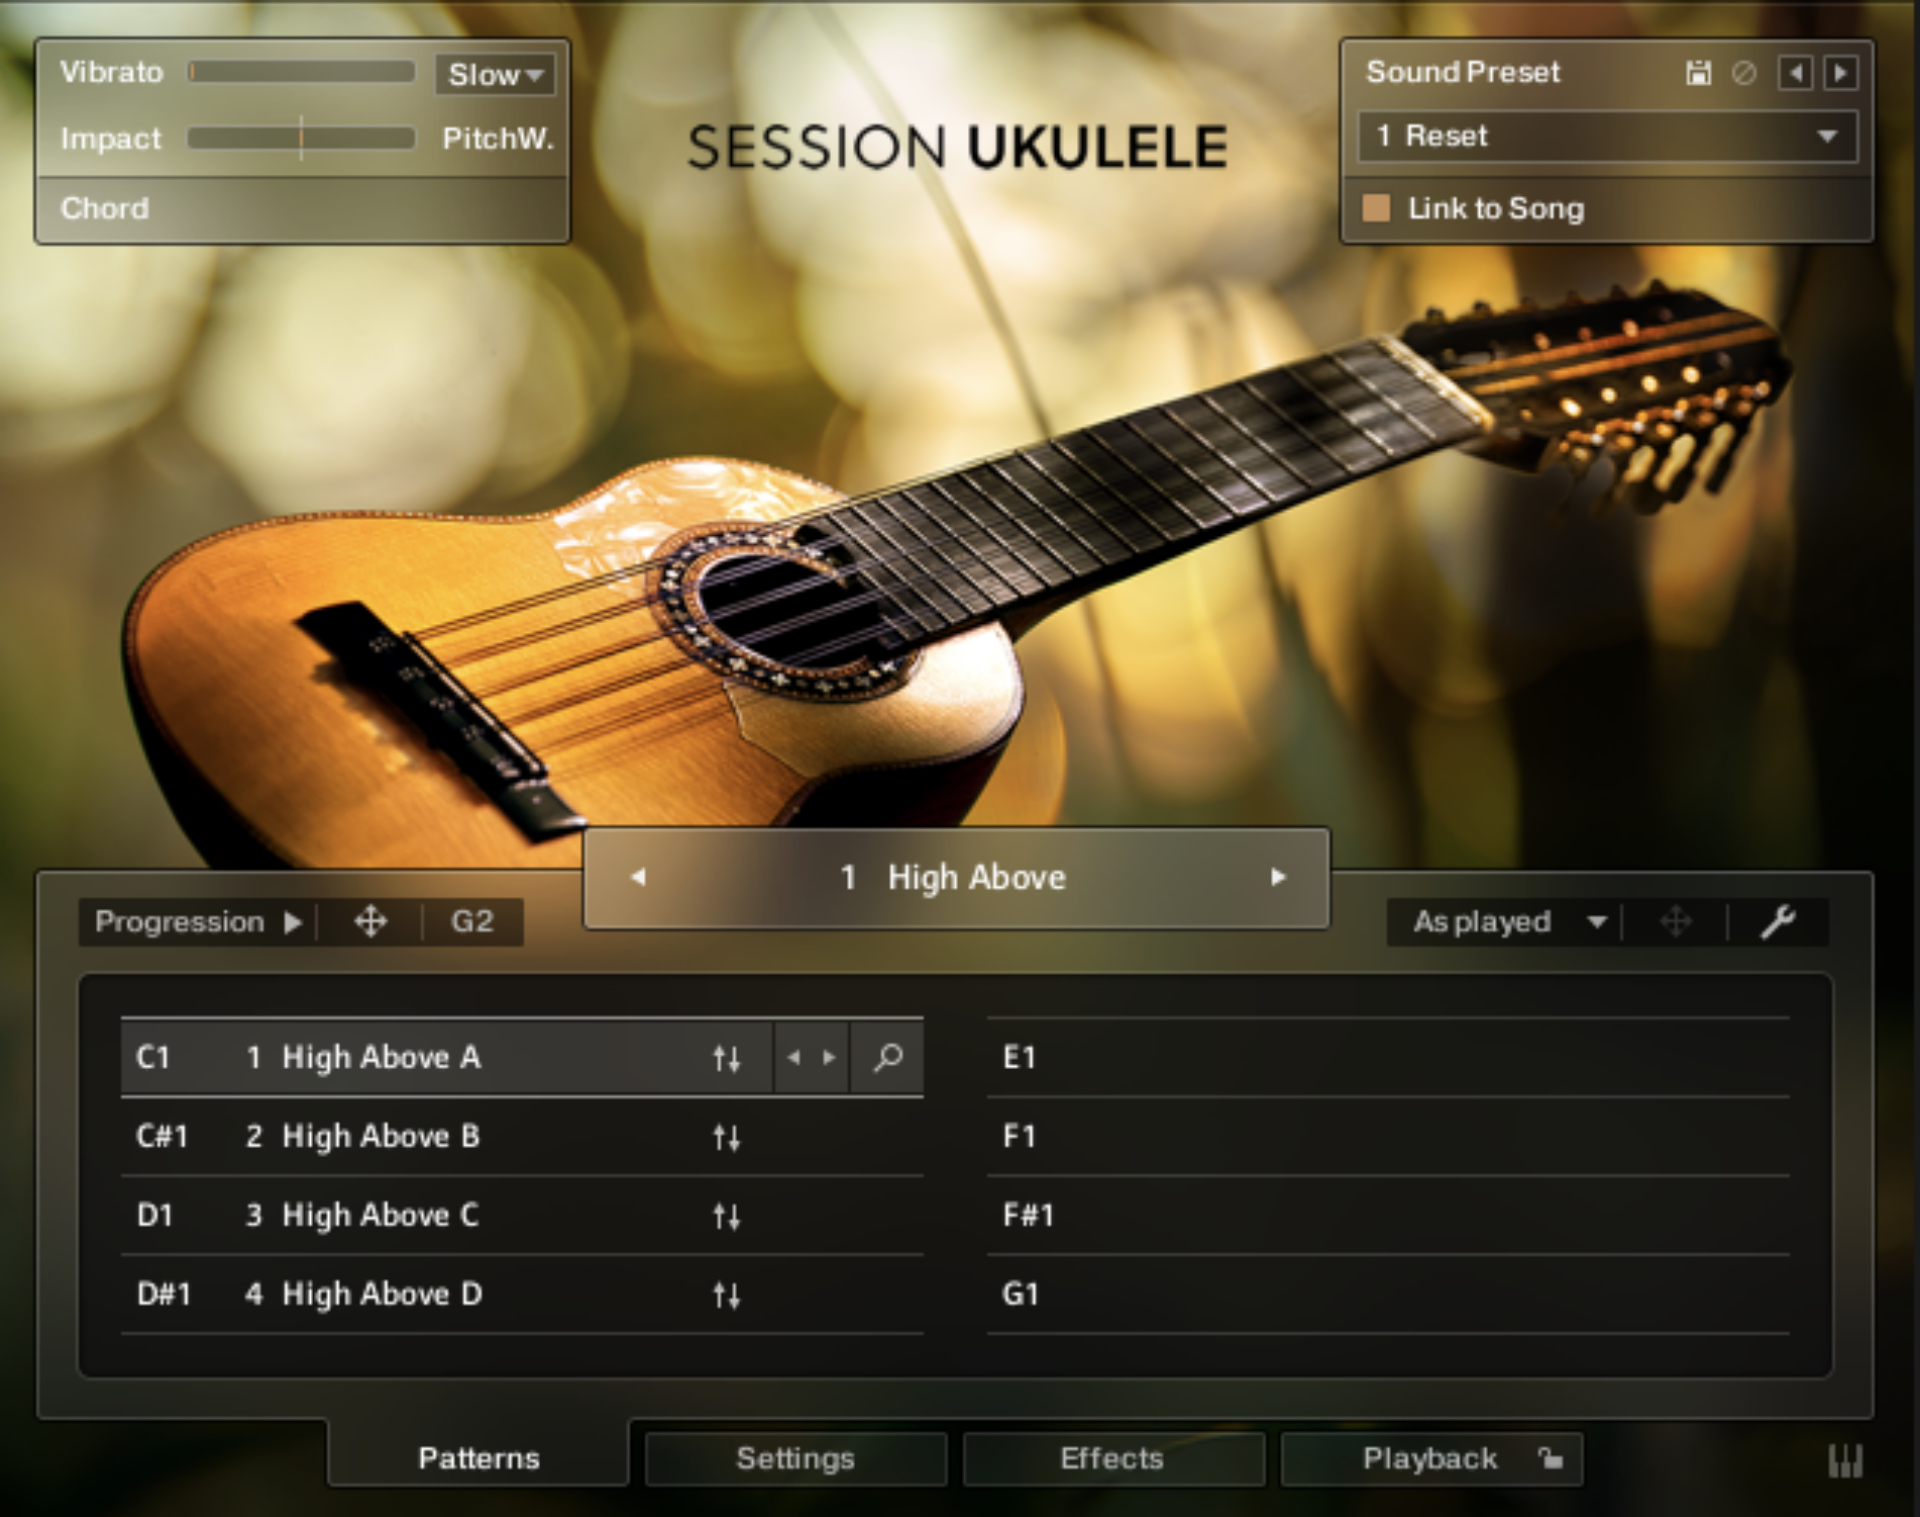
This time load up the Session Ukulele – Charango instrument in Kontakt 7.

Set the Voicing Generator to As Played. This allows us to play single strummed notes rather than automatically playing chords.
Copy the MIDI used here. This plays A2, D2, A2, G2. This follows the bass line the first time around, and the second time around it harmonizes the D bass note with a G.

At the default tempo this plays back very fast, and sounds a touch manic.
So, let’s slow it down by opening the Playback panel, and setting the Tempo parameter to 1/2.

This sounds much more natural.
We can quickly change the strumming pattern using the arrows in the song preset panel. Let’s set the C1 strumming pattern, which is the default pattern played when no keyswitch is used, to 5 Easy Going A. You’ll also need to return the Voicing Generator to ‘As played’ when you change the strumming pattern.

This part sounds a little dry, so let’s spice things up with some effets. Open the Effects panel, then click the first effect slot to add an effect.

Select the Replika effect.

Set the Delay Time parameter to 1/4 note dotted.

This gives the part a smoothly-flowing delay effect that helps it sit nicely with the beats and bass in the mix.
3. Carry a melody
Session Ukulele has dedicated versions of the instrument available for melody, so let’s use one of them to give a musical idea a more interesting texture.
Here’s an example project featuring a piano part and a drum part. The piano is playing both the chords and the melody.

We can get a more interesting mix if we use a different instrument to play the melody line. This time load up the Session Ukulele – Soprano (Melody) instrument in Kontakt 7.

Let’s mute the piano melody so we can replace it.

Now we play the melody on the Session Ukulele track.

This default sound is a little quiet and plain in context, so let’s use Session Ukulele’s Sound Preset feature to help it sound better in the mix. Click the Sound Preset drop-down menu and select 13 Lonely 2000s.

This changes the instrument’s Settings and Effects parameters, and gives the melody part a much clearer, atmospheric sound.
4. Create face-melting arpeggios
Using Session Ukulele’s effect we can transform its sound from cheerful to monstrous. This time load up the Session Ukulele – Tenor (Melody) instrument.

Click the Effects panel, then click the Super Charger effect to bring up its parameters.

In the Supercharger GT panel, click the Expert tab, and set the Saturation Mode to Hot, and turn the Saturate knob up to full.

Now you can play an arpeggiated pattern, and it’ll take your song to rocking new heights.

5. Make a counter-melody
The soft sound of the ukulele is the ideal instrument to use for a counter-melody: it’s bright and harmonically right enough to be heard in a mix, but its thin softness means it won’t overwhelm your lead instrument.
Here we have an example project with drums, electric piano chords, and a flute lead.

Let’s use Session Ukulele to add a counter-melody that won’t overpower these relatively delicate existing elements.
Load up the Session Ukulele – Charango (Melody) instrument.

Copy this looping counter-melody, which uses velocity values of 80 to get a softer sound.

This works musically, but it’s a little dry to sit in the mix comfortably. Let’s remedy that by using a Sound Preset. Set the Sound Preset to 18 Lost in Space.

That sounds better, but the reverb is a little much. Open the Effects page, select the IR Reverb effect, and turn the Mix down to 25%.

Start using ukulele sounds in your songwriting today
Here we’ve looked at five ways on how to use ukulele sounds in your songwriting. If you’d like to learn more, check out How to make electronic music: the ultimate guide, Music production 101: How to start producing music and Beat-making 101: How to make a beat.
If you’re yet to give it a try, make sure to take a look at Session Ukulele for all your virtual ukulele needs.
Related articles
-

Behind the synth: A. G. Cook on stacked sawtooths and the creation of Super*Saw
Explore the extremes of stacked sawtooth waves with Super*Saw, a new synthesizer co-created with A. G. Cook. Learn how to…
-

Inside the evolution of orchestral sampling: an interview with ProjectSAM
Discover how ProjectSAM’s Lineage Series uses NKS and smart features to change orchestral sampling. Plus, save on instruments in our…
-

How New Constellations turn emotion into sound with Massive X
Go inside the studio with New Constellations. Learn how they use Native Instruments gear, happy accidents, and lifelong friendship to…
-

Citizen Kain on building emotion and space with Replika
Citizen Kain explains how Replika helped shape the rhythm, tension, and emotion behind his debut Eversun Records single “Moments.”…
-

The organic precision behind Calcou’s Anjuna release featuring Reaktor
Calcou shares how Reaktor, Monark, and Super 8 shaped the creative balance and live energy behind their new duo EP,…
-

14 NKS instruments that will change the way you create music
Discover 14 NKS instruments to freshen up your workflow. From lo-fi tape synths to cinematic strings, shop the Native Instruments…
-

Parallelle on crafting living basslines with Reaktor and TRK-01
Parallelle share how Reaktor and TRK-01 shape the bass and warmth in 11th Avenue, balancing analog depth with modern control.
-

Where will your sound lead you? Explore the Native Instruments Summer Sale
Save 30% on instruments, effects, and sounds in our Summer Sale. Find the tools to keep your tracks moving and…