


Trance music is a genre of electronic dance music that has been around for three decades and is beloved by electronic music enthusiasts all around the world. With its catchy melodies, driving rhythms, and ethereal sonic characteristics, trance music has become a staple in the electronic music scene.
We’ll take you through what trance music is and the basics of making trance music, including the essential elements, software and tools you need (including a free sample library of trance vocal loops), and some tips and tricks to get you started on producing your own trance tracks.
Jump to these sections:
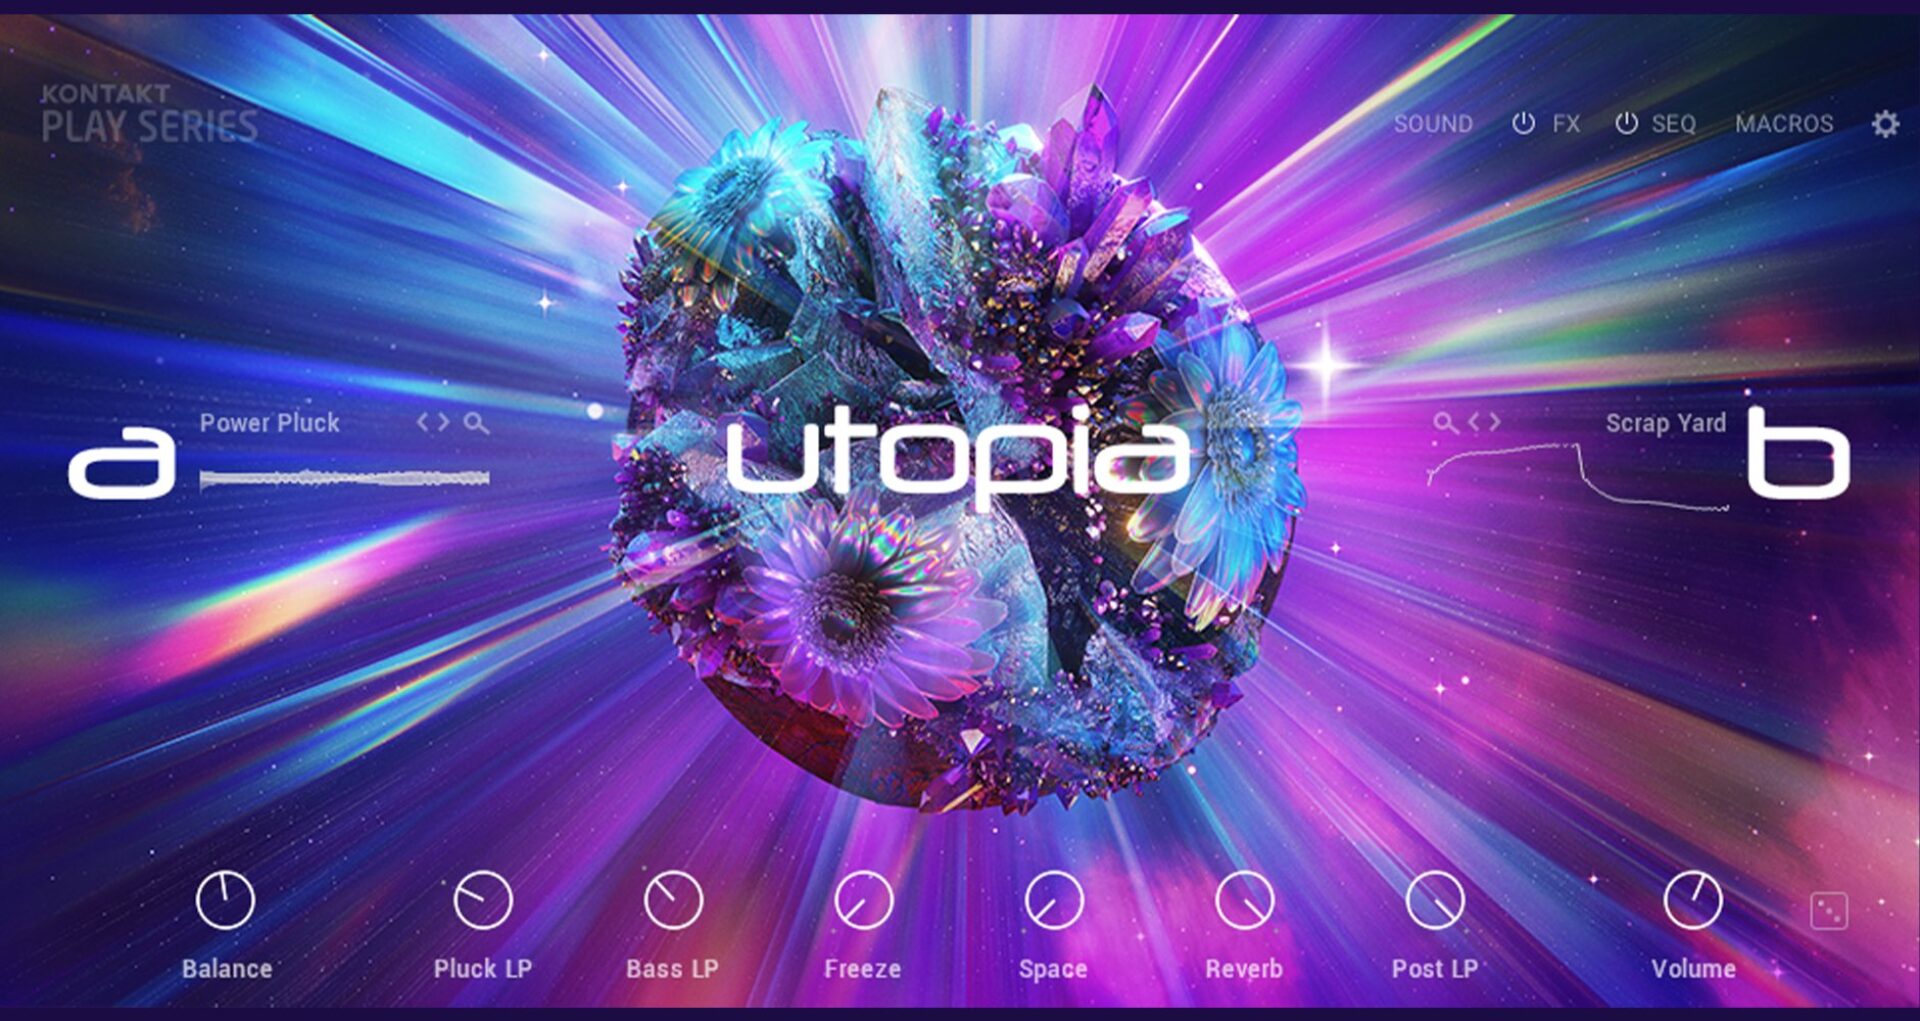
Follow along with this tutorial using the new Play Series Instrument UTOPIA.
What is trance music?
Trance music is a genre of EDM that originated in the early 1990s when European music producers and DJs started to include more electronic synthesizers and experimental sounds in their music. Trance is often described as a blend between techno and house music and it’s gained worldwide popularity thanks to artists like Armin van Buuren and Tiësto.
Trance music is characterized by a repetitive and melodic structure including its “4-on-the-floor” kick, insanely long build ups, ambient, sonic textures and synths, and a tempo ranging from about 125–150 beats per minute.
The much-loved genre has also evolved with different subgenres and styles, such as progressive trance, vocal trance, and psytrance.
Learn how to make trance music and discover several music production tips and tricks along the way. I’ll be using the new KONTAKT Play Series instrument, UTOPIA. The UTOPIA library comes jam packed with plenty of atmospheric synths, snappy bases, and deep pads—making it perfect for creating trance tracks.
Plus, I’ve created some royalty-free sample library of trance vocal loops that you can download to create your own trance tracks.
How to make a trance track
When it comes to producing trance music (or any genre of EDM, really), there are several different approaches to composing and arranging. Since trance music mostly consists of several loop-able riffs, I find it’s best to use a “compose, then arrange” method—meaning you’ll first create and collect all of the assets you might want to use (drum loops, synth melodies, bass lines, vocals, etc.), and then arrange them to build out the full track.
I’ll walk you through some tips and tricks for each type of instrument typically found in a trance song, and then I’ll cover how to go about arranging the various elements to get you that classic trance song structure. But, before we break it down to each element, go ahead and give the final track a listen below so you know what we’ll be building up to.
1. Choose the key and trance BPM
Most trance music is written in a minor key, which often helps to draw out more emotion from the composition. I really want the kick drum and bass line of this track to pack a punch in the subs, so I’ve decided to go with the key of F-sharp minor (F#m).
PRO TIP: Since the lowest tone most speakers can hit is a C note, choosing a key that’s a bit higher up the scale will allow the kick and bass to really hit you in the chest.
Since trance music generally falls in the 130–150 beats per minute range, I’ve decided to go in the middle and set my DAW’s tempo to 140 BPM.
2. Build a beat
Although there are many elements in trance music that help give each track forward motion, one of the main driving elements of trance music is the percussion section. We’ll start with the kick first, but we’re also gonna want some simple top percussion patterns (hi-hats, claps, and cymbals) and some “rises/falls” to throw into our final mix. Let’s get started!
Kick
For this track, I’ve decided to go with a kick sample called “Kick Imola 2” from the LUCID MISSION Expansion Pack and I’ve laid it out four-on-the-floor style (meaning the kick will hit on every beat of the measure). Give it a listen.
Hats
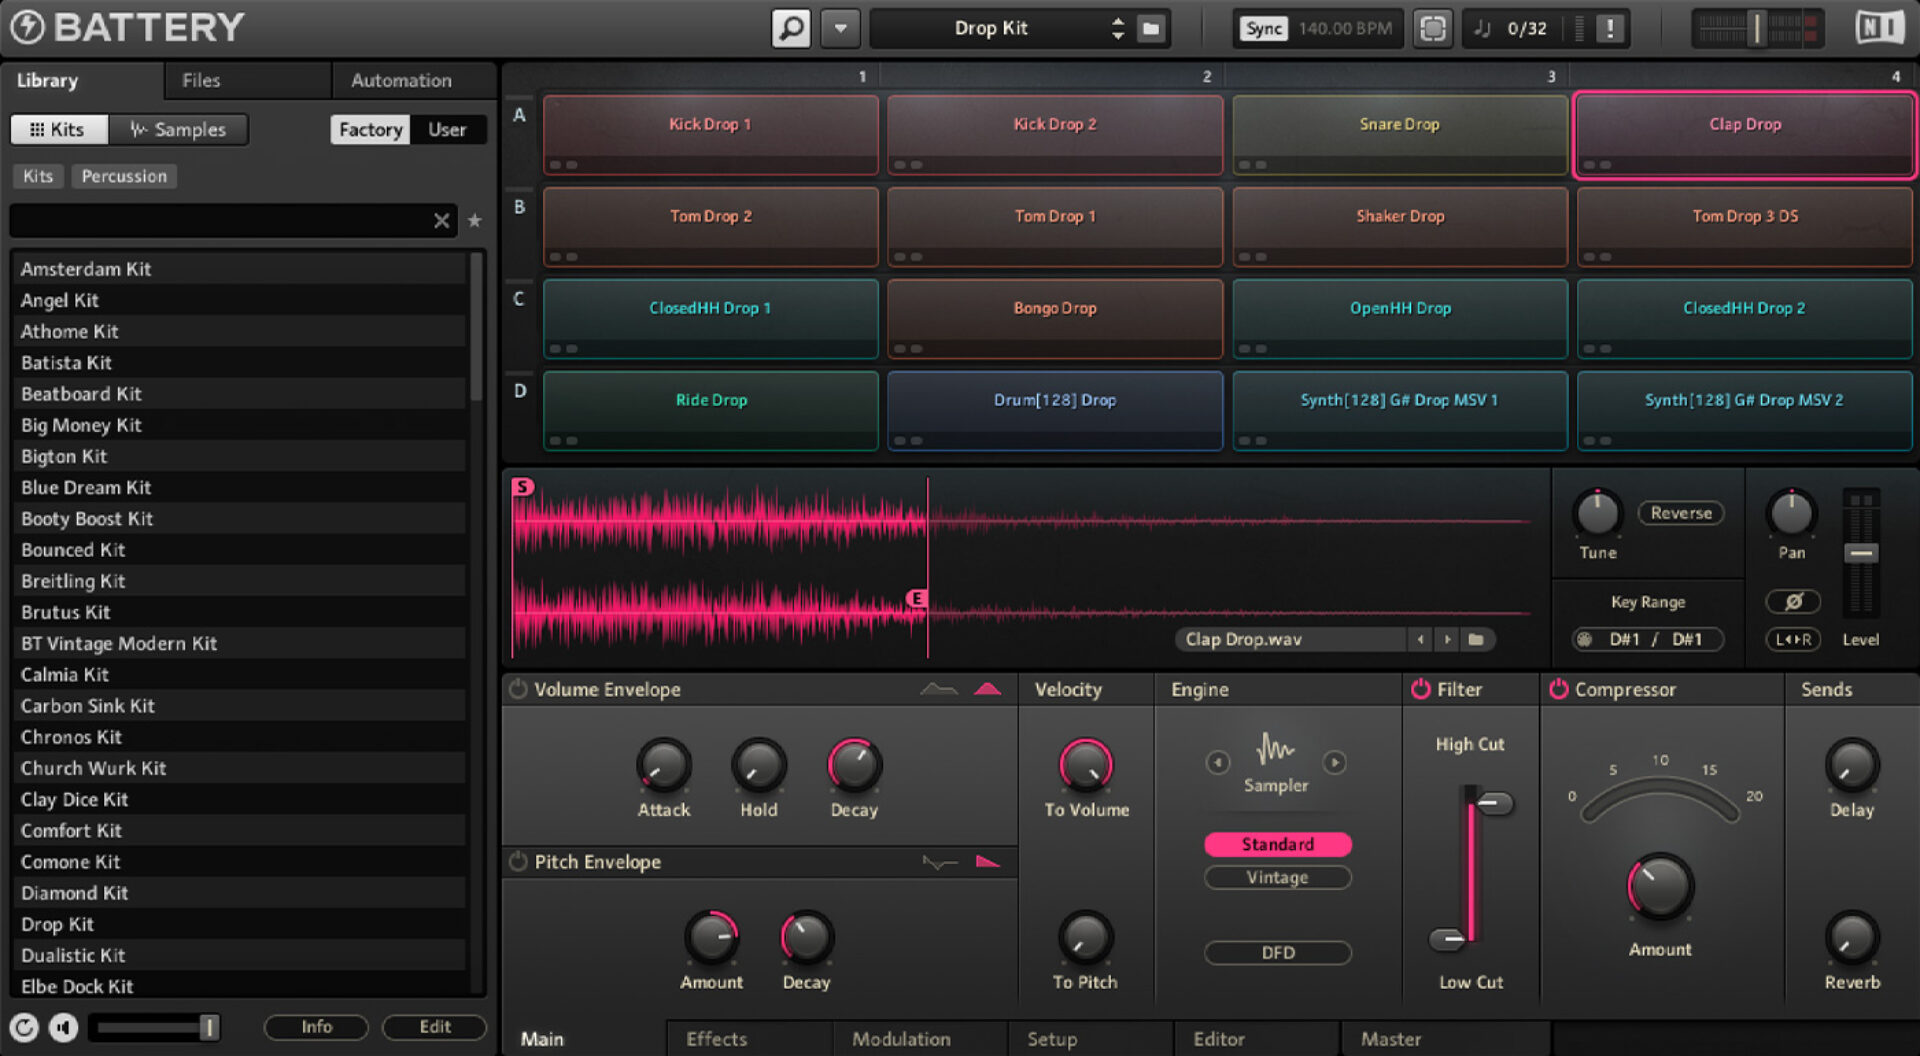
I decided to build my hi-hat loops using a BATTERY 4 kit called “Drop Kit” (also included in the LUCID MISSION Expansion Pack). For my main hi-hat pattern, I also added just a bit of reverb using the Neoverb reverb plugin from iZotope. This helps give the hats some “air” and creates for a more ambient effect. Here is the main hi-hat loop I created, paired with the kick drum:
Claps
Although snares and claps aren’t always present in trance music, I’ve chosen to create a clap loop pulling from the same “Drop Kit” BATTERY 4 kit. I found a clap sample I liked and then simply cut the sample short to give it a nice, crisp sound.
Then, I created a loop where the clap hits right on every second and fourth beat of the measure—but also has a quick, triplet flair at the end. Give it a listen with the kick drum.
Other percussion
With your top percussion, the key is to create a variety of patterns and textures to work with. This will help build tension and momentum when we start arranging the track. Here’s an example of top percussion loops I made from the same BATTERY 4 kit, played along with the kick drum. Pay attention to the reverse cymbal sample, as this is going to really help give my final trance track some good, forward movement.
3. Write a bass line
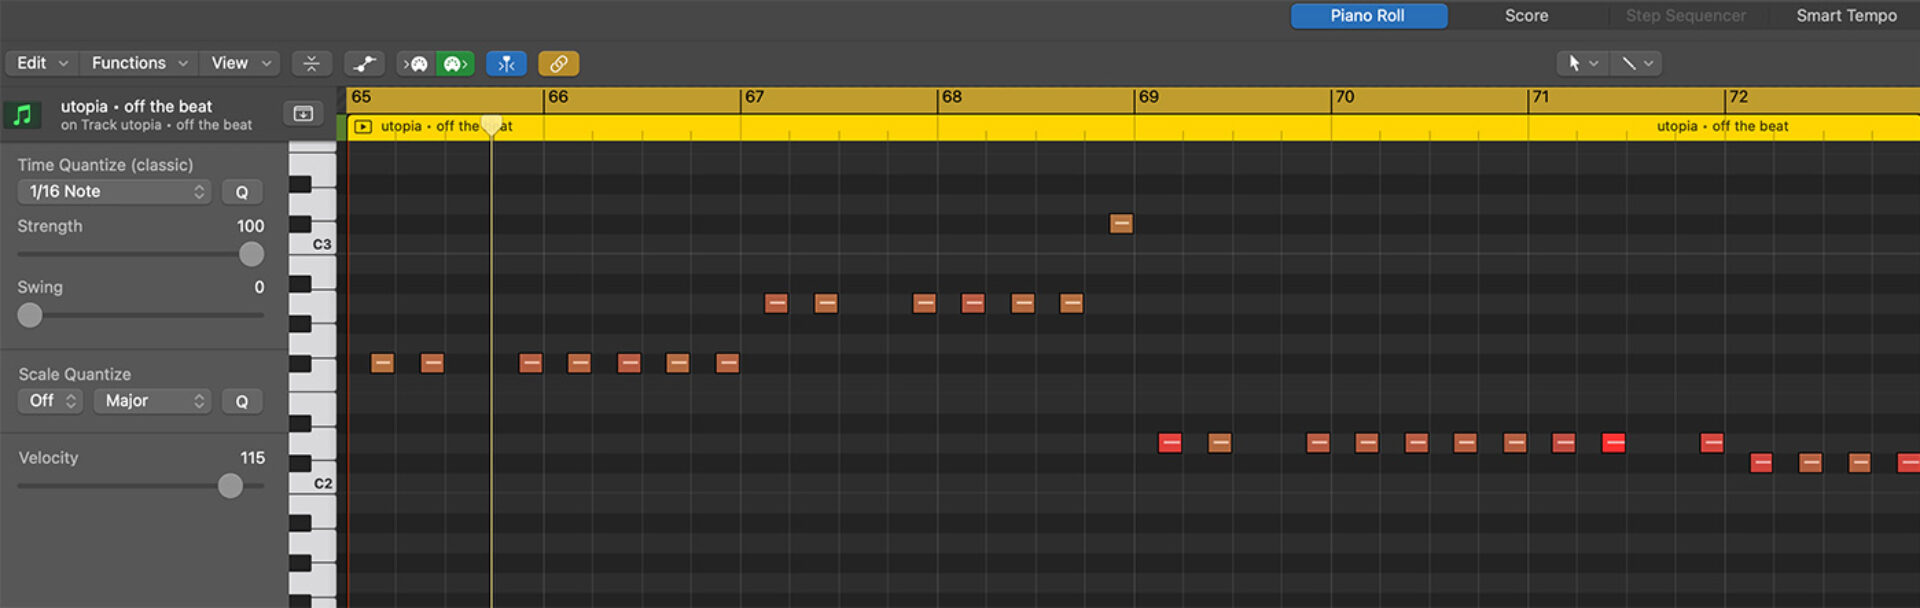
One common theme in trance music is to have shorter bass notes, hitting on the off-beat. This helps keep them out of the way of the kick drum, but still provides a lot of low-end punch between each kick. I really loved the hollow sound of the “Off the Beat” preset in the UTOPIA library, so I used it to create this riff.
Notice how, for the most part, there’s a bass note between every kick. But, I intentionally left a few out to help create a bit more “bounce.” Here’s a screenshot of the MIDI notes so you can visually see what’s happening:
You’ll also want to have a few ambient bass elements to work with for the builds and breakdowns. For the following loop, I used a UTOPIA bass preset called “Dreams and Dramas” because it has a ton of texture and delays already built into it. It nicely fills in the low-end frequencies, but also has a great, spacious quality.
4. Craft the synths
Your synth selection is going to be a crucial part in defining the sound of your trance track. Having a variety of synth elements with differing qualities is going to help you layer multiple synth loops on top of each other to create a rich, atmospheric bed of sweeping sounds. So, create some synth loops that are more crisp or dull, some that are more wide or narrow, and some that are more dry or wet.
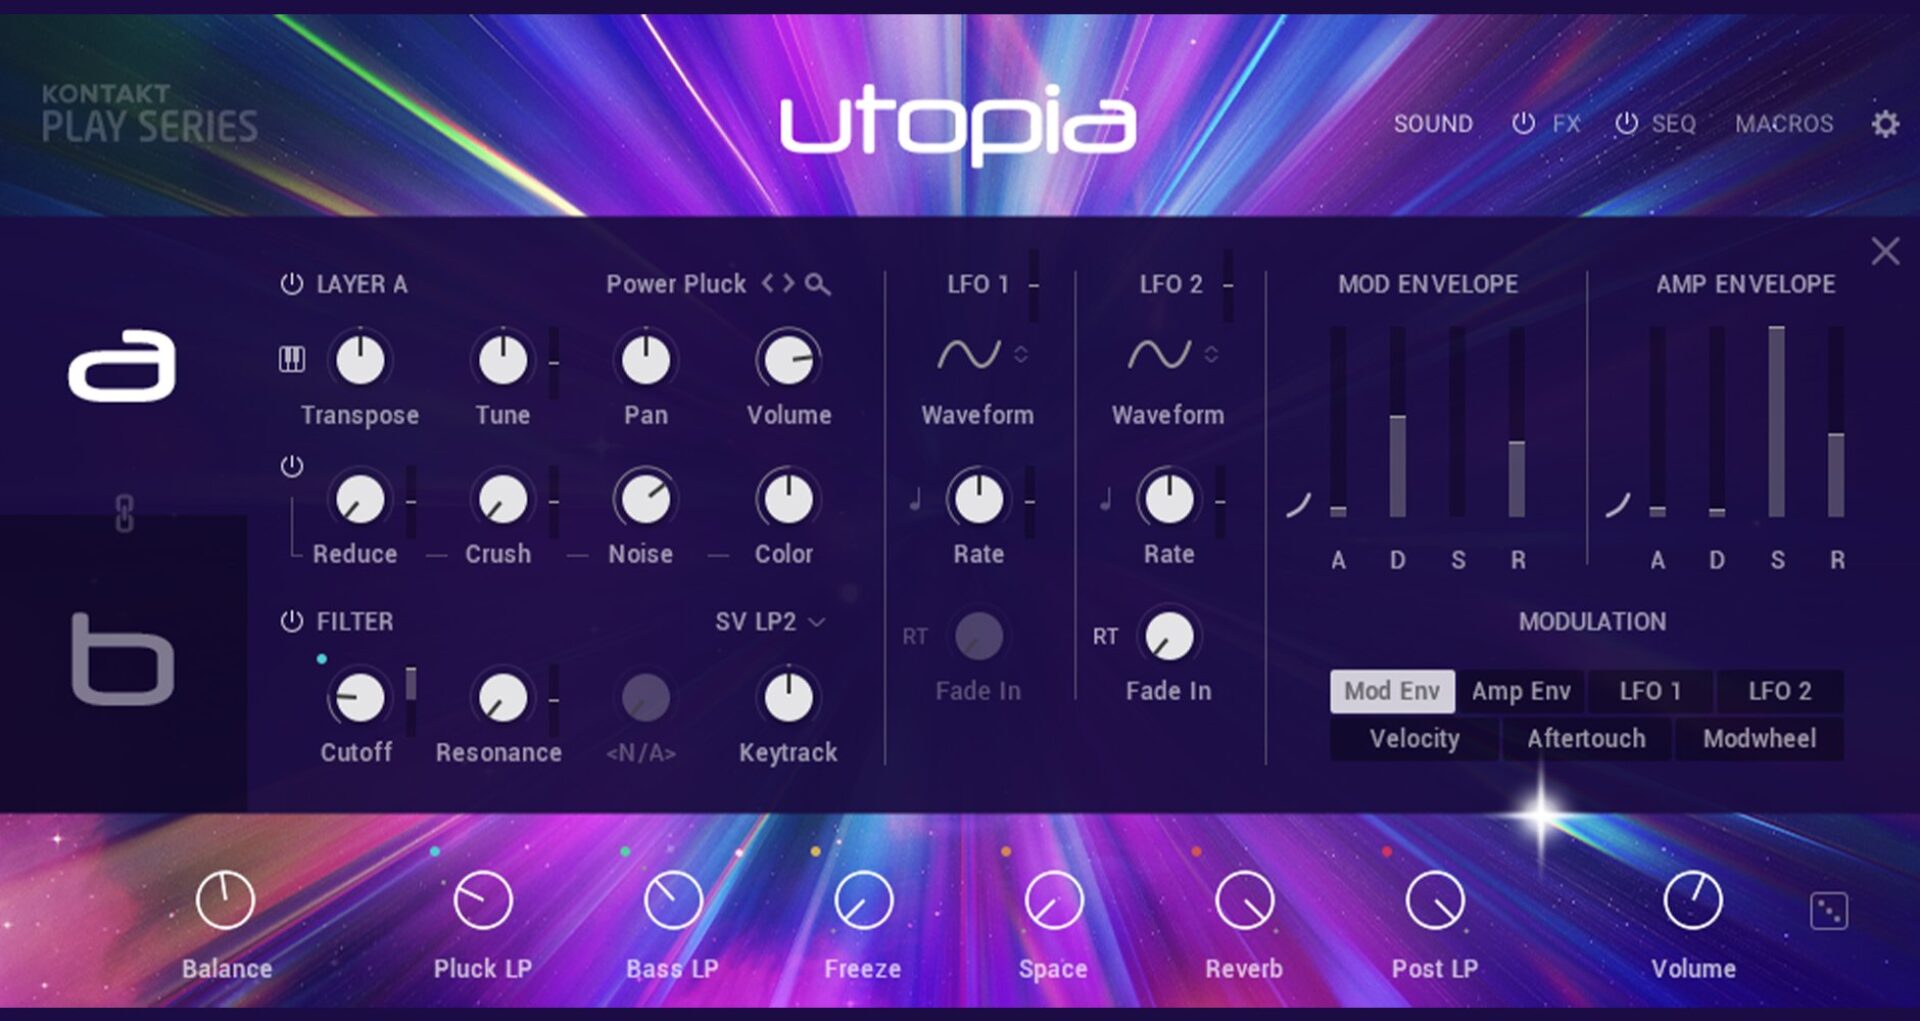
Below are a few examples of synth riffs I created to layer together throughout the track. I’ve simply used different presets from the UTOPIA library for each. Obviously, if you want to go in deep under the hood and tweak the presets to create your own, unique sounds, you’re able to (as is standard with the entire KONTAKT Play Series). But since I ended up loving most of the presets in this new instrument, I kept most of them as-is. Give these synth riffs a spin.
One thing to keep in mind: the whole KONTAKT Play Series was designed to be played! Each preset has the Modwheel assigned to various parameters in KONTAKT, so you can get some really interesting sound transformations quite easily. Simply move the Modwheel on your MIDI controller (or within the KONTAKT user interface) as you’re recording each synth line and you’ll start to hear just how many different sonic textures come included with the UTOPIA library.
For example, here is a synth line I created with the “Wide Range” preset, without playing the Modwheel.
It sounds pretty great already, but if I record it while “playing” the Modwheel, it really gets it to sparkle.
Wiggling the Modwheel on any of the KONTAKT Play Series libraries will really help bring each sound to life.
Also, it’s worth mentioning, if you aren’t an experienced piano player (I’m sure not), you may find it easier to record your synth line and then add in the Modwheel modulation later. I actually prefer doing it this way because it allows me to fine-tune the modulation to craft the exact sound I’m looking for. Here’s a screenshot of the MIDI notes along with the Modwheel data:

5. Create the vocals
Although much of trance music is purely instrumental, there are still quite a lot of trance tracks that use vocals. Historically, trance music tends to favor the use of breathy, ambient, female vocals, but as the genre has expanded over the years, more trance tracks now feature male vocalists as well.
In order to get you off on the right foot, I created this free sample library of trance vocal loops for you to use, royalty free, in your own productions. Feel free to use any of these melodic and percussive vocal loops to help inspire your own creations. There’s no need to credit me at all, but if you end up using them to make something cool, definitely send me the link via my Instagram (@arthurkody) so I can check it out!
Here are a few audio examples of the vocal loops:
Whether you use my vocals, use someone else’s, or supply your own, you’re going to want to make sure the vocals have a lot of space to them. This can be done using reverb plugins like RAUM (that’s my go-to for when adding huge, expansive reverb is called for).

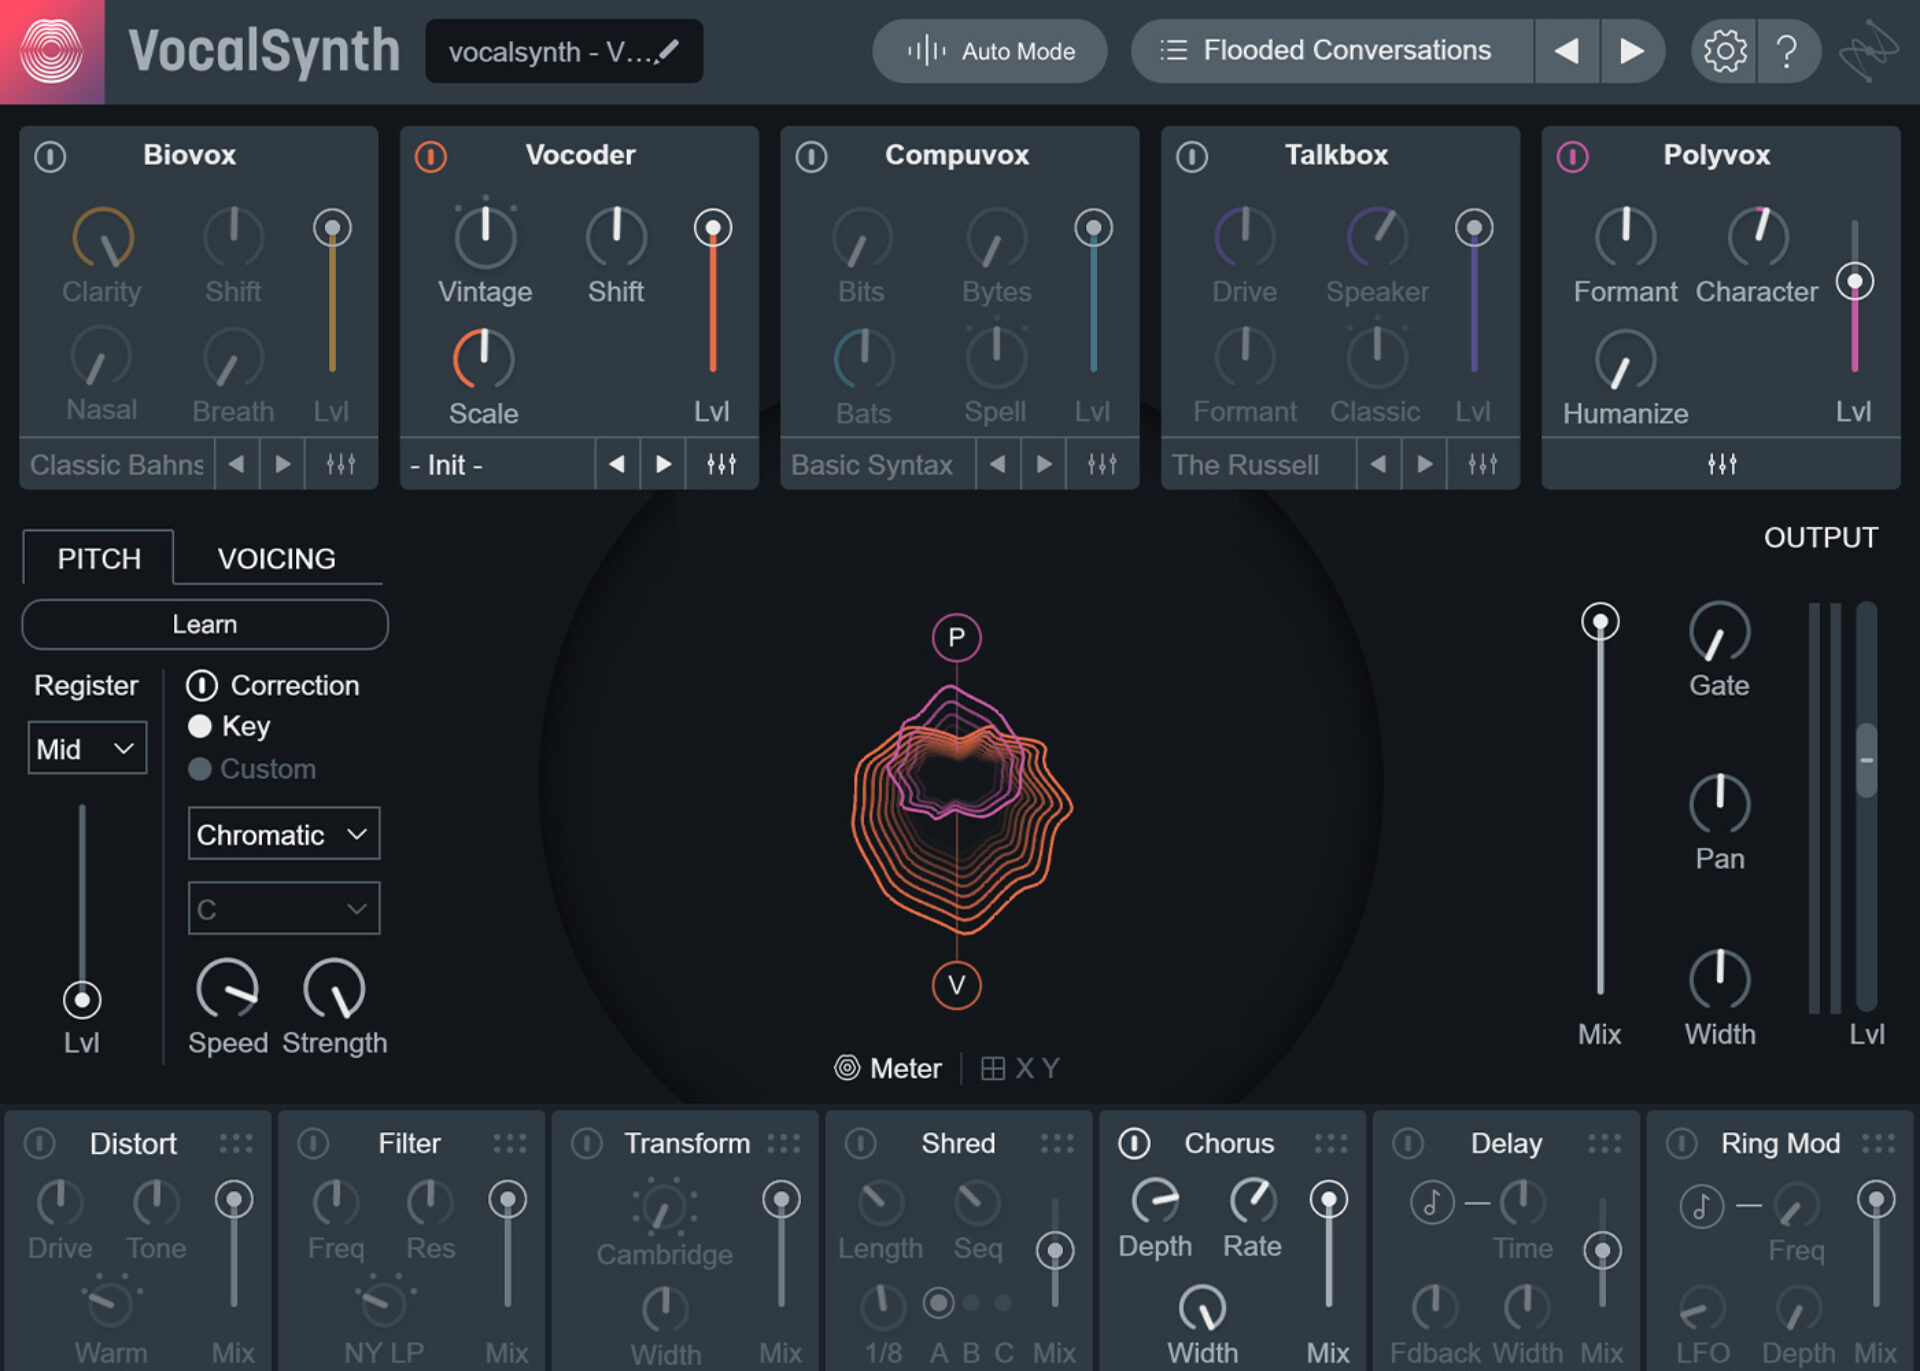
Also, by using effect plugins like VocalSynth 2 by iZotope, you can create some really rich textures from just some basic vocal phrases.
6. Select risers and falls
In EDM, a “riser” or “uplifter” is typically some sort of atonal sound that ramps up in volume. A “fall” or “downlifter” is the exact opposite (ramping down in volume). Here’s an example of an uplifter I pulled from the LUCID MISSION Expansion Pack:
Having a few of these kinds of sounds at the ready will really help you ease from one section of your trance composition to the next since they can easily assist in building and releasing a good amount of sonic tension.
7. Arrange your trance track
Now that you’ve put in the work to create your building blocks, it’s time to arrange them all into a final piece of art! Here are some things to keep in mind as you begin arranging and layering your various instrument parts:
Trance song structure
The typical trance song structure includes a few long builds and at least one instrumental “breakdown” where the percussion is stripped away for a while, only to ramp back up again. In order to create a steady building effect throughout your track, it’s best to introduce elements slowly, often one at a time, in order to not overwhelm listeners with too many new sounds at once.
Also, although there are generally at least two builds in a trance track, trance music doesn’t often have a traditional “drop” where the energy of the track suddenly increases to its max potential. Instead, most trance producers opt for dropping into the instrumental breakdown(s) after a build feels resolved.
Remember the goal
The goal of trance music is to put the listener in a “trance.” So, work toward building a constant ebb and flow between your various sections—using different combinations of the same loops throughout the composition so the listener can start to develop a sense of familiarity with the song as they listen along. The point of trance music is, essentially, to never surprise the listener. So if there’s ever a section of your arrangement that feels “shocking,” keep working on it until you create a nice ease between one section and the next.
8. Master your track
Once you’re happy with your arrangement and all the parts and pieces are flowing nicely together, go ahead and send it to the mastering chain. Lately, I’ve just been using iZotope’s Ozone 10 as my all-in-one mastering tool. I’m not sure if the Keebler Elves started working for iZotope, or if their development team has just been loading up on some psychedelic substances lately, but the results you can get from the Master Assistant feature are nothing short of magical.

Running your final mix through Ozone 10 should yield a pretty great result, but just in case some further tweaking is needed, use the Maximizer or Width sliders to quickly boost the overall volume and wideness of your mix.
Here is the final master of the newly created trance track, aptly named “UTOPIA.”
Start making trance music today
I hope this article gave you some good insights on how to make trance music and that you’re about to get to work making the next trance hit!
If you haven’t already snagged the UTOPIA Play Series Instrument you can check it out below. It has so many great sounds for making trance music and it truly is fun to play with! It will have you feeling inspired.
Also make sure to try out the free vocal library I created, which is available for download. It has 29 melodic and percussive loops you can use to season up your trance tunes, royalty free.
Lastly, if you liked this tutorial, learn how to make a trap beat, how to make future bass, and discover even more EDM software and VSTs that can give you the signature trance sound.
Related articles
-

Inside the evolution of orchestral sampling: an interview with ProjectSAM
Discover how ProjectSAM’s Lineage Series uses NKS and smart features to change orchestral sampling. Plus, save on instruments in our…
-

How New Constellations turn emotion into sound with Massive X
Go inside the studio with New Constellations. Learn how they use Native Instruments gear, happy accidents, and lifelong friendship to…
-

Citizen Kain on building emotion and space with Replika
Citizen Kain explains how Replika helped shape the rhythm, tension, and emotion behind his debut Eversun Records single “Moments.”…
-

The organic precision behind Calcou’s Anjuna release featuring Reaktor
Calcou shares how Reaktor, Monark, and Super 8 shaped the creative balance and live energy behind their new duo EP,…
-

14 NKS instruments that will change the way you create music
Discover 14 NKS instruments to freshen up your workflow. From lo-fi tape synths to cinematic strings, shop the Native Instruments…
-

Parallelle on crafting living basslines with Reaktor and TRK-01
Parallelle share how Reaktor and TRK-01 shape the bass and warmth in 11th Avenue, balancing analog depth with modern control.
-

Where will your sound lead you? Explore the Native Instruments Summer Sale
Save 30% on instruments, effects, and sounds in our Summer Sale. Find the tools to keep your tracks moving and…
-

How Mr. Bill builds sonic worlds in Massive X
Mr. Bill explains how Massive X and instinctive sound design shaped the storytelling process behind his new downtempo album, Mr.