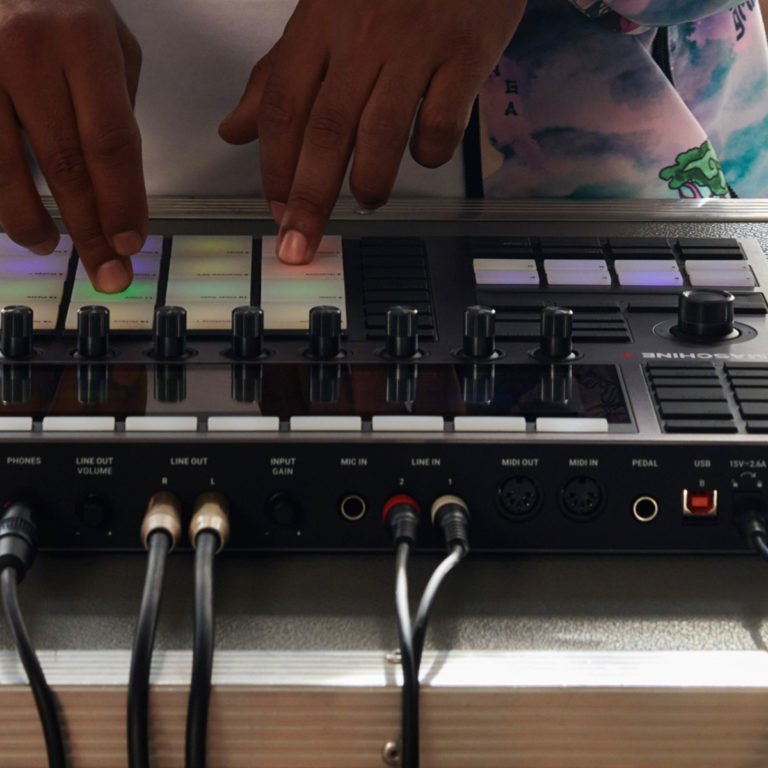
The beauty of going standalone is that you get to leave the computer behind. The advantage of MASCHINE+ is that you don’t have to leave flexibility behind with it – you can still connect to expanded storage, connectivity, control, and power. To find out exactly what combinations will be most reliable and effective, we spoke directly to the engineering team – the folks who support the hardware’s mechanical, electrical, and firmware workings.
If you haven’t been closely following MASCHINE+ updates, a lot of improvements and long-requested features have now made it into the instrument. There’s a new Polysynth engine to play. Managing plugins, presets, and content on the device is easier. Auto-Save means you won’t lose work. Soft MIDI thru makes it easier to connect more gear.
All of this means now is the perfect time to learn all the possibilities for expanding MASCHINE+ into the rig you want. Those two USB-A ports on the back of the unit do open up options. Let’s take a look.
What to know about storage
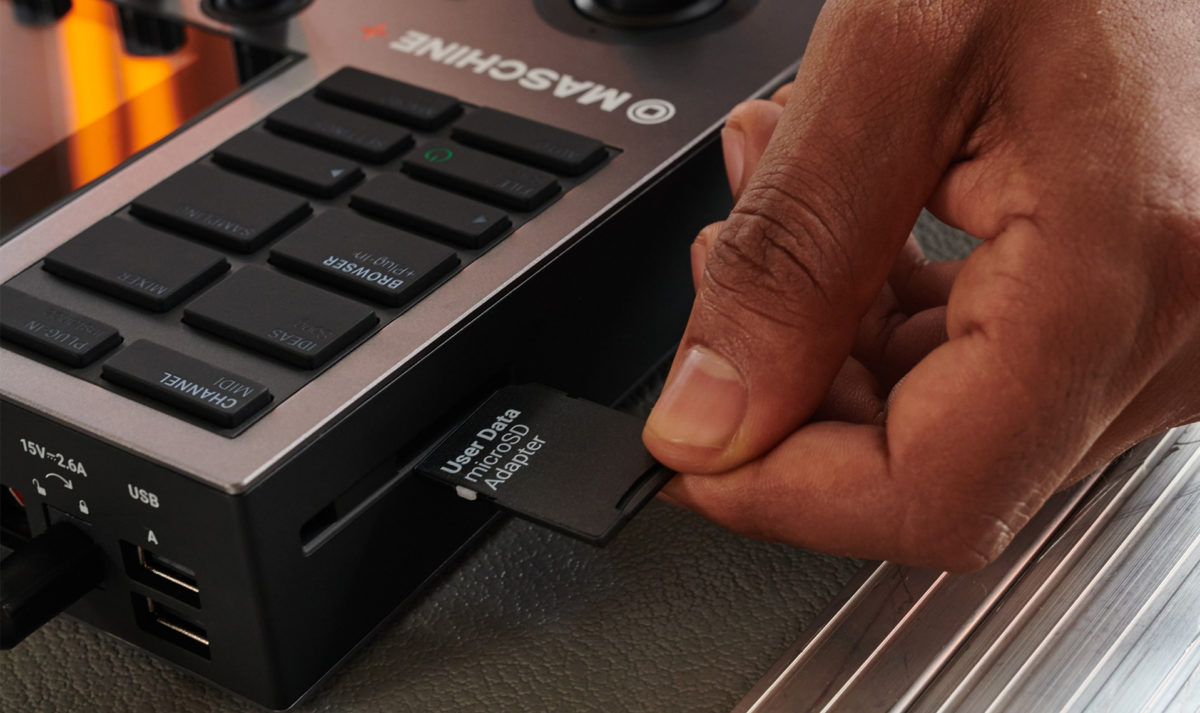
MASCHINE+ ships with a 64 GB SD storage card, but you can use a standard SD card up to 1TB in its place for additional space. A fast card – like the SanDisk Extreme, for example – comes recommended.
If you want to be more precise, the included card has the following specs. You’ll want any replacement to meet or exceed these: UHS-I, U3, Native I. Class 10, V30. A1.
If you want to go crazy with sample libraries, though, even a 1TB SD is not your upper limit, thanks to those USB ports. You can add an external SSD, and external HDD (which will likely need its own power – more on that later), or a USB stick.
You can read FAT-formatted (FAT32 is the current iteration of FAT, so you may see it identified as such) drives in a pinch – e.g. a USB stick with some samples can be used without reformatting, but exFAT is the more optimal choice. It doesn’t have the 4GB file size and 8GB partition limits of FAT, its read/write performance is generally better, and it will still work with just about any computer or recent device.
Whichever drive you choose, formatting is best done on Maschine+ itself to ensure everything goes smoothly and easily. You’ll find formatting in FILE (Save) > STORAGE > FORMAT. Just don’t forget that this erases any data on the device – so if you’re reusing a drive, you’ll want to move its content somewhere else first.
Disconnect to be safe, by choosing FILE (Save) > STORAGE > EJECT. Or wait to pull out that drive until you’ve powered down MASCHINE+.
Which SSD/HDD do you need?
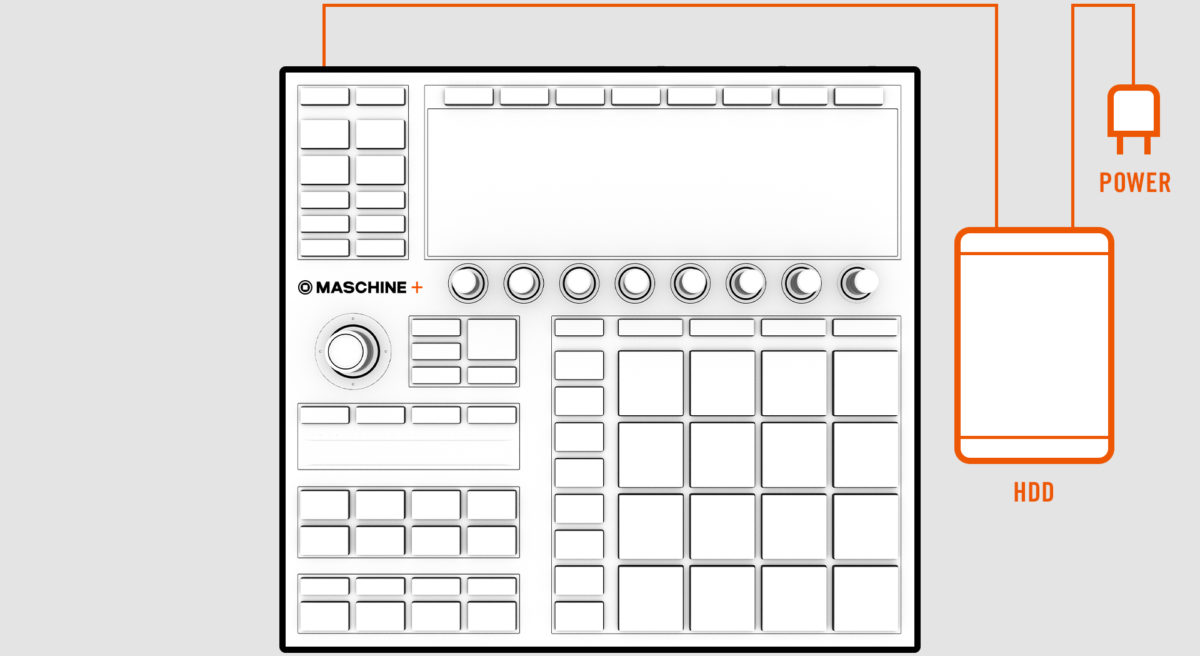
The easiest way to add high-capacity, high-speed storage for the studio is to use an external SSD (Solid-State Drive). NI’s engineers have tested SanDisk Extreme models in 250GB, 500GB, and 1TB flavors (there’s also a 2TB model); with these, just plug in and go. SSD drives are still pricey compared to spinning disks, but they have some clear advantages – they’re fast, have low failure rates, and they’re slim and light on power consumption.
You can also use a traditional external HDD (Hard Disk Drive) – just expect to need a separate power source. As can be the case with laptops, operating spinning drives without additional power can risk unreliable performance – or it may not work at all; it’s better to just be safe and use an external power source. Some of these drives have a power input directly on the hardware; if not, you’ll want a USB hub with its own power source. (To get technical, you want a standard 2.5-watt power source for the hub, and a USB HDD with power requirements lower than 2.5 watts.)
So wait, if it means some extra cabling and a power brick and possibly a USB hub, why would you want an HDD? Well, they’re cheap, even in large storage capacities, and of course, you may have a couple of them already lying around the studio. Just be prepared to reformat them as exFAT and clear off any data.
Once you do have a storage device connected and working, you can load content freely in BROWSER > USER. Your PROJECTS, GROUPS, SOUNDS, INSTRUMENTS, EFFECTS, LOOPS, and ONE-SHOTS will all appear accordingly.
Add mobile power
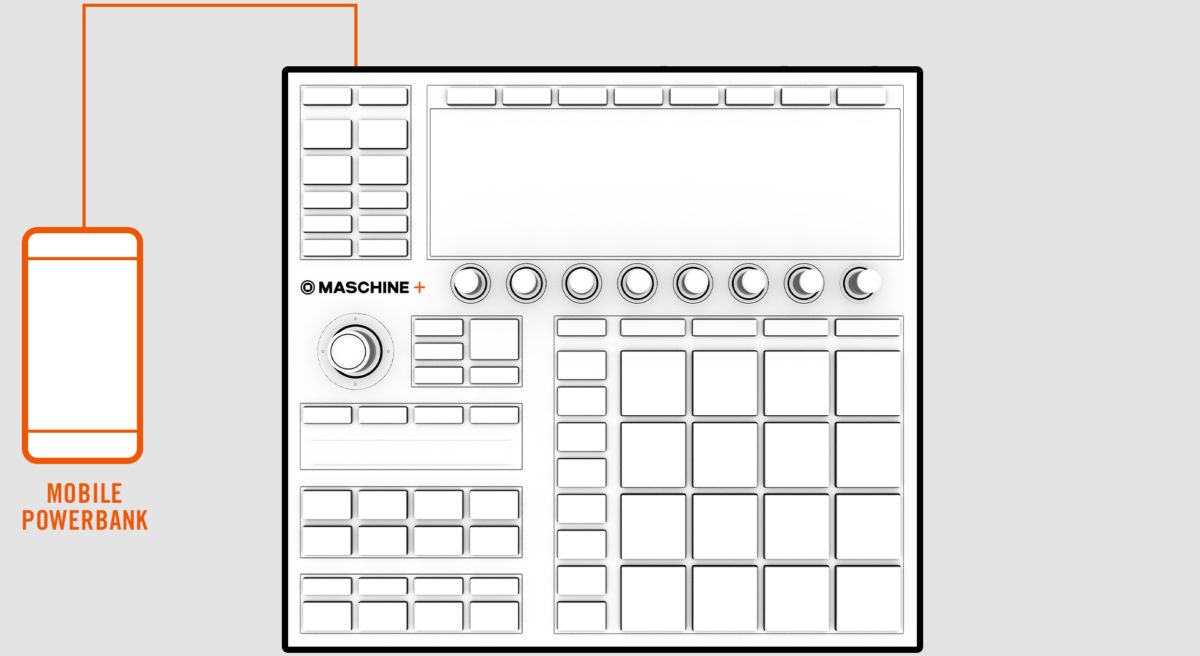
It’s a great time for power banks – they’re cheap, portable, and long-lasting. By matching the specs of the standard MASCHINE+ power adapter, you’re effectively giving yourself the power you’d have plugged into a wall, but anywhere. Here are the specs to follow:
- 15V DC voltage – no more, no less, for best results
- 2.66 A current or higher – higher works, but not lower
- The connector needs to have positive inside, negative outside
- Barrel size of the connector: 2.5 mm
(Some hardware will let you swap different connectors and polarity, for maximum flexibility.)
Connect MIDI controllers
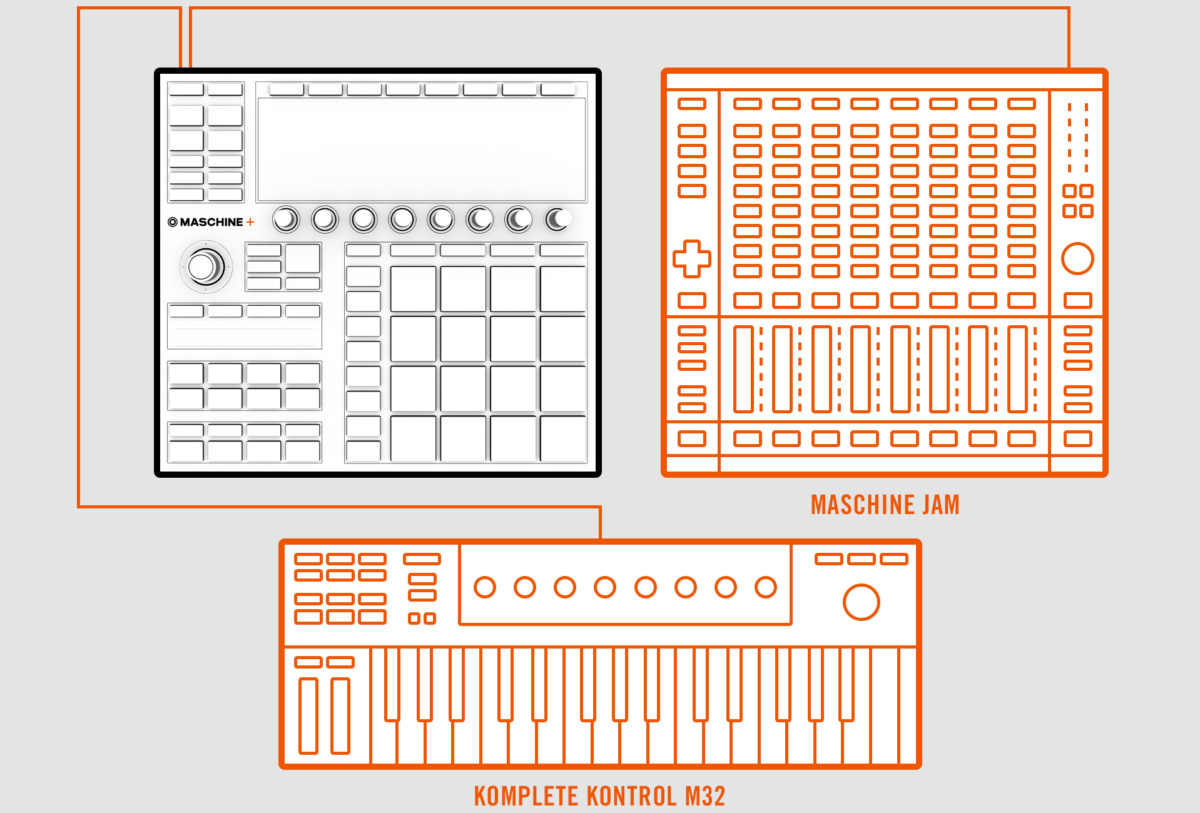
Want more control than just the pads? Plug in your favorite MIDI controller. MASCHINE+ now supports KOMPLETE KONTROL S-Series MK2, A-Series, and M32 keyboards, plus MASCHINE JAM, all natively and with some cool integrations, and there’s more support on the way.
You aren’t limited to those devices, though; you can use other class-compliant USB MIDI inputs – basically, any device that works without a driver. Most of these devices also work without a hub or dedicated power; you can safely just plug them in and find out.
Once your MIDI device is connected, you can configure it under SETTINGS > MIDI. You’ll then want to assign it to the Sound you want to play.
Incoming MIDI notes will trigger whatever Sound slot is currently focused, without any configuration – so just plug in and start playing. But a big advantage of having an external device in addition to the pads is that you can “lock” it to a particular sound. Choose the Group or Sound you want to assign, and select CHANNEL > GROUP or SOUND > Input > MIDI. You’ll see some possibly cryptic-looking USB port names (depending on what’s plugged in), but you can then assign that controller as desired.
Connect an audio interface
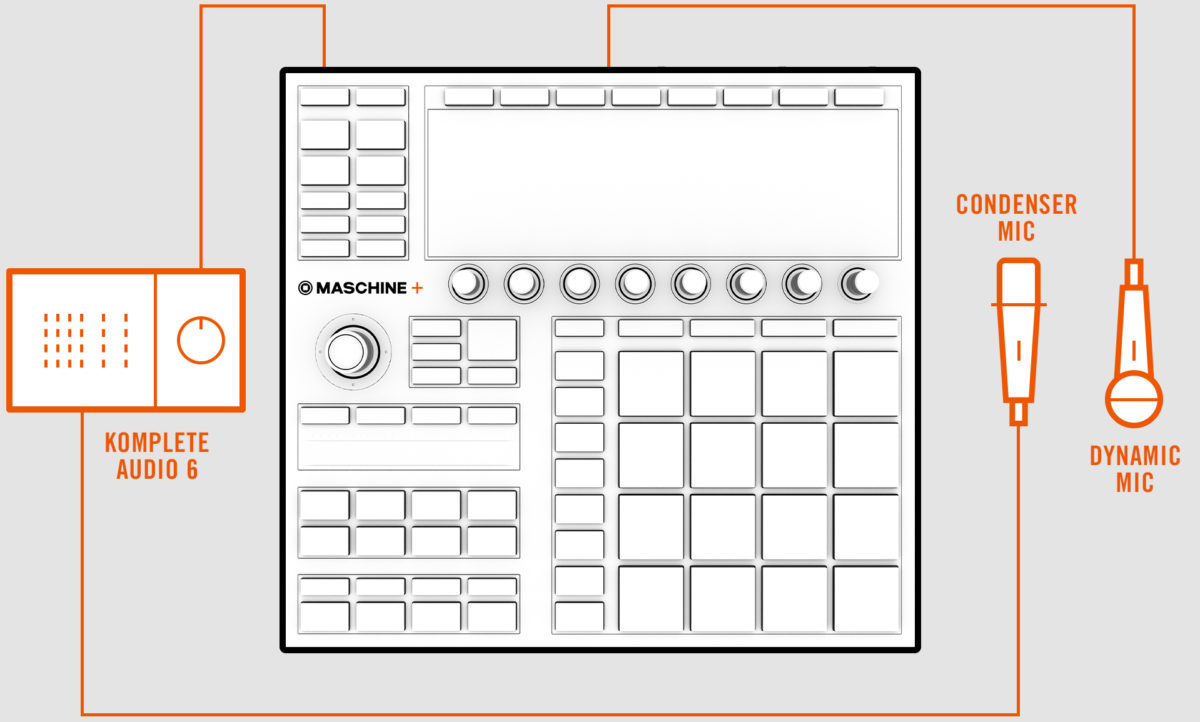
MASCHINE+ already has two line inputs, one ¼” dynamic mic input, and 2 line outputs, plus stereo headphone output. That may be enough – any dynamic mic will work so long as you have a ¼” output. (Many mics use XLR, not ¼”, but you can use an XLR-to-¼” cable without issue.)
If your audio interface is class-compliant, you can use it for expanded I/O. That could for example include a DC-coupled audio interface for connecting a Eurorack modular. Using an external audio interface is also a way to easily add phantom power and preamps for mics that require it, since this isn’t onboard on MASCHINE+.
Networking
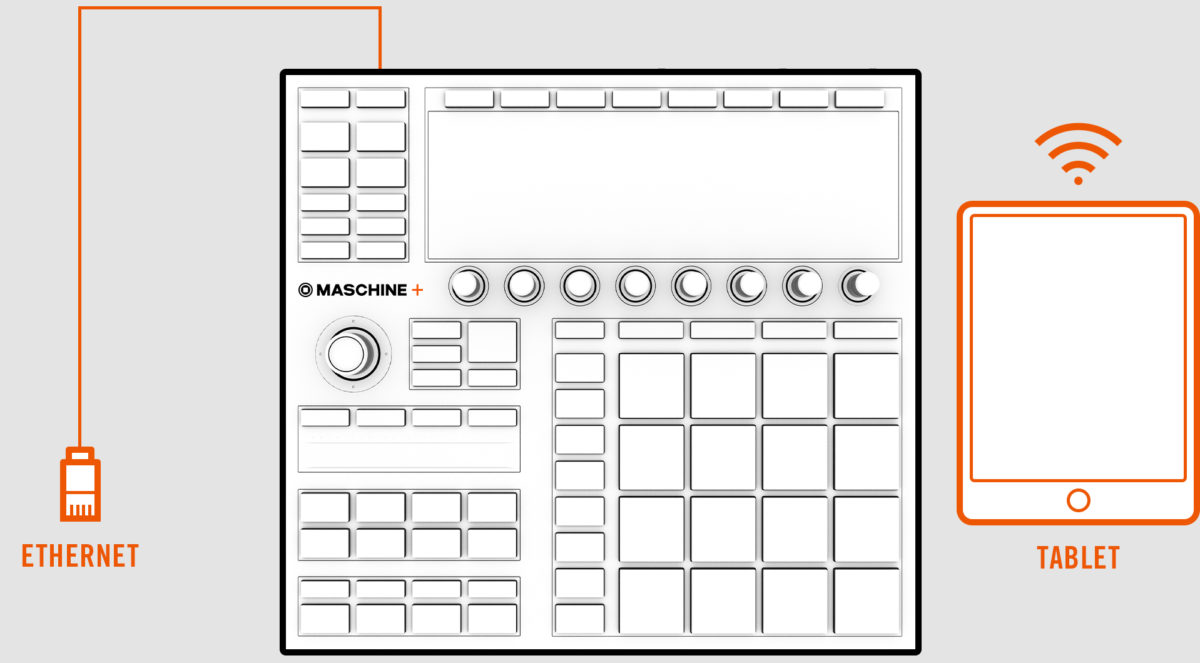
Don’t forget there are network options, too – ideal for expanding connectivity or jamming with others:
- Connect a USB ethernet adapter for wired network access
- Connect via Ableton Link to work with other computers, other MASCHINE+ devices, iPads, and more, over Wi-Fi or Ethernet
- With your friends connected to Link, all your devices will share a common clock, and adapt if any player changes tempo. It’s a great way to jam, even without cables.
Where to find more information
Now that you’re living the power user lifestyle, you may want to keep learning about how to push MASCHINE+ to its limits. Check the MASCHINE+ support pages, the Quickstart guide, or visit the MASCHINE section of the new NI Community Forum.
Excuse us, though; we’re heading to the park.


