


The smooth sounds of soulful hip hop are the perfect antidote to the hectic pace of modern life, and in this tutorial we’ll show you how to elevate your hip hop production skills by making a soulful hip hop track using two new Native Instruments products, the SWAY Play Series Instrument and HAZY DAYS Expansion.
We’ll use the included patches and samples to make an instrumental that can stand on its own or serve as the basis of a vocal track. BATTERY 4, KOMPLETE KONTROL, and KONTAKT 7 (or the free KONTAKT 7 PLAYER) are the instruments we’ll use, along with mastering assistance from iZotope Ozone 10 to make a beat that sounds like this:
Jump to these sections:
Follow along with the new SWAY Play Series instrument and HAZY DAYS Expansion, two powerful instruments that bring soulful, rounded, and vintage sounds to your productions.
What is hip hop production?
Hip hop production refers to the process of creating and arranging the instrumental elements of a hip hop track. It involves composing and arranging beats, melodies, samples, and other musical components that form the foundation of a hip hop song. Hip hop producers utilize various tools and techniques, such as drum machines, samplers, synthesizers, and digital audio workstations (DAWs), to craft the distinct sound of hip hop music. The production process also involves manipulating and layering different sounds and hip hop VSTs, applying effects, and mixing and mastering the final track to achieve the desired sonic quality.
What is soulful hip hop?
Soulful hip hop is a subgenre of hip hop that fuses elements of soul music and jazz with hip hop beats and vocals. This subgenre has carved out a distinct niche within the larger hip hop landscape, characterized by its thoughtful lyrics, emotional content, and sophisticated musical arrangements.
One of the defining features of soulful hip hop is its connection to the roots of black music. It incorporates the expressive, emotive vocals and instrumentation of soul music, a genre born out of gospel and blues traditions. You’ll often find soulful hip hop tracks sampling classic soul records, highlighting the rich textures of the original while adding a fresh, modern perspective.
Lyrically, soulful hip hop often explores deeper themes and narratives with “conscious” lyrics. These might be social and political commentaries, personal introspection, or even philosophical ponderings, and often prioritize storytelling and thought-provoking messages over bravado and materialistic themes.
In terms of instrumentation, soulful hip hop often uses a combination of sampled music and live instruments. Jazz influences are frequently evident, with the intricate use of brass, strings, and piano, and it often uses complex chord progressions and harmonies. Popular soulful hip hop acts include Lauryn Hill, Common, J. Cole and Kendrick Lemar.
How to make a soulful hip hop production
Soulful hip hop fuses modern hip hop production techniques with classic, vintage vibes, and smooth, blissed-out instrumentation. In order to get the organic quality that is present in practically all soulful hip hop, we’ll use the specially-created samples and drum kits from HAZY DAYS, plus specially created instruments from SWAY. These will make this kind of hip hop music production quick and easy, giving us results that have instant authenticity.
1. Look for inspiration
Soulful hip hop overwhelmingly has a vintage, organic feel, so it’s important we find sounds that embody this vibe. Before we even set the project tempo or compose chords, let’s take a look through the material provided to us by SWAY and HAZY DAYS to find a sound to base our track around that fits this description.
Add KOMPLETE KONTROL to a MIDI track in your audio editing software, and in the Files tab locate the HAZY DAYS Expansion folder.

If you’re not sure where to find the expansion, load up Native Access, select HAZY DAYS in the list of installed products, then click the Installation Path tab on the right.

Open the Samples > Loops > Vocals > folder, and drag Vocals[92] F#m Pocket.wav onto an audio track in your DAW.
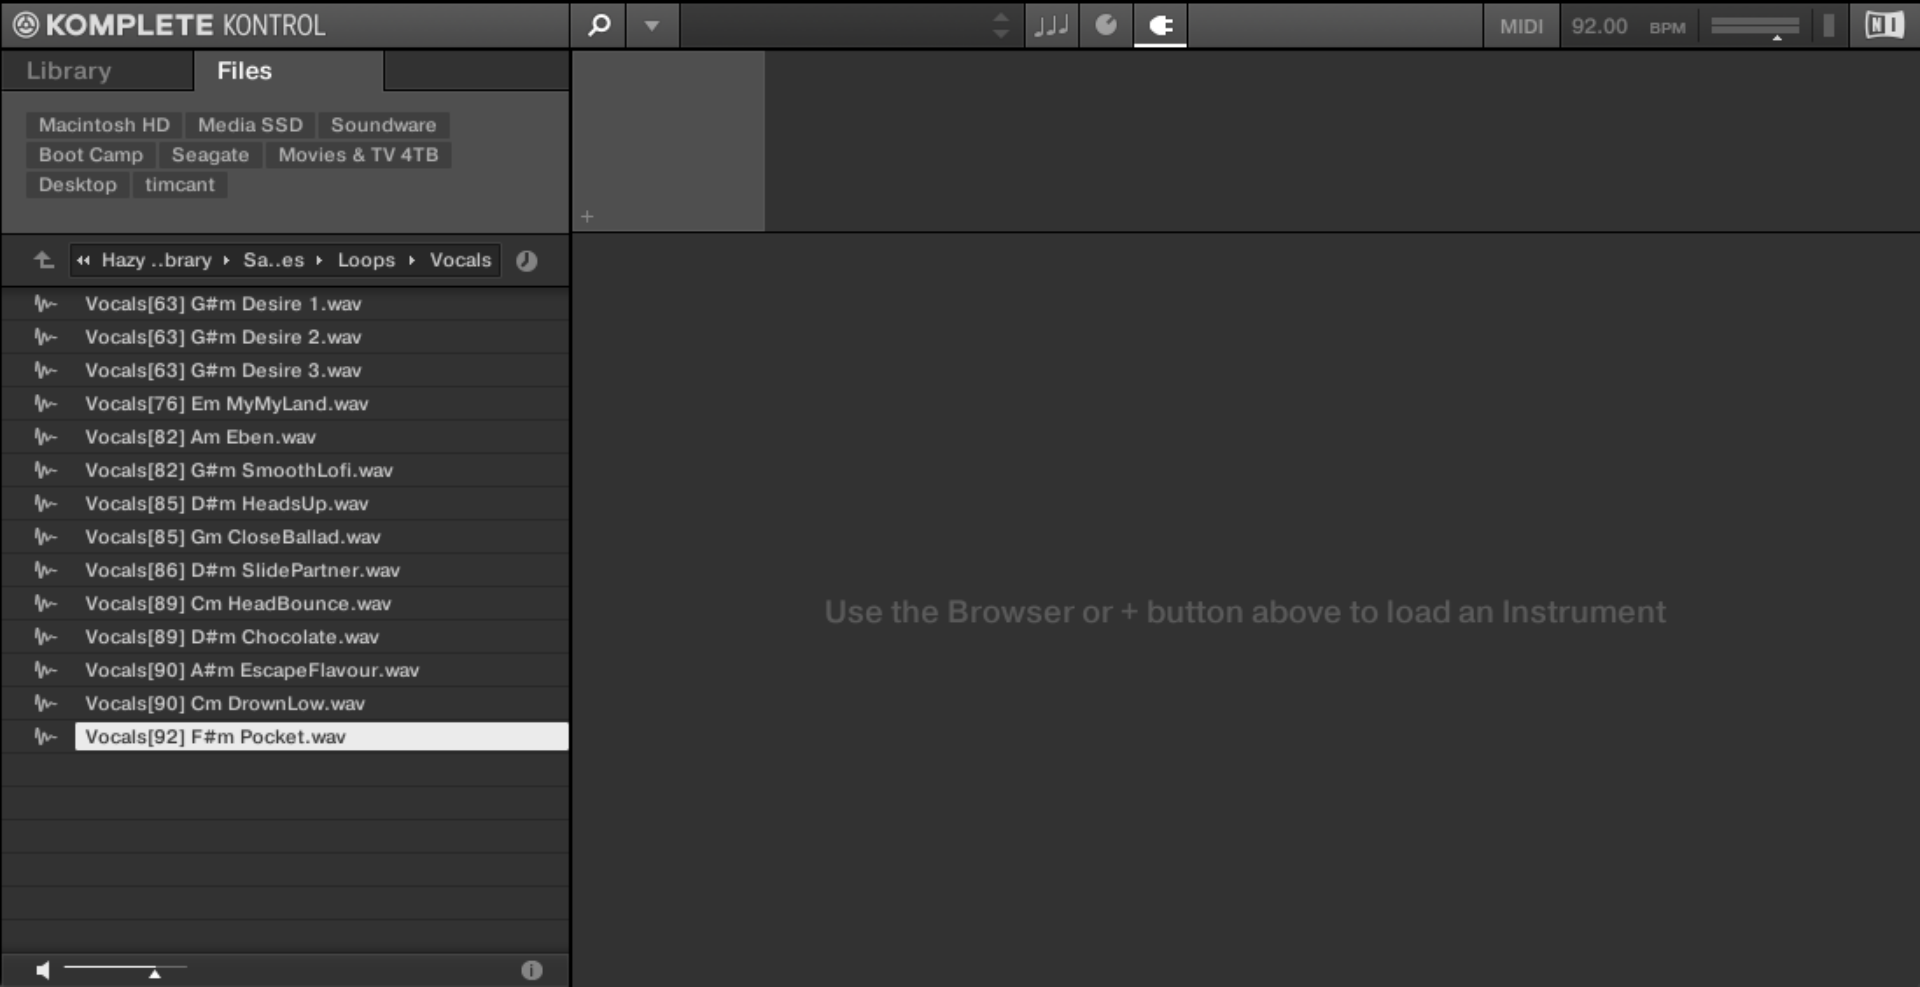
Set your project tempo to 92 BPM, to match the tempo of the sample.

This sample is now in time with the project tempo. Here’s how it sounds:
This sample gives us a lot to work with. Not only do we now have a tempo for our project, but we also have a root note, and a chord progression to build a track around.
Before we progress further, set the vocal sample track to -12.3 dB to give us more headroom to add other elements to the mix.

2. Compose accompanying chords
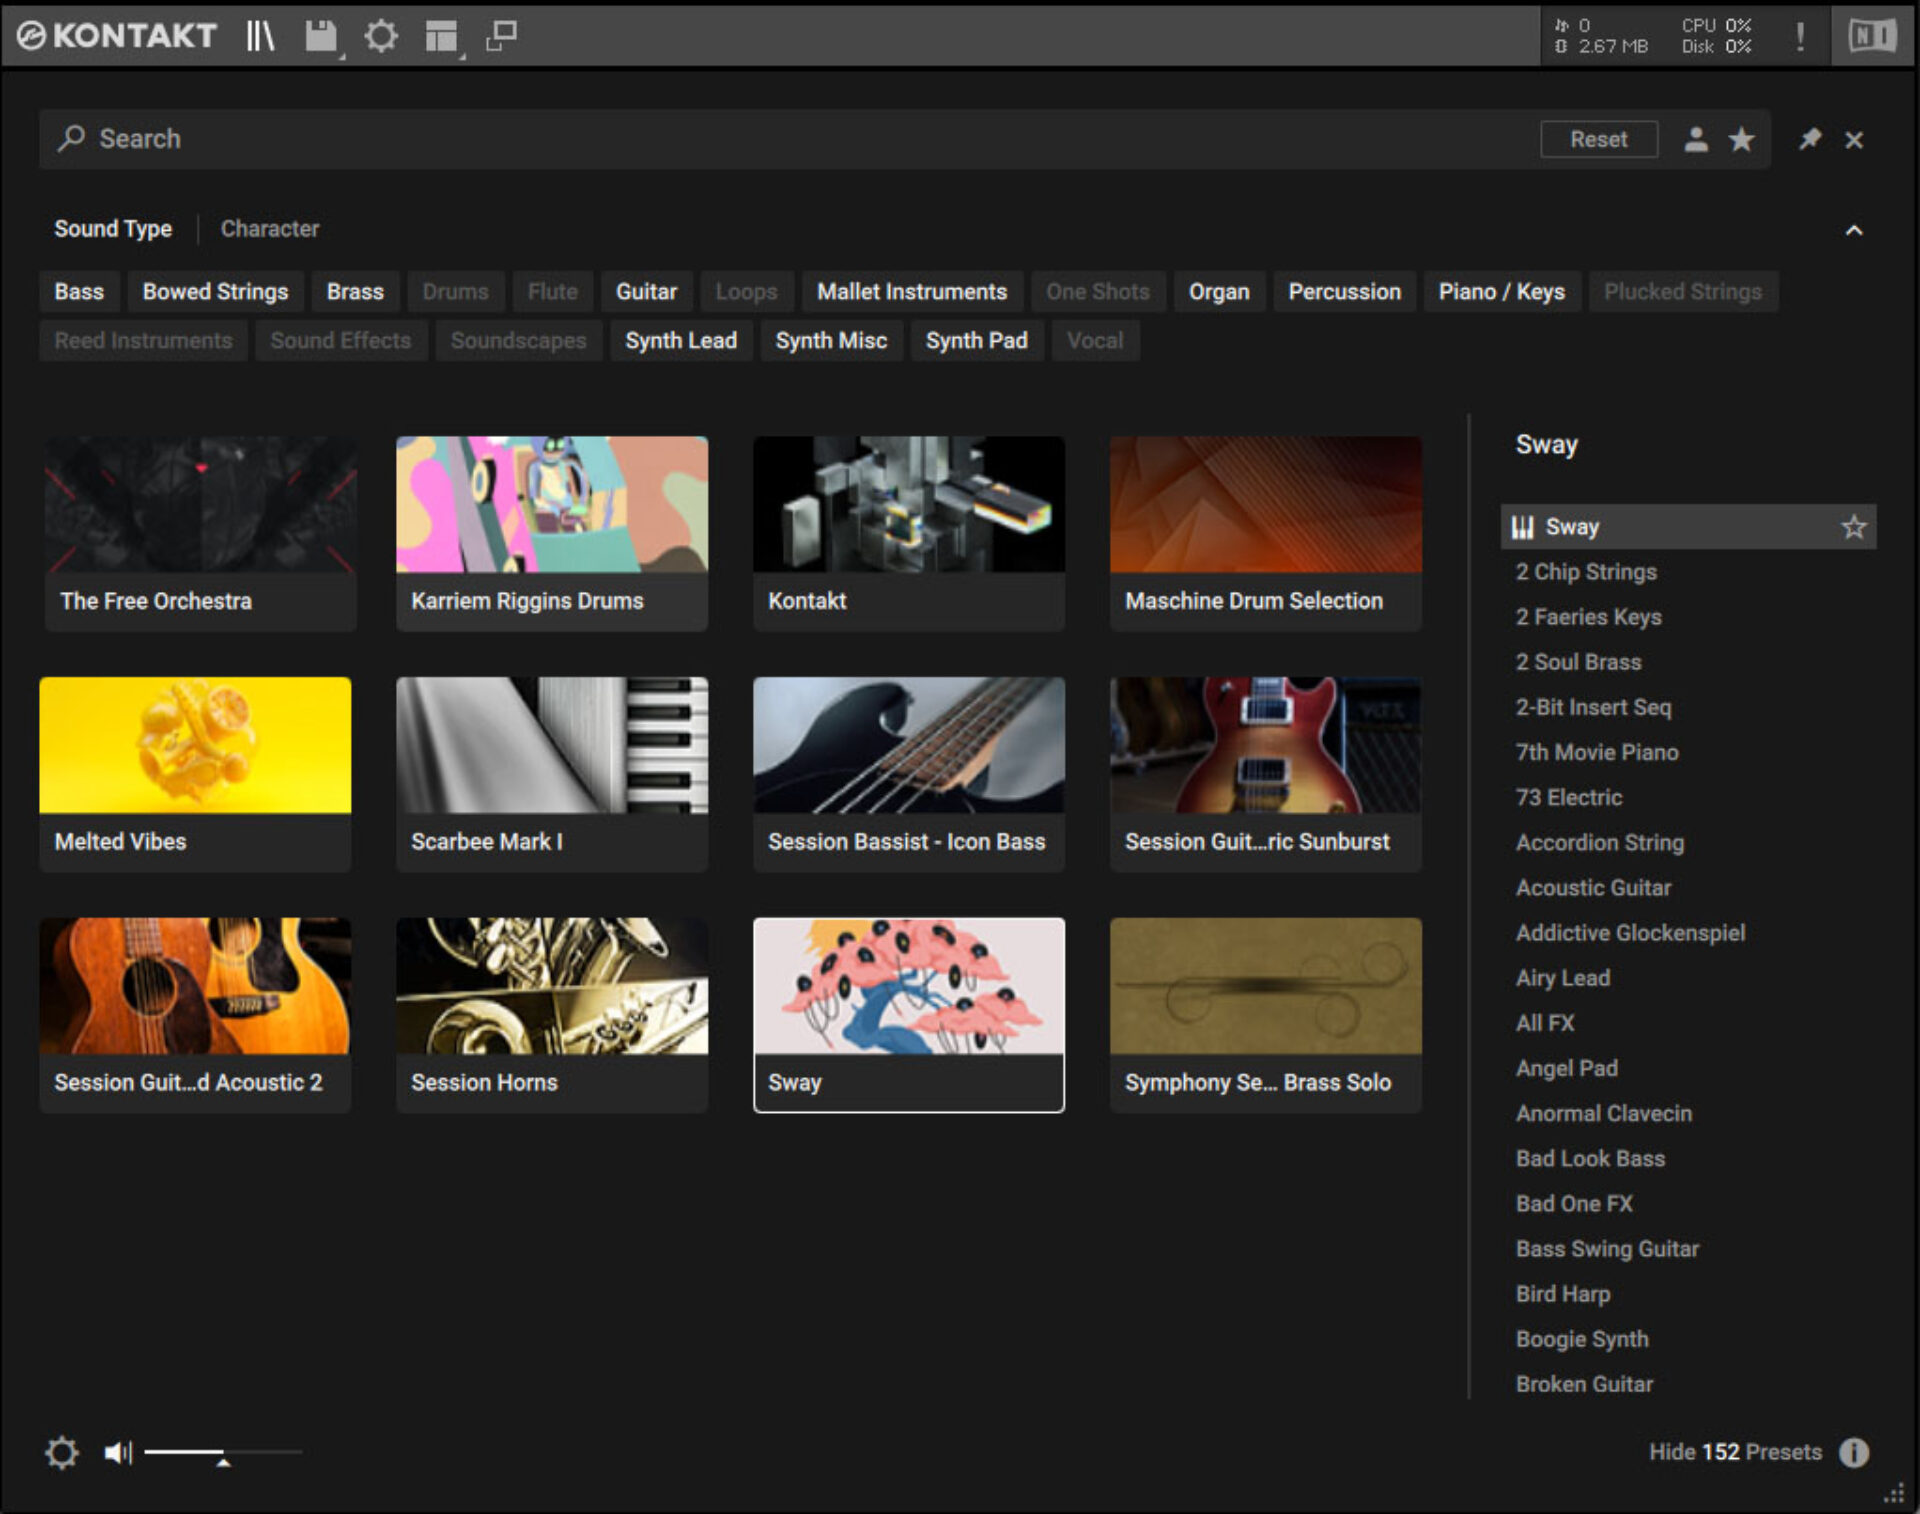
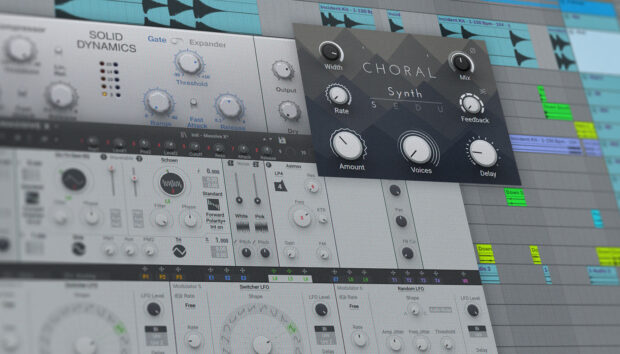
Let’s find a suitable instrument to lay down some chords. Create a new MIDI track, and load up KONTAKT 7 or KONTAKT 7 PLAYER. Locate SWAY in KONTAKT’s browser, and double-click the instrument to load it up.
Click the down arrow next to the patch name to bring up the list of available presets, and select Keys > Sunday Keys.

This preset has a distortion that gives us a vintage vibe, but makes the sound a touch too dirty when playing complex chords. To disable this distortion, click the FX power button to turn the FX off.
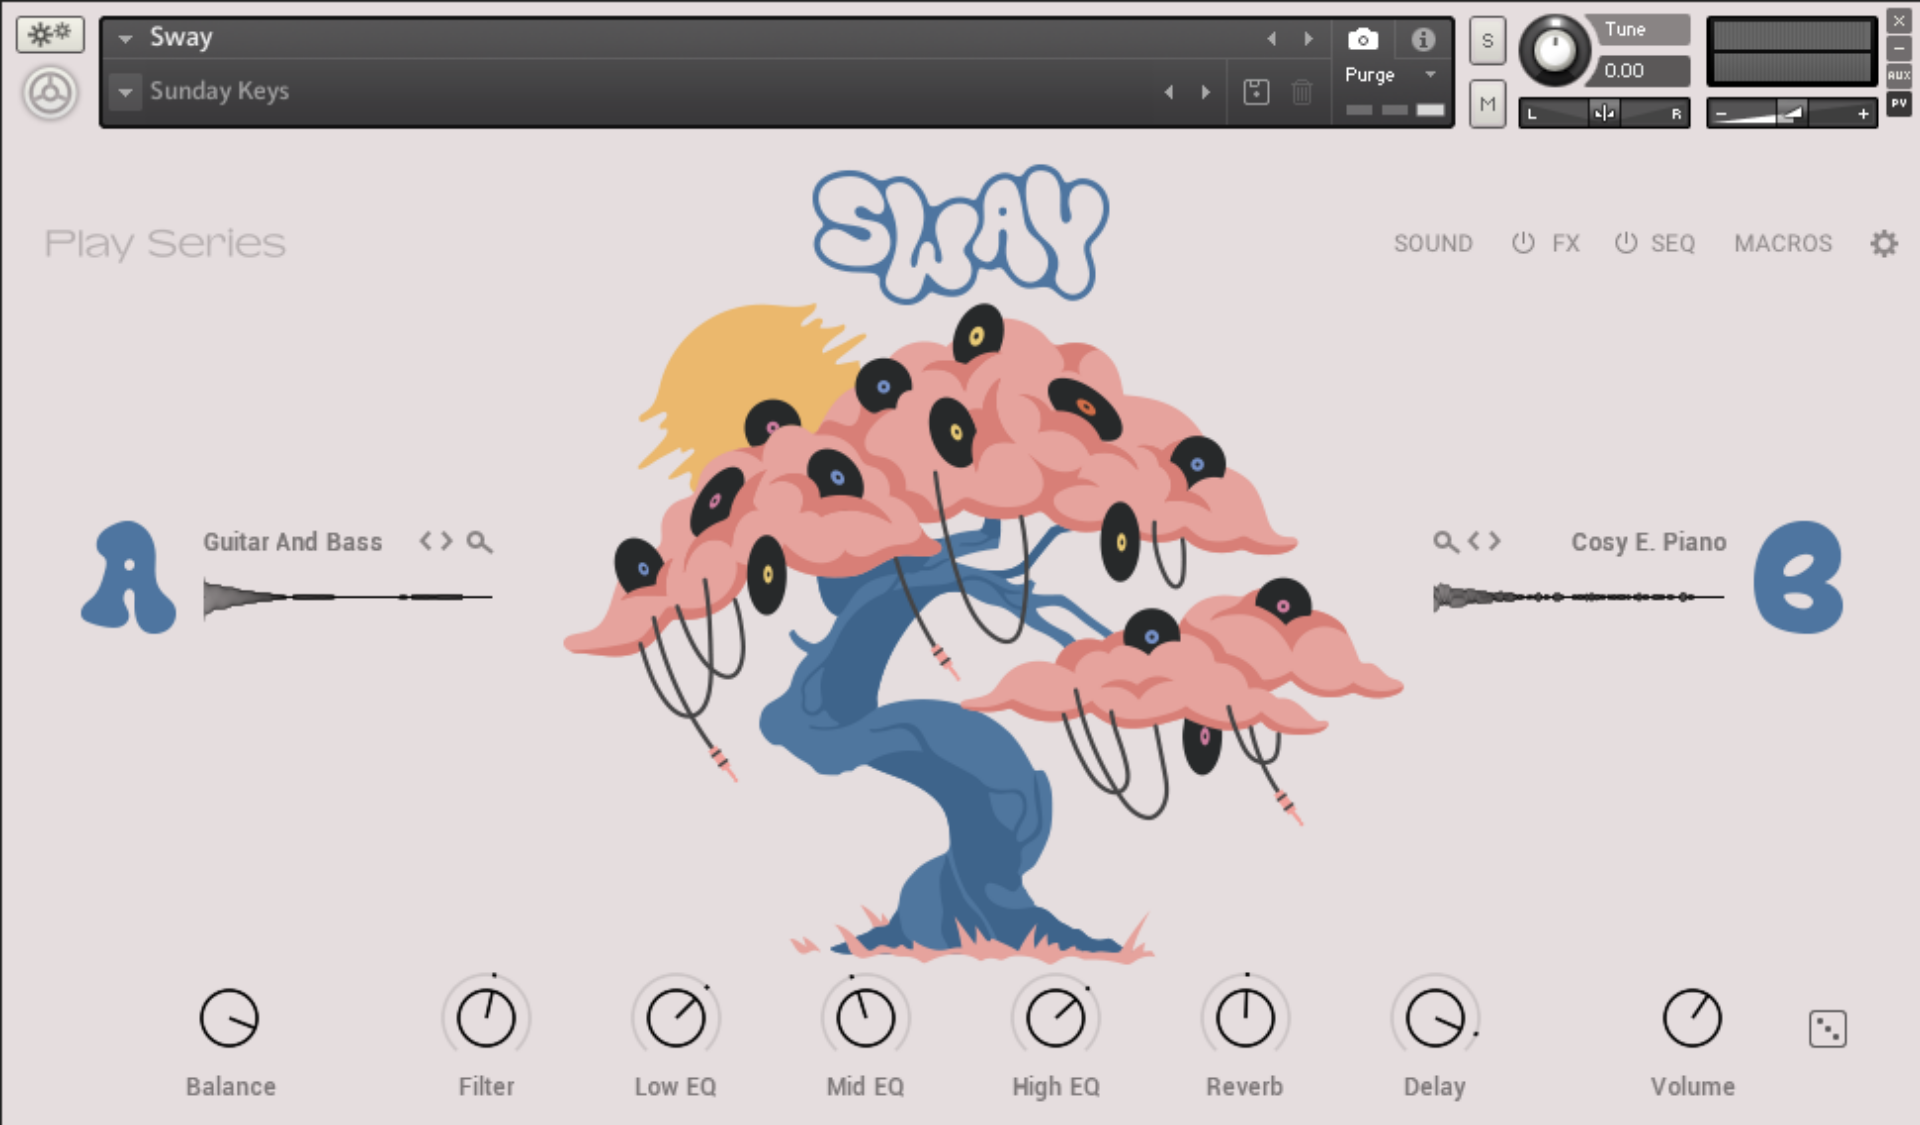
Set this track to -6 dB to balance it with the vocal.

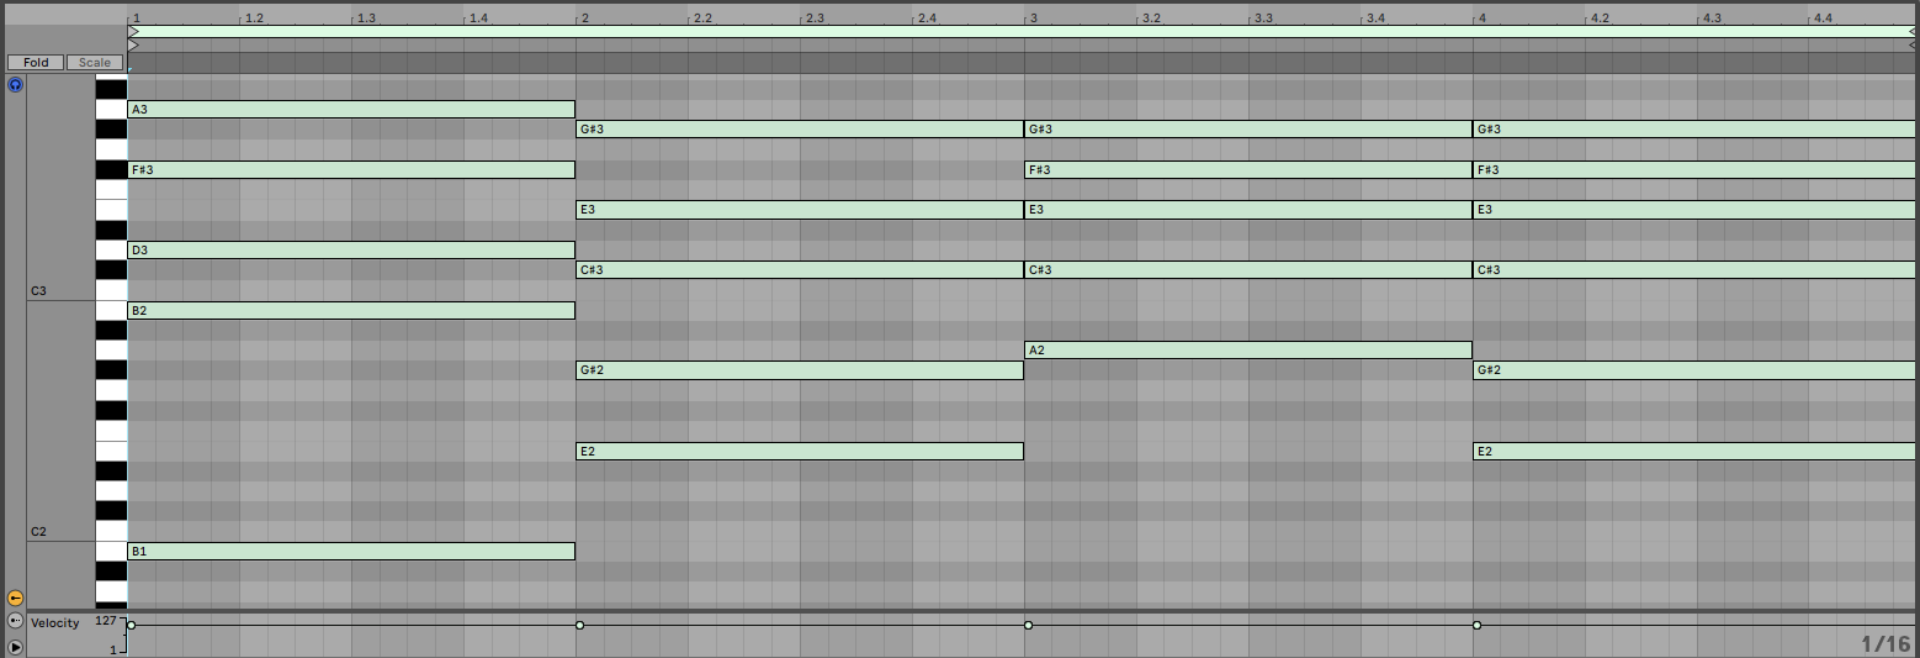
Let’s create a chord progression that fits with the vocals. Our chords play B minor 7, C# minor in the first inversion, F# minor 9, and F# 7 suspended 2. We use velocity values of 100 for everything in this tutorial unless otherwise stated.
3. Program a drum beat
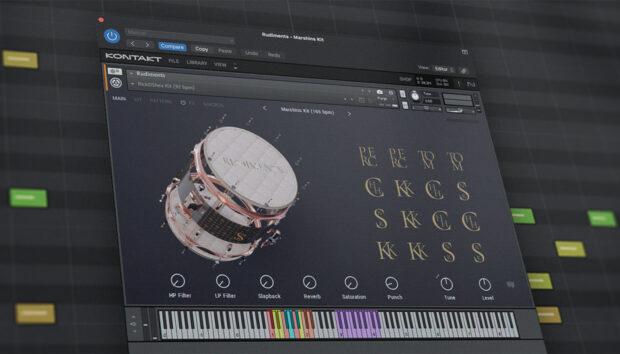
Add a new MIDI track and load KOMPLETE KONTROL up on it. In the root HAZY DAYS folder open Sounds > Battery Kits, and double-click Close Quarter Kit to load it up.
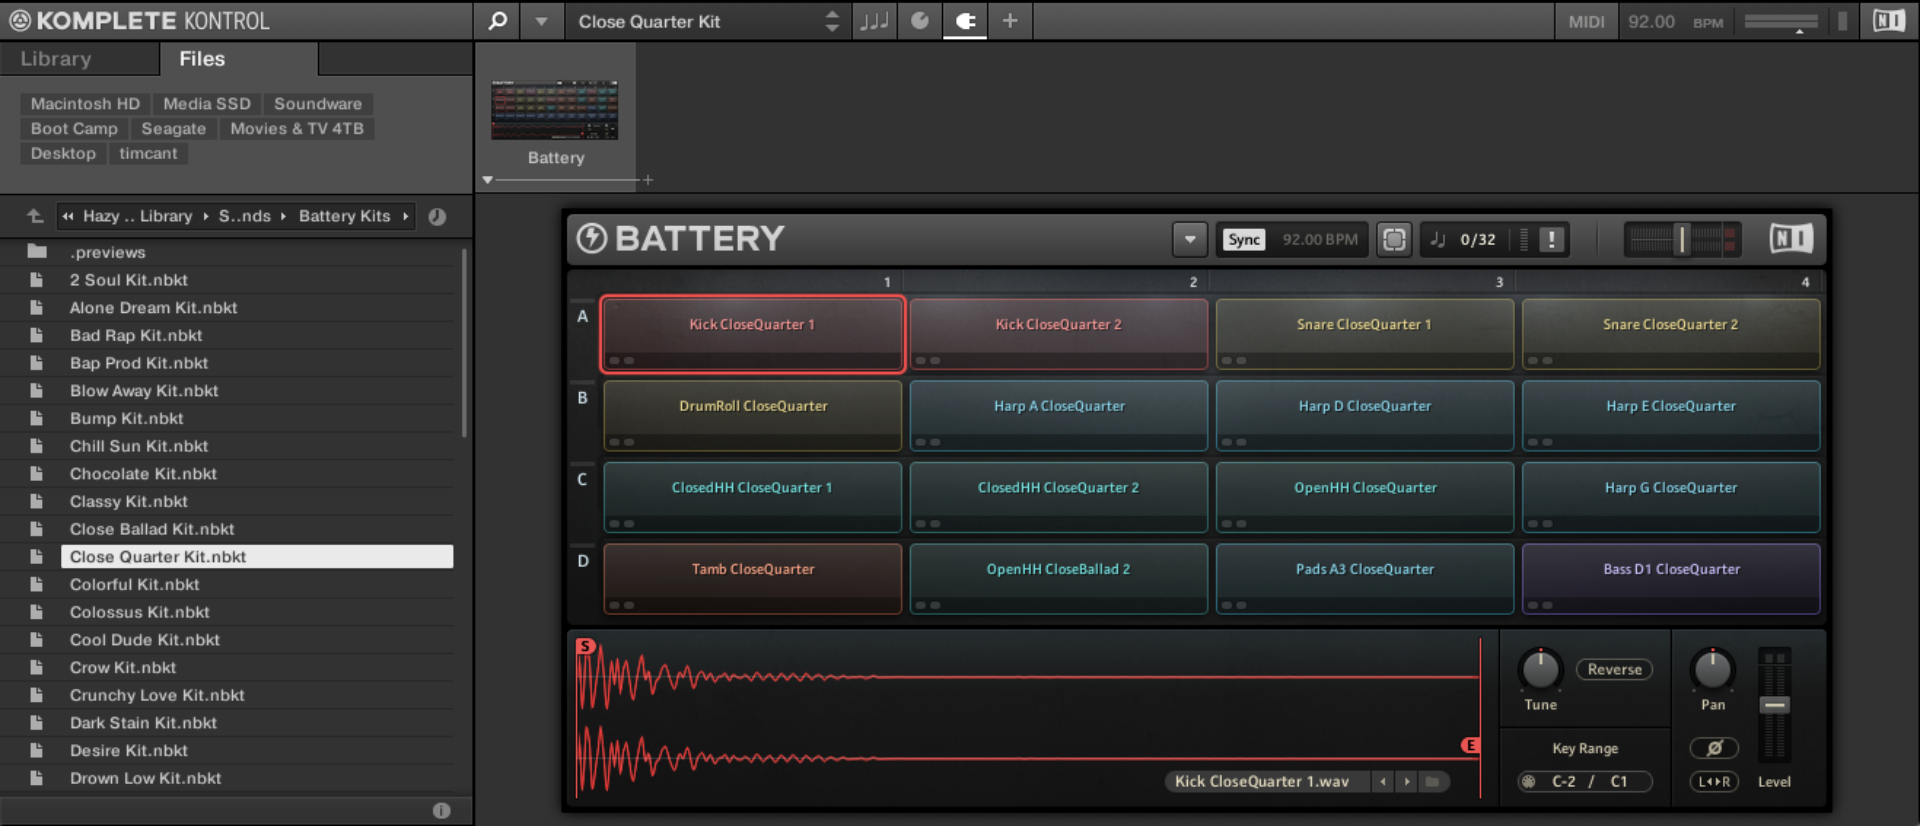
Set this track to -3 dB to balance it with the other elements.

Add D1 snares on the second and fourth beat of the first bar, with C1 kicks on the first, fourth and sixth 8th notes.

Next add G#1 closed hi-hats on 8th notes. Turn the velocity of hats on even-numbered 8th notes down to 71 to give us a natural, rolling feel.

Now turn your audio editing software’s snap-to-grid mode off, and add another hat with a velocity of 54 roughly halfway through the final 16th note of the bar. This will add a touch of swing essential for that authentic soulful hip hop sound.

Duplicate this bar out, and the second time around remove the kick on the fourth 8th note, and add another swung hat after the last 16th note of the second beat.

Copy out this two-bar rhythm so that it plays for the whole four-bar clip.

4. Write a bass line
Let’s find a suitable sound for a bass line. Add another MIDI track, and again load SWAY up in KONTAKT 7. Open the Bass > Murp Bass preset.

Set this track to -3 dB to balance it with the other elements.

Copy the bass line that we’ve used here, which features octave skips at the end of each chord to create a more interesting groove.

5. Flesh out a song structure
Let’s create a verse, chorus and bridge for our song. Start by duplicating out the four-bar sequence we have already.

The first section will be the verse, the second will be the chorus. Delete the verse section’s keys, and the chorus section’s vocal.

Let’s add some guitar to the verse. In KOMPLETE KONTROL, from the HAZY DAYS root folder open Samples > Loops > Guitar, and drag Guitar[89] Cm Sunday into the project.

Use your audio editing software’s time stretching or “warping” capability to timestretch the sample to the project tempo. Here we’re using Ableton Live’s Complex warp mode to preserve the timbre of the sample.

The guitar sample is in the key of C minor, but our project is in the key of F# minor. Let’s pitch shift the sample so that it’s in the right key. Pitch the sample down 6 semitones.

Set this track to -5.9 dB to balance it with the other elements.

The whole sample sounds a touch messy when played with the other elements, so truncate it to just the first two beats, and duplicate it so that it also plays at the start of bar three.

Add a subtle touch of delay, synced to quarter notes. Use low Feedback and Dry/Wet levels to keep the effect low-key.

Now for the verse. Return to KOMPLETE KONTROL, and this time open the Samples > One Shots > Vocal folder.

Drag the Vocals D#m Crow 1, 2 and 3 samples onto an audio track. Position Vocals D#m Crow 1 at the start of the first bar of the chorus, Vocals D#m Crow 2 at the start of the second bar, another Vocals D#m Crow 1 at the start of the third bar, and Vocals D#m Crow 3 at the start of the fourth bar. Truncate Vocals D#m Crow 3 so that it ends at the end of the fourth bar.

Set this track to -7.2 dB.

Now add another delay, this time with slightly higher Feedback and Dry/Wet levels.

Now let’s add some more sounds that will help us create a satisfying arrangement. In KOMPLETE KONTROL, head to the Samples > One Shots > Sound Effects folder, and drag SFX CrunchyLove 2.wav onto an audio track.

Position it so that it plays on the final beat of the chorus.

Set this track to -1 dB.

This sound will help us smoothly transition between sections. Next let’s add a crash to help mark the start of a new section. In KOMPLETE KONTROL, open the Samples > Drums > Cymbal folder, and drag Cymbal GentleDawn.wav into the project and position it at the start of the chorus.

Set the track level to -12 dB.

Add a delay effect, noting the Feedback and Dry/Wet levels we’ve used here.

6. Create a bridge
We have a verse and a chorus, so now let’s make a bridge. Our bridge is going to be very simple, and features just the beat and bass line. Duplicate the drums over to create a new section.

Now copy this bass line, which just grooves on two notes.

Now delete the final half-beat of the drums on the second and fourth bars to create a stop-start feel that contrasts with the flowing movement of the rest of the sections we’ve created.

Now we have all the elements we need to create an arrangement.
7. Make an arrangement
Here’s an example arrangement. This begins a 16-bar verse, where the guitar licks come in halfway through. This is then followed by a 16-bar chorus where the vocals come in halfway through. We then have an eight-bar bridge, followed by another verse and chorus. This simple, laid-back arrangement suits the smooth vibes of the song.

8. Master your hip hop track
Let’s make this mix sound large and full. Add an instance of iZotope Ozone 10 to your master track, and use the Ozone Master Assistant to get a good starting point. I’ve also made sure to bring down the Threshold to -8 dB in the Maximizer. This reduces the track’s dynamic range and pumps up the volume level.
Start making soulful hip hop today
Here we’ve seen how you can make your own soulful hip hop track from scratch using pro hip hop production techniques. If you’d like to learn more check out our guides on music production, R&B chord progressions, and beat making to help you level up your productions.
And if you haven’t already, check out the new SWAY Play Series instrument and the HAZY DAYS Expansion.
Related articles
-
5 tips to get the most from your drum sequencer plugins
Explore key features of drum sequencer plugins like pattern generation, randomization, and MIDI mapping to enhance your music production skills.
-
What is beatmatching? Understanding the science of syncing beats
Become a better DJ by learning what beatmatching is, how to prepare your tracks and equipment to beatmatch, and how…
-

How to make future house music with cutting-edge production techniques
What is future house and how do you make it? Learn how to make future house music from inspiration to…
-
Understanding time signatures in music
Unlock creativity with time signatures in music. Learn what time signatures are, common examples of popular time signatures, and how…
-
Synth pads: how to create atmospheric textures in your music
Learn everything you need to know about synth pads, with a step-by-step guide to creating this crucial electronic sound to…
-

Sub bass: how to add that deep tone to your tracks
What is sub bass? Learn how to make sub bass and how to use sub bass effectively in your productions.
-
The 10 best drum breaks of all time (and how to recreate them)
What are drum breaks? Learn the history of breakbeats and their importance in modern music. Then, learn how to recreate…
-

How to use tempo in music to create dynamics and shape emotions
Learn what tempo and BPM mean in music, how to calculate the BPM of your song, and how to use…