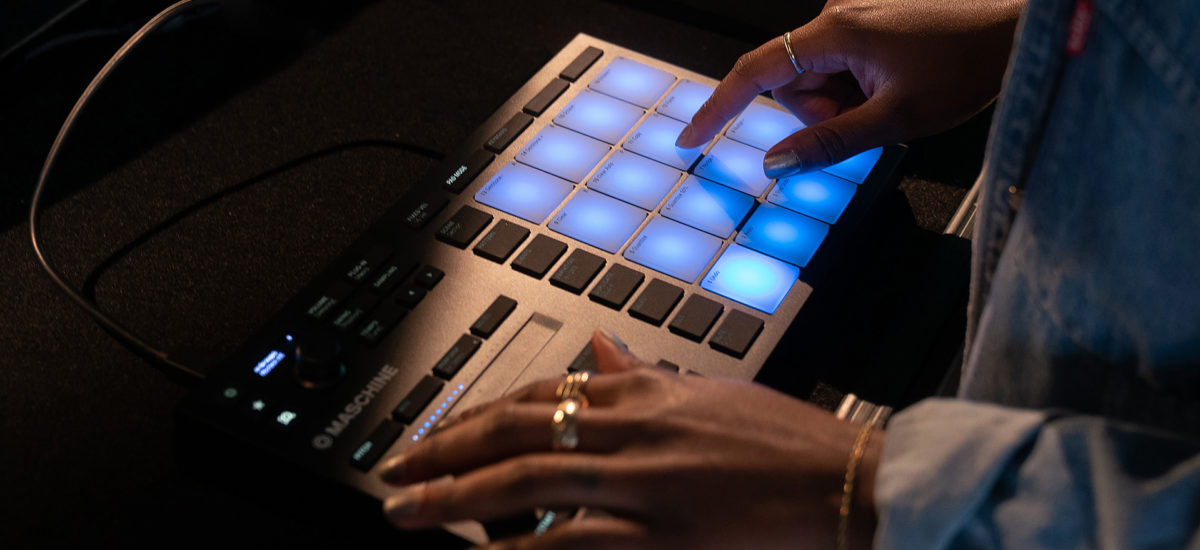
Originally published over at The Loop Loft, L.A. based producer and songwriter Wayne G. Miller looks at the role of organic drum programs in contemporary electronic, and hip hop based music. By providing some essential tips and tricks, you can learn how to get that human feel on your productions, without having to revert to using a real drummer.
Great drum programming is a fine thing. From classic 80s hip hop cuts such as ‘The Message’, through to more experimental music by the likes of Mount Kimbie and Hudson Mohawke, great human-sounding beats and loops are what makes songs dance-worthy. Whether programmed in classic drum machines, sequenced in MASCHINE, or using other algorithmically based programs, the authenticity, and unpredictability of great beats are what makes them sound so alive.
Here are five key things to help you add life, feel and uniqueness to your drum programming.
Layering drum samples
When starting a beat or loop, using a sampler (like KONTAKT for instance) to load all the different types of drum or audio samples. This will give you the flexibility you need to layer samples. While preset kits like a classic 808, 909 or Linn Drum kit can be helpful as a starting point, don’t be afraid to branch out and layer sounds. For example, when working with an 808 snare, for example, feel free to layer a deeper, dirtier 909 or Linn snare underneath for texture and weight. Sometimes just adding a simple clap to a snare will bring your beat to life.
When adding samples, be careful to check the phase coherence between sounds as you can easily layer two or more sounds that are out of phase with each other. Generally, this will result in a lack of low-end in the sound, which is usually not desired. Be creative and use your ears, as sometimes an out of phase combination of snare drum samples can actually be sound really good.
When it comes to things with a lot of low-end sounds, like kick drums, floor toms and bass drops, layer less to avoid phase cancellation. You can also try panning different samples to the left and right along with your main samples that are centered. Get creative, and let the song or genre guide your choices.
In the example below you will hear one drum loop, and then the same loop with a clap and an additional kick and snare sample added for effect.
Adding percussion
Even if low in the mix, adding extra percussive instruments like shakers, tambourines and claps will make a huge difference in how your loops sound and feel. If you have a microphone and an interface, it’s highly recommended recording real percussion and claps to add life and vibe to your sound.
When recording a part, use a two, four, or eight-bar loop of a shaker or tambourine loop to add to the arrangement. Maybe even try to perform a complete take of the song along with the MIDI programming and leave it untouched. This will add different dynamics within the different sections of the song and even within one verse or chorus. If you’re working with a pre-made loop, you can experiment with volume automation even within just one bar. Whereas your MIDI programming will likely be very dynamically static, having layers of sounds within your loop that have varying dynamic levels will add some subtle variance that will help make things feel real.
Another great reason to add live percussion is that you get the sound of the room you are recording in through the microphone. This will add more unique character to your loop that no one else can replicate. If you don’t have a mic or interface, you can also try bumping the loop a few samples off the grid to keep it from sounding robotic and sterile. Sometimes you can even find loops that are just 1 BPM slower than your session tempo and make a shorter loop that matches up well with your existing programming. You will have to nudge it forward or backwards to make it feel right, but don’t be afraid, “command + Z” will become your best friend. Or even try freestyling with some instruments on MASCHINE without quantizing.
In this example, you can hear what happens when a recorded shaker and some real claps are added to the loop:
Add live loops
Aside from percussion, a good way to add a human feel to programming is with live recorded loops. These are loops were created with live microphones and played as a loop by a human. The benefit to recording with a live mic is that it allows some room ambience and tonal character to come through that may be missing in your main programming where you built the loop one sample at a time. If you have a mic and interface handy, record a pattern on the armrest of your desk chair, door, desk, wall, or some other random item in your studio.
This is where you can get really creative in your playing and rhythms within your programming. Here you can create patterns that have a lot of subdivision and movement to them. This allows the loop to be heard in different spaces than the main programming and over the top of the repetitive shaker or tambourine part. The other big key to creating these parts is finding the right place for it in the mix. Sometimes these parts will be very low in the mix but will add just enough to make your loop really move and feel good. Experiment with thinning out your live loops with EQ to make them stick out enough in the mix.
Check out this example. Three different additional loops were created and added, played with drumsticks, on various items. First, you’ll hear the three parts layered together without the main programming and then you’ll hear it all together with the MIDI and the shaker and claps.
Don’t quantize
Another great technique with percussion and live loops is to leave them largely unedited or unquantized. Maybe quantize the initial programming but with percussion and additional loops, let things loosen up a little. This automatically provides a human feel and creates a bigger sound by allowing some transients to flam with each other. As you apply this technique, use your ears and not your eyes to decide how loose you want things to be. Be mindful of your tempo and genre. If your song is up-tempo, there will likely only be a small amount of room for things to be off the grid before the groove falls apart.
If you’re working in pop, you may want to keep things a bit tighter so that your transients sound cleaner and you maintain clarity within your production. If you’re working in alternative, R&B or funk, as these examples are, you can get away with things feeling a bit more loose and free. You’ll notice in the second example that the shaker has more of a straight feel while the main programming has a bit of a swung feel. It’s a nice juxtaposition of the two feels. The same goes for the live loops; they were recorded along with the programming and percussion, with a two-bar loop copied and pasted throughout. Trust your ears and instincts and don’t be swayed by what your eyes are telling you as you look at the grid in your DAW.
Make it stick
Now that you have some cool, human-sounding drums, how do you make it all work together sonically? The key here is bussing. Combining all of your programming into one bus or sub group will allow you to treat it like one instrument, instead of a bunch of different sounds. Think of everything as if it were a drum kit – each piece is separate, but part of the larger, overall sound. Try EQing, compressing, adding reverbs, delays and other effects to all of your programming together. In the examples above, there are two EQs, two bus compressors, a harmonic color plug-in and a limiter running on all of the programming through a buss. This helps “glue” everything together so that your compressors and effects are responding to everything together as one source, instead of multiple different parts.
This article was originally published by Loop Loft which you can read here.


