


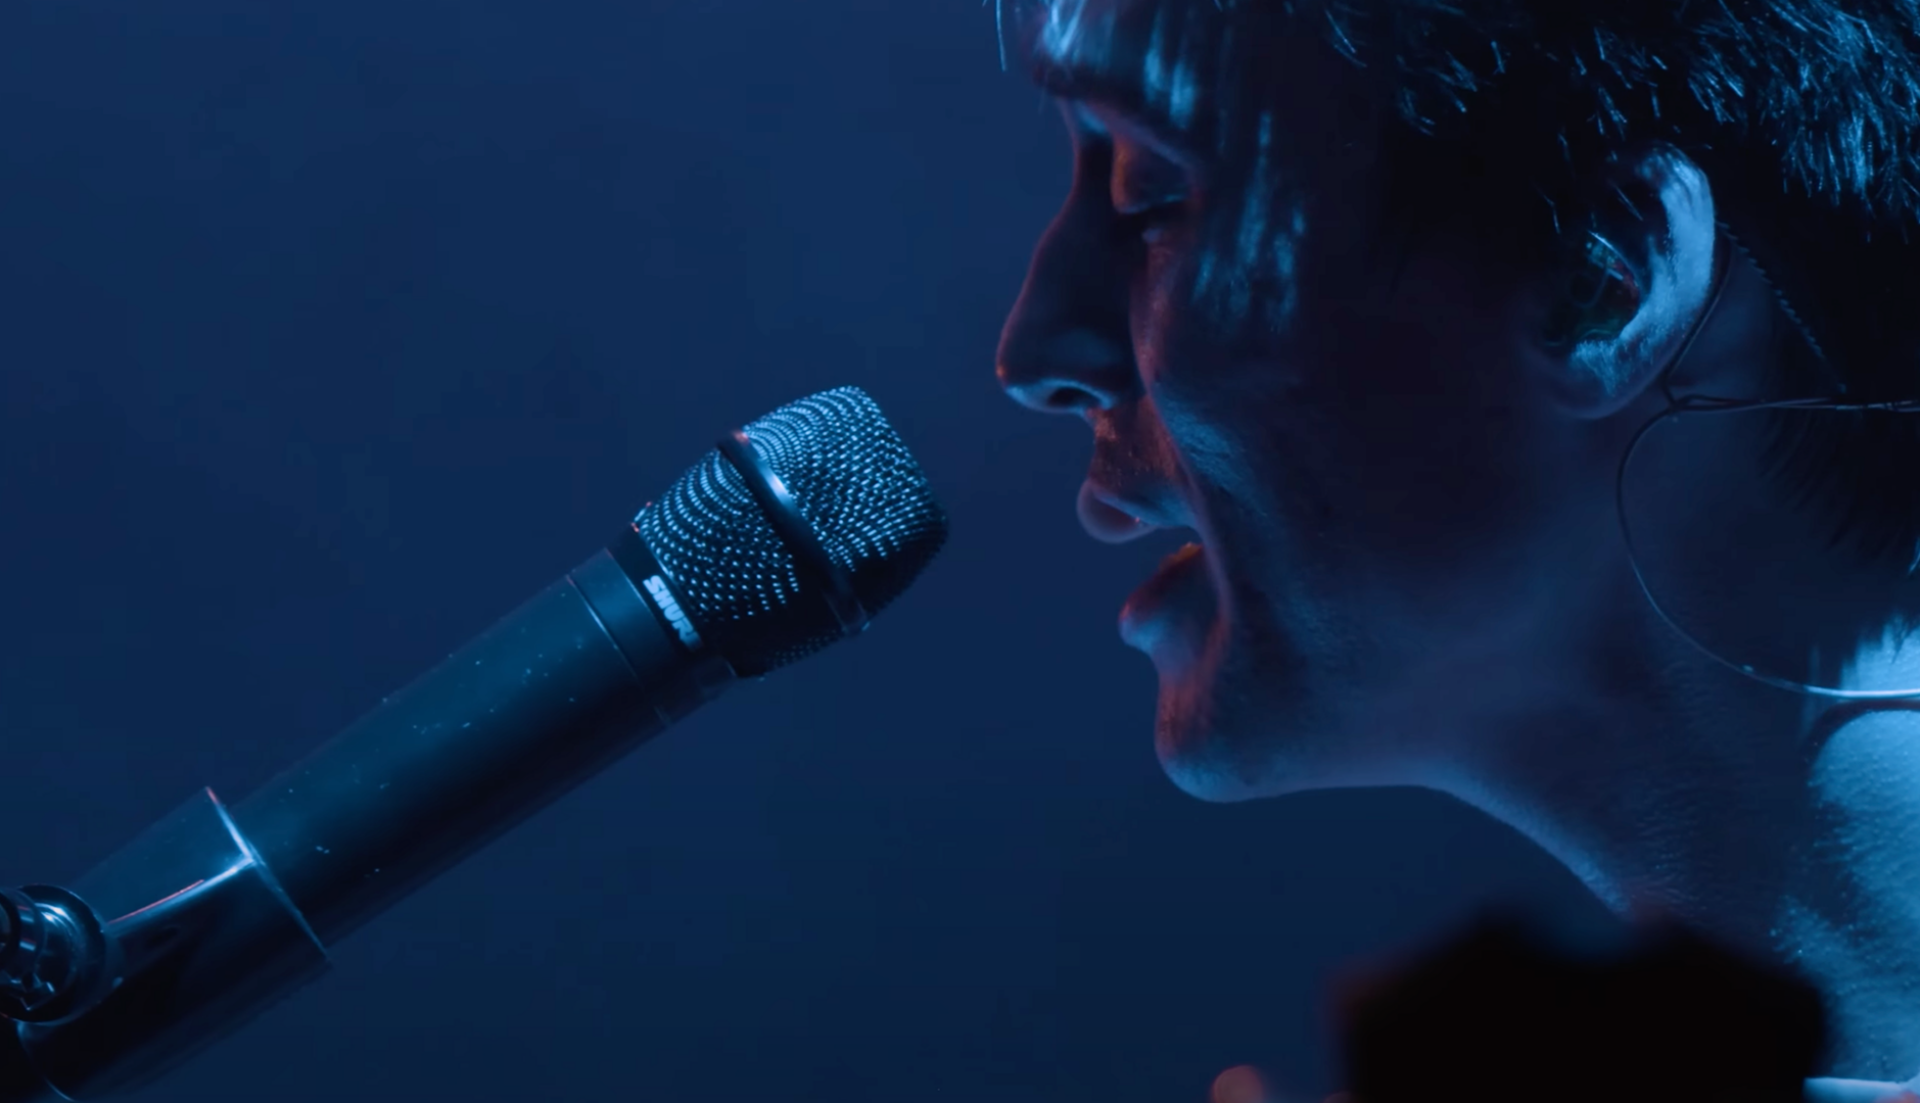
The sound of the human voice is one of the most emotionally and atmospherically evocative tones in existence, and vocal choirs play a part in everything from religious ceremonies to epic film scores.
Enter Jacob Collier Audience Choir, an awe-inspiring, free instrument from award-winning multi-instrumentalist and Native Instrument Artist Board member Jacob Collier. Created using audience recordings from Jacob’s Djesse world tour (Djesse Vol. 4 out now!), this instrument allows you to harness the emotive power of a huge choir, and sculpt it in exciting ways.
Thankfully, you don’t have to be a music theory genius to make some amazing music with this powerful tool, and in this tutorial we’ll show you step-by-step how to use it to create a monumental beat – or any other choir-inspired music you want to make.
Jump to these sections:
- What is the Audience Choir?
- What is Jacob Collier known for?
- Conduct your own audience choir in your beat:
Follow along with Jacob Collier Audience Choir for free.
What is the Audience Choir?
During Jacob Collier’s live performances, he often conducts the audience to sing harmony or percussion parts. Audience Choir is a free Kontakt instrument created using recordings of these audience performances from around the world, giving you a unique instrument that delivers unparalleled emotion and atmosphere.
What is Jacob Collier known for?
Jacob Collier rose to prominence thanks to his YouTube videos, where he showcased his musical skills by performing covers and original compositions. He became known for his distinctive reharmonization techniques and creative interpretations of well-known songs.
As well as YouTube videos, Jacob is known for his innovative live shows and radical albums ‘In My Room’ and ‘Djesse’ volumes 1-4.
Conduct your own audience choir in your beat
Let’s explore how to create a beat using Jacob Collier Audience Choir. If you’re interested in learning more about the instrument before we start, check out our video on how to use it below.
1. Compose a drum part
Let’s begin by creating a drum rhythm to base our beat on. Set your DAW’s project tempo to 90 BPM.

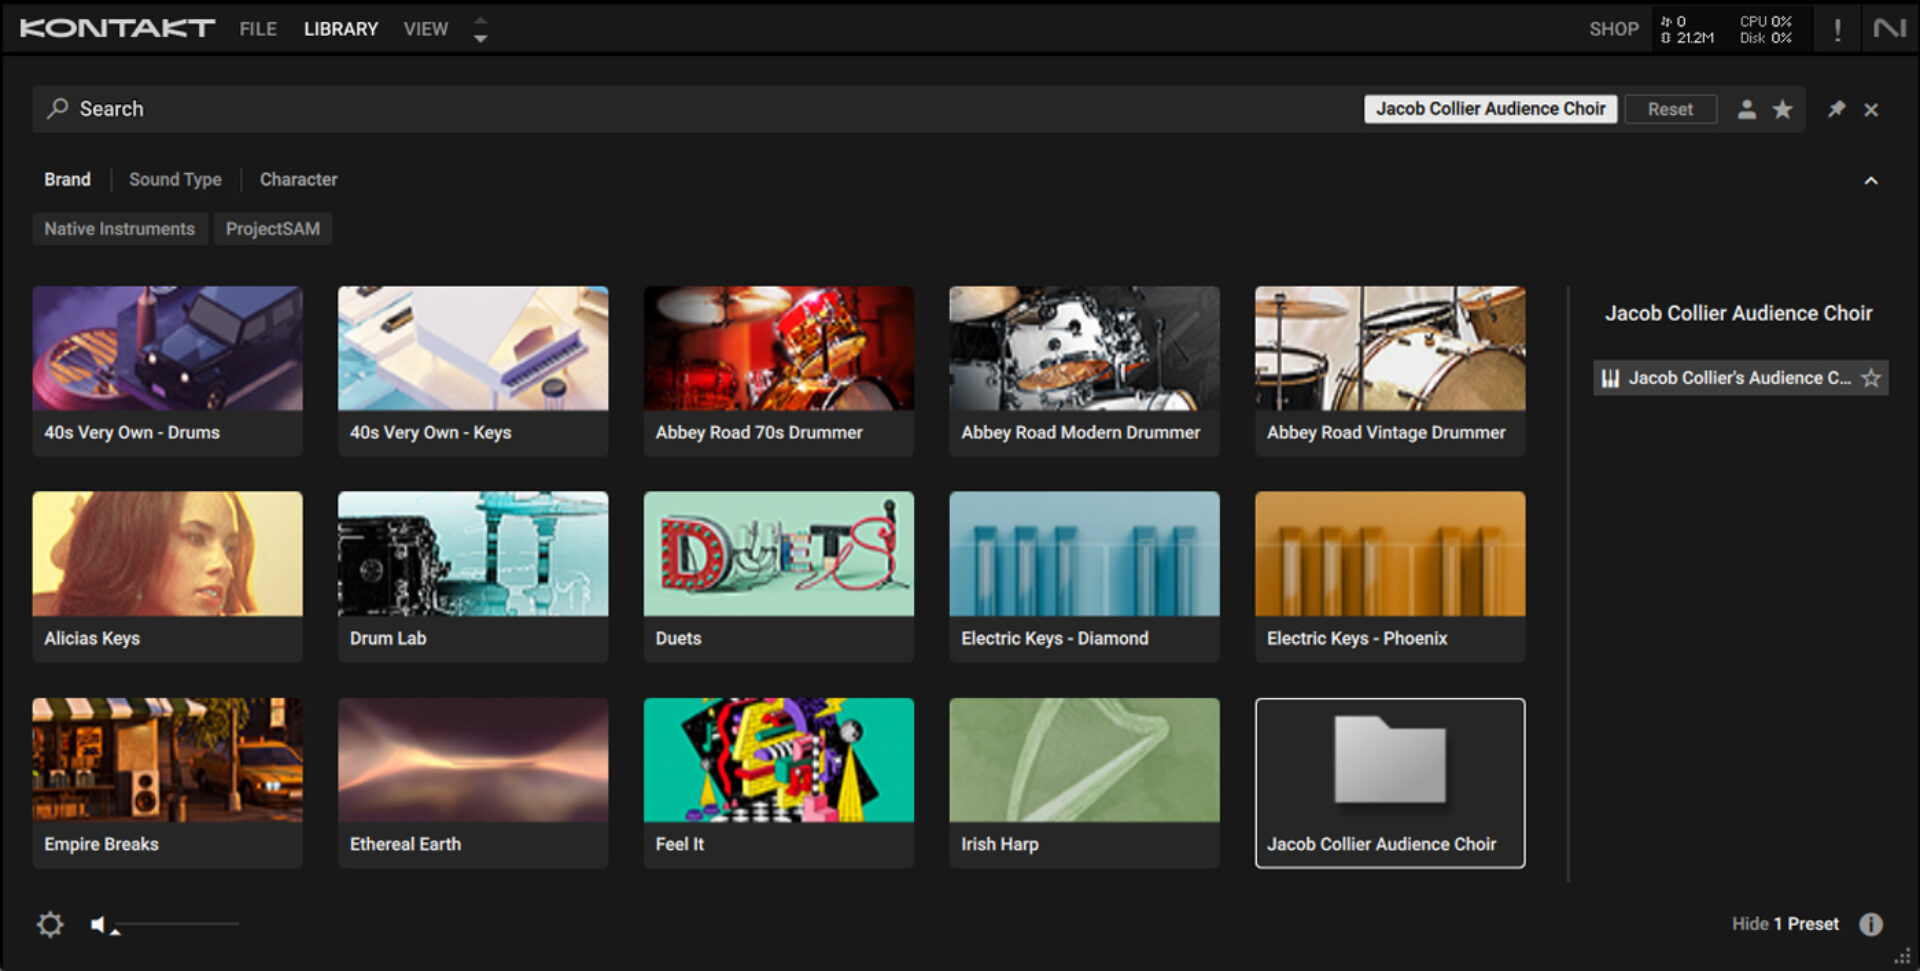
Now add a MIDI track to your project, and in Kontakt 7 or Kontakt 7 Player select Jacob Collier Audience Choir in the library, then double-click the Jacob Collier Audience Choir instrument to load it up.
You’ll notice that the instrument’s virtual keyboard has three coloured sections: yellow, orange and blue. The yellow section represents percussive sounds, the orange section represents triads, and the blue section represents individual notes. We’ll start by creating a beat using the yellow percussive sounds.

Create a one-bar MIDI clip, and copy the pattern we’ve used here, which features stomps on C0 and claps on C#0. Note that we’ll use velocity values of 100 for everything in this guide.

This hip hop-style pattern will provide the foundation to our beat. Loop the MIDI clip, and extend it out so that it plays for four bars.

2. Create a chord progression
Now we have a drum part, let’s make a chord progression. Add another MIDI track, and again load up Kontakt 7 and the Jacob Collier Audience Choir instrument.
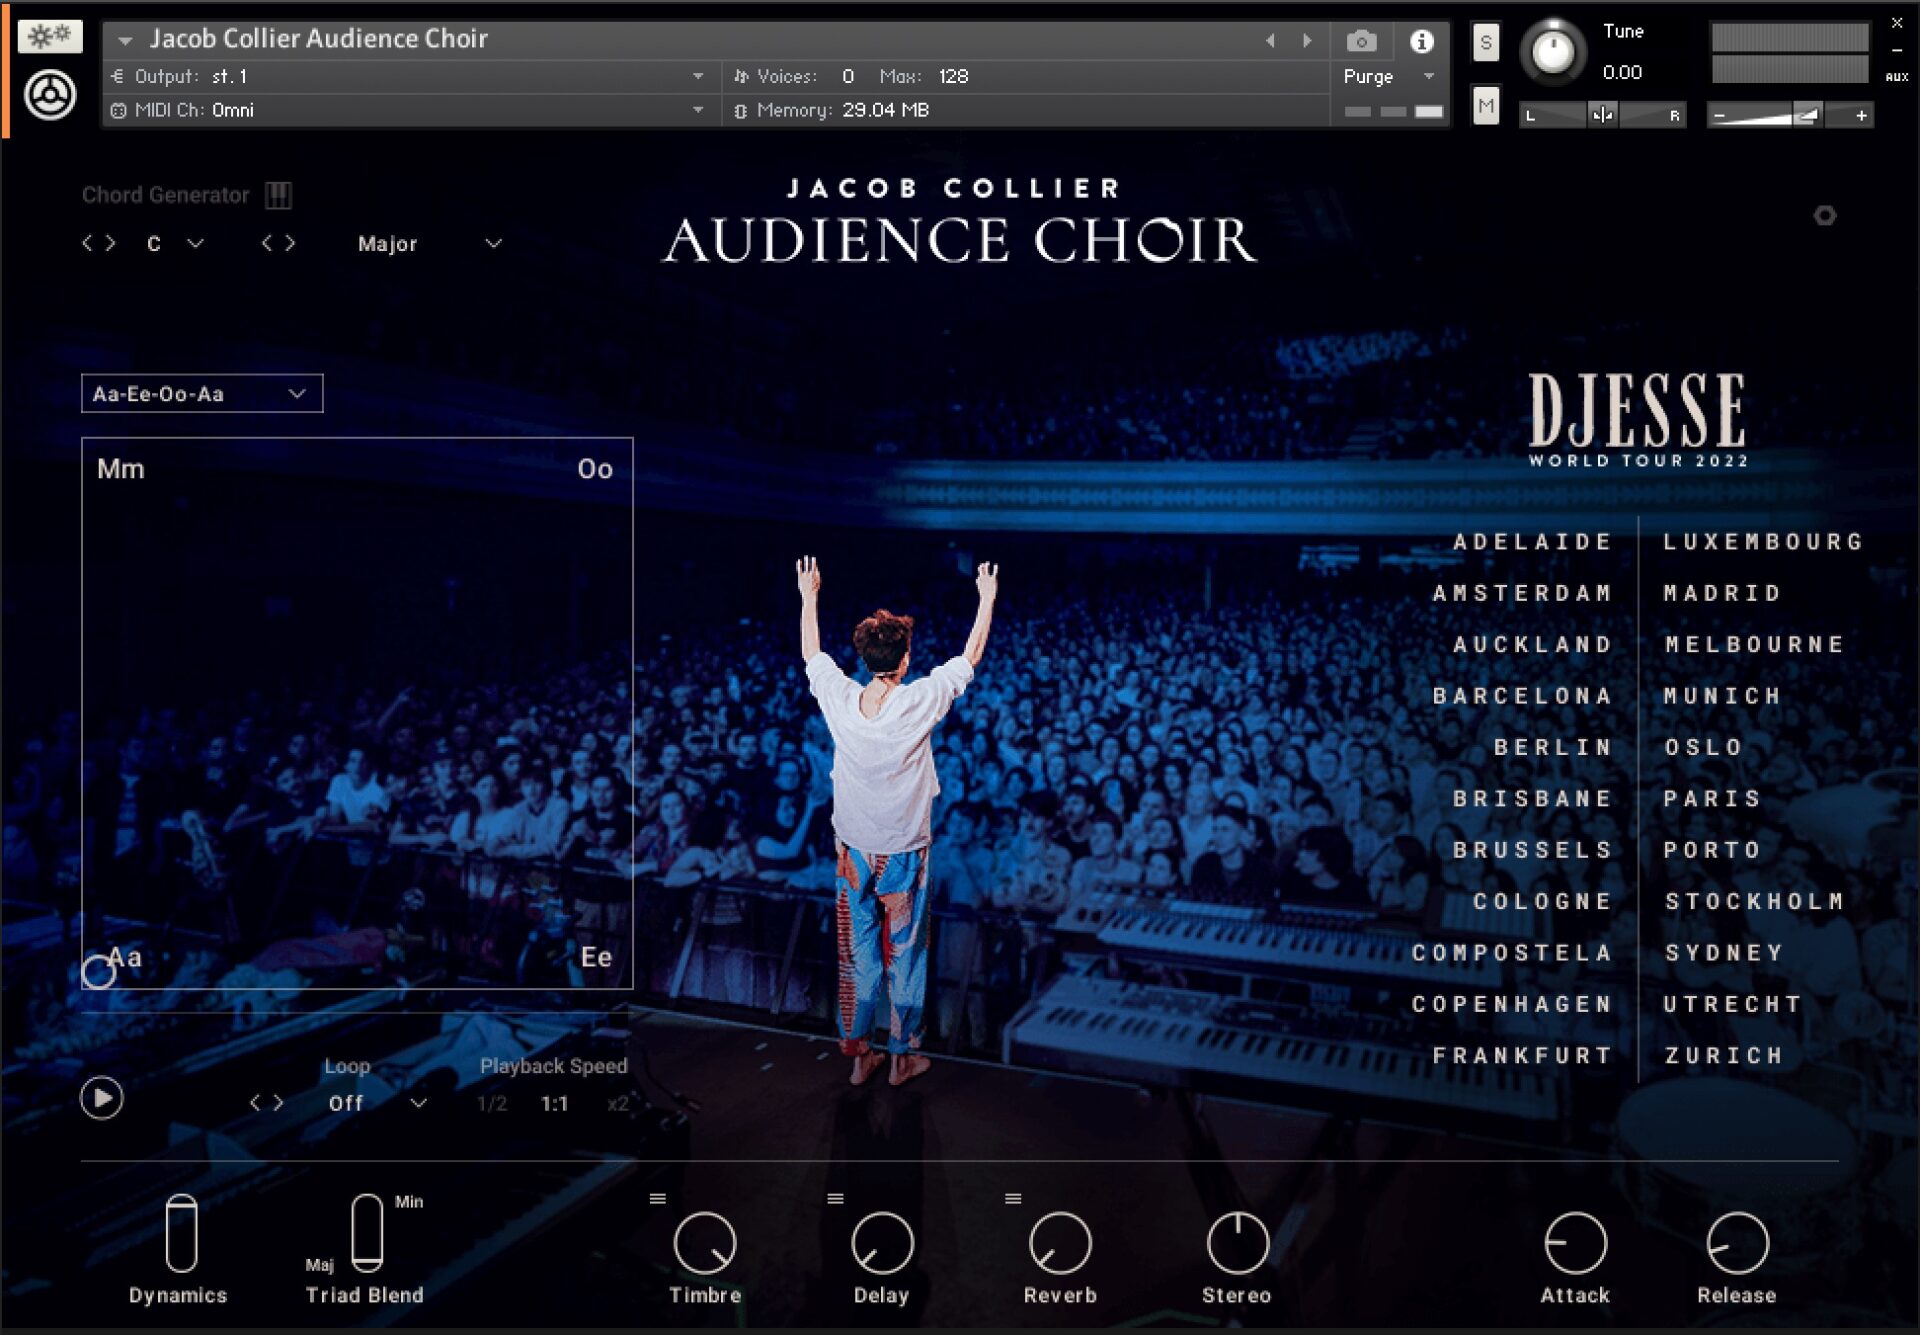
This time we’re going to use the individual notes to make our chord progression. The Audience Choir instrument can assist us make a chord progression if we activate the Chord Generator mode at the top left-hand corner of the instrument’s interface.

Now when you play a single note, the Chord Generator will turn it into a chord. Specifically, because the Chord Generator is set to the key C Major, it’ll create chords in the key of C Major. Copy the MIDI pattern we’ve used here, which plays G2, E3, D#3, and C4.

This creates a chord progression that plays G major, E minor, D# major and C major.
Set this track’s volume level to -6 dB to balance it with the percussive sounds.

3. Write a bass line
When it comes to low-end, few sounds have the impact of an 808-style bass drum. The important part is to pick an 808 that fits with our existing elements, and for this we’re going to use the Mafia Eight preset from Massive X. Add a new MIDI track, load up Massive X, then in the browser search for “mafia eight” and double-click the preset to load it up.

Set this track to -6 dB to balance it with the other elements.

Copy the four-bar bass line we’ve used here, which plays G2, D#2, F2 and C2.

4. Sequence trap hats
Next we’ll add some rhythmic high-end to our hats. Add Battery 4 on a new MIDI track, and load up the 808 Detailed Kit preset.

Set this track to -6 dB.

Sequence E4 closed hats on 8th notes for two bars with 1/32 triplet rolls on the final 8th note of the first bar, and at the end at the end of the second bar as illustrated.

Loop the two bars out to four bars. Here’s how the hats sound along with the other elements.
5. Add a rhythm synth
Let’s add a simple rhythm synth part now. Add a new MIDI track with Massive X on it, and in the browser load up the Crush Star preset.

Set this track to -3 dB.

Copy the pattern we’ve used here, which plays on G2 followed by G3.

6. Make transitional FX
To help us make a satisfying arrangement, let’s add some transitional FX. Add a new MIDI track and load up Komplete Kontrol on it. Click the One-shot button, and search for ‘impact detour’. Double-click the Impact Detour one-shot to load it up.

Set this track to -6 dB.

Sequence the one-shot to play C3 on the first beat of the first bar.

Now add another MIDI track. Again load up Komplete Kontrol, but this time load up the Riser Viima one-shot.

Set this track to -12 dB.

Set the Envelope Type to ADSR. This means that the one-shot will only play for as long as it’s receiving a MIDI on message, rather than all the way through automatically.

Sequence the one-shot on C3 for the last two bars of the four-bar sequence.

7. Create an arrangement
Let’s make an arrangement for our beat. Copy the arrangement we’ve used here.

Let’s spice up the arrangement with some vocal modulation. Audience Choir allows us to morph between different vowel sounds in real time with an XY pad. Copy the modulation on the X and Y parameters we’ve used here to move the sound from “Mm” to “Oo” between bars 13 and 17, then down to “Ee” between bars 17 and 21, then finally over to “Aa” between bars 21 and 25.

After this we want the beat to crescendo, so for bars 25-29 and 29-33 duplicate the choir part an octave up, giving as a huge sound.

Here’s how the finished arrangement sounds.

8. Master your beat
Let’s master our track. Add iZotope Ozone 11 to the master track, and click the Assistant View button.

Ozone 11 will ask you to play the loudest section of your mix. Play the project back from bar 25, and the plugin will create a custom mastering chain for your project.

Start using Jacob Collier Audience Choir
Here we’ve seen how you can make a majestic beat with Jacob Collier Audience Choir. If you’d like to read more check out our guides on music production, vocal layering, free vocal samples, and how to score with vocals.
Related articles
-

Behind the synth: A. G. Cook on stacked sawtooths and the creation of Super*Saw
Explore the extremes of stacked sawtooth waves with Super*Saw, a new synthesizer co-created with A. G. Cook. Learn how to…
-

Inside the evolution of orchestral sampling: an interview with ProjectSAM
Discover how ProjectSAM’s Lineage Series uses NKS and smart features to change orchestral sampling. Plus, save on instruments in our…
-

How New Constellations turn emotion into sound with Massive X
Go inside the studio with New Constellations. Learn how they use Native Instruments gear, happy accidents, and lifelong friendship to…
-

Citizen Kain on building emotion and space with Replika
Citizen Kain explains how Replika helped shape the rhythm, tension, and emotion behind his debut Eversun Records single “Moments.”…
-

The organic precision behind Calcou’s Anjuna release featuring Reaktor
Calcou shares how Reaktor, Monark, and Super 8 shaped the creative balance and live energy behind their new duo EP,…
-

14 NKS instruments that will change the way you create music
Discover 14 NKS instruments to freshen up your workflow. From lo-fi tape synths to cinematic strings, shop the Native Instruments…
-

Parallelle on crafting living basslines with Reaktor and TRK-01
Parallelle share how Reaktor and TRK-01 shape the bass and warmth in 11th Avenue, balancing analog depth with modern control.
-

Where will your sound lead you? Explore the Native Instruments Summer Sale
Save 30% on instruments, effects, and sounds in our Summer Sale. Find the tools to keep your tracks moving and…