


As music production software and hardware has become more accessible to the masses, more and more people are opting to build their own home music studios to enable them to record music at home. Rather than continuing to invest in expensive studio time, you can use those precious dollars to stock up on your own home recording studio tools so you can be recording at home in no time!
Growing up in rural Idaho US, I’ve really only known a “home studio setup.” But over the years with some time and effort, I’ve built my studio to what it is today. In this blog, you will learn about the essentials for building your own home studio setup. I’ll even provide you with my personal recommendations along the way!
Jump to these sections:
How much does an in-home studio cost?
There are many different software and hardware components to building your own home music studio. A basic setup that includes items like a DAW, an audio interface, microphone, headphones, and cables can cost anywhere from $500–$1,500.
For a more advanced and high-quality setup, you can expect to spend upwards of $3,000 or more. This includes pro-grade studio monitors, additional home recording studio equipment like MIDI controllers, synths, and more.
I’ve been building my home recording studio for over a decade and have gone through many different budget-friendly options under each category that we will discuss below. I can say with confidence that this setup is my favorite yet!
What do you need for a home music studio?
To set up a basic home music studio, you will need the following equipment: a computer, audio production software, an audio interface, a MIDI controller, headphones or speakers, acoustic room treatment, as well as microphones, cables, and stands. We’ll review these in detail below.
1. A computer
First, you’ll need a computer with sufficient processing power and storage space to run digital audio software and store your audio files. It doesn’t really matter if you lean more Mac or PC, but I would recommend going with a computer that has at least one terabyte of storage space and at least 8 gigabytes of RAM. This will allow you to run most music software without significant delays—and provide you with enough storage space to keep all of your audio samples, recordings, and final masters.
2. Audio production software
There are three main types of software you’re going to need for your home music studio: a digital audio workstation, some music production software, and some software for mixing/mastering.
DAW (Digital Audio Workstation)
A DAW is software that enables you to record, edit, and mix your music on your computer. There are a lot of arguments as to which DAW is best, but from my experience they all have similar features and capabilities.
A few common DAWs include:
Like I said, there’s no real “best” option here. It really comes down to how you use your DAW of choice.
It’s important to note that some DAWs are platform specific. Logic Pro, for example, is only available for Mac computers. Also, DAWs definitely range in price: anywhere from free to kinda pricey. So, do your own research here to find which is the best option for you.

Music production software
Once you have a DAW selected and installed on your computer, it’s time to stock up on some music production software. This includes software synthesizers, samplers, and effect plug-ins. Keep in mind, the production software you choose for your home studio is going to shape the overall sound you create.
The KOMPLETE 14 bundle from Native Instruments has all the tools you’ll need, whether you’re a producer, composer, sound designer, or studio musician. It comes jam packed with sample libraries, software instruments, and effect plugins to help you dial in your unique sound.

Plus, it comes in four different pricing options, so you can find a price point that works best for you and your budget.
Having the right production software for your home studio is going to help you craft, manipulate, and hone your sound. So choose wisely!
Mixing and mastering software
The last bit of software you’ll need for your home studio setup is a good batch of mixing and mastering software. This will allow you to get your mixes sounding polished and professional—not at all like they were recorded in a home studio (wink, wink).
For this, I highly recommend the iZotope Music Production Suite 5 because it comes with everything you’ll need to bring that professional polish to your own home recordings. Whether you’re looking to mix some dueling guitars with Neutron 4, or you’re hoping to get a pro-sounding master with Ozone 10, this bundle of software has you covered.
3. Audio interface
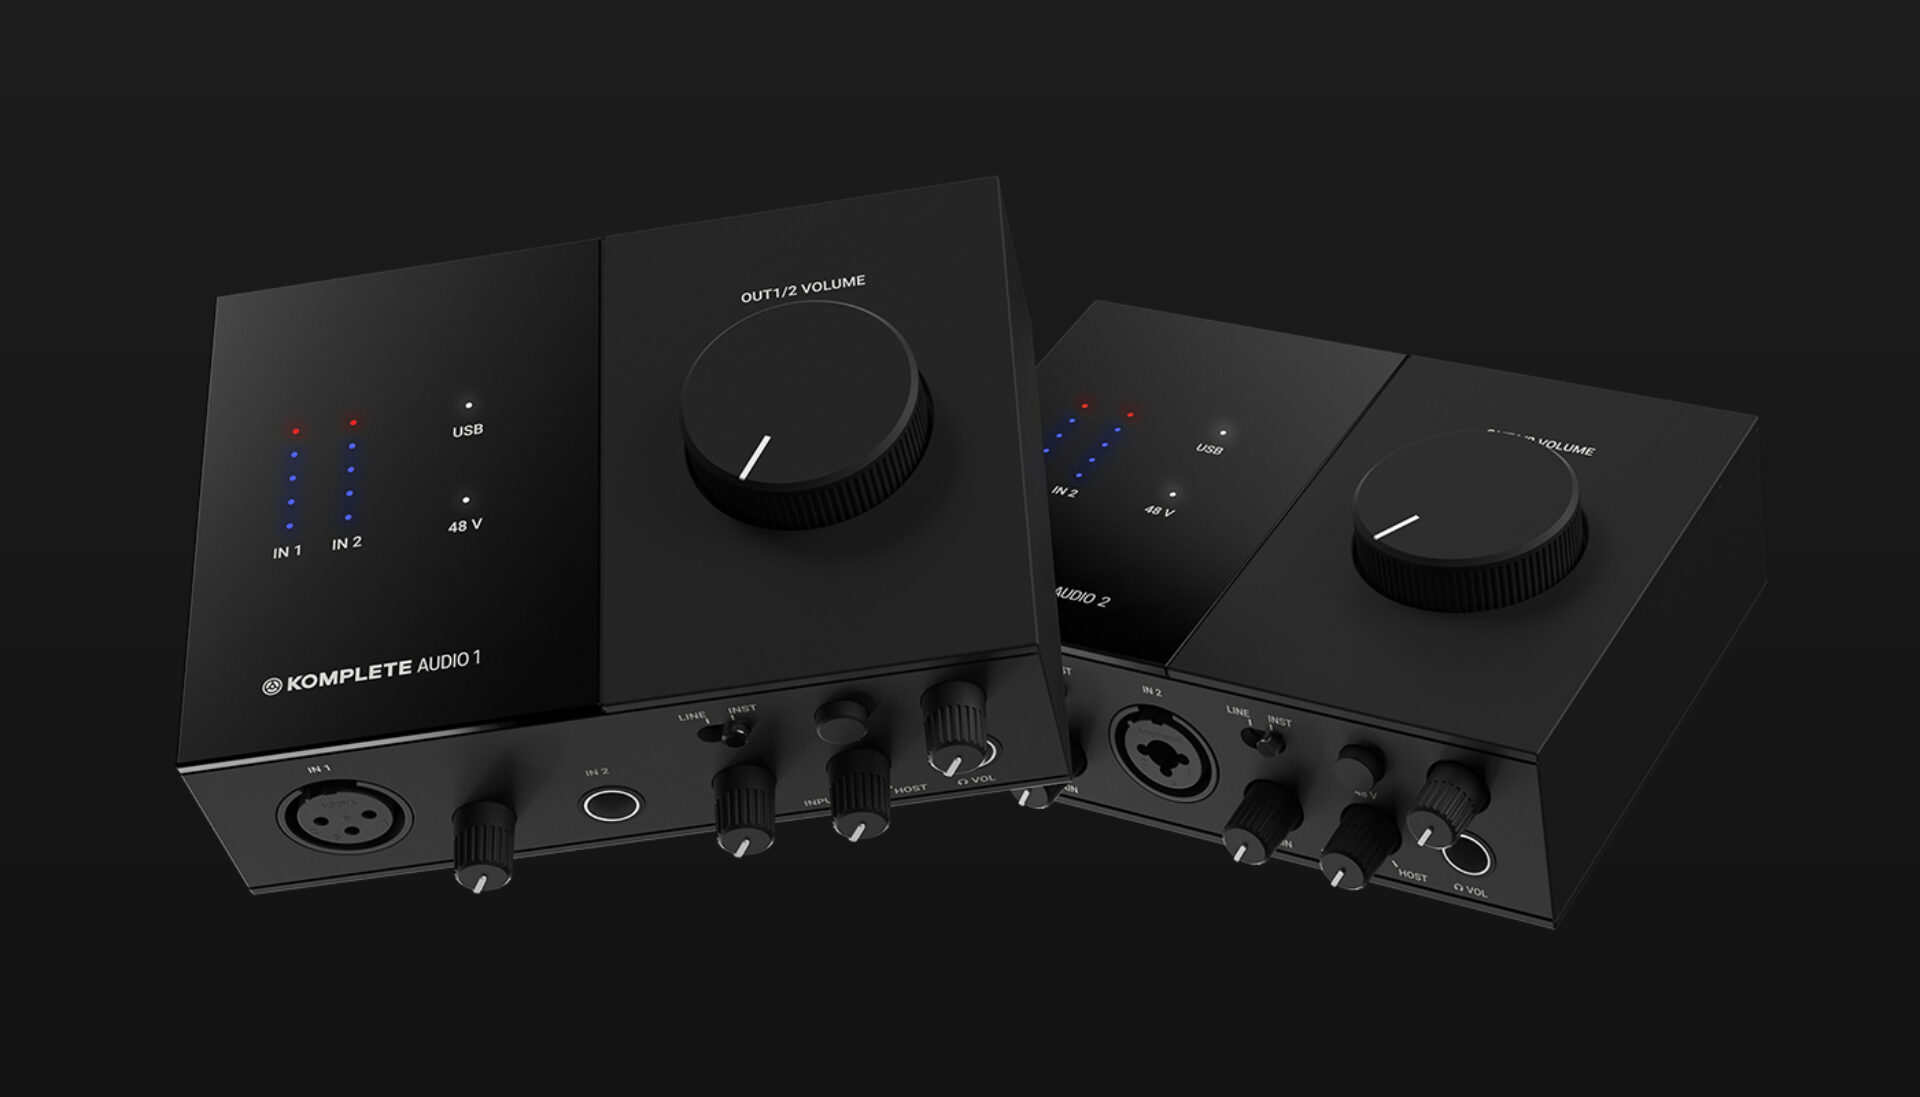
An audio interface is the device that connects your computer to your microphones, instruments, and speakers. It converts analog audio signals into digital signals that your computer can process. For this, I use the KOMPLETE AUDIO 6, but if you don’t need 6 input channels, you could also opt for the more cost-effective KOMPLETE AUDIO 1/KOMPLETE AUDIO 2.
4. MIDI Controller
Since you’re going to need a way to actually play your software instruments, it’s a good idea to have at least one MIDI controller in your home studio. MIDI controllers are simply devices that connect to your computer and allow you to “play” the software. There are two main types of MIDI controllers: those with a traditional keyboard layout, and those with pads you can hit to trigger samples. Let’s take a look at both.
MIDI Keyboard
A MIDI keyboard comes out of the box looking just about like a standard piano keyboard, but once you pair it with your music production software, your sounds will take on a life of their own. MIDI keyboards come in all different sizes, typically ranging from 12 keys up to a full 88-key keyboard. Choose whichever size fits your budget and space.

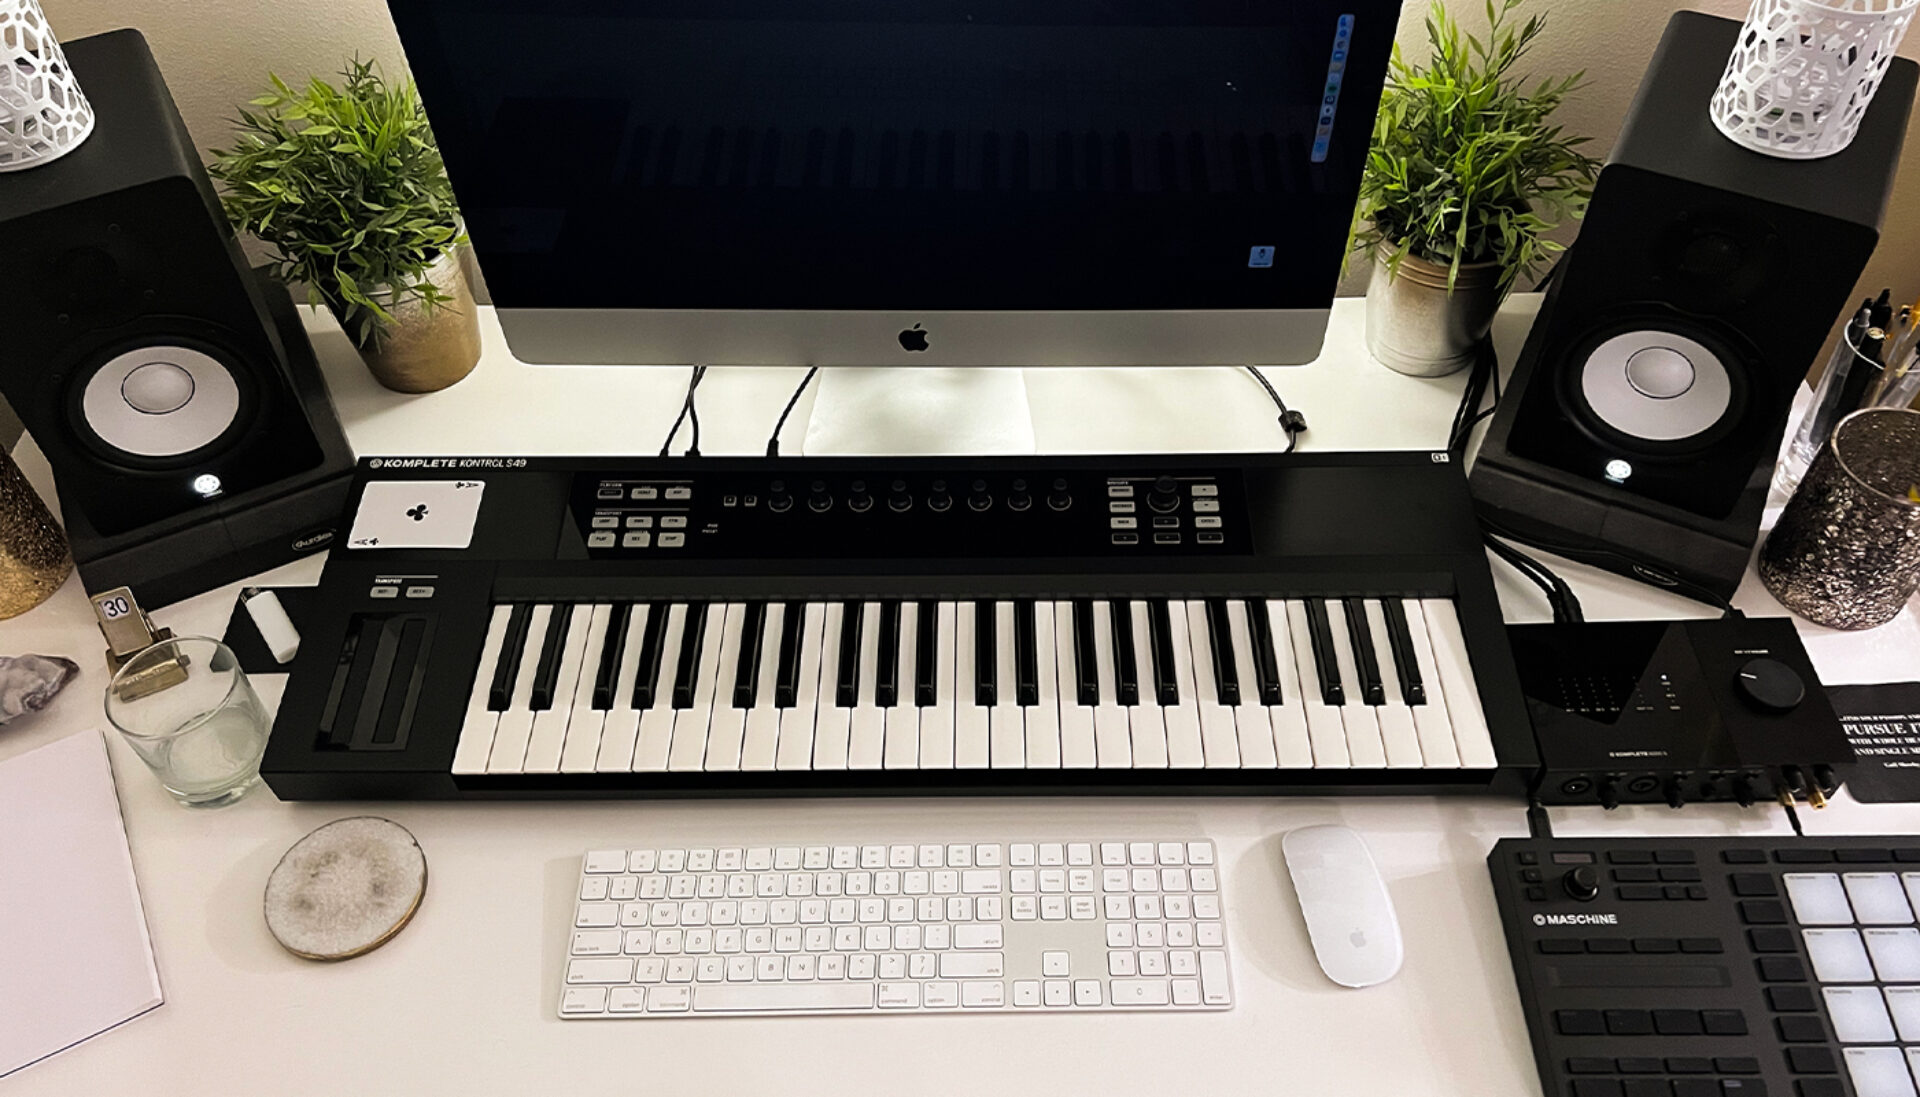
I have the 49-key KOMPLETE KONTROL S49 MIDI Keyboard in my home music studio because it’s the perfect size for my desk (if IKEA made desks with music producers in mind, I would definitely go with more keys!)
One cool thing to note about the KOMPLETE KONTROL series is that they were designed to work perfectly with all the KOMPLETE 14 software, so you can quickly and easily browse through different instruments right from your MIDI keyboard without even needing to touch the computer.
MIDI Sampler
A MIDI sampler provides a fast, intuitive, and fun way to create and perform tracks and beats—whether you’re laying something down in your home studio, or you’re performing for crowds on the road. Instead of traditional “keys,” MIDI samplers have a series of “pads” you can touch to trigger various sounds.

I just picked up the MASCHINE MIKRO as a Christmas gift for myself a few months back and it’s been so much fun to play with! Plus, the whole MASCHINE hardware lineup comes with a free copy of the MASCHINE software, which can also serve as your DAW.
5. Headphones and studio monitors
You’re going to need a device to monitor and listen back to the sounds you create in your home studio. And where it would be ideal to have both a decent set of mixing headphones AND a good set of studio monitors, it’s really only essential for your home studio setup to have one or the other.
I personally prefer to mix audio with my studio monitors (a pair of Yamaha HS5s). Unlike consumer speakers, which often enhance certain frequencies to make music sound more appealing, studio monitors are designed to produce a flat, neutral frequency response that accurately reproduces sound as it was recorded or mixed. This allows you to hear the full frequency range with great accuracy, so you can make informed decisions about how to adjust levels, EQ, and other settings.

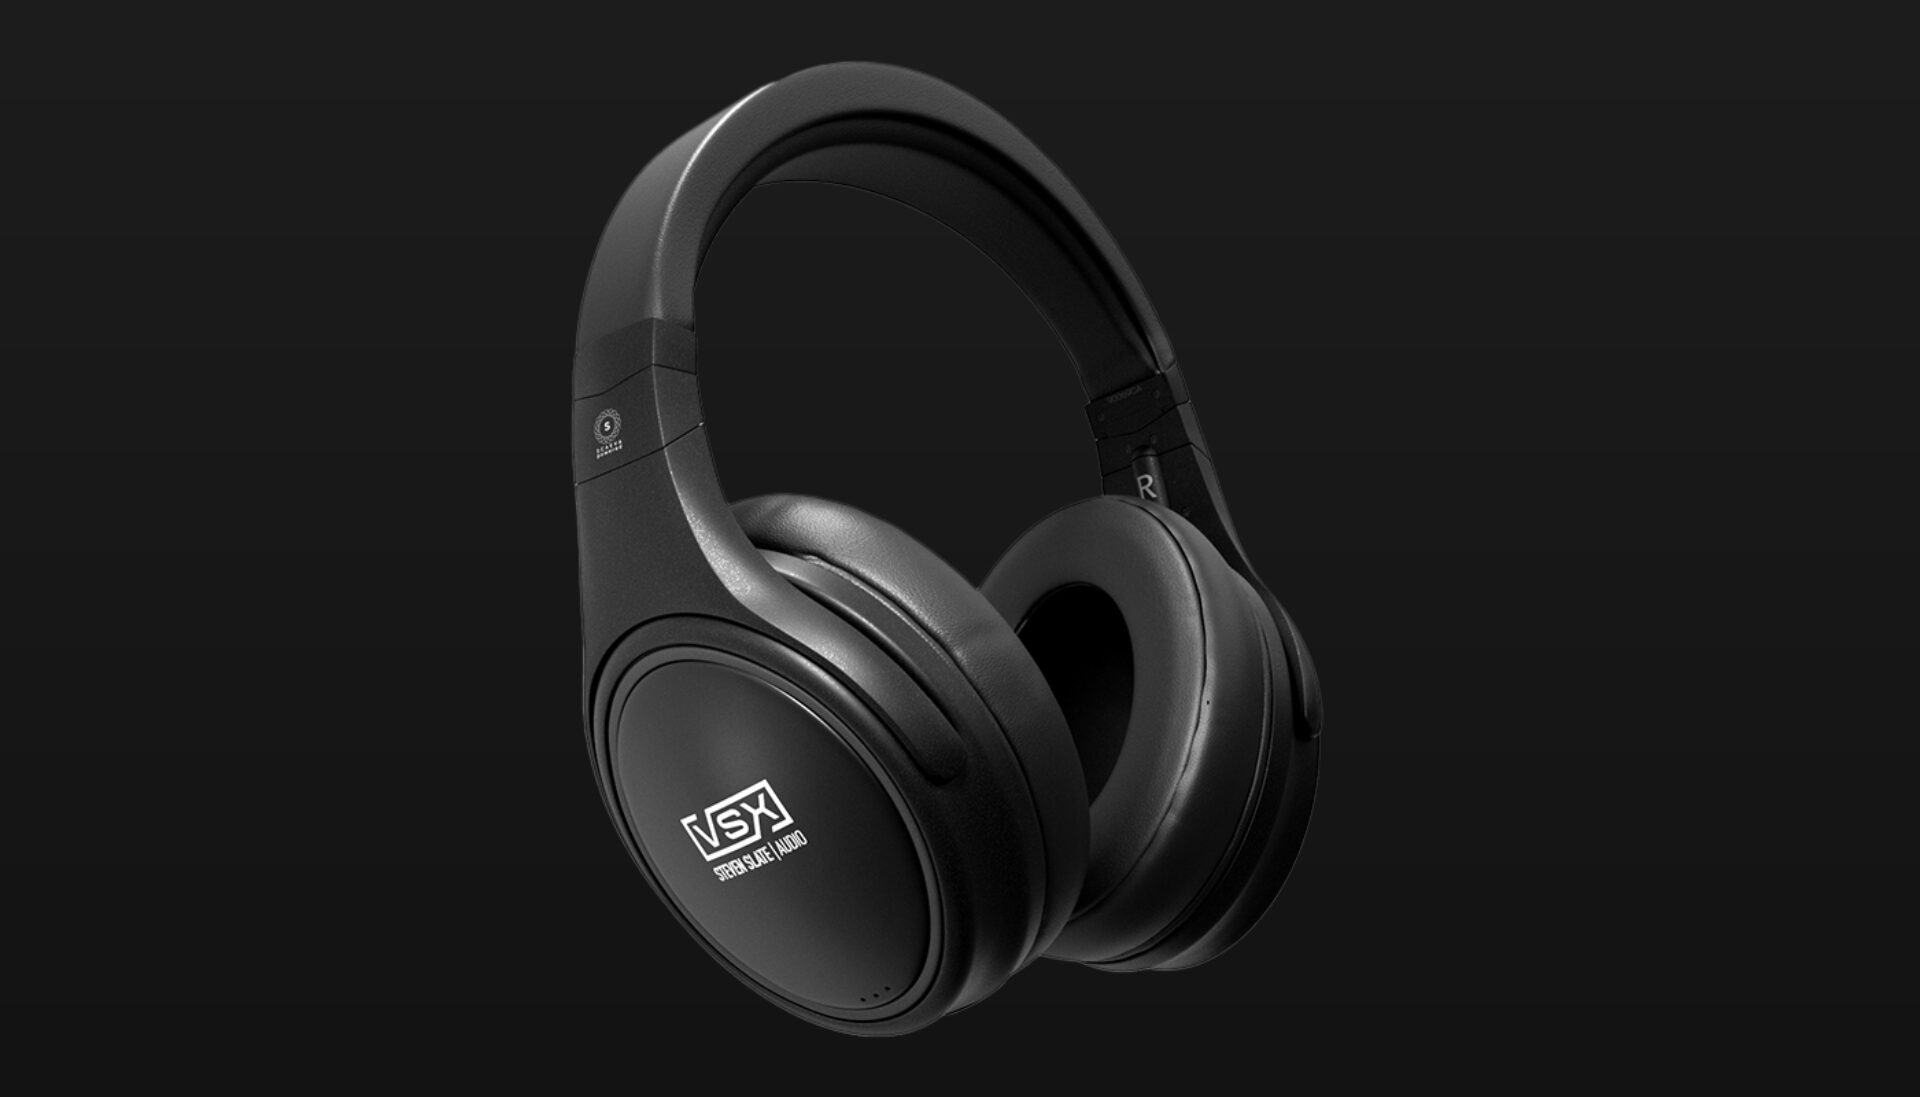
That being said, I know several talented producers that mix solely on headphones. A set of professional mixing headphones will also provide a flat frequency response, allowing you to make accurate adjustments when recording, mixing, and mastering. Even though I prefer to mix with my studio monitors, I do have a pair of Steven Slate Audio VSX mixing headphones that I’ll use to double-check my mixes.
6. Microphones, cables, and stands
For your home music studio you’ll also need at least one or two microphones for recording different instruments and vocalists. Some of the commonly used microphones include dynamic, condenser, and ribbon microphones; but different types of microphones are best for recording different instruments.
I find you can get the most bang for your buck with a large-diaphragm condenser microphone like the VMS ML-1. Condenser mics are great for recording a variety of instruments, including vocals, and they often capture a crystal clear recording as long as they’re set up properly. For more info on mic placement, give this article on microphone placement a read.
You’ll also need a variety of cables and stands to position and connect your microphones to your audio interface.
7. Acoustic room treatment
Acoustic room treatment helps to control the sound in your recording space by reducing echoes and reverberations. You can use acoustic panels, diffusers, and bass traps to achieve optimal acoustic conditions.
I’d recommend not breaking the bank on acoustic treatment since you can easily use blankets, towels, or any other soft materials to help deaden the sound in your recording space. But if you’re looking for acoustic foam panels, these acoustic foam panels might do the trick.
The key with setting up your acoustic treatment is to test it out as you’re trying things out. So, rig up some panels, hang some blankets from the ceiling, and put a towel under the door—then actually do a couple recording takes and listen back. If the recording sounds too “dead,” remove some of the treatments. If it still has too many early reflections, add some more to taste.
Set up your home recording studio
Setting up a home recording studio can be a significant investment, but with careful planning and consideration of these essential factors, you can create a professional-level studio that meets your needs and budget.
For further reading, check out this other article I wrote for iZotope on “7 Home Recording Studio Hacks for the Bedroom Producer.” And remember to check out music production tools like KOMPLETE 14 to unlock a streamlined workflow and a pro sound.
Related articles
-

Behind the synth: A. G. Cook on stacked sawtooths and the creation of Super*Saw
Explore the extremes of stacked sawtooth waves with Super*Saw, a new synthesizer co-created with A. G. Cook. Learn how to…
-

Inside the evolution of orchestral sampling: an interview with ProjectSAM
Discover how ProjectSAM’s Lineage Series uses NKS and smart features to change orchestral sampling. Plus, save on instruments in our…
-

How New Constellations turn emotion into sound with Massive X
Go inside the studio with New Constellations. Learn how they use Native Instruments gear, happy accidents, and lifelong friendship to…
-

Citizen Kain on building emotion and space with Replika
Citizen Kain explains how Replika helped shape the rhythm, tension, and emotion behind his debut Eversun Records single “Moments.”…
-

The organic precision behind Calcou’s Anjuna release featuring Reaktor
Calcou shares how Reaktor, Monark, and Super 8 shaped the creative balance and live energy behind their new duo EP,…
-

14 NKS instruments that will change the way you create music
Discover 14 NKS instruments to freshen up your workflow. From lo-fi tape synths to cinematic strings, shop the Native Instruments…
-

Parallelle on crafting living basslines with Reaktor and TRK-01
Parallelle share how Reaktor and TRK-01 shape the bass and warmth in 11th Avenue, balancing analog depth with modern control.
-

Where will your sound lead you? Explore the Native Instruments Summer Sale
Save 30% on instruments, effects, and sounds in our Summer Sale. Find the tools to keep your tracks moving and…