


There are a lot of options for how to play and mix your music when DJing with digital files. While Traktor has been the groundbreaking software that brought software into the DJ booth, some DJs like the tactile control of jog wheels on a CDJ. Fortunately, you can get the best of both worlds by combining Traktor with the tactile control of a CDJ, and get access to a ton of useful tools.
Let’s look at how you can use your Traktor setup to make your DJ setup streamlined and powerful with minimal effort. We’ll also talk about some common mistakes made in the setup, and how to avoid them. The end result will have you cruising comfortably through sets.
What is a CDJ?
A CDJ is a specialized digital music player for DJing. Originally designed to play music from compact discs, many CDJs can play digital music files stored on USB flash drives or SD cards. The tactile control of a CDJ can be used to select the next track, choose cue points, and more.
Seamlessly integrate your DJ workflow
There are a lot of great reasons to combine the tools available from all corners of DJ technology like CDJs. The first is ease of transport and setup. You can now show up to a gig with as little as a laptop and some USB cables and plug in almost instantly.
Another bonus from using the CDJs is that they show everything on their display screens that you’d see on Traktor. The waveform, album artwork, artist and title, time remaining, and cue points all show up on the CDJ screen, making it just as efficient to use Traktor as any other CDJ setup.
You can also use all of the great effects and tools you love in Traktor, along with those available in the mixers you know. You can connect additional Traktor control devices to do things unavailable to CDJ users. Finally, if that wasn’t enough, you can even record your own set into your laptop while playing simply by routing the audio inputs in Traktor.
A new way to connect
Since the release of Traktor Pro 3, users have access to Pioneer’s CDJ range without needing to use timecode CDs. This works based on HID (Human Interface Device) Mode and is available in Pioneer’s CDJ 3000, 2000 NXS2, 2000, and 900 models. This makes these devices into plug-and-play controllers for Traktor – something quite handy when you are looking to carry less gear to your gig.
In addition to using the CDJs as controllers, a number of the most sought-after DJ mixers now include audio interfaces, which can be used in lieu of a Traktor interface. That means your mixer can be your sound card, streamlining your gear list even further.
Some examples of mixers that can currently work as sound cards for Traktor and Traktor Pro 4 include the Pioneer DJM 900 NXS2, Pioneer V10 and the Allen & Heath Xone 96, among others.
How to set up Traktor for CDJ
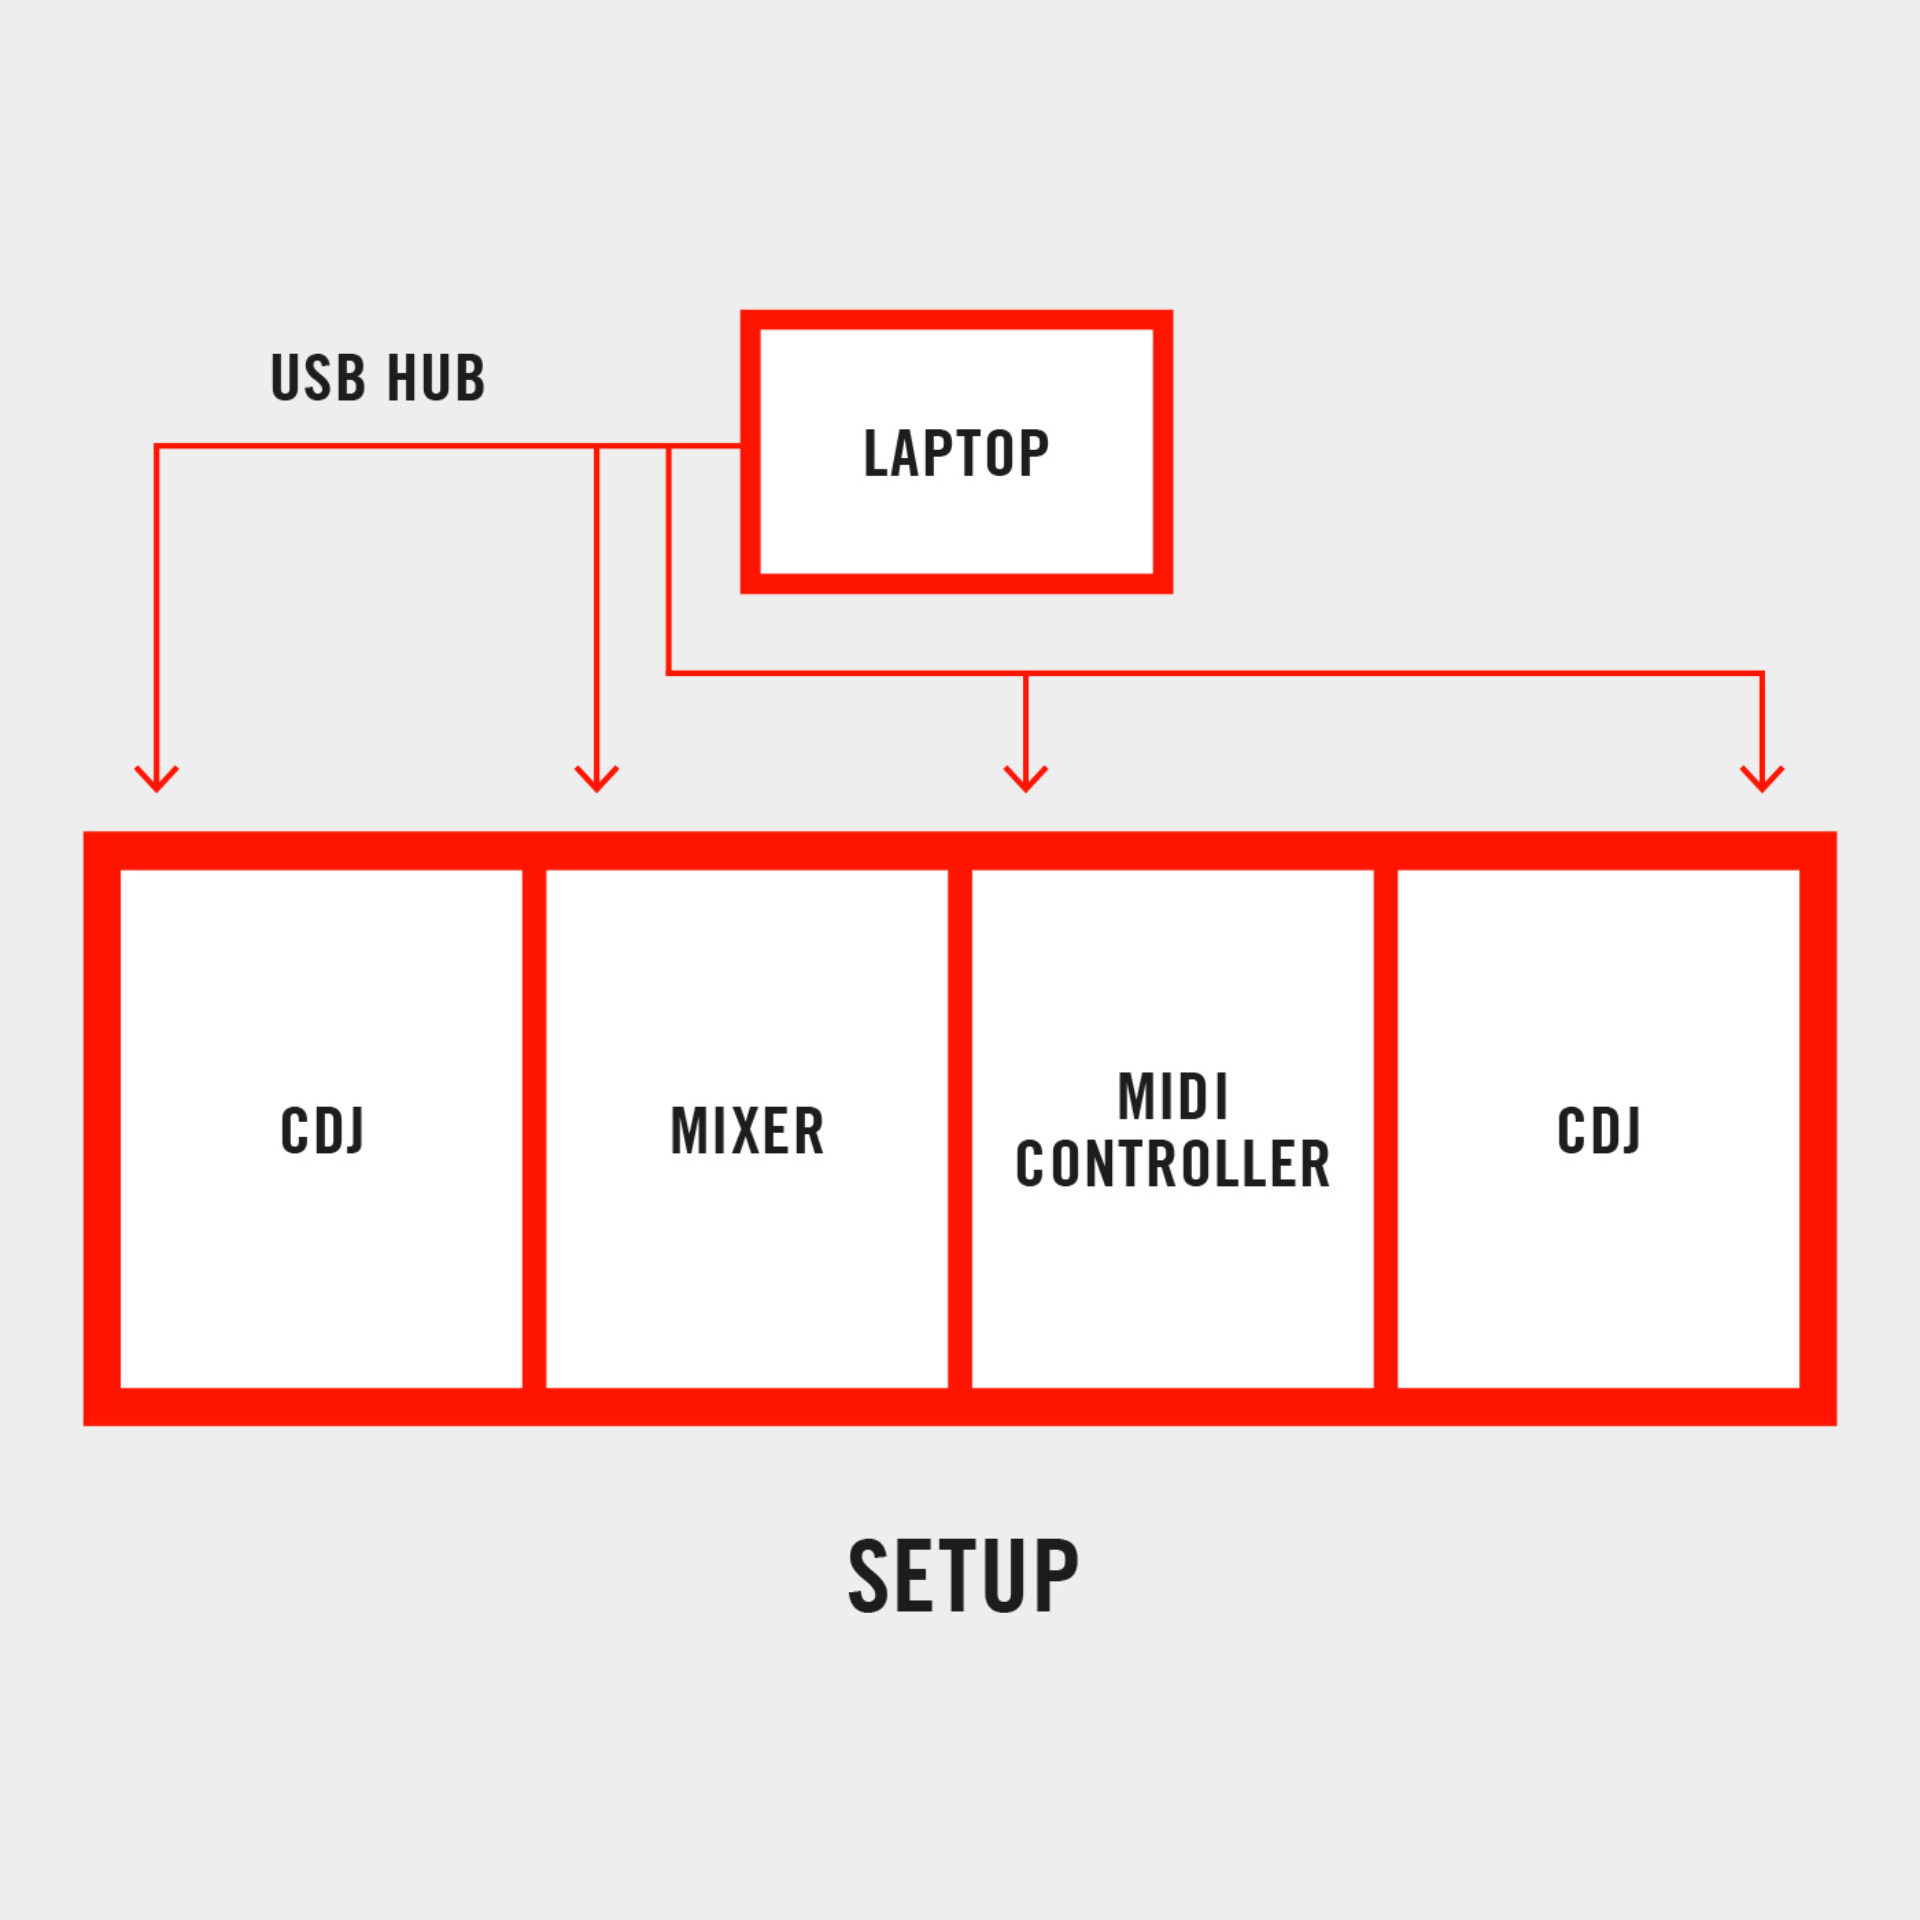
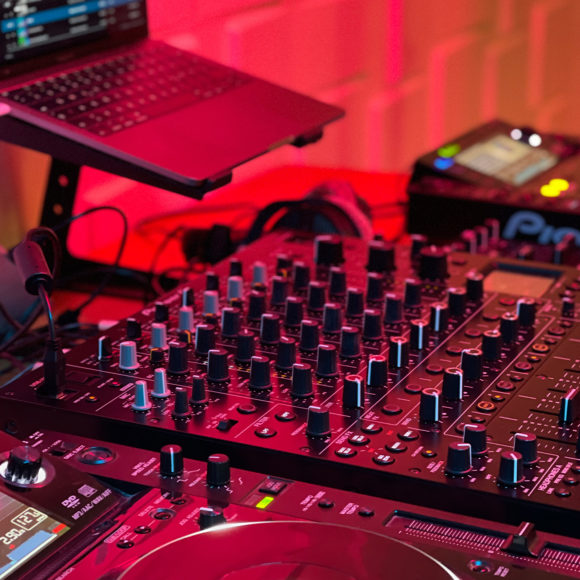
Here are some steps you’ll need to take to set up Traktor for CDJ use. For this example, we’re going to outline using Pioneer CDJs and Pioneer mixers, and we’ll be using a USB hub.
If a hub is not available everywhere you go, it’s best to carry one with you.
- Make sure you’re using the latest version of Traktor and any drivers needed for the Pioneer hardware. In your Native Access app, check the “Updates” tab for any recent updates for Traktor.
- Download the audio drivers for the CDJ if you’re on Windows. Mac users can skip this. Get the latest Pioneer Mixer drivers from the Pioneer DJ website.
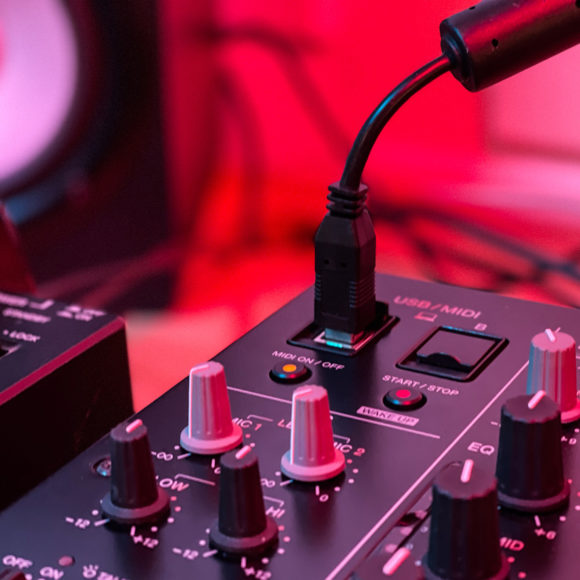
- Plug a USB cable into the back of each CDJ, and connect them to the USB hub. You will also want to use the hub to connect any additional MIDI controllers for Traktor.
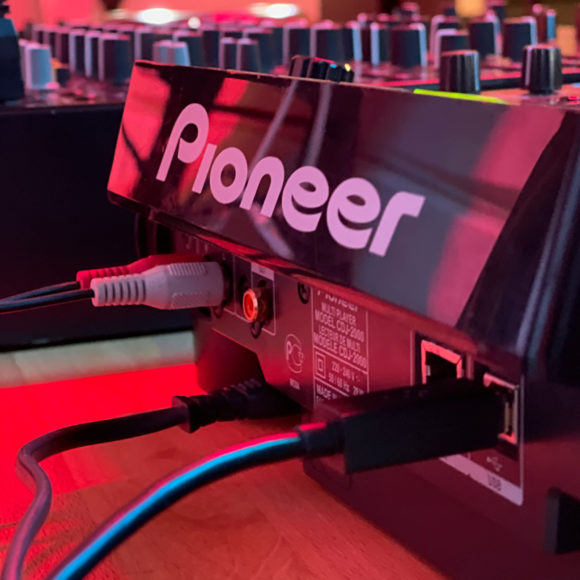
- Plug a USB cable directly from the mixer into the computer. You want to make this connection direct to the computer, bypassing the USB hub. This is a safeguard against anything happening to the hub, keeping the music playing.
- Power on the Pioneer mixer and all CDJs.
- Start Traktor on your computer.
- Press Source on the CDJ 3000 or LINK on older models, and select “Control Mode.”
- Select the deck you want to control (A, B, C or D). Repeat this on each CDJ you want to use.
- The CDJs are now controlling the Traktor decks in Advanced HID mode. This will give you access to the Track Collection, Hotcues, Loops, Needle Search, BeatJump and more.
Firmware Updates
We recommend carrying an additional USB drive with the latest firmware for the CDJ devices in case you encounter CDJs that are using outdated firmware.
Note: The drives that you are using should be drives that are formatted to FAT or FAT 32. To do this, unzip the file that you downloaded from the Pioneer site, then take the file and drag and drop it into the ROOT DIRECTORY of the USB drive (not inside any other folders).
- Disconnect all drives, ethernet cables, audio cables from the CDJ and eject any CDs.
- Power off the CDJ, and before restarting, hold down the “IN/CUE” and “RELOOP/EXIT” buttons, while powering on.
- “Connect the USB storage device to the USB port” will appear on the display. You can now release both buttons.
- Insert the USB device containing the firmware files. The update process will begin and a progress bar will show on screen (approximately 1 minute).
- The following message appears when the update is completed: “Firmware update is completed. Turn the power off before using.” Turn the power off and remove the USB.
Using Pioneer mixer as a sound card for Traktor
We’ve also talked about using the Pioneer mixer as a sound card for Traktor. Let’s get into that here.
- Make sure you’ve got the latest version of the Pioneer Settings Tool. You’ll use that to select the setup, but you’ll only need to do this once. After you’re done, you can leave these settings in place.
- You’ll want to select the output for each of your decks from Traktor. Go to Preferences > Output Routing, and match the output routing to the deck you want. Remember that the outputs could start at “0” so Deck A could be 0,1 not 1,2. In this case Deck B would be output 2,3 etc.
- On the mixer, you’ll want to direct it to find Traktor. At the top of the channel strip, you’ll want to select either “USB” on the DJM 900 NXS2 or “Computer” on the V10.
- If you’d like to record your set in Traktor, you will choose “REC OUT” in the Pioneer settings utility, for the channel of your choice, and set the USB Output level. You’ll choose “Mix Recorder” in the Traktor Preferences to “Source”>”External” then select the Mix Recorder Preferences to External FX Input.
- You’ll also need to go to Traktor Preferences>Input Routing>Input FX (Ext), select the input that you chose in the settings utility. Make sure to adjust your recording levels in Traktor’s audio recorder.
- Now you have your settings mapped to play audio through the channels you’ve chosen, A,B,C, and D. And if you want to record, that will be ready for any future setup at the touch of a button.
And now you’re ready to go! You’ve got the best of both worlds, all of Traktor’s innovative effects, your Track Collection, and Playlists with your Hot Cues and Loop points, all shown and controlled on the CDJs and any additional controllers you like. In addition, you can use the mixer and its built in effects on the industry-leading mixers, while rolling up to the gig with only what you need—your music and your skills!
Related articles
-

Behind the synth: A. G. Cook on stacked sawtooths and the creation of Super*Saw
Explore the extremes of stacked sawtooth waves with Super*Saw, a new synthesizer co-created with A. G. Cook. Learn how to…
-

Inside the evolution of orchestral sampling: an interview with ProjectSAM
Discover how ProjectSAM’s Lineage Series uses NKS and smart features to change orchestral sampling. Plus, save on instruments in our…
-

How New Constellations turn emotion into sound with Massive X
Go inside the studio with New Constellations. Learn how they use Native Instruments gear, happy accidents, and lifelong friendship to…
-

Citizen Kain on building emotion and space with Replika
Citizen Kain explains how Replika helped shape the rhythm, tension, and emotion behind his debut Eversun Records single “Moments.”…
-

The organic precision behind Calcou’s Anjuna release featuring Reaktor
Calcou shares how Reaktor, Monark, and Super 8 shaped the creative balance and live energy behind their new duo EP,…
-

14 NKS instruments that will change the way you create music
Discover 14 NKS instruments to freshen up your workflow. From lo-fi tape synths to cinematic strings, shop the Native Instruments…
-

Parallelle on crafting living basslines with Reaktor and TRK-01
Parallelle share how Reaktor and TRK-01 shape the bass and warmth in 11th Avenue, balancing analog depth with modern control.
-

Where will your sound lead you? Explore the Native Instruments Summer Sale
Save 30% on instruments, effects, and sounds in our Summer Sale. Find the tools to keep your tracks moving and…