


Native Instruments IRISH HARP is a brand new KONTAKT instrument that makes it easy to add authentic Irish harp sounds to your productions.
IRISH HARP offers warm, lush, rich tones captured from a 34-string neo-Irish harp. With a range of scales, phrases, effects, and controls, it’s got all you need to craft authentic and unique performances for composing, beatmaking, and everything in between.
The crystal clean tones of this instrument are a great match for electronic music, and in this tutorial we’ll show you how you can use IRISH HARP to create the lead line of a UK Garage-inspired dance track.
Jump to these sections:
And if you’re looking for even more additions to your music production setup, Summer of Sound is happening right now at Native Instruments, iZotope, and Plugin Alliance, where you can get 50% off major studio upgrades, tools, and instruments.
Get 50% Off Hardware & Software
How to get started with IRISH HARP
Electronic music is a broad genre that encompasses a wide variety of sounds and emotions.
Let’s consider the character of the IRISH HARP instrument, and this will give us some inspiration about what type of electronic music the sound is a good fit for.
Being a plucked instrument, harps are tonal and staccato, which makes them ideal for creating incisive melodic leads. They have a delicate sound, so they would work best with a style that gives them plenty of room in the mix to be heard,
A genre that lends itself to sparse, yet weighty mixes is UK garage. This style features tight, funky beats that will give our harp plenty of room to be heard, and we can complement the harp’s delicate timbre with a big bass sound. This will give us a full-sounding mix, while also giving the harp the space it needs to shine.
To use IRISH HARP you’ll need KONTAKT 7, or KONTAKT 7 PLAYER which is part of the free KOMPLETE START bundle.
In this tutorial we’ll also use BATTERY 4, MASSIVE X, KOMPLETE KONTROL and the KONTAKT 7 Factory Library, plus the TIMELESS GLOW expansion along with iZotope Neutron 4 and Ozone 10, but you can use your own sounds instead if you prefer.
1. Compose chords
Let’s begin by creating some chords to base our track around. First, set your audio editing software’s project tempo to 135 BPM.

Now load up KONTAKT 7 on a MIDI track, and in the browser select Kontakt to bring up the KONTAKT Factory Library. Set the search filter to Band, and double-click the Upright Piano instrument to load it up.

For our chords, we’re playing F minor, A# suspended 2, and G# major. We’ll use velocity values of 100 in this tutorial unless specified, but for this part we want a soft sound, so use a velocity of 66.

Extend this two-bar chord progression out for eight bars, giving us a “loop” to work with.

Let’s smooth this sound out by adding a low-pass filter at 650 Hz.
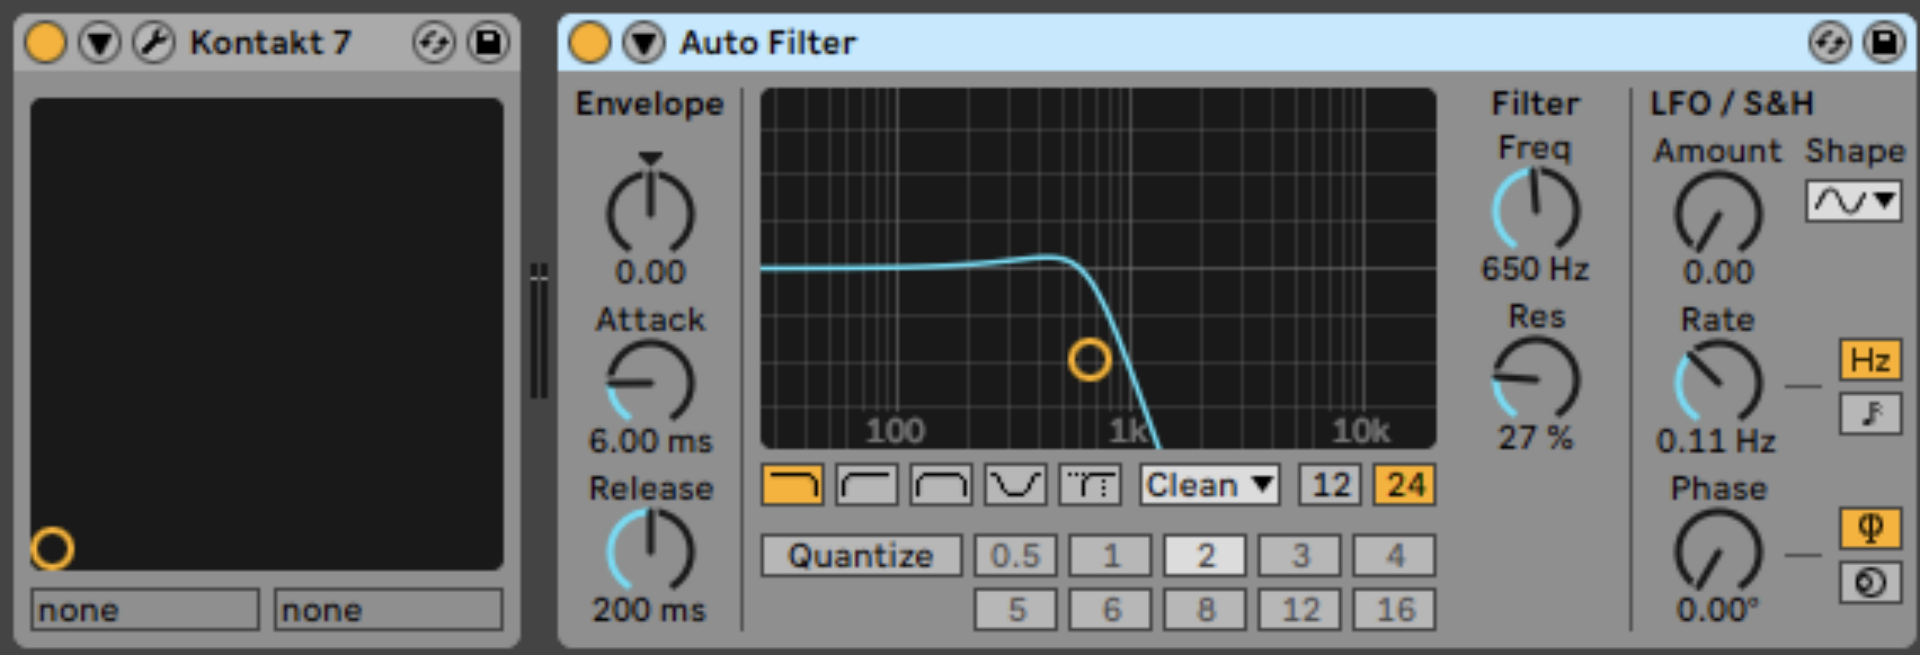
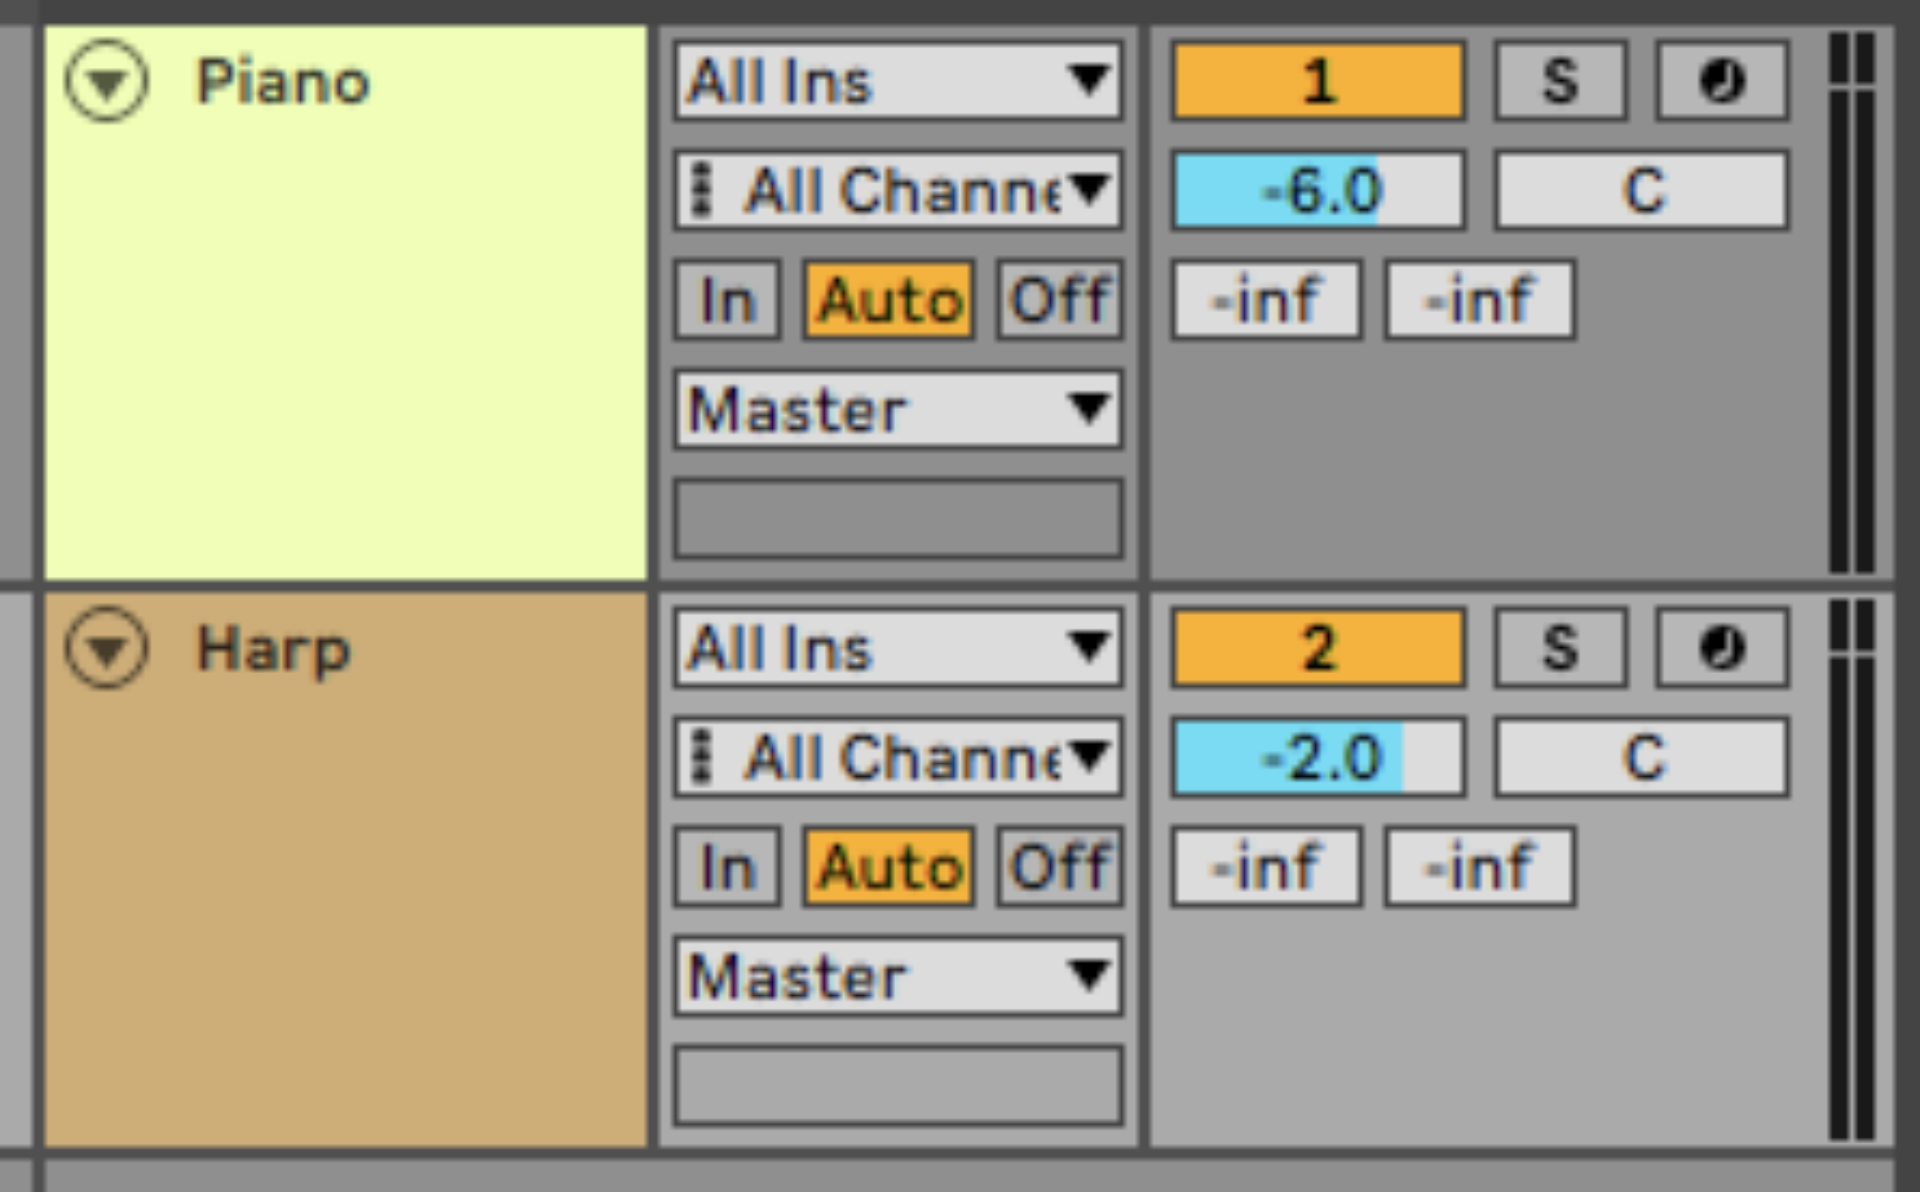
Turn this track down to -6 dB to give us more headroom in the mix to add other elements.

2. Write a melody
Load up KONTAKT 7 or KONTAKT 7 PLAYER on a MIDI track, and load up the IRISH HARP instrument.
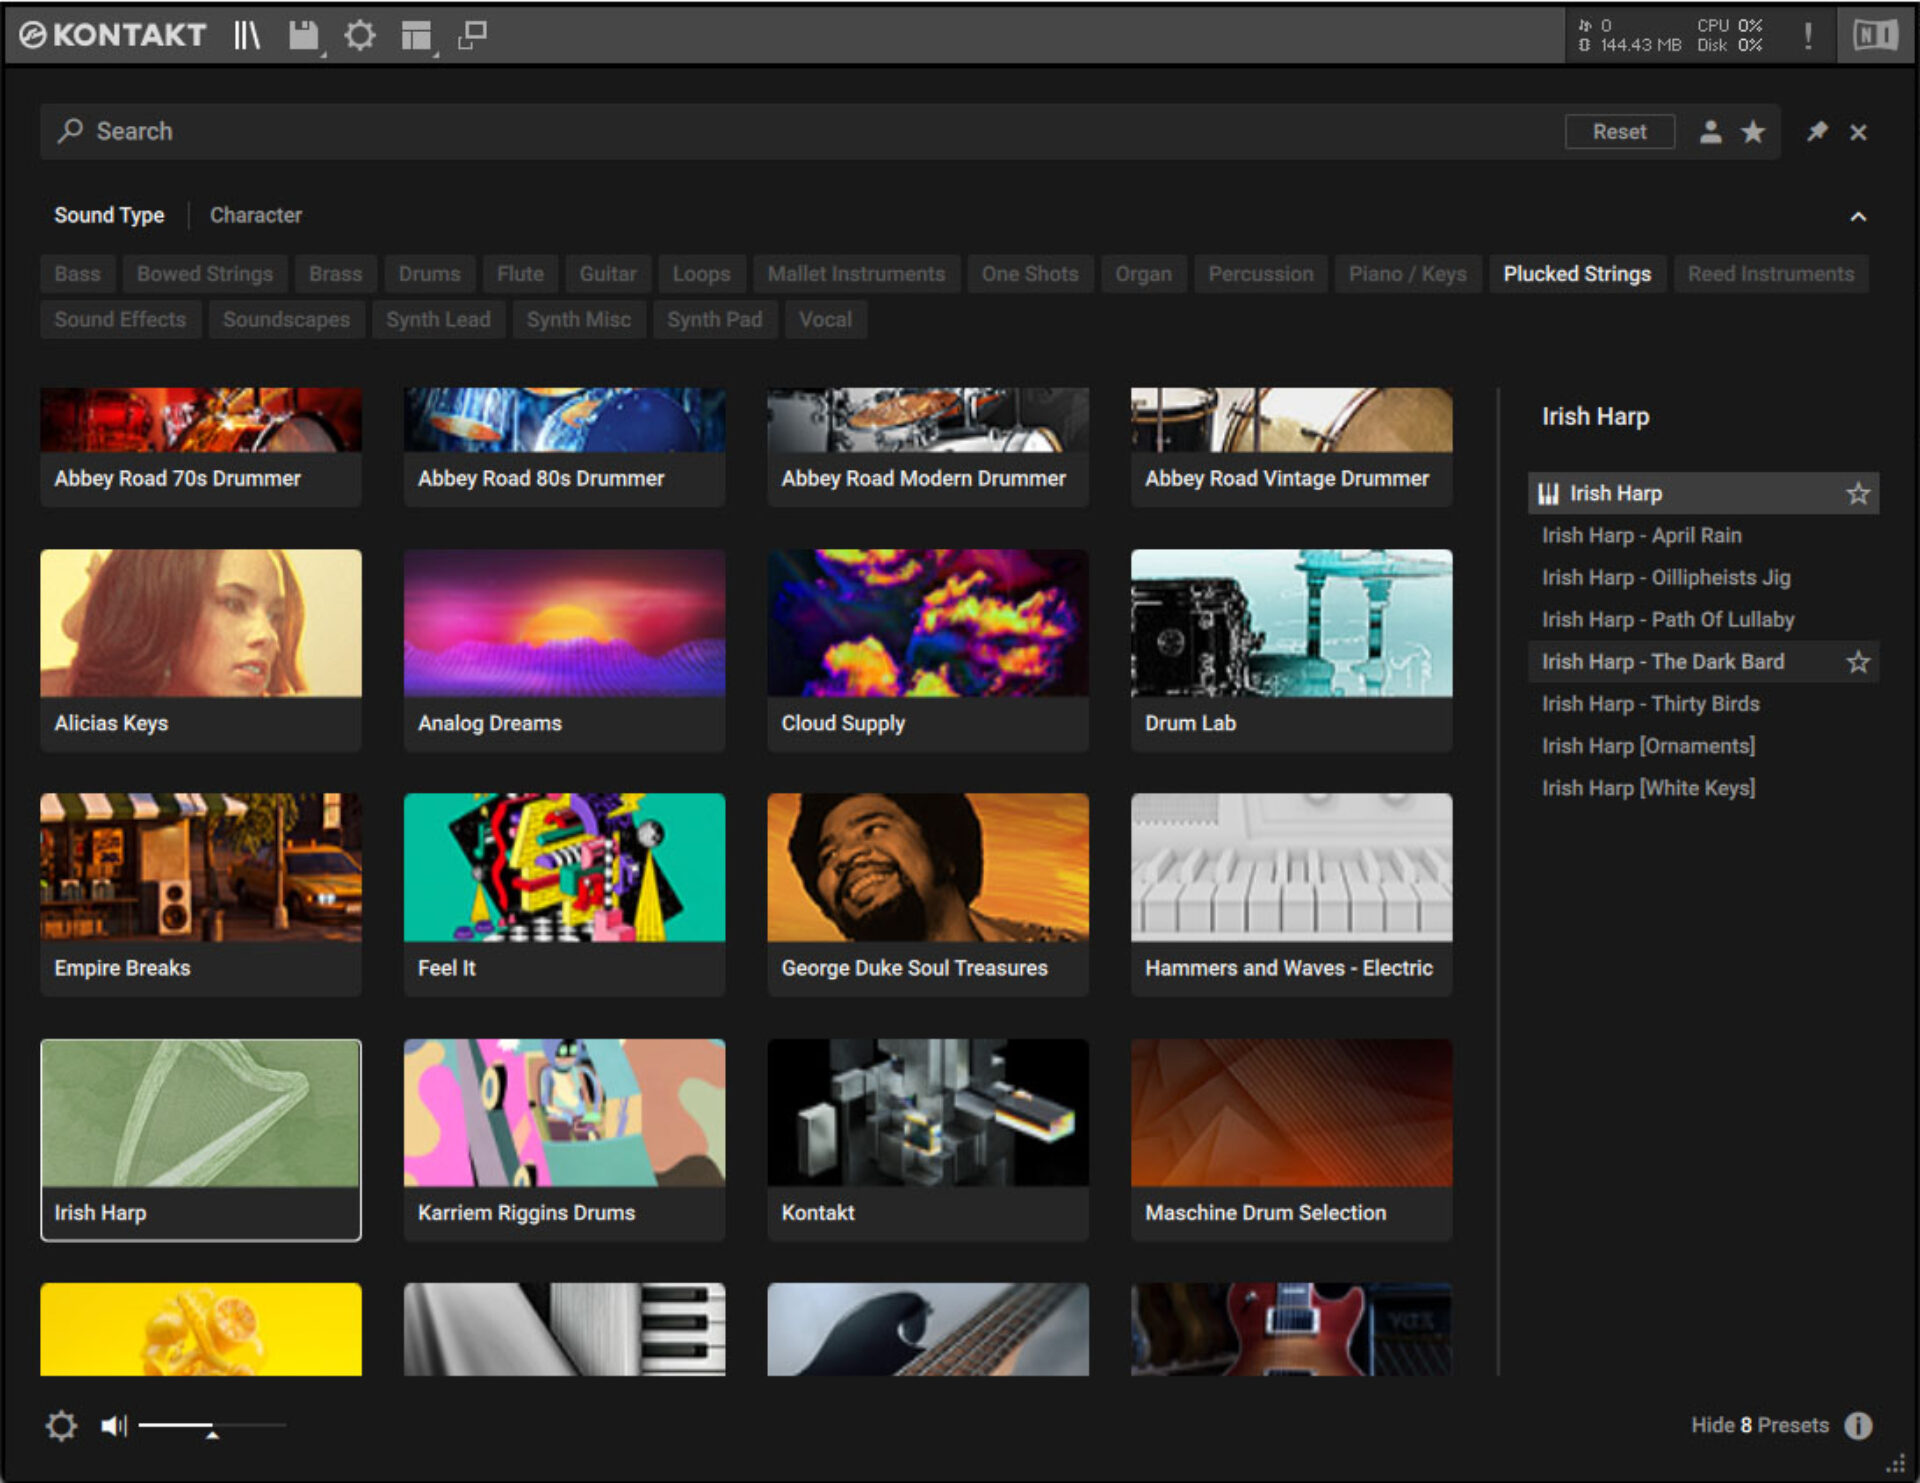
Set the Sound Peset to Modern, which gives us a slightly more upfront timbre.

Set this track to -2 dB to balance it with the piano chords.
IRISH HARP includes built-in melody sequences and the ability to use a variety of key-switched articulations, but here we’re focusing on a straightforward dance-style sound, so we’re going to play our own melody using just the instrument’s basic sound.
Copy the melody we’ve used here. We want a soft and slinky sound for this lead line, so use a velocity value of 65 for all these notes.

Add a dubby feel with some ping-pong delay, with the delay time synced to three 16th notes and a high feedback level.

For even more atmosphere, let’s add a reverb with a long decay too.

3. Make a beat
To make a UK garage-style beat for this track we’re going to use sounds from the TIMELESS GLOW expansion. Load up KOMPLETE KONTROL on a MIDI track, and in the Files tab navigate your way to where the TIMELESS GLOW expansion is located.

If you’re not sure where to find the expansion, load up Native Access, select Timeless Glow in the list of installed products, then click the Installation Path tab on the right.

In the TIMELESS GLOW folder, open Sounds > Battery Kits, and double-click Forget Kit to load it up.

Set this track to -7.6 dB to balance it with the other elements.

Sequence a beat with C#1 kicks on each beat, with D#1 claps on the second and fourth beats, and A#1 hats between the beats. The open hats should have velocity values of 81.

Now turn of your audio editing software’s snap-to-grid function and add an F#1 shaker just after the ninth 16th note with a velocity of 70. This gives us a funky touch of 16th note swing.

Extend this beat out for eight bars.

Now let’s spice up our drum part with a percussion loop. In KOMPLETE KONTROL navigate your way to TIMELESS GLOW’s Samples > Loops > Percussion folder and drag Percussions[126] Buzy.wav onto an audio track.

Set this track to -22.4 dB.

Use your audio editing software’s time stretching capabilities to timestretch the loop to the project tempo. Here we’re using Ableton Live’s Beats mode for our warping algorithm. Loop the sample out so that it plays for the whole 8-bar sequence.

Let’s tighten the loop up. Add iZotope Neutron 4 Transient Shaper to the track, and turn down the Sustain level to -9.

Let’s take some of the low-end out of the loop to give us a cleaner sound. Use a high-pass filter with a frequency of 180 Hz for this.

4. Create a bass line
For our bass line we’re going to use Native Instruments’ powerful MASSIVE X synth. Load the instrument onto a MIDI track, and in the browser section select the Bass tag. Then, double-click the Grind Dragon preset to load it up.

This patch has a lot of mid-range energy, but we’re really looking for a big bass tone. So, turn down the Frequency knob in the Filter panel to just above 200Hz. Note that as this preset’s filter is set to Scanner mode, the filter panel is labelled “Scanner” here:

Set the Massive X track to -14.4 dB to balance it with the other elements.

Sequence a two-bar bass line that plays F1, G#1 and C2, with velocities of 58.

5. Add FX and extra sounds
Let’s add some extra elements before we arrange the track. First, it would be great to have an alternative instrument to play the chords that we can use when the track drops. For this we’ll use MASSIVE X. Add an instance of MASSIVE X to a new MIDI track, and in the browser click the Piano / Keys tag. Double-click the Fancy preset to load it up.

Set this track to -16 dB to balance it with the other elements.

Duplicate over the chord progression MIDI from the piano track.

This gives us a smoother version of the chords we can use on the drop.
Now let’s make a “tension” string for the breakdown. Load up KONTAKT 7 on a new MIDI track, and in the browser select the Kontakt Factory Library library and set the search filter to Orchestral, and double-click the Violins instrument to load it up.

Set this track to -18.9 dB to balance it with the other elements.

Now sequence an F5 note with a velocity of 58 that plays for eight bars.

Now let’s add some FX to help us transition between different parts of the arrangement.
Add another MASSIVE X to a new MIDI track, and this time select the Sound Effects tag, then loud the Counting Comets preset.

Set this track to -16.7 dB to balance it with the other elements.

Sequence this patch to play an F3 note with a velocity of 58 that plays for the final two bars of the loop.

In KOMPLETE KONTROL, navigate your way to Samples > Drums > Cymbal, and drag Crash Stranger.wav onto a new audio track.

Position the sample on the first beat of the sequence.

Set this track to -22.5 dB to balance it with the other elements.

Add a delay effect synced to four 16th notes (a whole beat), with a high Feedback level.

Now we have all the elements we need, it’s time to make our arrangement.
6. Arrange your track
Here’s a suggested arrangement you can use.

This features a low-key piano chord and beat intro, which leads into a breakdown on bar 17 where the IRISH HARP instrument is introduced. The track drops on bar 33, then after 16 bars we get a drums and bass only section on bar 49.
On bar 65 the musical elements are reintroduced. On bar 81 the bass and beats drop out, giving us a piano and harp outro.
7. Master your track
Let’s get this track sounding loud and full. You can easily achieve this with iZotope Ozone 10’s Master Assistant that will intelligently listen to your track and provide master settings that you can dial-in to taste.
I’ve added an instance of iZotope Ozone 10 Maximizer to the master track, and turned the Threshold down to -7 dB. This reduces the track’s dynamics range, and gives us a louder-sounding piece of music as a result.

We now have a piece of electronic music with a striking, organic lead thanks to IRISH HARP.
Start using IRISH HARP in your music
Here we’ve seen how you can make your own electronic track from scratch with IRISH HARP and other Native Instruments sounds.
If you’d like to learn more check out our guide on how to make electronic music, how to start producing music, and free orchestral scoring libraries for KONTAKT.
Related articles
-

Inside the evolution of orchestral sampling: an interview with ProjectSAM
Discover how ProjectSAM’s Lineage Series uses NKS and smart features to change orchestral sampling. Plus, save on instruments in our…
-

How New Constellations turn emotion into sound with Massive X
Go inside the studio with New Constellations. Learn how they use Native Instruments gear, happy accidents, and lifelong friendship to…
-

Citizen Kain on building emotion and space with Replika
Citizen Kain explains how Replika helped shape the rhythm, tension, and emotion behind his debut Eversun Records single “Moments.”…
-

The organic precision behind Calcou’s Anjuna release featuring Reaktor
Calcou shares how Reaktor, Monark, and Super 8 shaped the creative balance and live energy behind their new duo EP,…
-

14 NKS instruments that will change the way you create music
Discover 14 NKS instruments to freshen up your workflow. From lo-fi tape synths to cinematic strings, shop the Native Instruments…
-

Parallelle on crafting living basslines with Reaktor and TRK-01
Parallelle share how Reaktor and TRK-01 shape the bass and warmth in 11th Avenue, balancing analog depth with modern control.
-

Where will your sound lead you? Explore the Native Instruments Summer Sale
Save 30% on instruments, effects, and sounds in our Summer Sale. Find the tools to keep your tracks moving and…
-

How Mr. Bill builds sonic worlds in Massive X
Mr. Bill explains how Massive X and instinctive sound design shaped the storytelling process behind his new downtempo album, Mr.