


Whether you’re crafting hip hop bangers, rap rhythms, or electronic earworms, mastering the mix is what sets the pros apart from the amateurs. Mixing beats is just as much a technical skill as it is a creative art form, and learning how to mix a beat requires a balanced blend of both.
In this article, explore essential beat mixing tips with beat making software from 17 years of experience as a music producer to help you get your tracks from “just okay” to “oh wow!” But first, let’s cover what it means to mix a beat.
Jump to these sections:
Follow along with iZotope Neutron and Komplete, two powerful production toolkits that can help you achieve professional-sounding beats.
Demo Neutron free Explore Komplete
What does it mean to mix a beat?
Mixing a beat refers to the process of balancing, enhancing, and blending individual elements of a song to create a cohesive and sonically pleasing whole. Mixing beats involves techniques like level adjustment, equalization (EQ), panning, compression, and the use of effects. A well-mixed beat not only sounds professional but also ensures that each element shines in harmony with the others.
How should I mix my beats?
There are many approaches to mixing beats, there are a few key steps you should take while mixing that will take your mixing skills to the next level.
Know your vibe
Before you sit down to a mix, it’s important to understand the distinct demands of your genre. When mixing hip hop beats, the rhythm reigns supreme, so make those kicks and snares pop. Electronic music, on the other hand, thrives on a dynamic energy and atmospheric depth, so don’t hesitate to play with stereo images and lush synth layers.
Regardless of your style, balancing and cohesion are key. A harmonious relationship between your kick and bass ensures a solid foundation, while keeping tabs on the midrange clarity makes sure your track’s character shines through. But, knowing what type of vibe you’re going for ahead of time will help you make intelligent mixing decisions later down the line.
Listen, carefully
Before you begin beat mixing, compile a small library of reference tracks (songs you want your beat to sound similar to) and have ‘em ready. Sometimes our ears can get biased in the mixing process if we’re only listening to our own mix. So, having a few reference tracks on hand to be able to check how your mix is progressing is always a good idea.
Speaking of your ears…they’re going to need some breaks! It’s tempting to just keep busting away on a mix – especially when you’re in the flow. But if you listen for too long (and at too high of a volume), it can cause ear fatigue and desensitization, and you’ll actually end up making worse decisions because of it. A good rule of thumb I (try to) live by: take a 5 minute break every 30 minutes you spend mixing. Trust me, it’ll help keep your ears fresh.
How to mix a beat
Let’s start mixing a beat. Keep in mind that even though this is a step-by-step walkthrough, some of these steps may fall out of order depending on the needs of your track. What’s more – you may choose to repeat steps that you’ve already done and that’s totally normal too. In the end, whatever gets you closer to your finished mix is the right choice.
For this article, we will be using a simple beat I’ve already produced using a couple of the products found in the Komplete bundle. Specifically, I used Massive for my synths, Super 8 for my bass, and Battery 4 for my drums.
Let’s take a listen to what we will be starting with.
It’s pretty rough, so we definitely have our work cut out for us. Let’s dive in and start mixing a beat!
1. Set your levels
Start by setting the volume levels of each individual track. Aim for a balanced mix where no single element overpowers the others. This initial step is crucial for establishing the relative volume of your drums, bass, synths, and other instruments. Remember, it’s easier to make adjustments on a well-leveled mix.
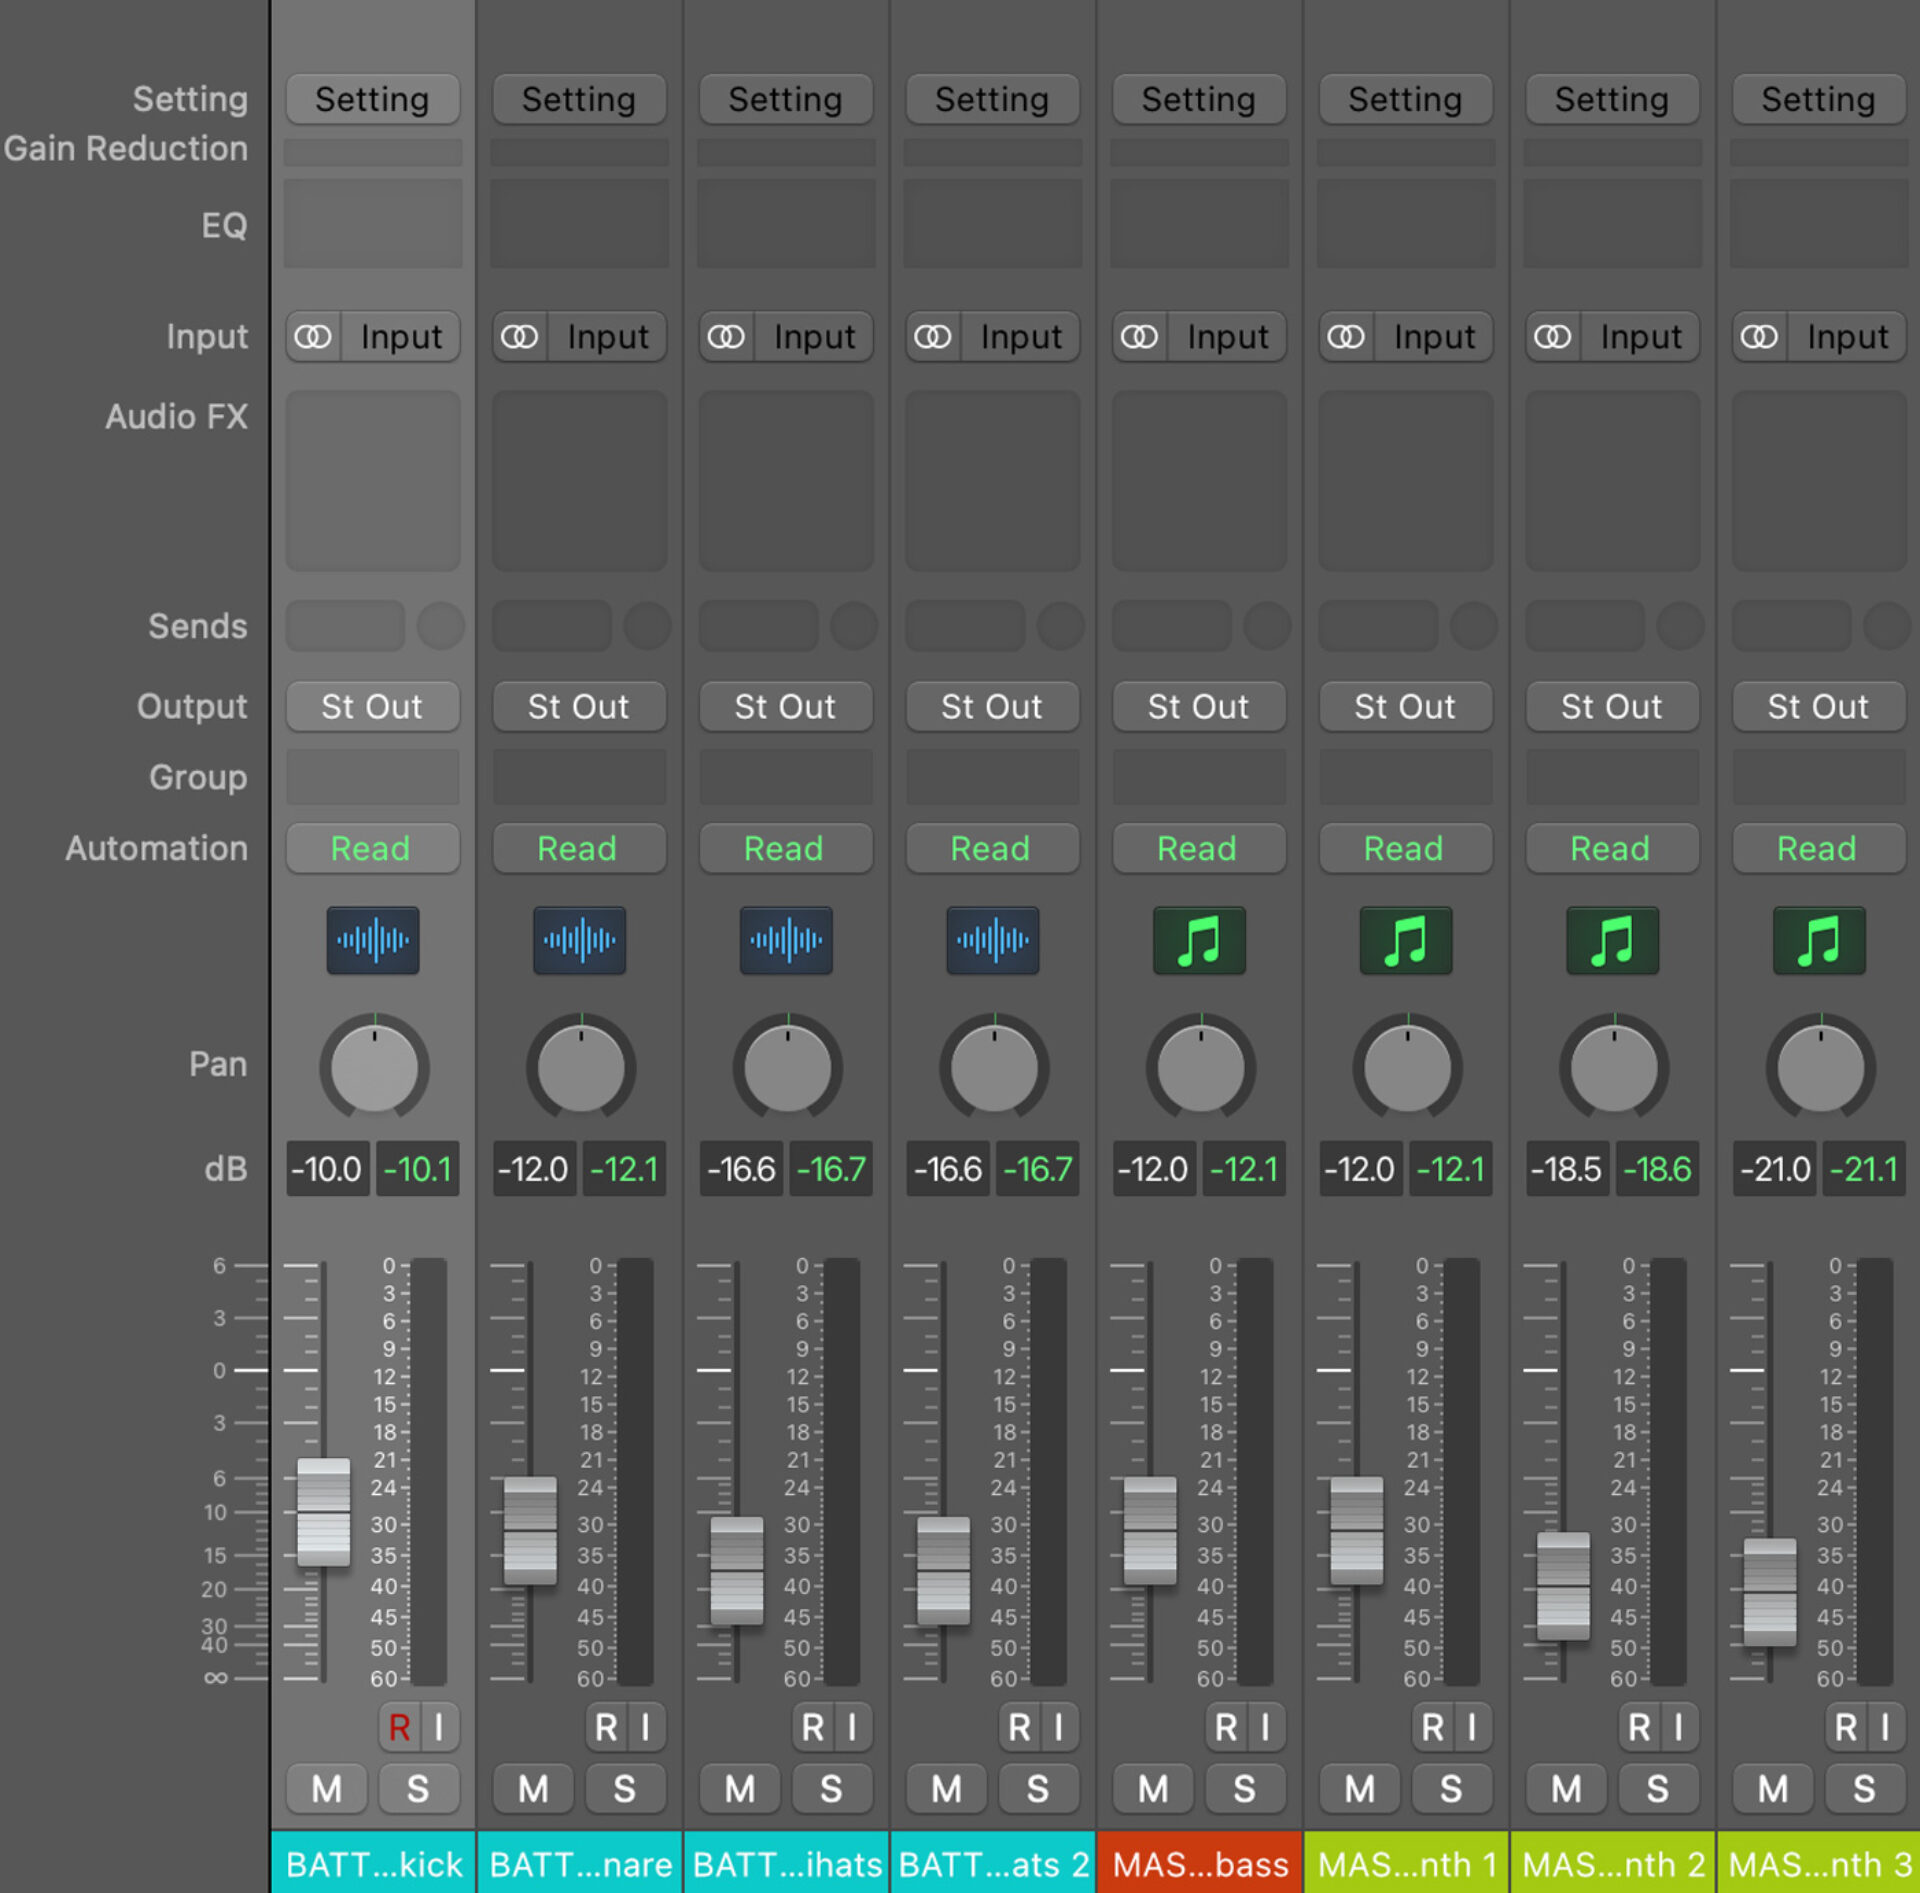
By simply tweaking a few of the tracks’ volume sliders in my session file, I was able to achieve a much more balanced sound already. Take a listen.
2. Use EQ to sculpt your sound
An equalizer (EQ) is a frequency shaping tool that lets you enhance the clarity and character of a sound. I typically put an EQ plugin on every instrument track in my mix to help me sculpt each sound individually, but the placement and amount of EQ adjustments will vary depending on the needs of my mix. My personal favorite EQ to use is the one included within iZotope Neutron.
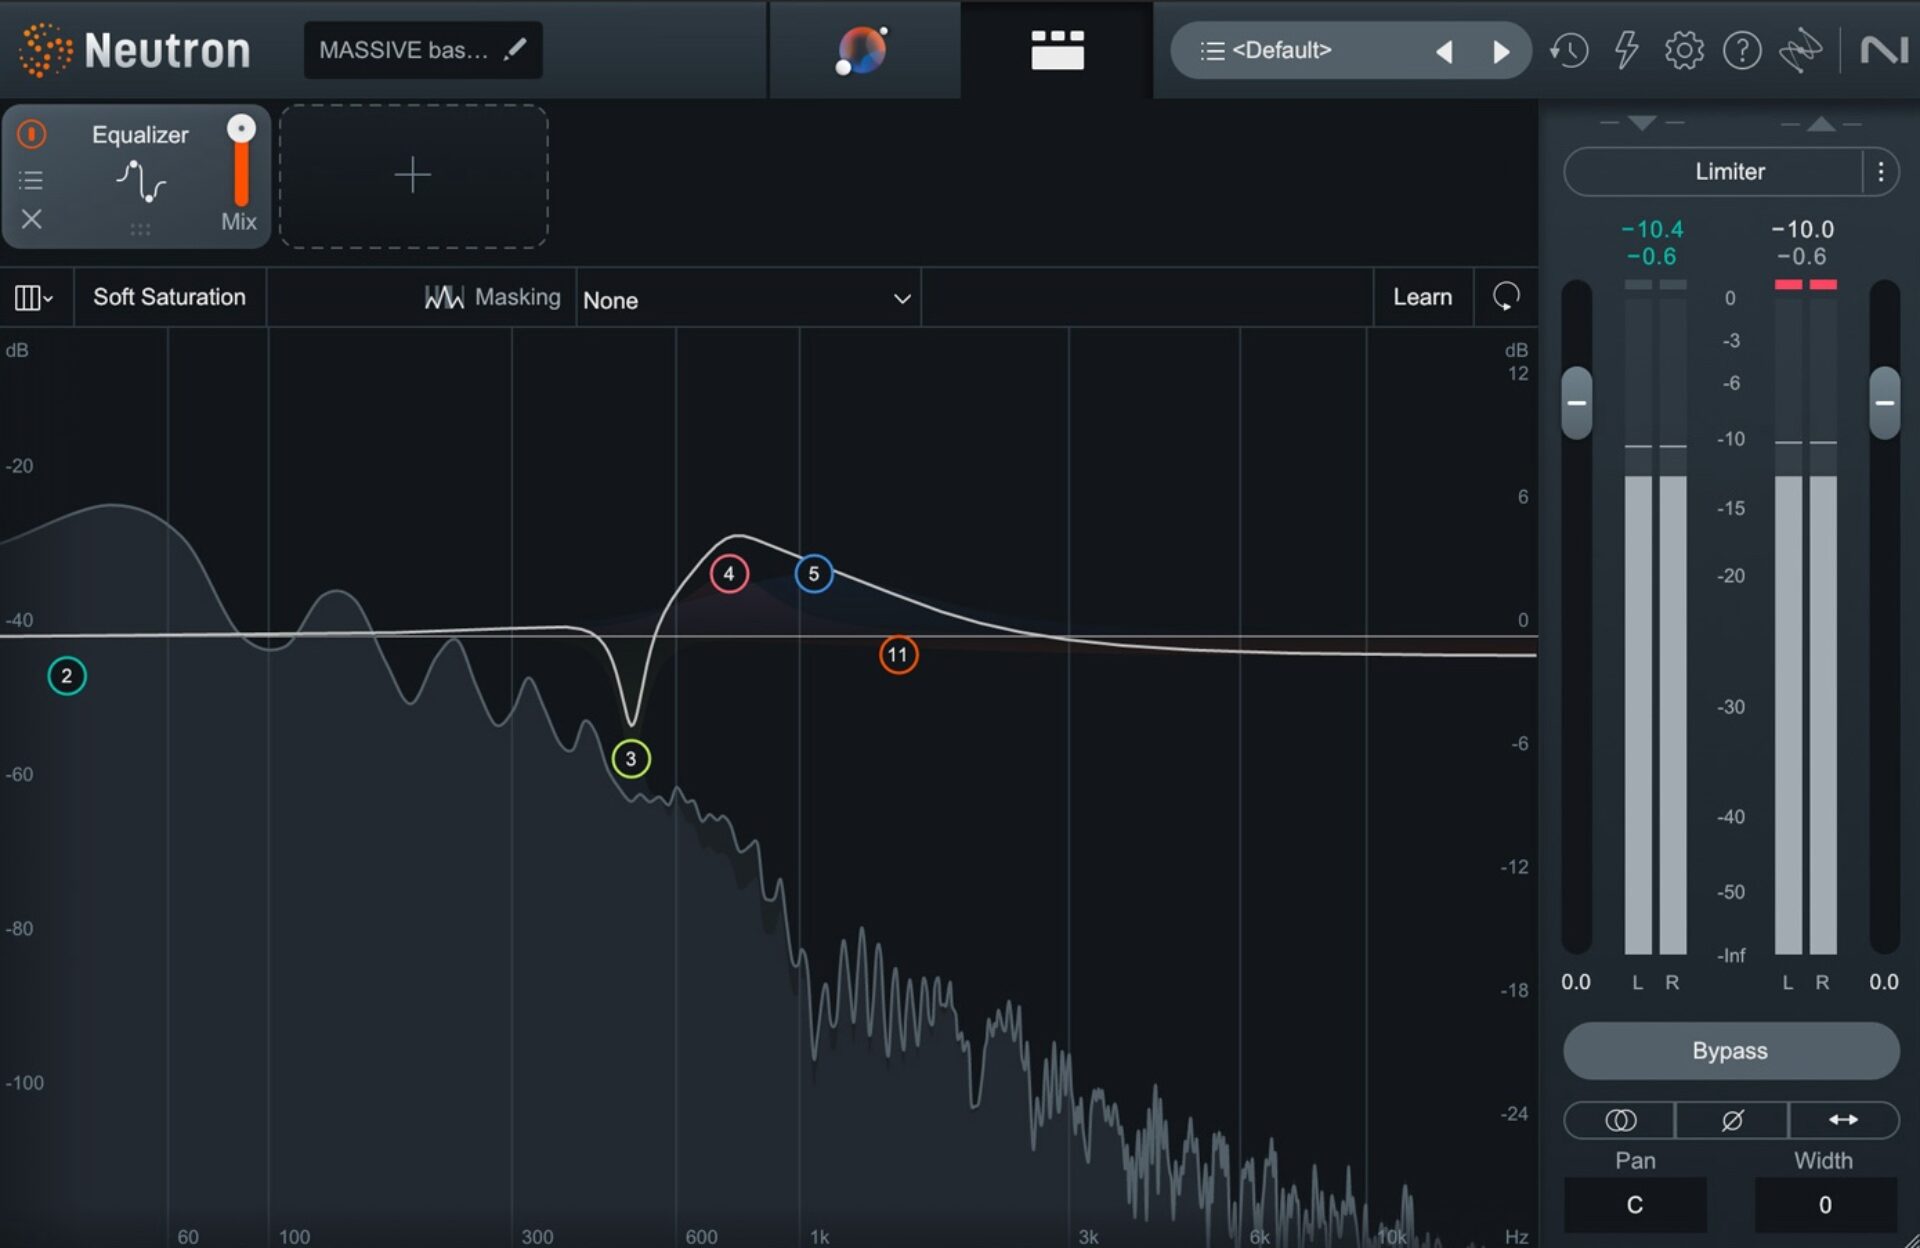
The EQ module in iZotope Neutron gives you a full spectrum visual of your audio while you’re making adjustments so that you can see exactly how your changes are effecting the sound. Plus, it allows for a dynamic EQ option which will only activate the EQ curve you set once that frequency band passes your set threshold. This can help provide a much more natural sound to your EQ adjustments (learn more in this article on when to use dynamic EQ in a mix).
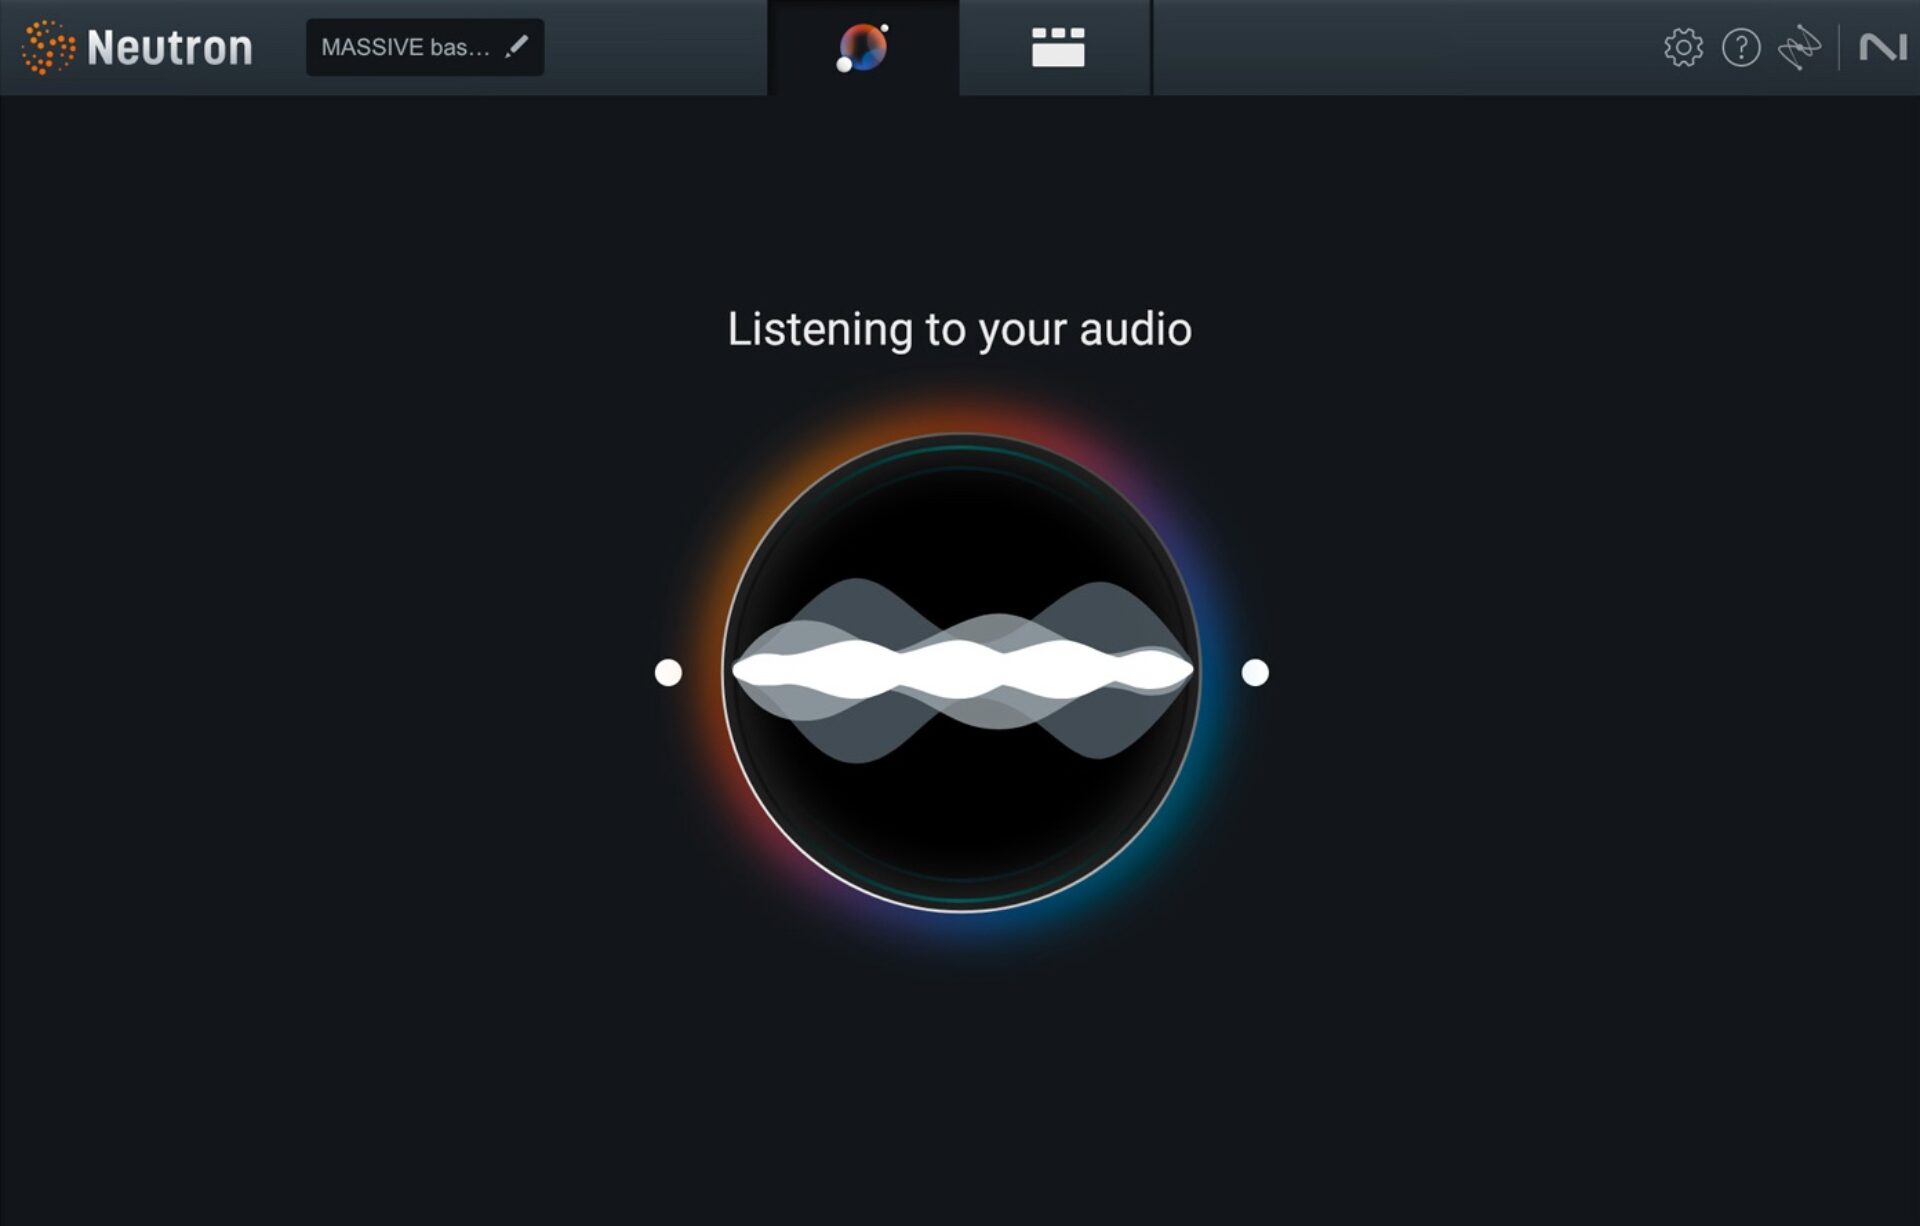
One thing about iZotope Neutron that can help immensely is an AI powered Mix Assistant that can do most of the heavy lifting for you in the EQ department. Simply click the button, let Neutron listen to your audio, and it will generate a custom EQ curve specifically tailored towards bringing out the best in your sound.
Cutting frequencies will reduce muddiness, and boosting frequencies will highlight certain aspects. For instance, rolling off the low end on non-bass elements can help your bass and kick drum stand out. Whereas boosting some of the high end on your synths will brighten them up and help them sit on top of your other mix elements. To learn more about which adjustments to make and when, check out this essential audio filters guide.
When making EQ adjustments, don’t solo individual tracks. The goal is to hear how your adjustments affect the entire mix, so make sure to keep all of your instrument tracks on in order to give you a good idea of what’s happening overall. And, be careful not to overdo it! Sculpting away too many frequencies can leave your instruments sounding unnatural, so if your various tracks already mesh together pretty well, you may not need as many EQ adjustments.
For the demo we are working with, there’s a bit of EQ added to each instrument in the mix in order to help brighten the synths, bring out the mid-range body of the snare, and get the low end of the bass sounding nice and full. Here’s the result:
3. Pan your instruments for space
Panning elements left and right helps in creating a spacious mix. To avoid cluttering, try distributing instruments across the stereo field. This technique not only adds width, but also helps in separating elements, like placing the hi-hats slightly to one side and the snare in the center.
The demo beat we are working with has two hi-hat tracks. So, let’s try panning one slightly to the left and the other slightly to the right. This will help get them out of the way of the synths and other percussion and help the full mix to sound more full and wide.

Here is what it sounds like now.
4. Use compression to control dynamic range
When it comes to understanding how to mix a beat effectively, the use of compression is key. Compression is a tool that helps you manage the dynamic range of your track. In simpler terms, it evens out the loud and quiet parts, ensuring that no element sticks out too jarringly or gets lost in the mix. This is particularly crucial in beat-mixing where maintaining a consistent energy level and punch is essential.
For instance, when you apply compression to drums, it can add that much-needed punch and presence. It works by reducing the volume of louder hits (like a forceful snare or kick drum) while bringing up the quieter parts. This results in a more uniform sound that helps your drums stand out clearly without overpowering the rest of the mix.
Too much compression can be a bad thing. If you overdo it, this can lead to a lifeless, ‘squashed’ sound, where the natural dynamics are lost. The goal is to strike a balance – enough compression to keep the energy level consistent and add character, but not so much that it flattens the life out of your beats.
To add compression, I’ll be using iZotope Neutron again (seriously, this plugin just makes mixing music easier). The Mix Assistant always gives a great starting point for the compression parameters, but if you want to dial in the amount of punch, you can easily do so from the bottom left of the Mix Assistant window.

Plus, if you want to get really fine-tuned with it, you’re always welcome to go under the hood within the Compressor module.

I stuck with the compression parameters Mix Assistant set when analyzing each individual instrument of my track. This is what the beat sounds like after Mix Assistant worked its magic.
Here’s how the compression sounds.
Mastering the art of compression is one of the most key elements of learning how to mix a beat. It’s about using this tool to control dynamics, add character, and ensure that every element of your beat works together harmoniously, creating a cohesive and captivating listening experience.
5. Add effects to create depth
When learning how to mix beats, getting the hang of effects like reverb, delay, and chorus can really be a game-changer. These are the secret ingredients that can turn a kind of flat mix into something that feels full and alive, kind of like adding depth to a 3D movie. Let’s take a deeper look at each of these main effects.
Reverb
Think of reverb as creating the illusion of space in your mix. It can make your sounds feel like they’re in a small room, a large hall, or even an expansive cathedral. By adding reverb, you give each element a sense of place, which helps to separate them in the mix. For example, a slight reverb on snare drums can make them sound fuller and more lively. However, too much reverb can make your mix sound muddy or distant, so it’s important to find the right balance.
You can learn all about how to use reverb in this article.
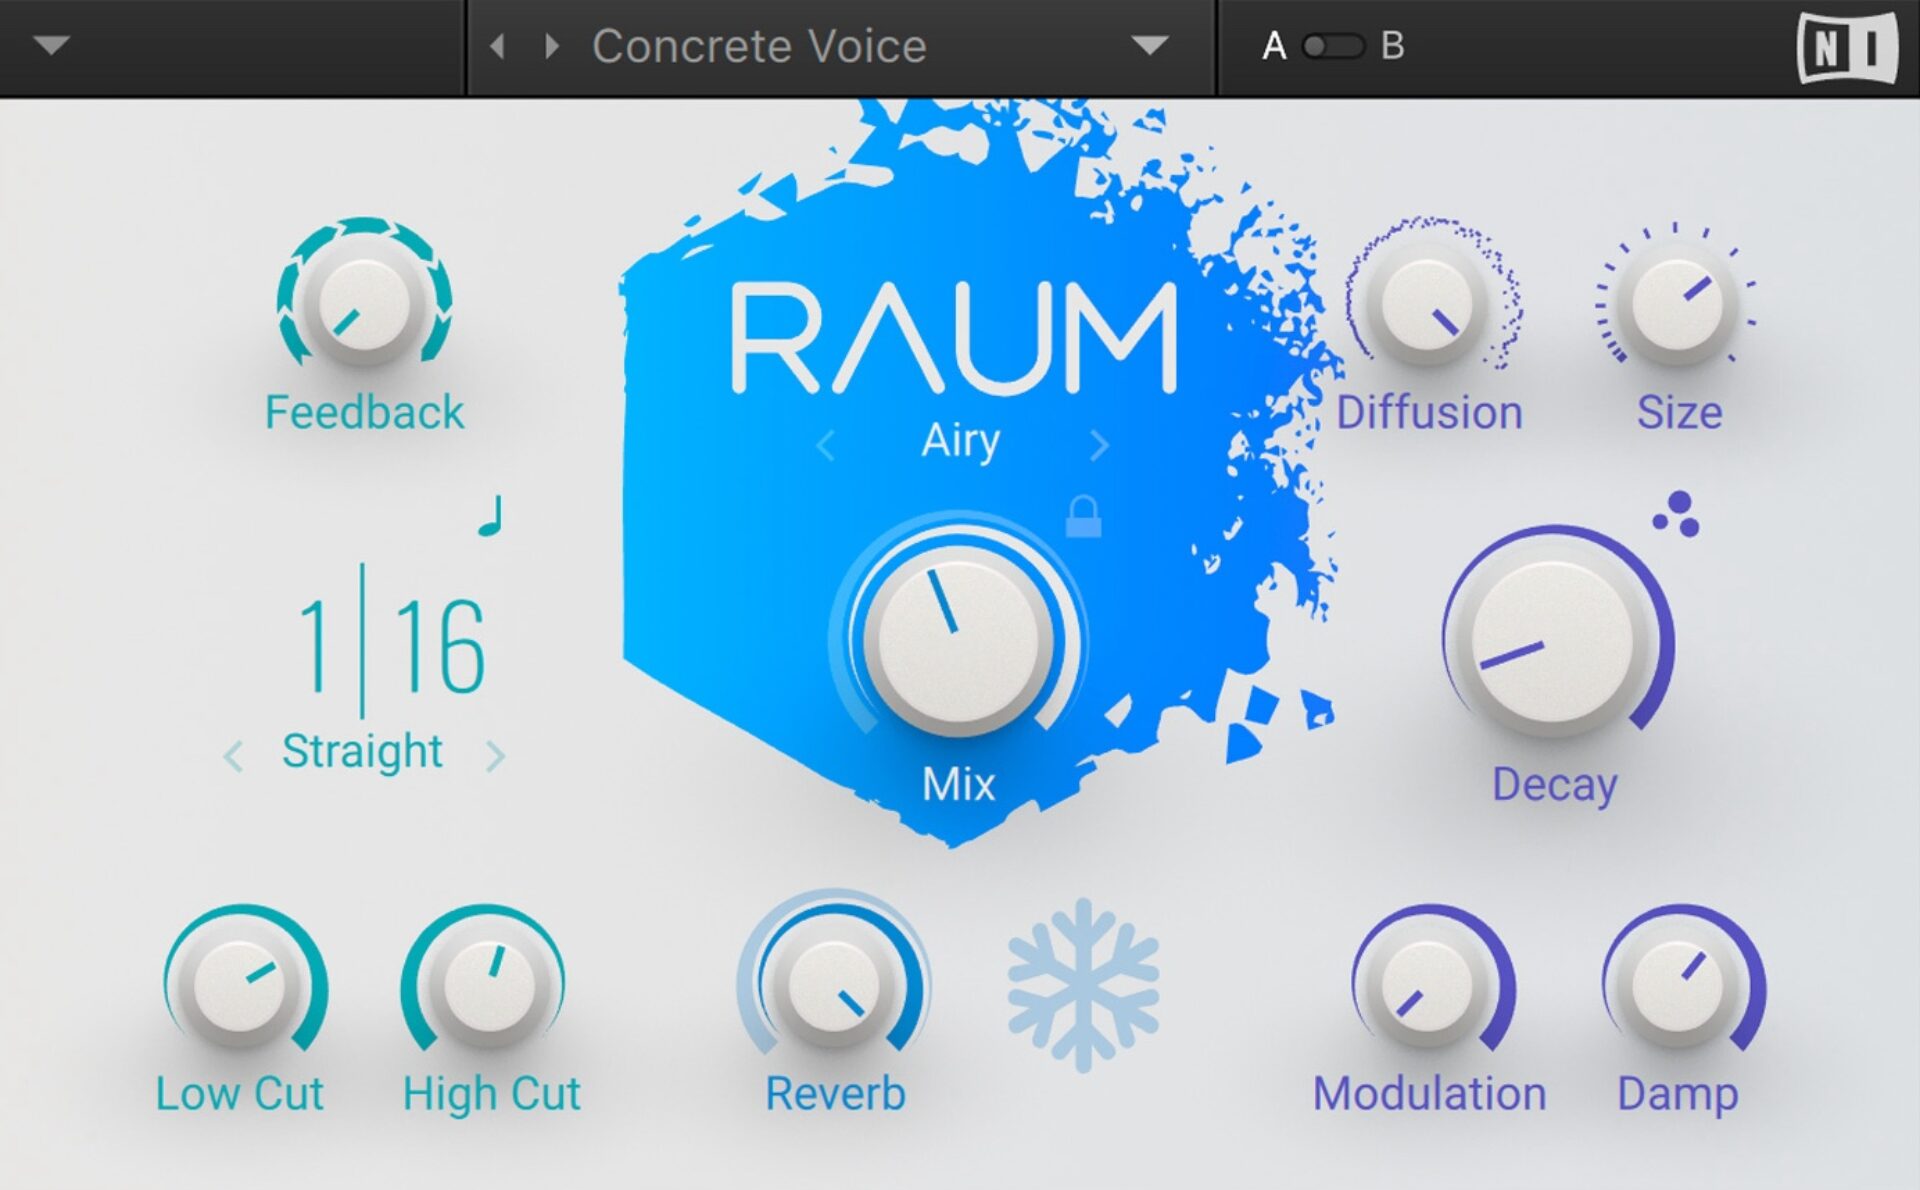
Raum is my personal go-to whenever I’m looking for an easy-to-use reverb. But, iZotope Neoverb is another one worth mentioning (and comes with a ton of extra features for designing custom spaces).
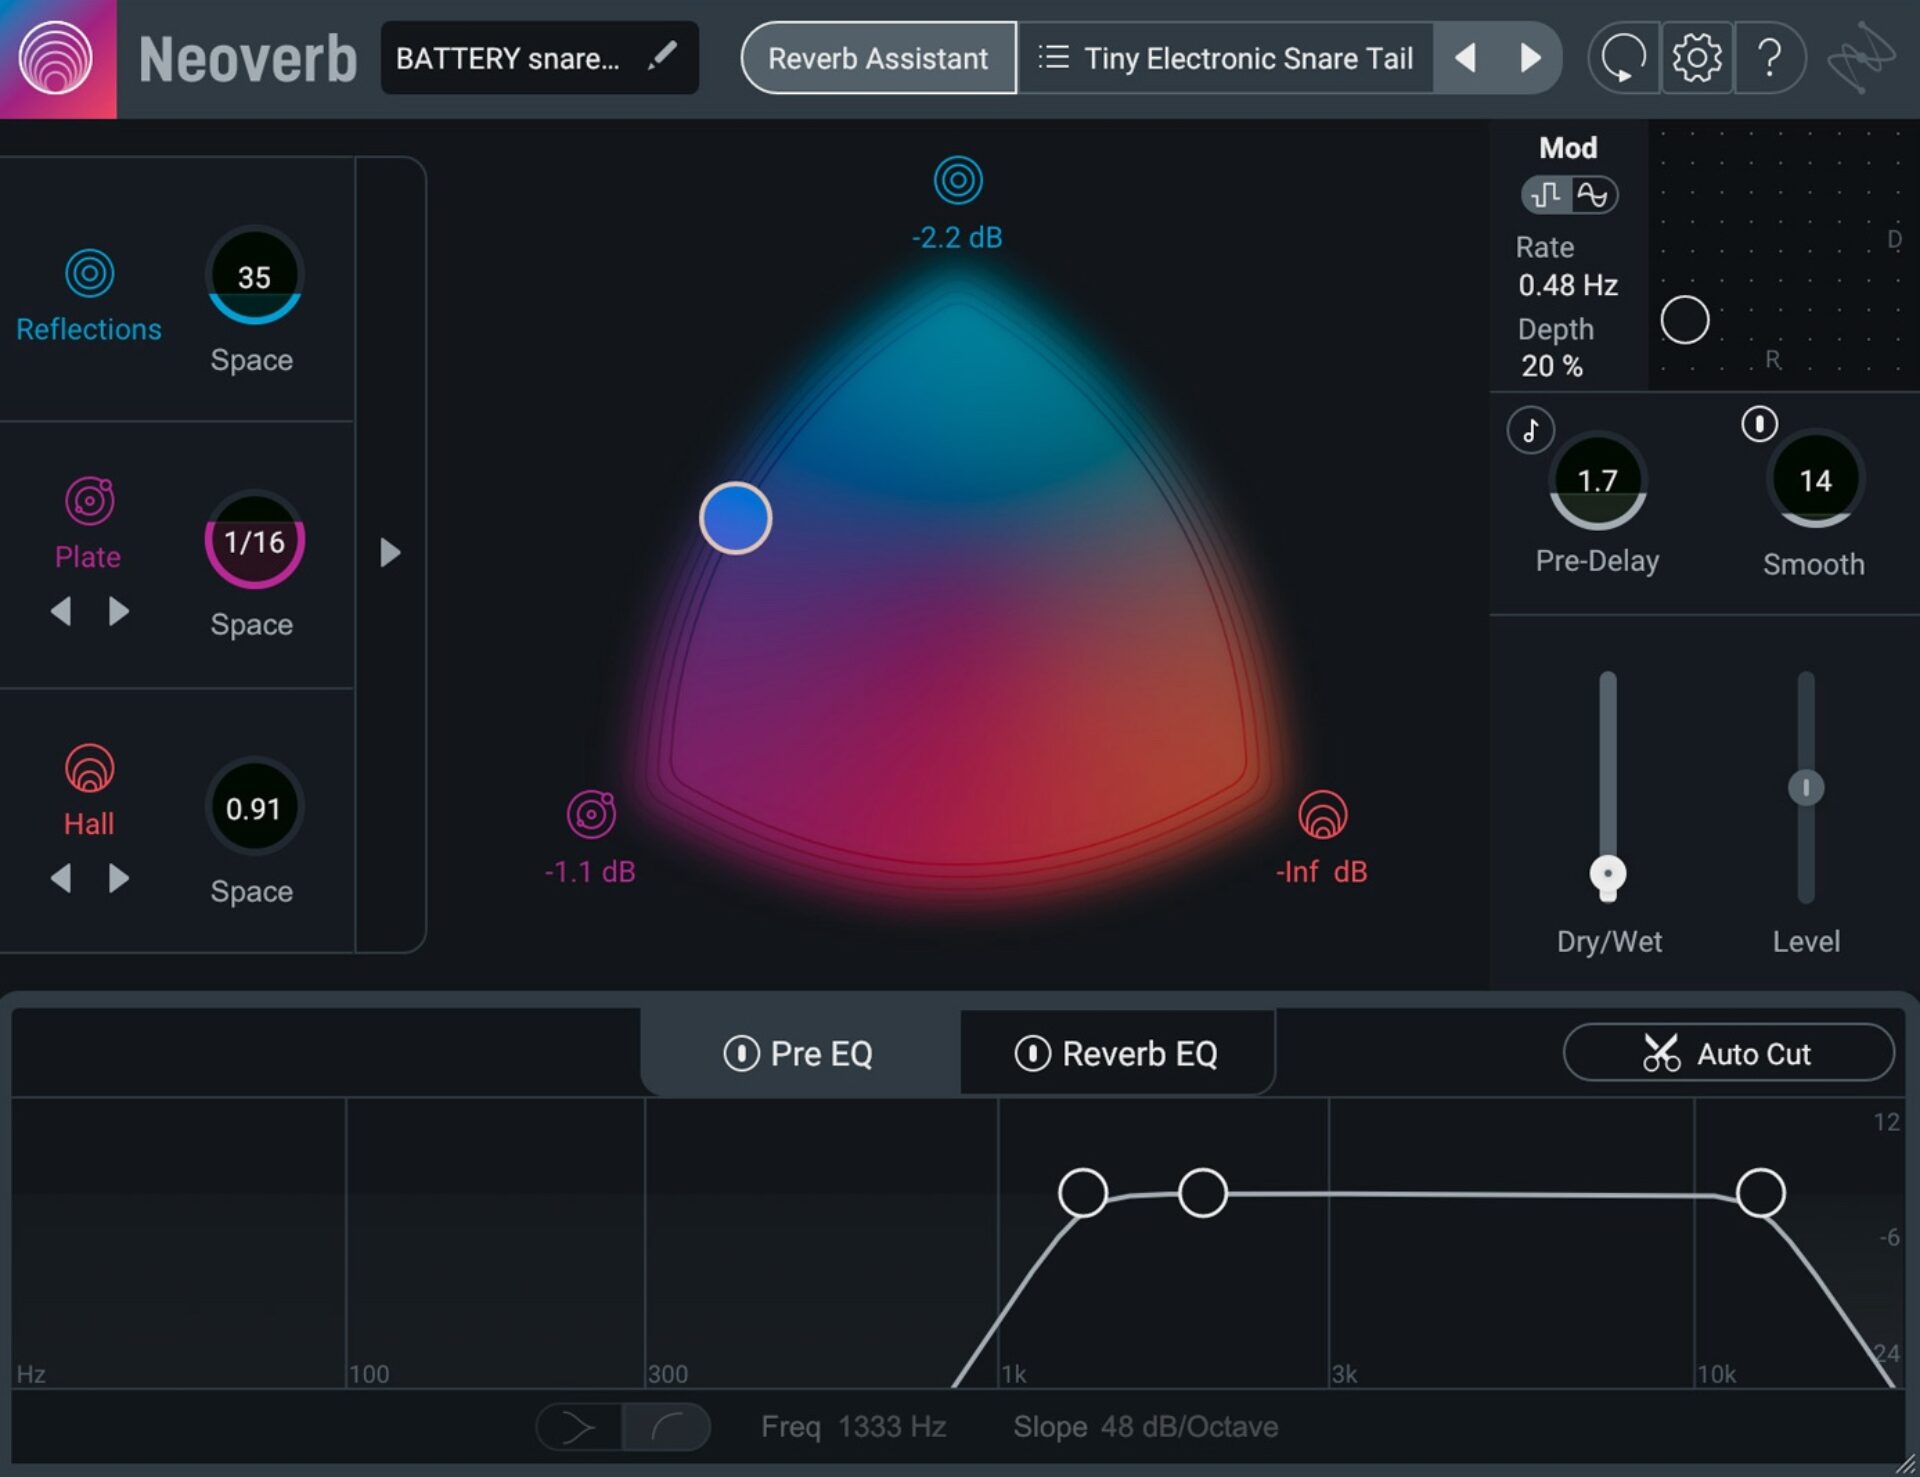
Take a listen to my track with Raum on the main synth line and Neoverb on the snare. I chose to go more subtle with the amount of reverb applied to each, but just that little bit adds the right amount of space for this track.
Delay
Delay, or echo, is another powerful tool for adding depth. It can create a sense of movement and rhythm in your mix. Short, subtle delays can thicken up sounds, making them more present without overwhelming the track. On the other hand, longer, more pronounced delays can be used creatively to add a unique character or to create call-and-response patterns that enhance the musicality of your beat.
I like using Replika XT for my echoes because it lets you design really complex delay patterns.
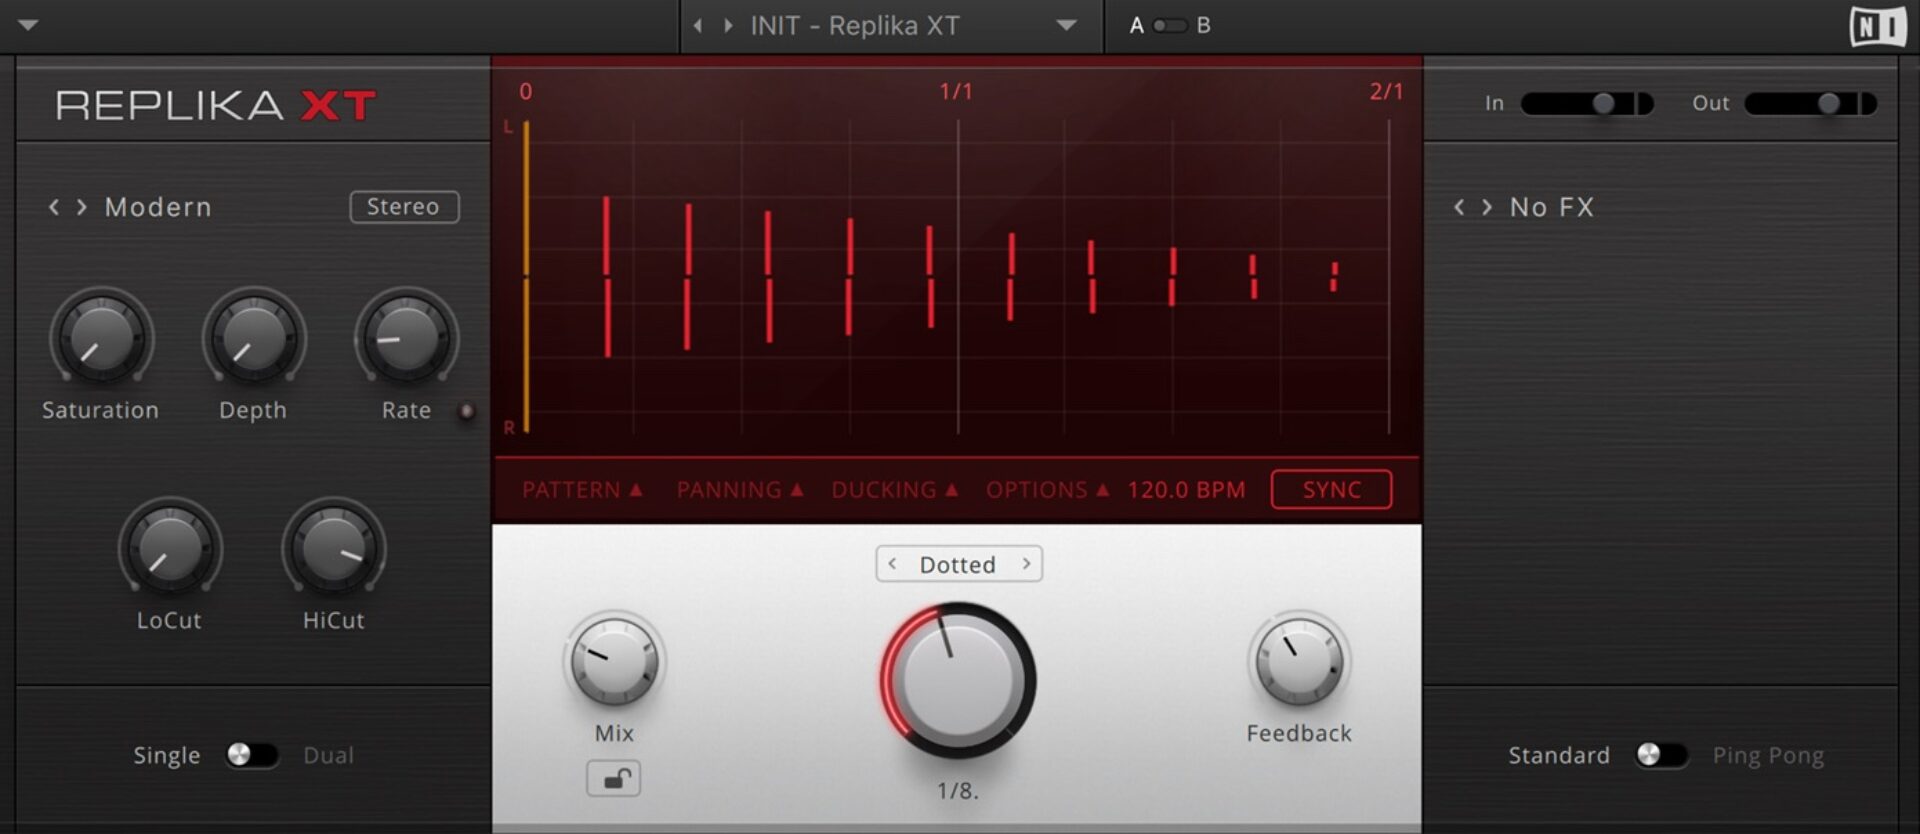
I decided to use Replika XT on one of my additional synth lines for this track – give it a listen below.
Chorus
The chorus effect can add richness and shimmer to your sounds. It works by duplicating the original signal, slightly altering the timing and pitch of the duplicates, and mixing them back with the original. This effect is particularly effective on melodic elements, like synths or sampled instruments, giving them a fuller, more dimensional quality. To get a chorus effect in this track, we can use the Choral plugin from the Effects Series – Mod Pack (also included with Komplete 14).
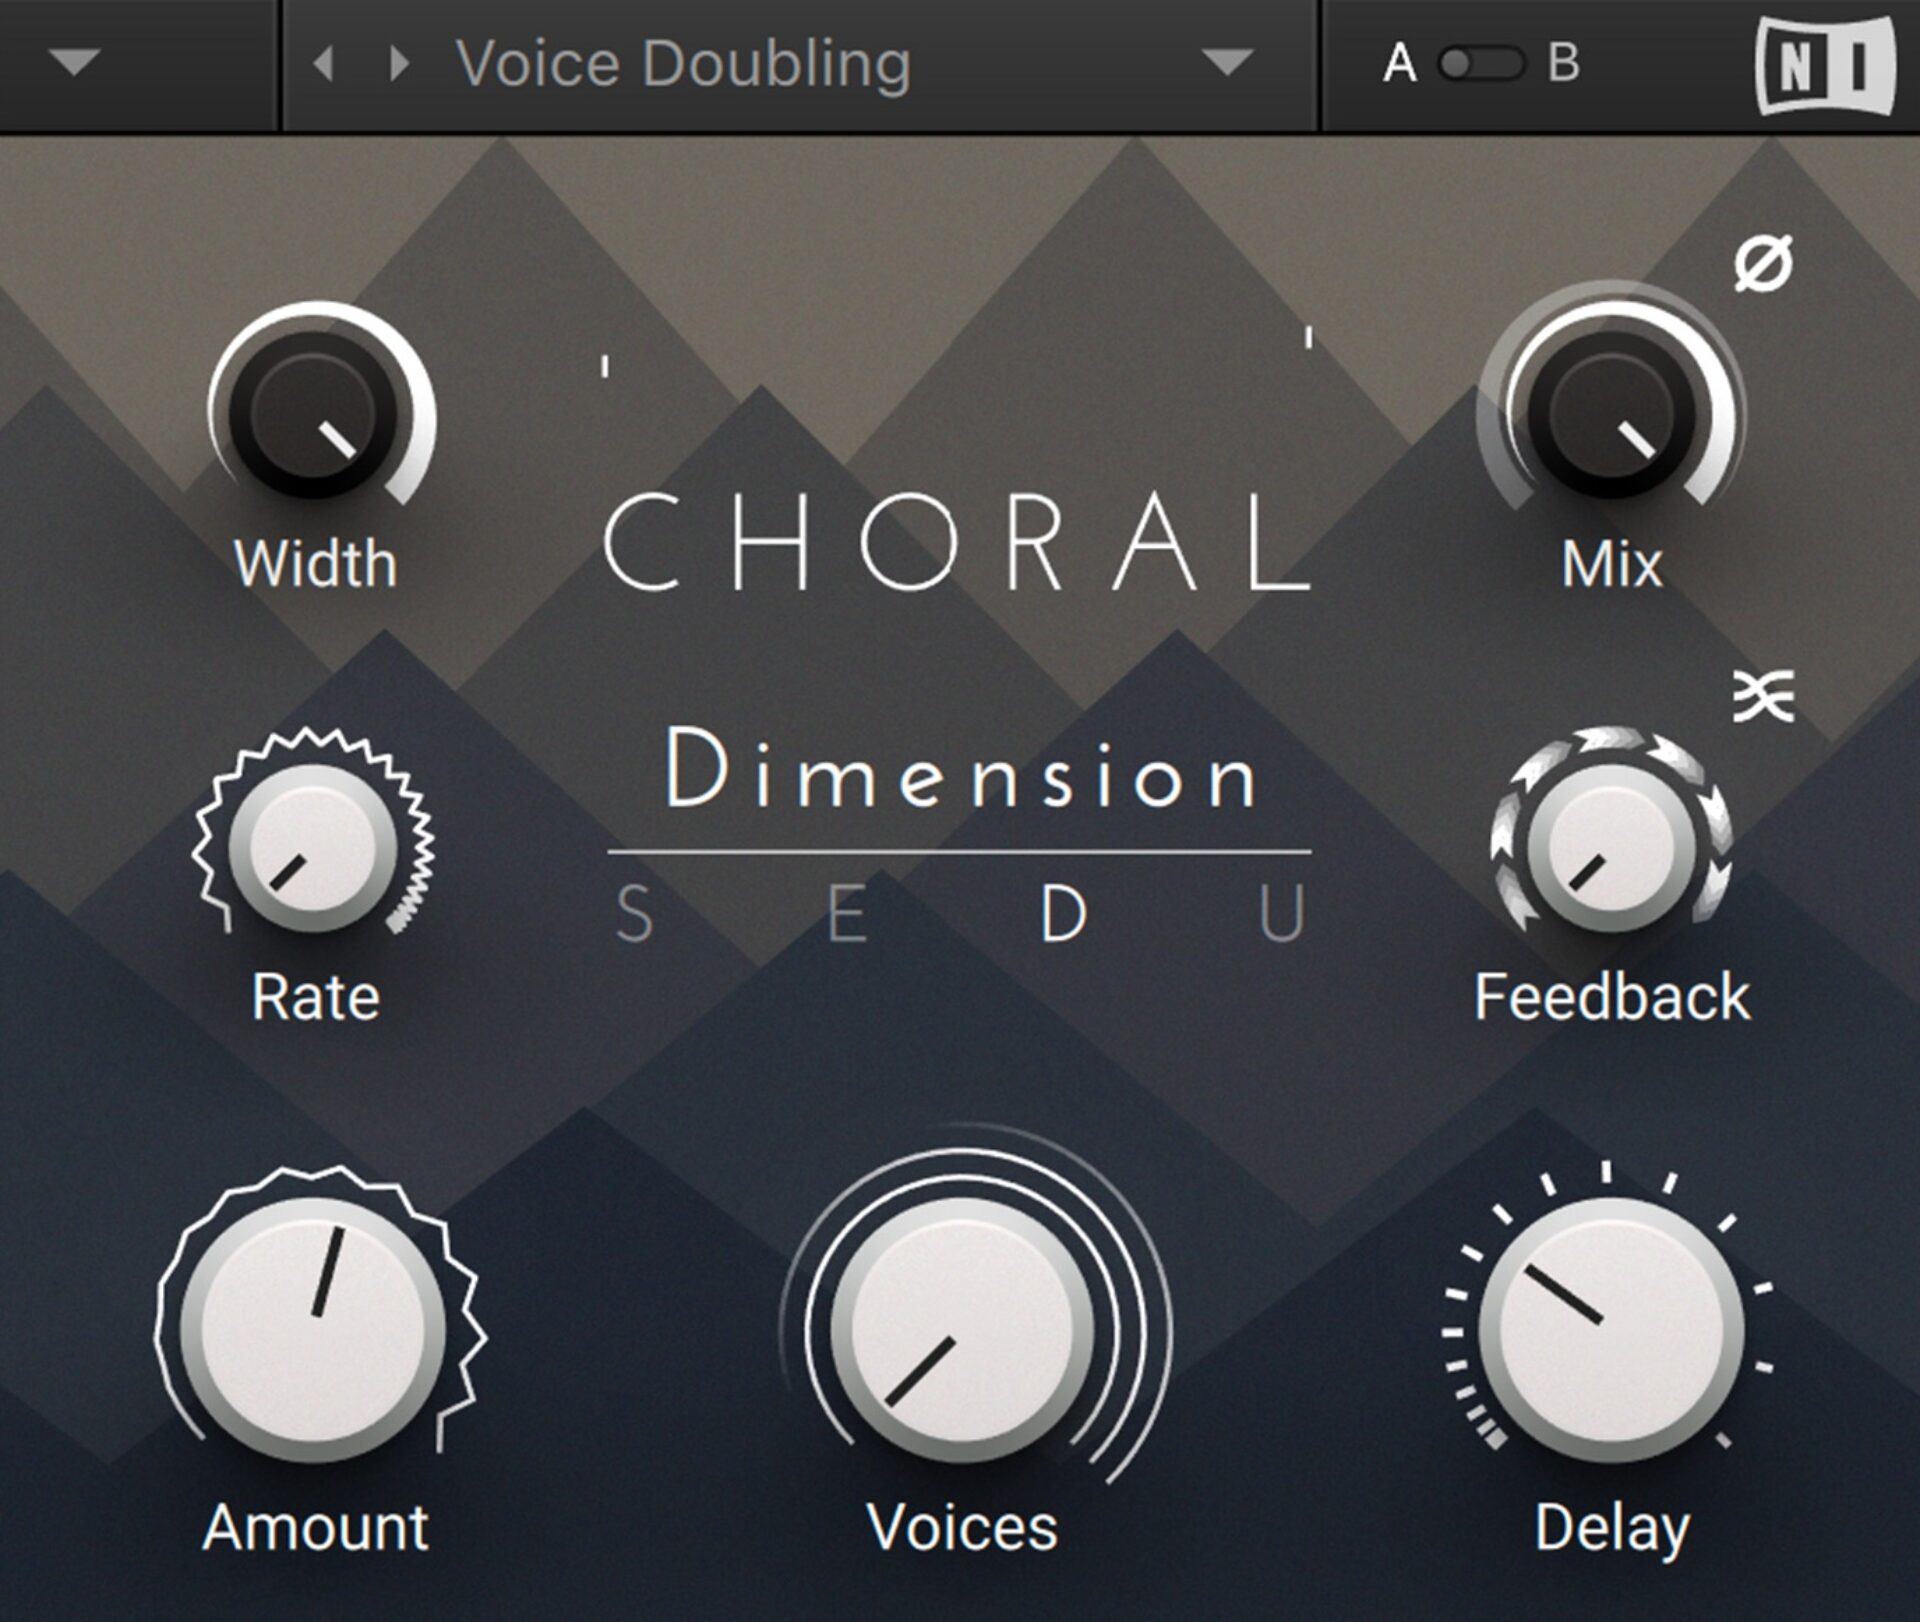
Let’s add the choral plugin to the final synth line to give it just a bit more width and wobble. Take a listen.
The key to using these effects is subtlety and intention. Each effect should serve a purpose, whether it’s to add a sense of space, enhance rhythm, or enrich the tonal quality of an element. By thoughtfully applying these effects, you can turn a two-dimensional mix into a dynamic, textured, and immersive beat, drawing your listeners into a world of your own creation. Remember, though: the goal is to enhance your track, not to overwhelm it.
6. Use mix automation to create movement and dynamics (advanced)
For the seasoned producer, mix automation is a game-changer. Automating volume, pan, and effects parameters over time can add excitement and variation, keeping the listener engaged. This technique brings a dynamic element to your mix, making it feel alive.
I won’t go into too much detail on how to achieve this effect since setting up mix automation in each DAW is slightly different. But let’s look at an example of automation in action in the beat we’ve been working with.
For this example, I automated both the Mix and Size parameters within the Raum reverb plugin on the main synth line so that these parameters evolve over time.

It’s a pretty subtle effect, but it creates an interesting change of space around the main synth line. Hear it in action below.
7. Master your track
Once your mix is polished, it’s time for mastering. Audio mastering is the final touch that ensures your track is ready for release. It involves subtle adjustments to enhance the overall sound, ensuring consistency across various playback systems. For an in-depth guide, check out this blog on mastering a beat.
I’ve been using iZotope Ozone to master all my tracks for over a decade now and the latest version is powerful and easy to use.
Let’s use Ozone Master Assistant to get the track mastered in a few seconds.

Here’s what our beat sounds like after mixing and mastering.
And, just so you can hear how far we’ve come, here’s the original, unmixed beat:
Start mixing professional-sounding beats
In wrapping up, we’ve navigated the ins and outs of mixing beats – covering everything from the basics of balancing levels to the nuanced art of using effects for depth. Remember, the journey of mixing is as much about your creative expression as it is about the technical side. Each mix is a new opportunity to refine your skills and develop your unique sound. Keep experimenting, trust what you hear, and most of all, enjoy the process. Your next mix might just be the one that resonates with listeners far and wide. Happy mixing!
Related articles
-

Behind the synth: A. G. Cook on stacked sawtooths and the creation of Super*Saw
Explore the extremes of stacked sawtooth waves with Super*Saw, a new synthesizer co-created with A. G. Cook. Learn how to…
-

Inside the evolution of orchestral sampling: an interview with ProjectSAM
Discover how ProjectSAM’s Lineage Series uses NKS and smart features to change orchestral sampling. Plus, save on instruments in our…
-

How New Constellations turn emotion into sound with Massive X
Go inside the studio with New Constellations. Learn how they use Native Instruments gear, happy accidents, and lifelong friendship to…
-

Citizen Kain on building emotion and space with Replika
Citizen Kain explains how Replika helped shape the rhythm, tension, and emotion behind his debut Eversun Records single “Moments.”…
-

The organic precision behind Calcou’s Anjuna release featuring Reaktor
Calcou shares how Reaktor, Monark, and Super 8 shaped the creative balance and live energy behind their new duo EP,…
-

14 NKS instruments that will change the way you create music
Discover 14 NKS instruments to freshen up your workflow. From lo-fi tape synths to cinematic strings, shop the Native Instruments…
-

Parallelle on crafting living basslines with Reaktor and TRK-01
Parallelle share how Reaktor and TRK-01 shape the bass and warmth in 11th Avenue, balancing analog depth with modern control.
-

Where will your sound lead you? Explore the Native Instruments Summer Sale
Save 30% on instruments, effects, and sounds in our Summer Sale. Find the tools to keep your tracks moving and…