


Even if you’re not familiar with the term “sidechain compression,” you’ve heard it before: dance tracks where the kick drum seems to suck everything back in a song while it punches forward, or that whooshing gulp that swallows up a track every time the kick hits. That’s the sound of sidechain compression.
Sidechain compression can also be a helpful tool to make space in a mix, unmask competing sounds, or just be a creative addition to your sound.
In this article, learn how to use sidechain compression to improve your mixes, add groove to your productions and make interesting effects for your vocals.
Learn about sidechain compression:
- What is sidechain compression?
- Sidechaining kick and bass
- Sidechaining kick and keys/synths
- Sidechaining vocals
Follow along with this tutorial using KONTAKT, MASSIVE X, SOLID DYNAMICS and Neutron 4.
What is sidechain compression?
Sidechain compression is a technique used in audio production to make one sound (the “sidechain”) control the volume of another sound (the “target”). While most compression works by ducking a signal based on the relative level of that signal, sidechaining uses a different signal to duck the level it’s working on. The sidechain is typically a rhythmic or percussive sound, such as a kick drum, that is used to modulate the volume of the target sound, which could be a sustained instrument like a pad or a lead. This is how a kick can make a bass line or key pattern “drop” each time it hits.
Other uses for sidechain compression involve making sounds in a mix “glue” together, and support each other. It can also be used for creative effects to make vocals sound more present, or make reverbs shift in surprising and interesting ways.
In these next steps, learn how to sidechain different instruments to create new sonic profiles in your mix.
Sidechaining kick and bass
Sidechain compression can be massively helpful when you are mixing two signals that occupy a similar frequency range. The best example of this is a kick and a bass signal. If you haven’t already checked it out, take a look at iZotope’s tutorial about how to mix kick and bass and get familiar with some of the ways you can do it.
Here we’ve taken a bass from MASSIVE X—the pattern is pretty simple.
We also have a simple kick, and we’ll use that to trigger the sidechain compression on the bass from Massive X. We’ll put an instance of SOLID DYNAMICS on the bass, and select our Kick channel as the input. Then we enable the “SC Gain” control, and adjust the threshold, attack and ratio until we hear the result we want.

Let’s hear how that sidechaining is working on the bass.
And now let’s hear how it works with the kick.
Sidechaining kick and keys/synths
Another place where sidechain compression can be helpful is when big chords take up a lot of space in the mix. These keys might not necessarily clash with the low end of the kick, but there’s an opportunity to use sidechain compression to make the keys groove a little more with the rest of the track.
Here’s our kick, with a key pattern that meshes with the bass line. We’ve made this simple chord progression in MODULAR ICONS, a great KONTAKT library made of really warm and thick analog sounds sampled from modular synths.

This is a big chord, and it takes over the whole mix. So we’re going to start by taking a bit of the low end out to make room for the kick and bass.
It has lifted the keys a bit, but the whole thing feels a little stiff. The kick doesn’t pump the same way as the keys. But we’ll do the same trick as with the bass—and sidechain compress the keys to the hit of the kick. Here’s how that sounds:
That sounds good, so let’s balance it out with a bit of reverb to make the motion feel a bit more fluid. We’ll create a return channel and drop the reverb plugin, RAUM, on it.

Here’s how it sounds with the sidechain from the kick, and the reverb.
Now it’s grooving. It’s filled out nicely, while leaving space for the kick and bass, and even when it’s pumping along with the beat, it floats a bit into the reverb and feels big and wide. The kick cuts through the mix to the front, but it doesn’t block out the other elements unnecessarily.
Sidechaining vocals
Sidechain compression can be used in a lot of ways beyond just piecing together mixes. We’ve seen how it can add groove, and we’ve seen how it can push percussion forward in the mix. That’s great for instrumental tracks, but when it comes to vocals, they need to be focused properly in the mix.
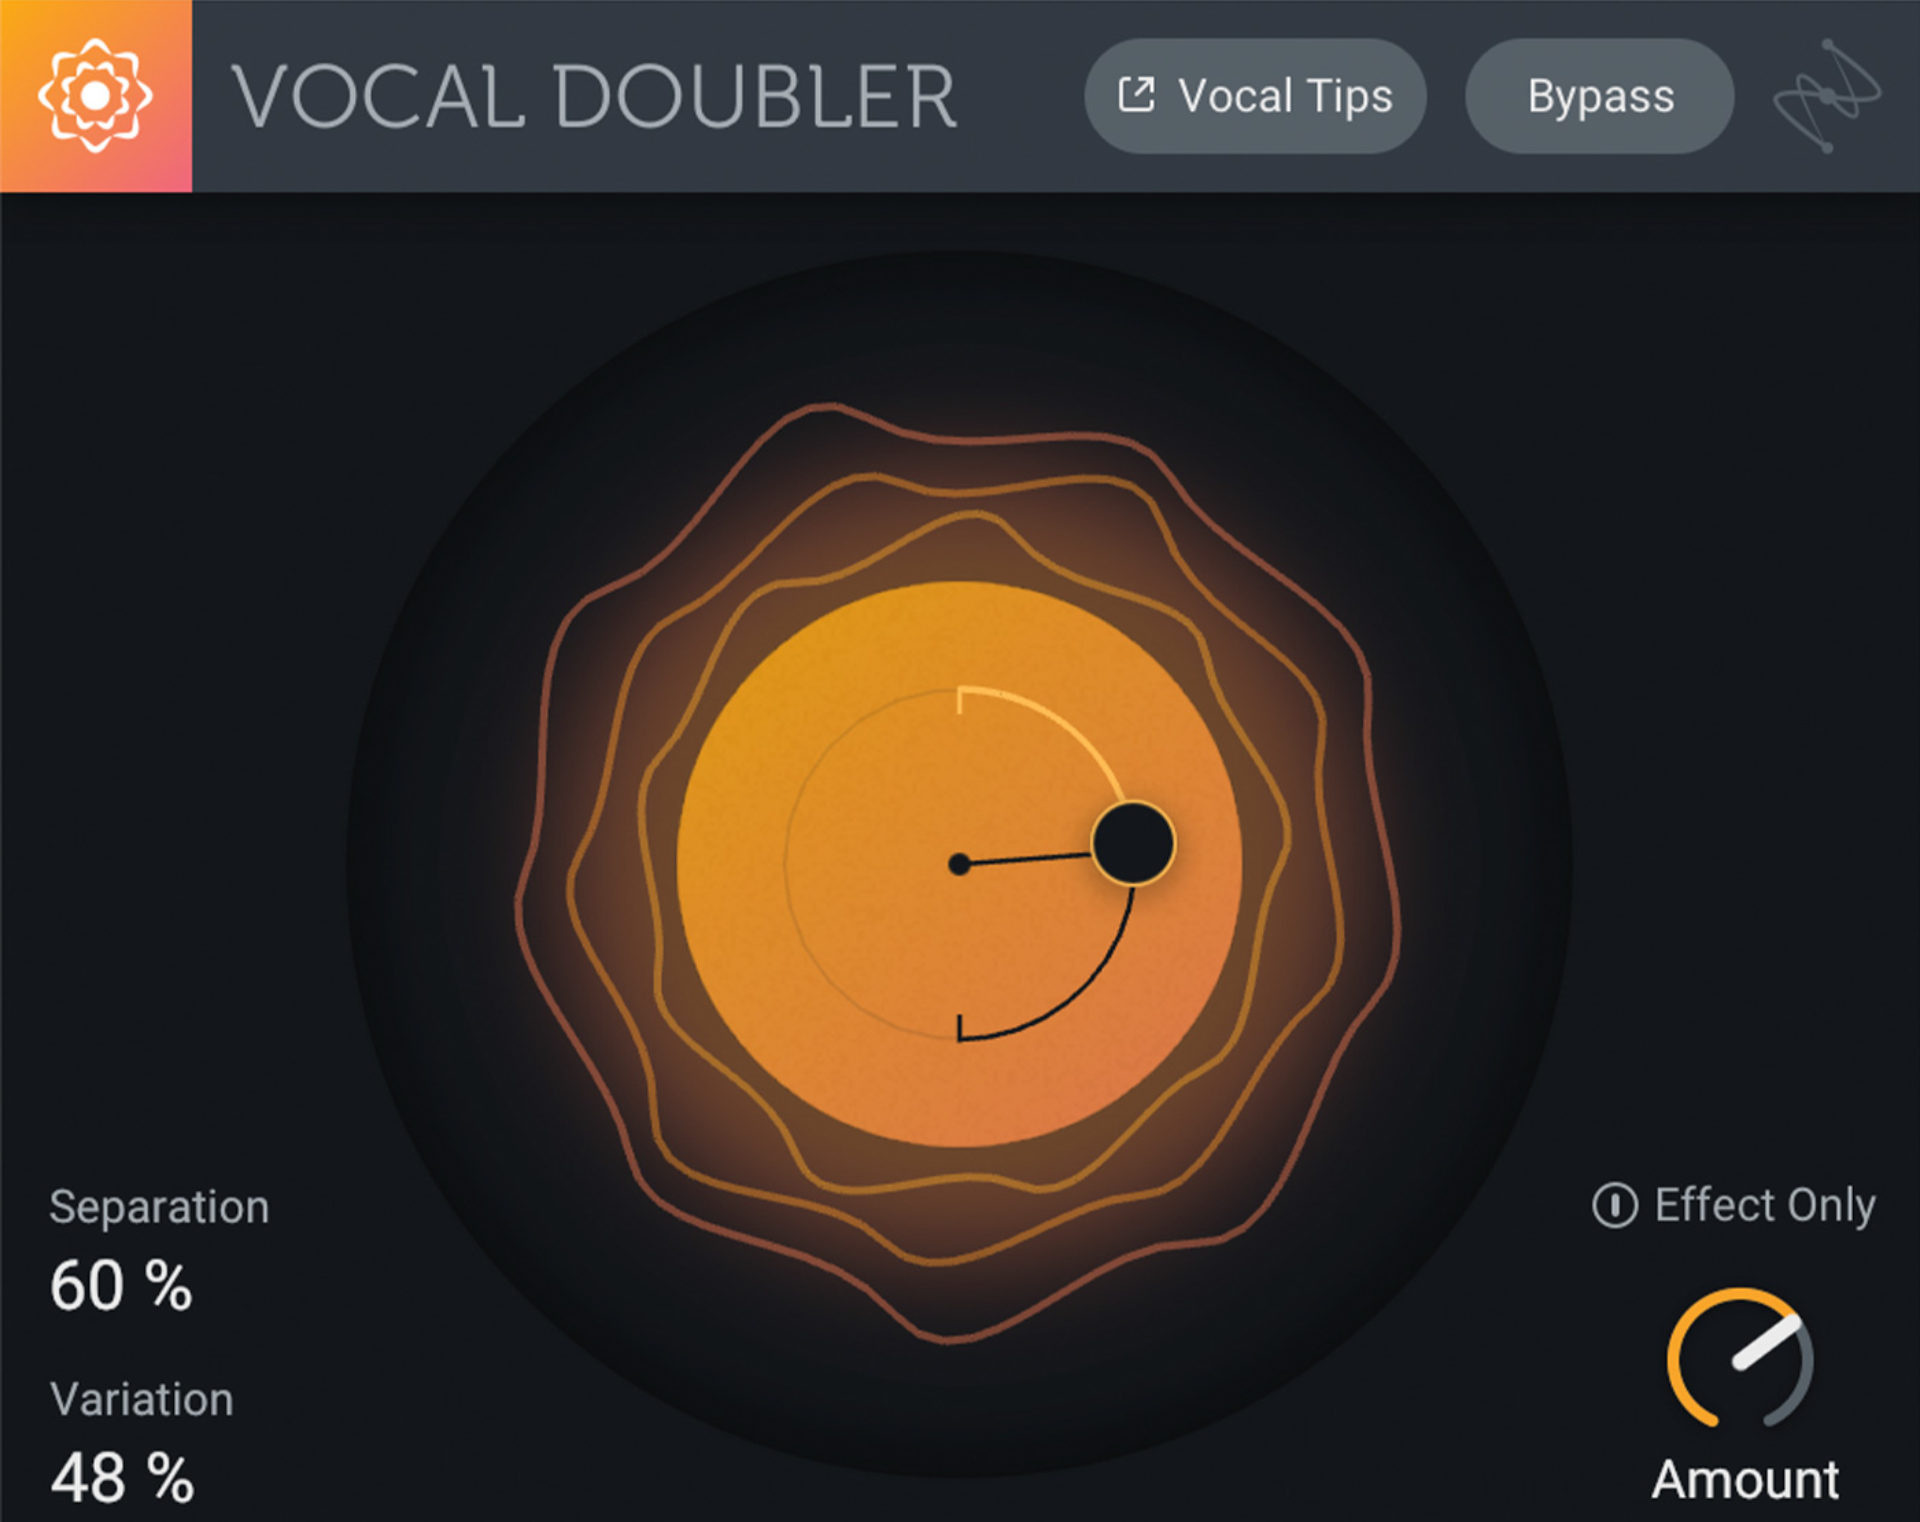
Let’s take this vocal, which is a really nice solo performance. We can make it feel a bit fuller by adding iZotope’s free Vocal Doubler plugin, to just give a bit of depth and polish.
Since we have a nice reverb feeling going in the keys, let’s help the vocal sit in the mix better by giving it a separate reverb channel of its own. We’ll create an additional send and return, and put RAUM on that. Here’s how that sounds.
It sounds drenched in reverb. We’re losing some of the presence and power of the vocalist’s performance. But we can use sidechain compression to actually help the vocal cut through its own reverb.
On the same return channel where we placed the dedicated vocal reverb, we’re going to put a Solid Dynamics compressor, and sidechain it to the vocal itself. We’ll place Solid Dynamics directly after the reverb, and then set the sidechain input to our vocal channel. We want this to have a more dramatic effect of opening and closing the door on the reverb when the singing appears. This way the reverb doesn’t block any of the performance, but fills out the spaces in between the words.
Here’s how it sounds with the reverb alone, and with it sidechained to the vocal.
Let’s make sure the vocal also fits with the rest of the mix. If we take the reverb out for a moment and hear how it fits with the keys, we can tell it needs help. It harmonizes nicely with the keys, but it still feels like it’s been dropped on top of the mix, instead of fitting into it.
We want our vocal to sit forward in the mix, but still blend with the other elements. So we’re going to drop another compressor on the keys channel, but this one will be controlled by the vocal. What we want to do is just make space in the frequency range where the vocals could mask with the keys. We’ll use the compressor in Neutron 4, and select the input to be our vocal channel, and we’ll select “Ext Band 2” as the trigger for Band 2 in the Neutron 4 compressor. This means that only the mids of the vocal will duck the mids of the keys. This way the two channels can work together in the areas with less masking, but not fight each other in the mids, where the vocals need precedence.

You might think this would be too many layers of sidechain compression to let the keys breathe, but let’s check the keys on their own to hear them. This is the key line with sidechain compression coming from the kick, and from the vocal.
While the keys are getting ducked in a few ways, the groove is definitely there, and the progression still comes through clearly. This Kontakt patch leaves space for the kick, and the bass, while also supporting and not overshadowing the vocal. It has a touch of reverb to stay wide and keep motion in everything, while staying out of the way of the important parts of the track.
We’ll drop Ozone 10 on our master channel to glue it all together, and let the Master Assistant guide us to the best settings.
Start using sidechain compression
Here’s our result! You can hear the vocal sits nicely in the front of the mix, and the kick cuts through with enough force to keep the energy of the track rolling. The keys keep a groove going, and the progression comes through, without stepping on the more important elements of the percussion and vocal. One reverb adds space to the keys, while the other gives an ethereal spinning tail to the vocals, while leaving the performance at center stage.
Sidechain compression has helped us give each element of this track its own place in the mix, while making sure they all play their part perfectly.
To learn even more about music production, check out our beat making guide and learn about how you can add reverb to create space and depth in your tracks.
Related articles
-

Inside the evolution of orchestral sampling: an interview with ProjectSAM
Discover how ProjectSAM’s Lineage Series uses NKS and smart features to change orchestral sampling. Plus, save on instruments in our…
-

How New Constellations turn emotion into sound with Massive X
Go inside the studio with New Constellations. Learn how they use Native Instruments gear, happy accidents, and lifelong friendship to…
-

Citizen Kain on building emotion and space with Replika
Citizen Kain explains how Replika helped shape the rhythm, tension, and emotion behind his debut Eversun Records single “Moments.”…
-

The organic precision behind Calcou’s Anjuna release featuring Reaktor
Calcou shares how Reaktor, Monark, and Super 8 shaped the creative balance and live energy behind their new duo EP,…
-

14 NKS instruments that will change the way you create music
Discover 14 NKS instruments to freshen up your workflow. From lo-fi tape synths to cinematic strings, shop the Native Instruments…
-

Parallelle on crafting living basslines with Reaktor and TRK-01
Parallelle share how Reaktor and TRK-01 shape the bass and warmth in 11th Avenue, balancing analog depth with modern control.
-

Where will your sound lead you? Explore the Native Instruments Summer Sale
Save 30% on instruments, effects, and sounds in our Summer Sale. Find the tools to keep your tracks moving and…
-

How Mr. Bill builds sonic worlds in Massive X
Mr. Bill explains how Massive X and instinctive sound design shaped the storytelling process behind his new downtempo album, Mr.