


No other audio effect is as widely used and as poorly understood as compression. The compressor is a cornerstone of music production—as important as workhorse effects like EQ and reverb—but many use it without truly understanding what they’re doing. The results can be a whole lot of wasted time and CPU. Or, worse, a squished, unlistenable mix.
But once you’ve got to grips with compression, this humble effect can do magical things. It can glue together groups and whole mixes, lend punch to drums, and bring tone and color to a lifeless production. So what is compression exactly? In this article, we’ll walk you through how to use a compressor, explaining what compression does to sound and examining common compressor settings. We’ll also look at common uses of compression in music, giving you all the info you need to start compressing with skill and intention.
Jump to these sections:
- What is compression in music?
- What does compression sound like?
- What is the purpose of compression?
- How to use compressors in music
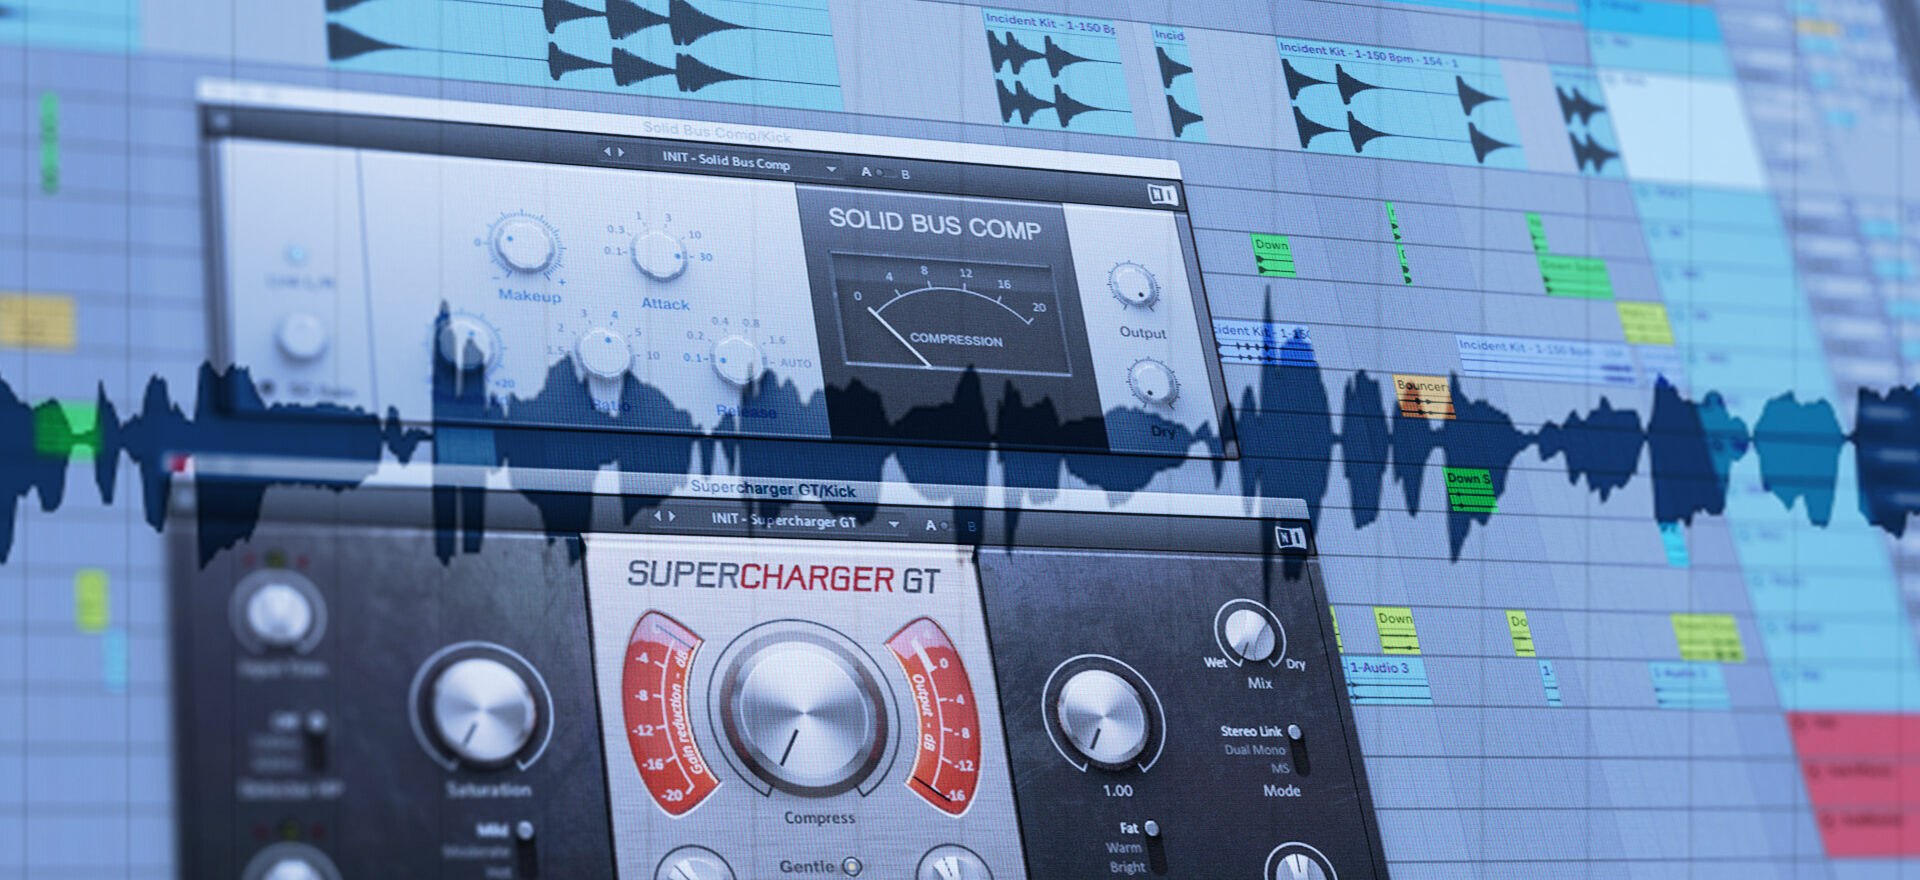
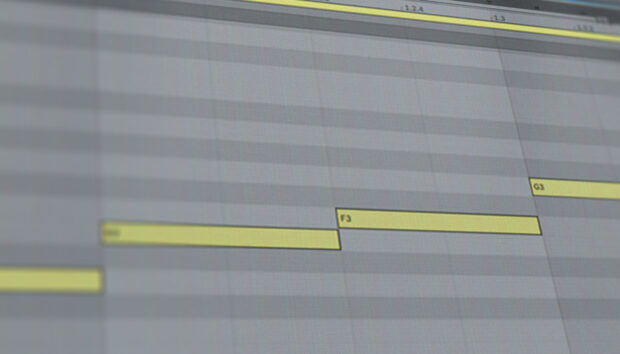
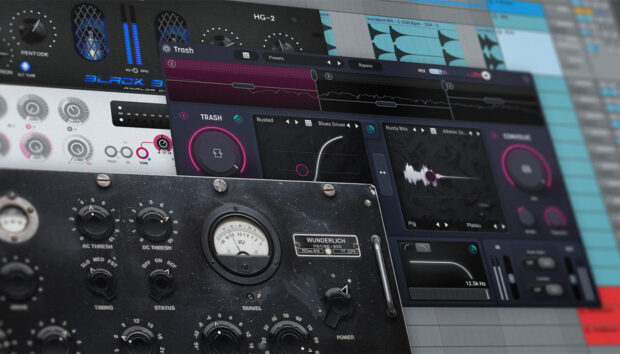
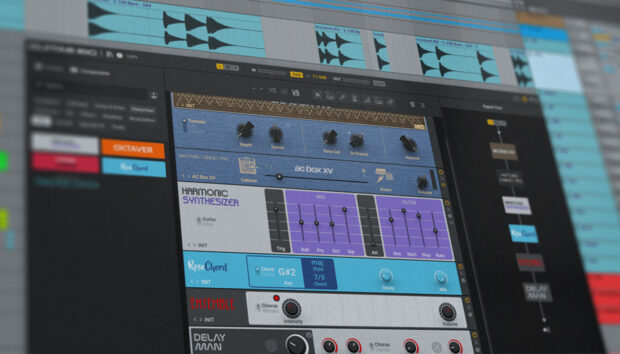
Follow along with this tutorial using the VINTAGE COMPRESSORS pack that comes with three of the most popular compressors in studio history.
What is compression in music?
Compression is an audio effect that reduces the dynamic range of a signal by reducing the difference between the loudest and quietest parts of the signal. It does this by catching the parts of the signal that are louder than a certain level and lowering their volume.
Compression is an essential tool in production, and is used in many mixing and sound design situations. It can help quieter parts of a vocal or other instrument to be audible next to louder parts. It can “glue” groups of instruments together by giving them dynamic consistency. It can give snap to drums and even add tonal color to a sound. Compression is also used in mastering, to even out to a whole mix.
What does compression sound like?
When used subtly, compression gives smoothness or evenness to a signal. At more extreme settings, compressed signals tend to sound crushed or squeezed. The distinctive character of compression is unmistakable once you know what you’re listening for, but compression can be harder for an untrained ear to pick out than other processing like EQ or reverb.
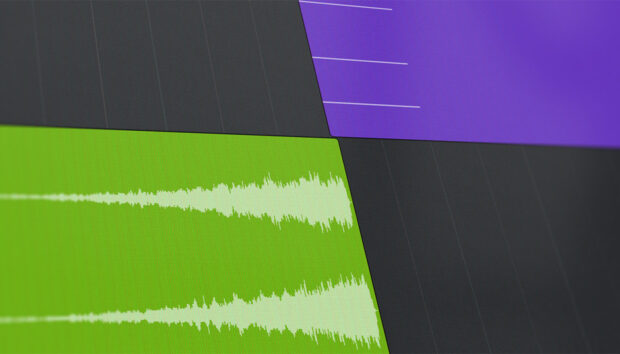
We can use extreme settings to demonstrate how compression sounds on a drum loop. The compression is applied in the second half of the clip below. Notice how the loudest parts of the loop—like the snare—are pushed back in the mix, while quieter elements like the hi hats leap forwards. And notice how, overall, the loop feels more energetic and exciting, with a “pumping” feel.
What does compression do to sound?
Compression reduces the volume of parts of a sound that exceed a certain threshold. In other words, it makes the sound quieter overall. The level of the signal is then boosted back up to restore the peaks to the same loudness. This means that the quietest parts of the signal end up louder than they were before. This can make the signal feel louder overall.
Confusion often arises here. Compression is commonly thought of as making things “loud.” But remember: in the first instance, it tends to make things quieter. It’s only in combination with a gain boost that compression can add loudness to your mix.
<h2=”compression-purpose”>What is the purpose of compression in music?
Compression can serve numerous purposes in your music. The biggest mistake you can make is to use it without a clear goal in mind. We’ve all done it: you drop a compression plug-in into your signal chain and it seems to make things a little louder. “Cool,” you think, and move on to the next task, never touching the compressor again. Often, this kind of purposeless compression is adding very little to your track. It might even be making things worse.
For best results, always have a specific goal in mind when using compression. Each goal demands a different compression approach. Let’s take a look at a few common uses of compression.
1. Controlling dynamics
The most common use of compression is to even out dynamics in your track. The principle is simple: use compression to make the loud parts of a channel or bus quieter, thereby reducing the dynamic range overall.
Be aware that not every instrument in your mix needs compression. Some sounds, such as distorted electric guitars, naturally have very little dynamic range. But there are many instances where controlling dynamics is essential: vocals, for example, or many acoustic instruments.

Let’s hear how compression can be used to smooth out a vocal. We’re using VC 76, Native Instruments’ recreation of a legendary FET compressor. The threshold has been set to catch just the loudest few dB of the signal, while medium attack and release times and a low threshold produce a gentle, musical compression effect.
In the below clip you hear the uncompressed signal first, followed by the compressed signal. The effect is subtle but pleasing. Listen out for how the louder parts at the start of each phrase no longer jump out, but sit smoothly alongside the rest of the vocal.
Note: if your vocal has a very wide dynamic range then compression alone might not be able to tame it without causing distortion. In this case, use volume automation to even out your signal before sending it to the compressor.
2. Shaping transients
As well as taming loud peaks, compression can be used to bring out the sharp transients in drums. How does this work? By applying compression with a slow attack time, the drums’ attack can pass through before the compressor reacts. The compressor then clamps down on the rest of the sound, increasing the difference in loudness between the transients and everything else. The result? A sharp, snappy sound that can add energy and aggression to a mix.

Here we’ve added extra punch to our drum loop using SOLID BUS COMP, a powerful bus compressor with a transparent sound. A slow attack lets through the transients, while a fast release means that the compressor jumps out of the way before the next drum hit. Hear how the compression tightens things up when it enters halfway through this clip.
3. Sidechain compression
A compressor “listens” to the signal it’s processing in order to know when to act on it. But what if it listened to a different signal altogether? This is the principle behind sidechain compression. Let’s take an example. Kick drums and bass parts both occupy the sub bass range, where things can get muddy fast. By applying a compressor to the bass part, and getting it to listen to the kick drum, we can scoop space out of the bass part whenever the kick hits. In this way, we can create space in the low end and avoid unwanted rumble.
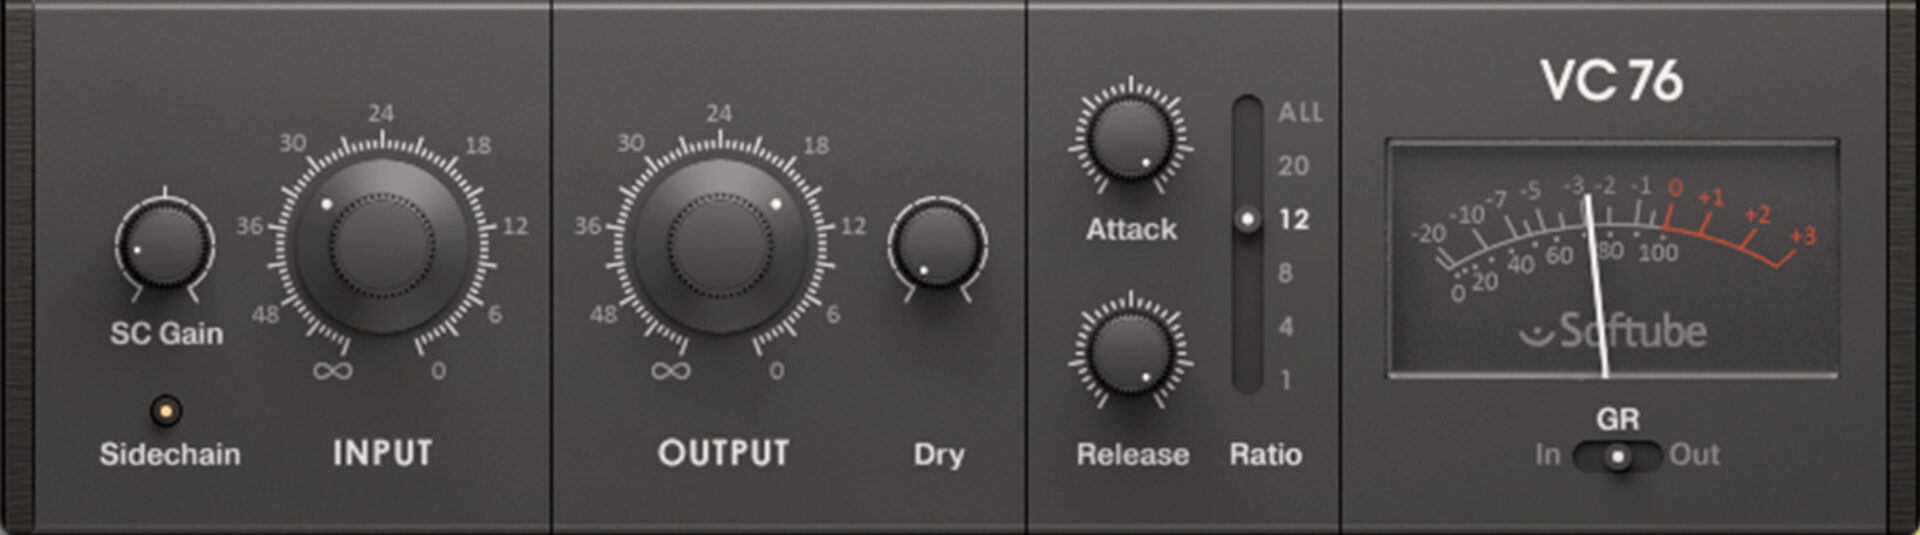
Let’s use VC 76 to demonstrate this. (Native Instruments’ VINTAGE COMPRESSORS all feature added sidechain functionality, a feature not offered in the classic units they’re modeled on.)
First, here’s how it sounds without sidechaining. The thick, dubby bass and boomy kick are fighting for space, creating unpleasant muddiness.
Here’s how it sounds with sidechaining, using very short attack and release times and a high ratio. The compression has cleared space in the mix and given the bass part an energetic “pumping” effect. Taken to extremes, this pumping is a trademark sound in hyped up electronic genres like EDM.
This isn’t the only common use of sidechaining. In fact, sidechaining was first invented to “de-ess” vocals—removing unwanted high frequency sibilance. In this case, the “sidechain” signal is a copy of the original signal, but filtered to only let through the high frequencies. So the compressor only acts when these high frequencies are present, taming unwanted shrillness.
4. Tone shaping
Compression is often thought of as a dynamic effect, but it’s not quite that simple. As well as taming dynamics, classic hardware compressors—like any piece of analog circuitry—can introduce harmonic distortion and other tone alterations. Many compression plug-ins are faithfully modeled on these outboard units in order to capture their juicy flavor. You can use these tools to introduce richness and character to your tracks.
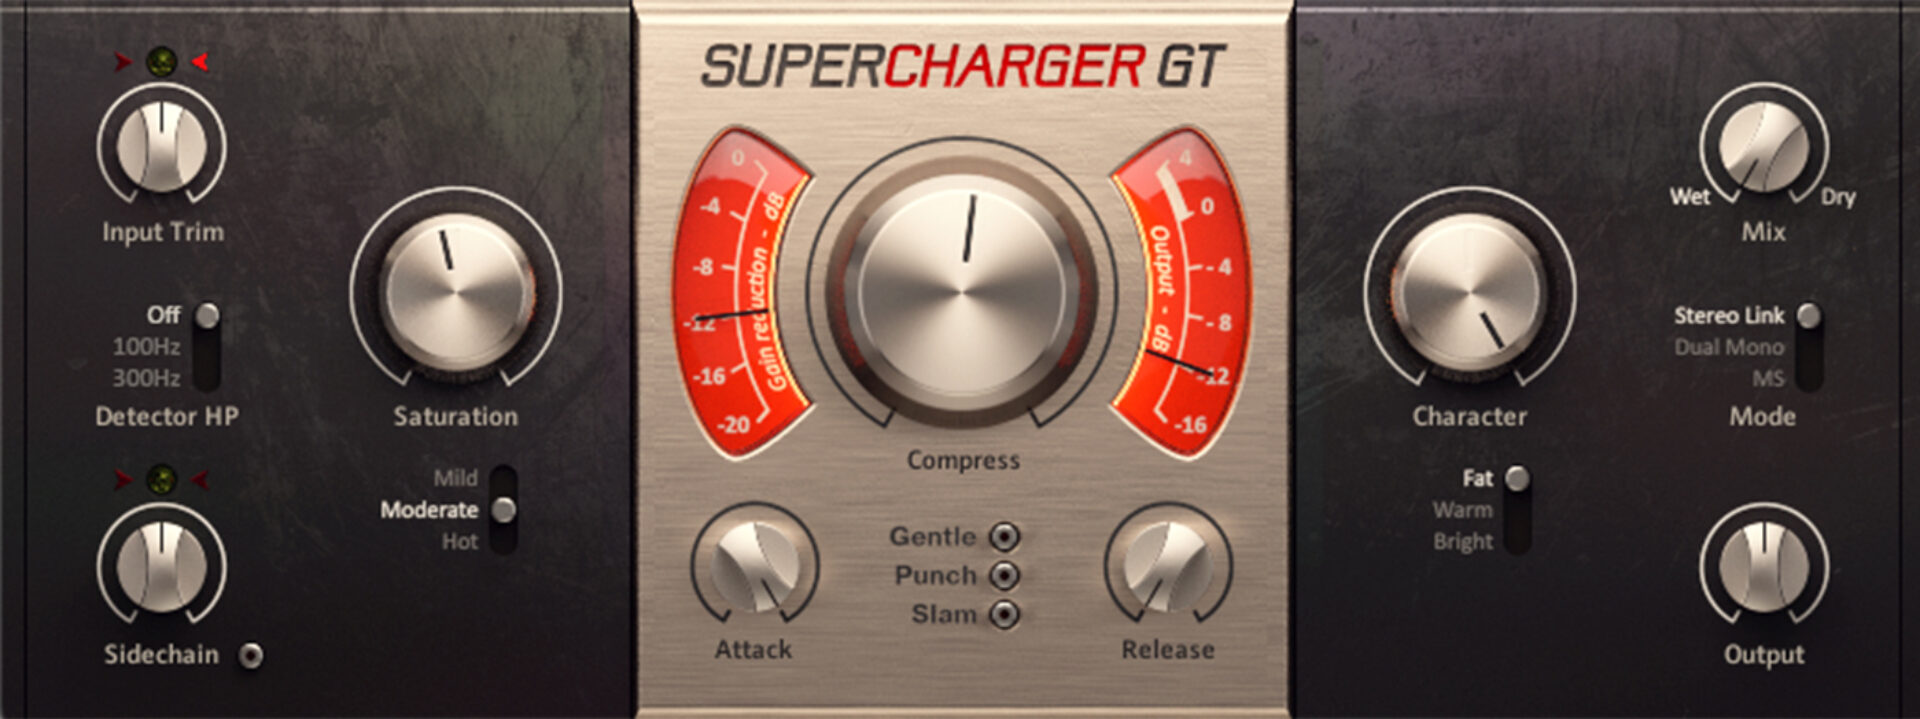
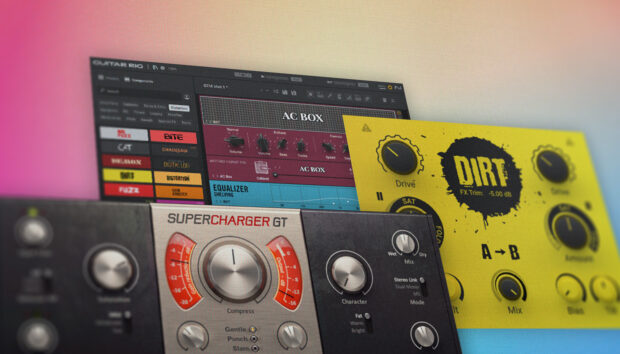
We’ve added flavor to our drum loop using SUPERCHARGER GT, a model of a valve-based compressor that offers fine control over saturation levels. To get tons of character out of our compressor without compromising on punchiness, we mixed the compressed signal “in parallel” with the uncompressed signal (meaning we can hear both signals at once).
In the clip you hear the untreated drum loop first, followed by the compressed signal on its own. The signal is crushed with some pretty extreme settings. Third time round, the compressed signal is blended with the dry signal, giving a nice balance of precision and crunch.
How to use compressors in music
Now you know what compression is used for, it’s time to learn how to use it. With numerous parameters to tweak and often subtle differences in outcome, it can be easy to misuse your compressor. By learning a few basic parameters you’ll be well-placed to get your compression right every time.
Let’s take a look at them.
Threshold
Threshold sets the loudness level at which the compressor starts acting on a signal. Any audio over this point—which is expressed in dBFS (decibels relative to full scale)—will be grabbed by the compressor. Set a high threshold to catch only the loudest peaks, leaving the rest of your signal intact. At lower thresholds, the compressor will affect more and more of the signal.
In the example below, we’ve used SOLID BUS COMP to do some snappy transient shaping on our drum loop. In the first half of the clip, the threshold is set to catch only the loudest 3 dB or so (the snare and kick hits). In the second half, the threshold is pulled down by a huge -10 dB. Hear how the signal is crushed, leaving pretty much only the transients.
Ratio
Ratio controls how hard the compressor responds after the threshold is exceeded. Compressors don’t usually “brick-wall” the incoming signal at the threshold. (The exception to this is a limiter, which is a compressor with a very high or “infinite” ratio). Instead, they progressively turn down the signal after it exceeds the threshold. The steepness of this gain reduction is expressed in a ratio. 2:1 means that, for every 2 dB that the signal tries to go beyond the threshold, it will only increase in volume by 1 dB. Lower ratios will give you gentle, musical compression, while higher ratios will sound more “squeezed.”

In the first half of this example, a low ratio (1.5) produces gentle gain reduction. Then the ratio is cranked to 10. In this case, the results are similar to the threshold effect above: unpleasantly squished drums. But it’s important to remember that threshold and ratio do different things, and tweaking them will often give you different results.
Attack and release
Attack and release control how quickly the compression acts on the signal. At slower settings, the compressor will take longer to kick in after the signal exceeds the threshold, and be slower to disengage after the signal falls below the threshold. Shorter times will make the compression more responsive, but potentially more extreme-sounding. Getting your attack and release times right is crucial, and the settings will vary depending on what you’re compressing.
Longer attack times will sound more musical on vocals and other instruments, and will let through transients when compressing drums, for the transient shaping effect mentioned above. Shorter attack times will squish transients and give a tighter, more processed sound.
Setting a good release time, meanwhile, depends on your track. You generally want the compressor to disengage before the next loud part of the incoming signal. That means setting the release time in concert with the tempo and groove of your track.
Let’s hear how it sounds when the attack is changed. In the first half of this example, a long attack time (30 ms) lets through the drum transients while clamping down on the rest of the signal. Then the attack time is drastically shortened, to 0.1 ms. Now the compressor catches the transients, creating a squished sound. This would be pretty bad as drum bus compression, but could work well for parallel compression.
Now for release. In the first half of this example, it’s set to medium (0.4 seconds), allowing the compression to sit “in the pocket” of the groove. Then the release time is turned up way too long. Hear how the compressor doesn’t disengage in time for the next beat, causing transients to be lost.
Knee
Knee controls what happens as a signal approaches the compressor threshold. Many compressors have a “hard knee”: the compressor only acts after the signal has exceeded the threshold. But some feature a “soft knee,” meaning the compressor gradually engages as the signal approaches the threshold.
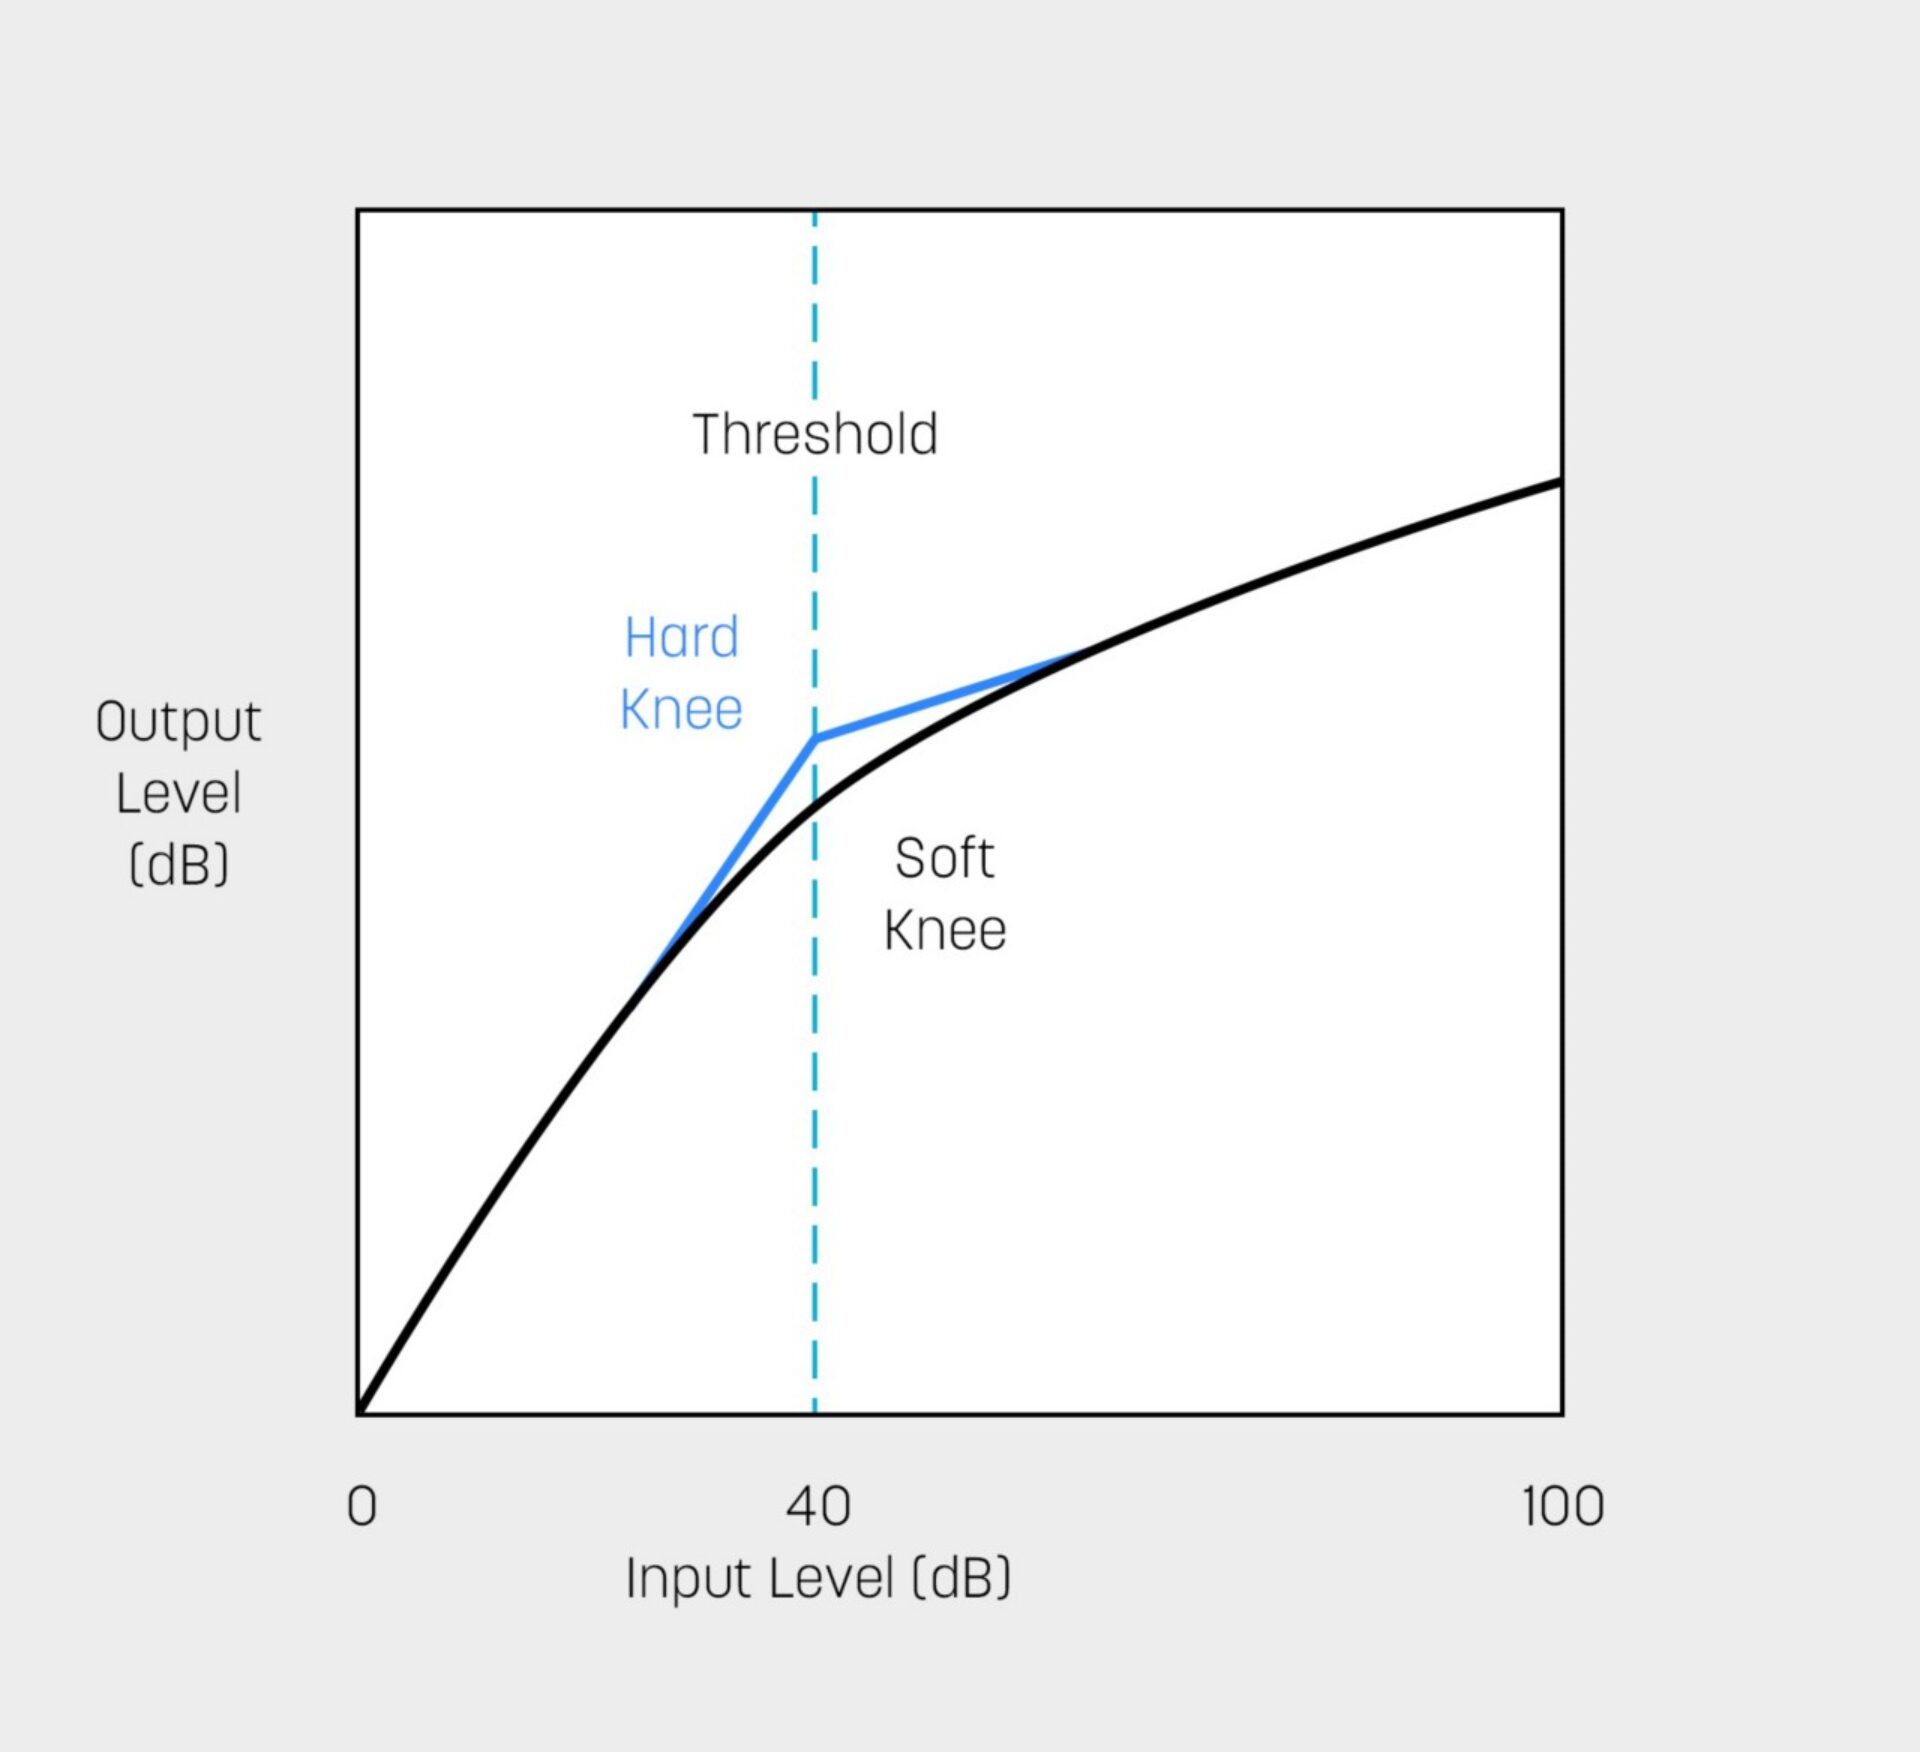
This parameter adds a subtle extra dimension to the interplay of threshold, ratio, attack, and release. A soft knee tends to work well for naturalistic sounds, such as vocals or acoustic instruments.
In the first part of this example, subtle compression catches the loudest few dB of the vocals, leaving the rest intact. That’s fine, but perhaps we could get a smoother result with a soft knee. (We used the compressor in iZotope Neutron 4, which offers customizable knee settings). The second half of the clip features a soft knee and a higher threshold. The result is smoother and more even, giving us very consistent dynamics without coloring the audio too much.
Makeup gain
Makeup gain controls how much the signal level is boosted after compression has taken place. This is a crucial and often overlooked parameter. Compression makes a signal quieter overall by reducing the volume of the loudest parts. Makeup gain is necessary to turn the signal back up and get the “loudness” benefits of effective compression.
Makeup gain is also important when dialing in your compression. Louder signals usually sound better to our ears, and quieter signals worse. If your signal’s loudness is different after compression, it can be hard to tell if you’ve really improved things. Adjust makeup gain so that your signal is equally loud when the compressor is switched on and when it’s in “bypass.” That way, you can make informed decisions while you tweak.
At the start of this clip the vocals are uncompressed. The second time around, we’ve compressed them without adjusting makeup gain. The signal is much quieter. The third time around, gain has been boosted to compensate, bringing the signal back up to its original level. Like many compressors, iZotope Neutron 4 Compressor features an auto gain function, which automatically adjusts makeup gain for you. Just click “Auto” and the plug-in does the rest.

Start using compression
In this article we’ve looked at compression: what it is, what it’s for, and how to use compression effectively in your music. If you still want to know more, check out our essential compression tips.
Now you know your threshold from your ratio, it’s time to start using compression in your own productions. VINTAGE COMPRESSORS offers top level emulations of three legendary studio compressors, giving you all the tools you need to start compressing effectively and with intention.
Related articles
-
A guide to different types of chords in music
There are many different types of chords in music. You may wonder which ones to use and when. Read this…
-
5 of the best color box plugins for music production
Learn what defines a color box and which color box plugins are the best for adding depth, warmth, and personality…
-
How to use saturation in music production
Get a grasp on saturation and start adding warmth, depth, and juicy character to your tracks with this comprehensive guide…
-

What is pitch in music? How to use it to create melodies, effects, and more
Pitch is one of the fundamental elements of music. But what exactly is pitch in music and how can you…
-
Exploring reverse reverb effect: how to get a dreamlike sound
Learn about reverse reverb and how it’s used to create ethereal, dreamlike soundscapes. Plus, learn how to use the reverse…
-

New to mixing? How to mix your own music
Learn how to mix music that has an emotional impact on your listeners using pitch correction, saturation, compression, EQ, reverb,…
-

10 of the best AI-powered plugins to use in your music
Discover the top 10 AI-powered audio plugins revolutionizing music creation. Explore how these innovative tools can enhance your music production…
-
Digital amp sims 101: tips and tricks for music production
Learn everything you need to know about virtual amps in this guide to digital amp sims, with step-by-step instructions for…