


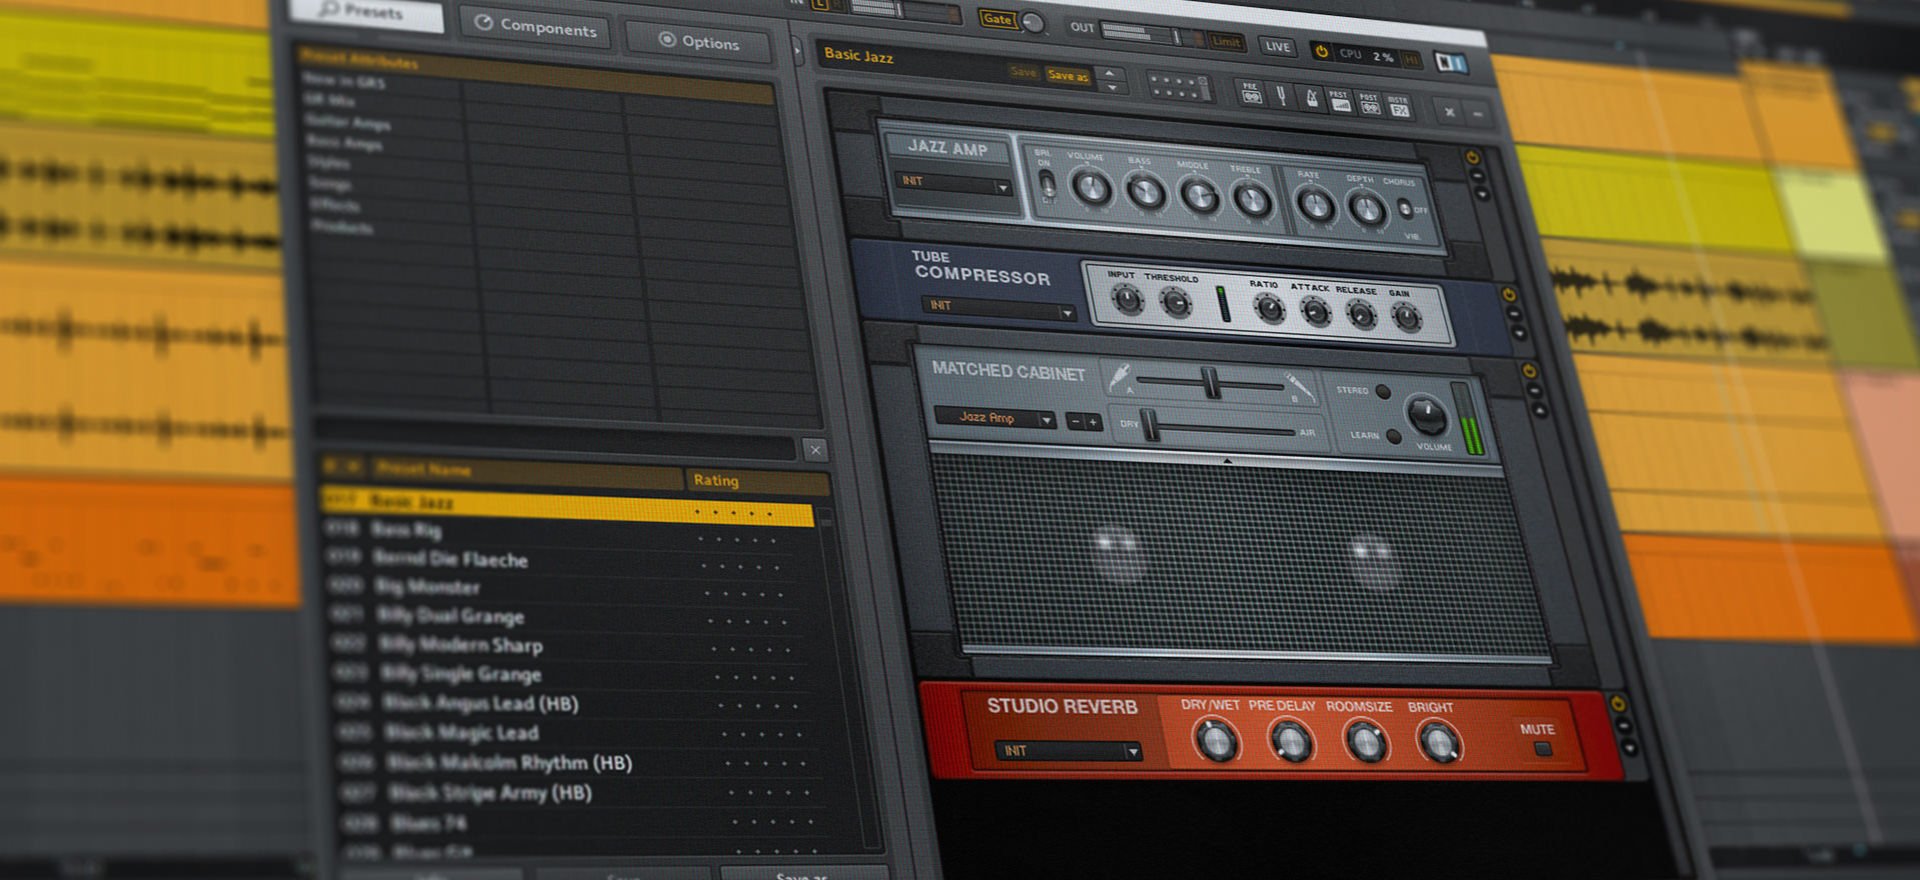
While primarily aimed at guitar processing, Guitar Rig 5 Pro is an extremely capable multi-effect that can be used to get more from almost any kind of sound. As well as the included amplifier and cabinet simulations, it features 54 effects that go far beyond guitar basics; dynamics processors, modulation sources and grain-based effects are just few of the many powerful sound design tools available. Let’s explore some of them as we discover six creative ways to use Guitar Rig Pro 5 for sound design.
Get Guitar Rig 5 Pro free with any Komplete Audio interface, and save 199,00 €. This special offer is valid from March 12 until April 29.
Bigger kicks with Oktaver

If your kicks lack boom or punch, the pitch-shifting potential of Oktaver could come in handy. Here we’ve got a pure, unprocessed Roland TR-909 kick drum sound in the form of 909 Kick.wav. It has a pleasing transient punch, but it isn’t as powerful in the lows as a more contemporary kick. Let’s remedy that.
The first thing we need to do is to turn off Guitar Rig 5 Pro’s Gate function. This is extremely important when working with non-guitar sounds: while the gate cuts out unwanted noise from guitar tones, it will also affect the transients of sounds such as kicks, dulling them slightly. Click the illuminated Gate button to turn it off. You’ll notice that the kick’s attack returns, but also that Guitar Rig’s input is redlining. Turn down the Input fader down to around -12dB to give us some headroom to work with.
Next double-click Oktaver in the Component Pool’s Pitch category to add it to the Rack. This pitch effect gives you doubles of the input signal pitched down one or two octaves. We can control the volume levels of these pitched signals using the Oct1 and Oct2 knobs. Turn them both all the way down to hear the dry kick, then dial in a little of each knob until you’ve got a good balance of weight and punch.
Snare character with reverb and Noise Gate

While we’re going to keep the built-in gate off for all these tips, Guitar Rig 5 Pro features a dedicated Noise Gate effect that can be extremely useful when working with non-guitar sound design. Adding reverb to a snare sound to give it character then using a gate to quickly cut the reverb tail is a time honoured studio trick, and with Guitar Rig 5 Pro’s selection of reverb types it’s possible to quickly audition a variety of different feels.
We’re going to use the very dry-sounding 909 Snare.wav. Start by adding Traktor Reverb from the Reverb category. This is a cool effect, but the snare tail is too long and the character of the sound changes if we turn down the Size parameter. Add Noise Gate then set the Threshold to -15dB, the Hold to 0.11s, the Attack to 0.1ms and the Release to 0.021s. Now when you play the snare you’ll hear the snare retains both its snappiness and the added character. Try using another reverb such as the Spring Reverb to get an altogether different feel.
Filthy 808s with Hot Plex

Used judiciously, amp processing can turn simple 808 sub kicks into harmonically complex monsters. Anti Eight.wav is an 808-style bassline created using a Massive X preset. Add Hot Plex from the Amplifier category to the Rack. This gives the sound a dirty feel, but the lows have been filtered by the cabinet, reducing the weight of the sound. We can avoid this by clicking the power button at the top left hand corner of the Match Cabinet module to bypass it, or by selecting the cabinet and deleting it.
The resulting sound is super-filthy and thick, but you may still wish to mix in a little of the dry signal. We can do this by adding the Split effect from the Tools category, and moving the Hot Plex into the Split B section. We can now use the Split’s crossfader to mix between the wet and dry signals, allowing us to get the perfect tone.
Psychedelic drum breaks with Grain Delay

Gran Delay is a really powerful tool for creating dramatic effects. Let’s start with Break.wav and add Grain Delay from the Special FX category. If you play with the Pitch knob while the beat plays back you’ll hear we get trippy results at the pitch of the wet, delayed signal is shifted up and down.
We can get interesting results if we automate this procedure. Add LFO from the Modifier category to the Rack, and drag and drop the name box that says LFO onto the Grain Delay’s Pitch. Set the LFO’s Rate to 3.35Hz, and turn down the Grain Delay’s Size parameter down to its minimum. This creates some funky pitch-shifting effects which can be accentuated by turning up the Density knob.
Singing keys with Formant Filter

Let’s use a different type of Modifier to give us another expressive effect. We’ll use Keys.wav for our dry sound, adding a Formant Filter from the Filters category. Turn the Sharp parameter up to 44, the Size up to 78, and try sweeping the Talk knob as you play the sample back. This imparts the signal with an animated vocal quality, and we can automate this with a Modifier.
Add Analog Sequencer from the Modifier category, and drag and drop the name box that says Analog Seq onto the Talk knob. Set the Analog Sequencer’s Resolution to 1/16th notes. This allows us to set a different value for Talk for every 1/16th note of a bar, and we can adjust each one using the sixteen vertical faders at the bottom of the Analogue Sequencer unit. Clicking the Type button swaps between two different filter algorithms, and gives us a clearer sound in this particular scenario.
Dub techno stabs with Quad Delay
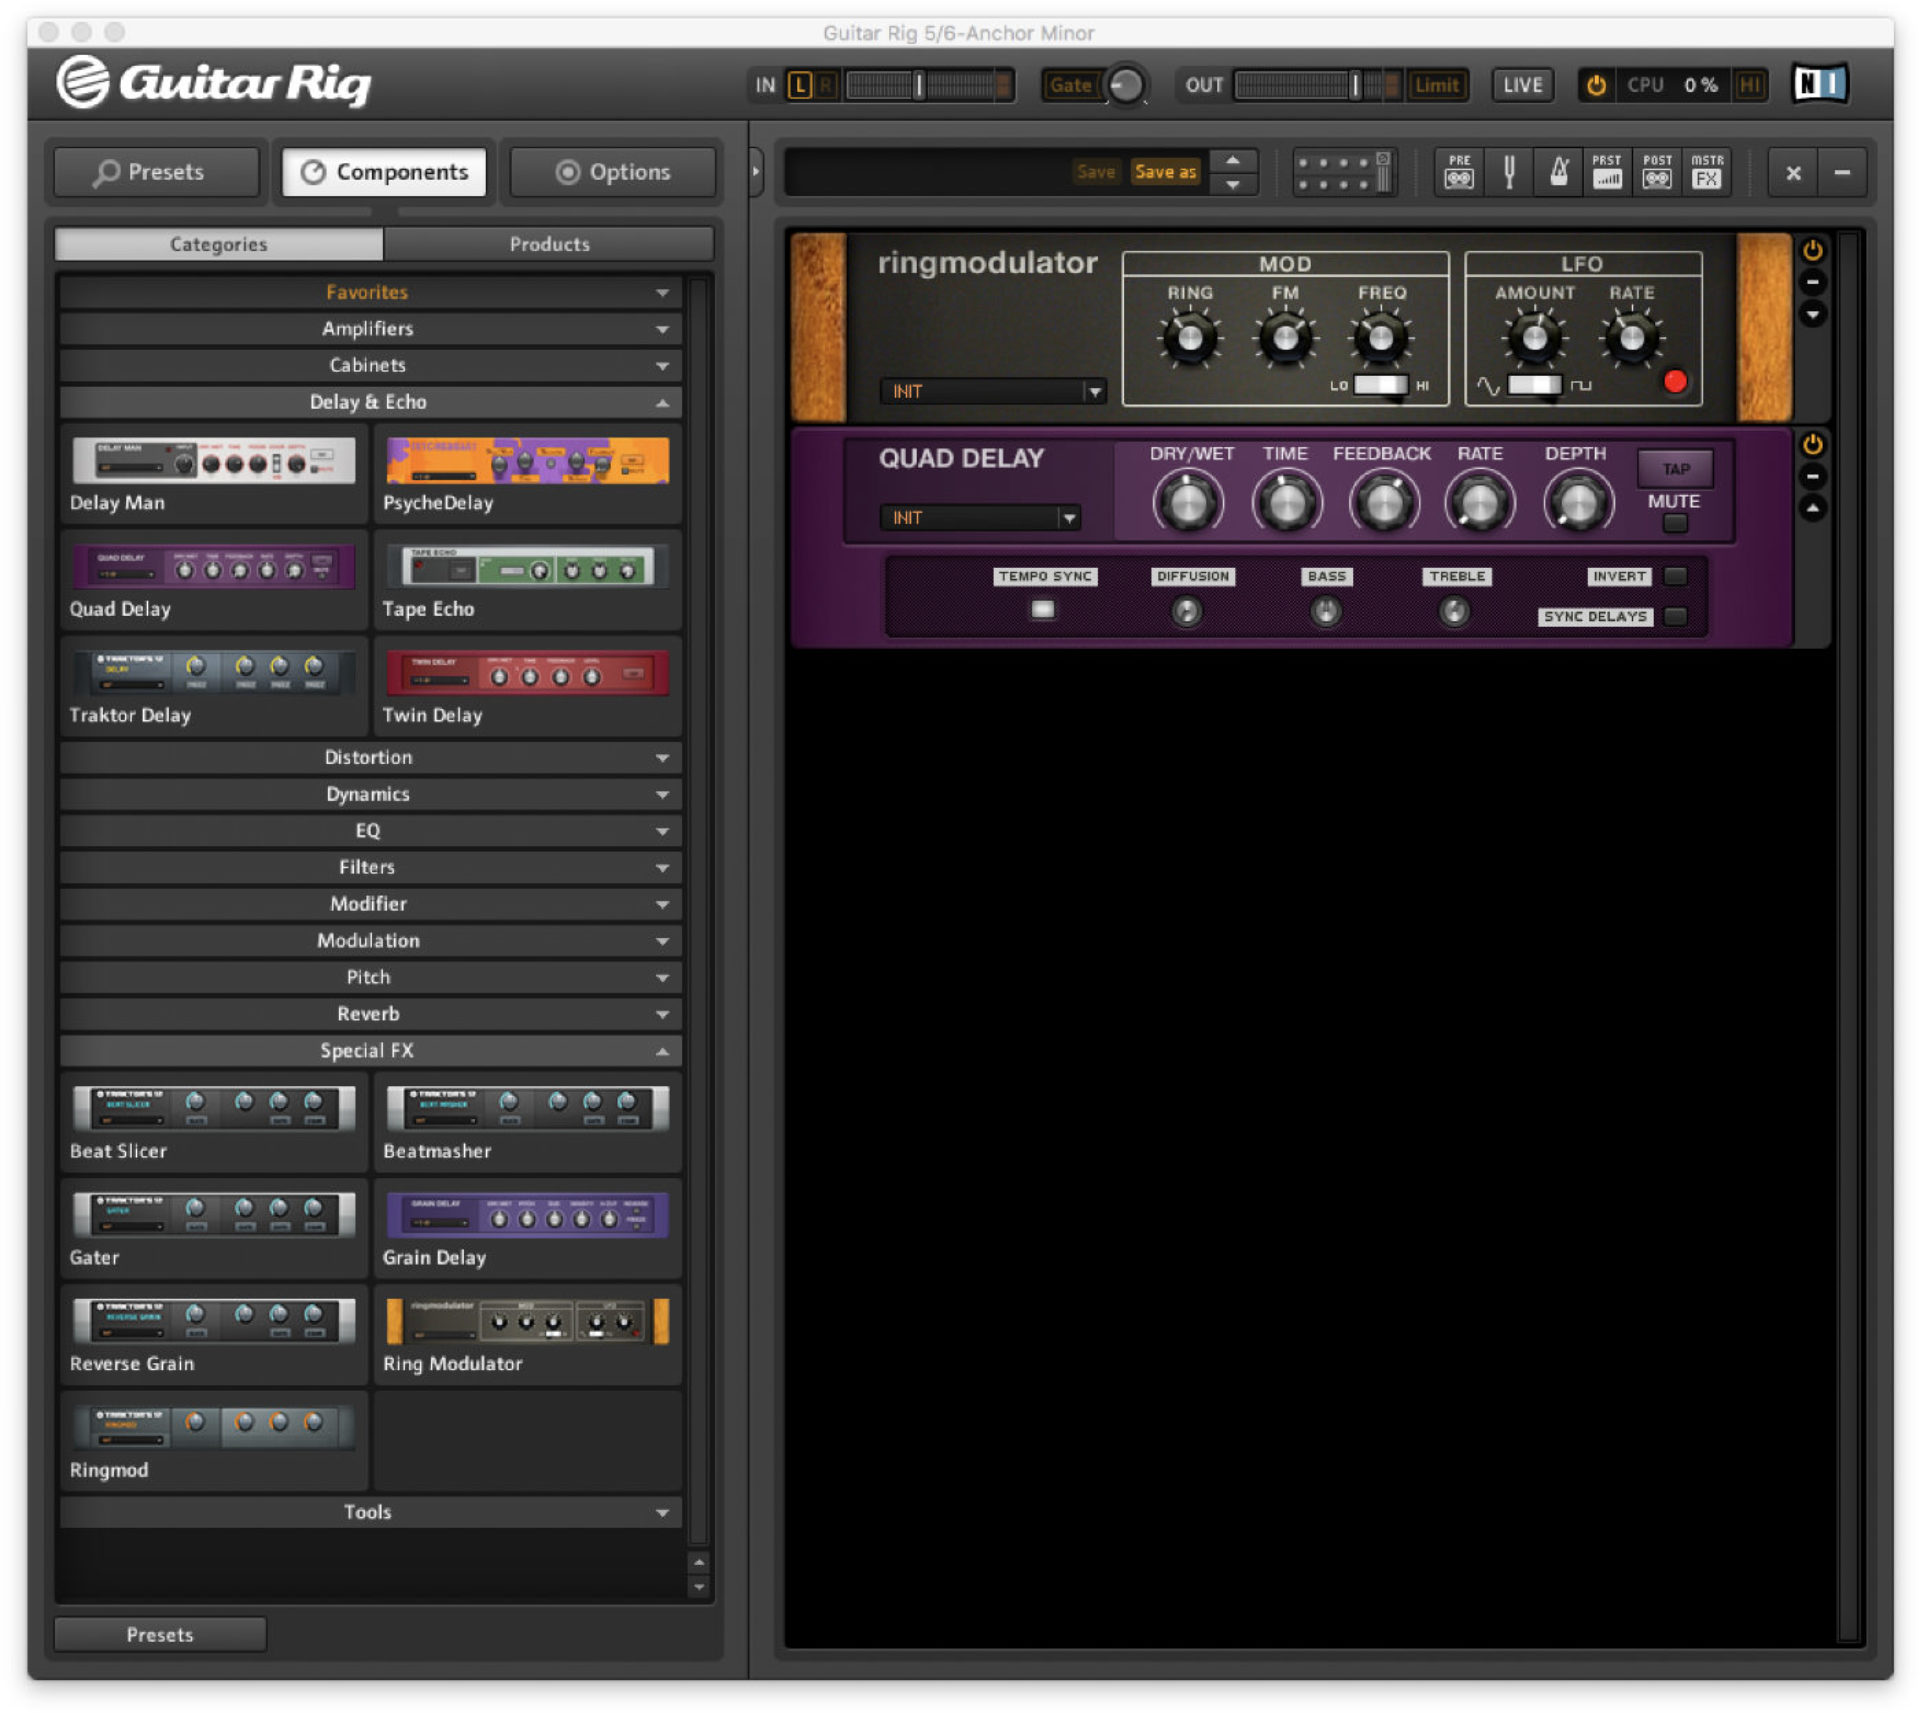
Anchor Minor.wav is a techy stab pattern created with the Massive X patch of the same name. It’s a straightforward enough loop, but we can turn it into something much more interesting with the addition of a couple of effects. Let’s begin with Ring Modulator from the Special FX category. The ring modulation effect this applies to the sound is immediately apparent, but it’s a little fast for our material. Turn down the Freq mod to slow this movement down, giving us a less percussive, more wavey feel to the stab part.
Next add a Quad Delay from the Delay & Echo category. This instantly gives us that dubby techno flavour, and while the delay’s tempo is unsynced by default, you can change this by opening up the Expert Controls by clicking the down-ward pointing arrow button, and activating the Tempo Sync option. You can now set the tempo resolution with the Time knob.
Related articles
-

How to make future house music with cutting-edge production techniques
What is future house and how do you make it? Learn how to make future house music from inspiration to…
-
Understanding time signatures in music
Unlock creativity with time signatures in music. Learn what time signatures are, common examples of popular time signatures, and how…
-
Synth pads: how to create atmospheric textures in your music
Learn everything you need to know about synth pads, with a step-by-step guide to creating this crucial electronic sound to…
-
Sub bass: how to add that deep tone to your tracks
What is sub bass? Learn how to make sub bass and how to use sub bass effectively in your productions.
-
A guide to different types of chords in music
There are many different types of chords in music. You may wonder which ones to use and when. Read this…
-

How to use tempo in music to create dynamics and shape emotions
Learn what tempo and BPM mean in music, how to calculate the BPM of your song, and how to use…
-

What is EDM music and how to make it
Discover what is EDM music and master how to make EDM with this comprehensive guide, featuring essential production techniques and…
-

How to make a melodic bass track with emotive and powerful bass lines
Discover what is melodic bass music, its unique sound, and learn how to make melodic bass music with practical tips…